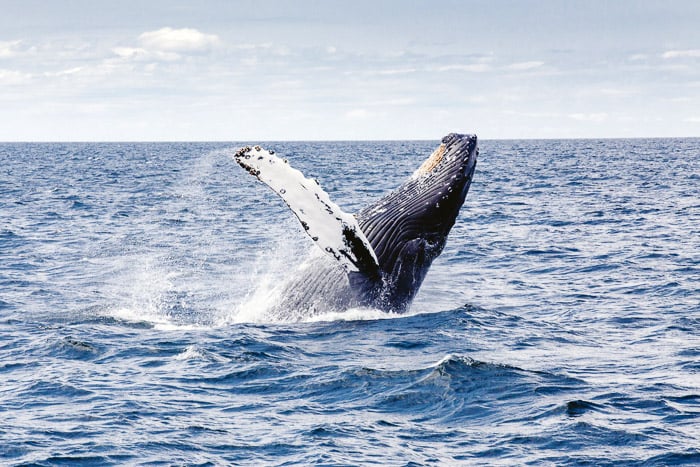
Whale photography can be a challenging but ultimately rewarding pursuit. Capturing these gentle giants on camera can provide an amazing glimpse into their lives and the world they inhabit. Here are some tips to help you get started.
1. Whale Photography: What Camera Do You Need to Capture Photos?
Don’t use your smartphone or point-and-shoot camera. You can try but it will be very difficult to make a good photo.
If you want to make the perfect whale picture, you need a proper camera. First of all, there’s no guarantee you will see whales. Second, when you do see them, it’s very difficult to predict where they’ll pop up.
You’ll need long lenses, fast autofocus, and servo-focus to make it easier.
Taking whale pictures is actually more sports photography than wildlife photography.
Make sure your camera has a large buffer. It’s easier to shoot in burst mode and you don’t want the buffer to fill up too fast.
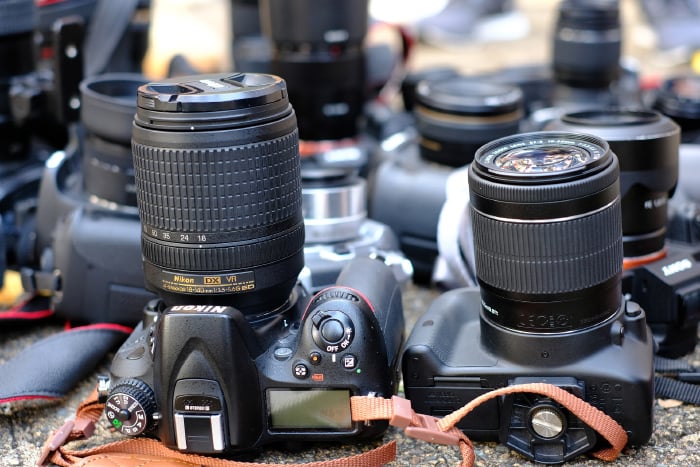
2. Lenses for Better Whale Photos
Because whales are highly unpredictable, it’s better to take a range of lenses. I would say at least a 24-70mm and a 100-400mm or something close to those.
Especially when you take a tour in a small boat, the captain might get you close to the whales. You don’t want to be stuck with a long telephoto lens.
© Pixabay
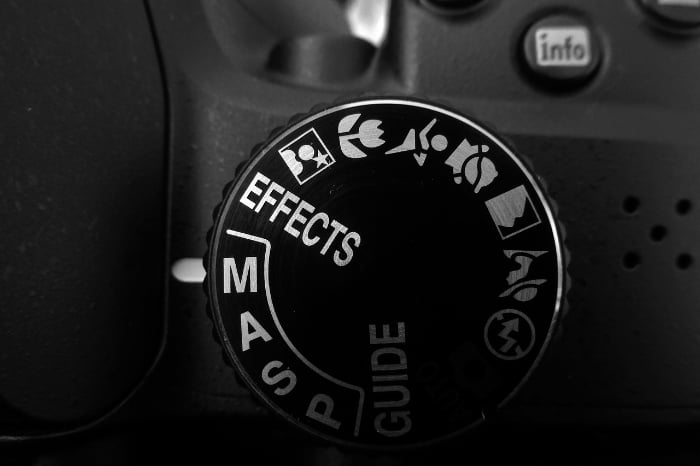
3. Settings for Whale Photography
Make sure to keep the shutter speed at 1/400 or faster. To do that, you can either use shutter priority mode or aperture priority mode.
If you do use aperture priority mode, you need to keep an eye on the shutter speed yourself. Use ISO 400 or even 800 to keep the shutter speed fast enough. Keep the aperture around f/16.
You’ll need to react in a split second so it’s best to keep the depth of field large.
And to make sure you don’t miss your focus, use servo-focus. You’ll be photographing a moving object.
4. Extra Gear You Should Pack on a Whale Photography Trip
Besides a good camera and the right lenses, there are some other things you have to take.
Take a spare battery or even two because shooting in burst mode will drain your battery faster. An extra memory card is also a good idea, especially if you’re a RAW shooter.
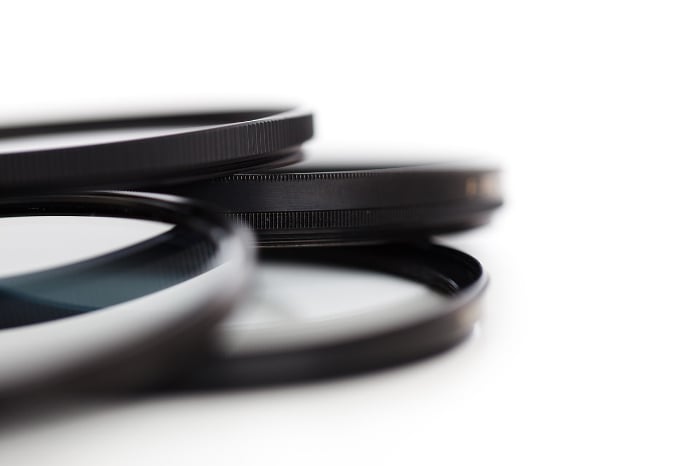
Don’t bring a tripod or ND filters. You’re going to shoot at high shutter speeds, so they’re useless.
A monopod might be helpful if you’re using a heavy lens and a polarising filter if it’s a sunny day with lots of glare on the water.
Make sure to bring a rain cover when going in a smaller boat.
© Pixabay
5. Patience Is Key in Getting Stunning Detail Photos
And the most important tip is to stay calm and focused. It’s not easy to take a good picture of a whale. If you’re a beginner, it might be harder.
Don’t get frustrated though. Always listen to the captain and keep your camera close.
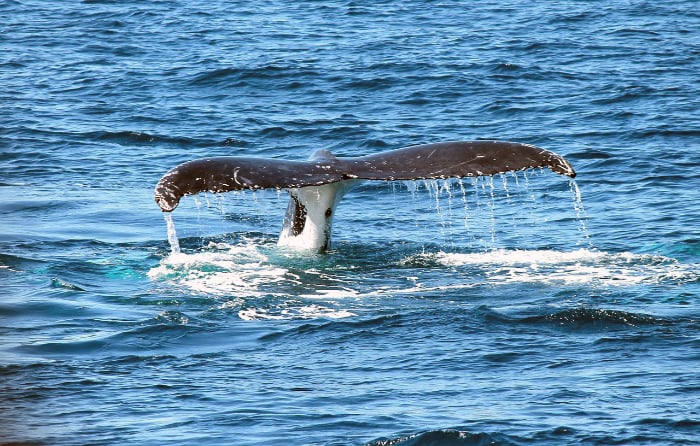
Taking pictures of whales takes some practice. But in the end, you’ll get that awesome shot of a tail or water spray when they come up to breathe.
© Pixabay
Conclusion
Whale photography has a lot in common with sports photography. It takes skill and fast reflexes to nail the perfect shot.
Use these tips to make it easier but above all, keep it fun. Don’t let the obsession of wanting that perfect whale picture ruin an amazing experience.
Don’t forget to put down the camera from time to time to take in the beauty of nature.