The ’60s pop art movement is known for its strong shapes and vibrant colors. In this 10-step Photoshop pop art tutorial, you will learn how to create an Andy Warhol-style pop art Photoshop effect. You’ll also learn to use adjustment layers and layer groups in 10 additional steps to make a pop art poster in Photoshop.

Creating a Pop Art Effect in Photoshop with Pop Art Photoshop
You don’t need a pop art plugin for Photoshop to get that cool retro look. Use these steps to Photoshop your photo into a print-worthy pop art picture.
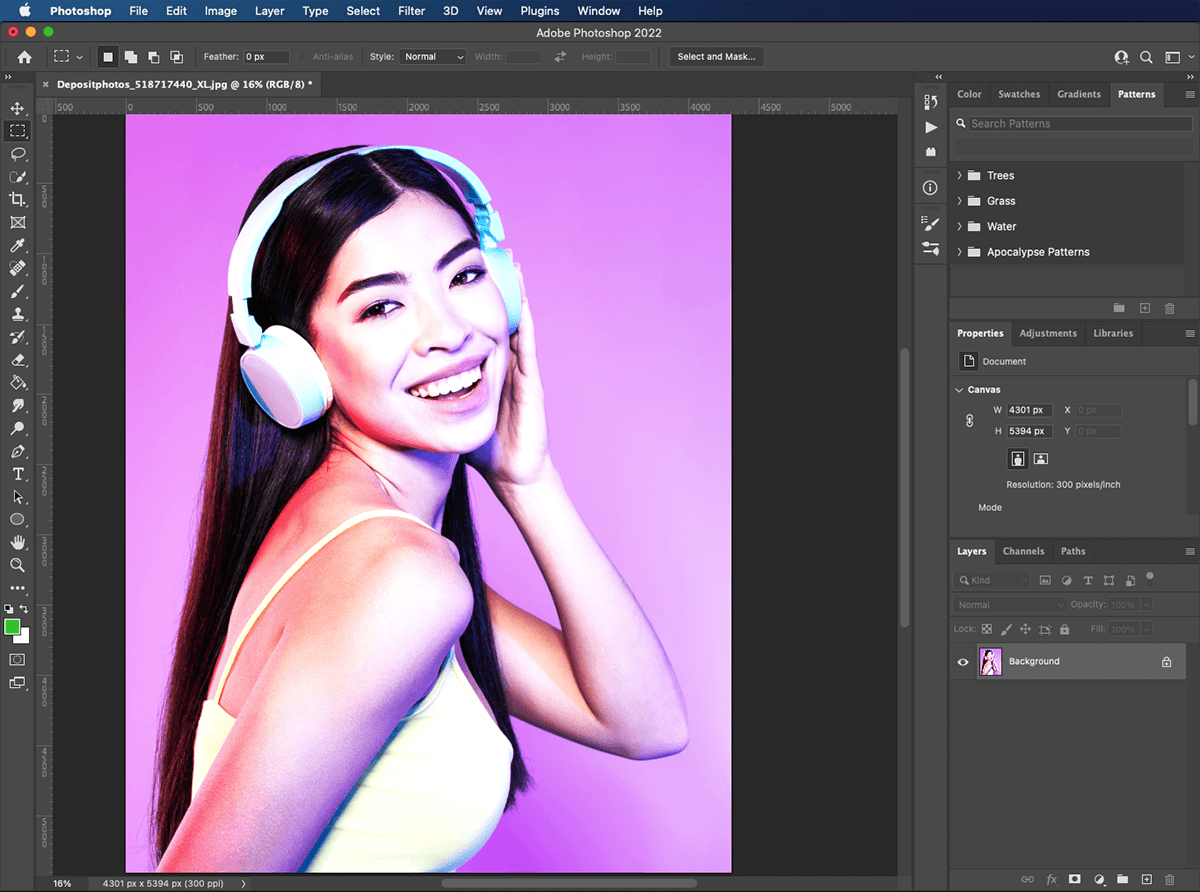
Step 1: Open your Image in Photoshop
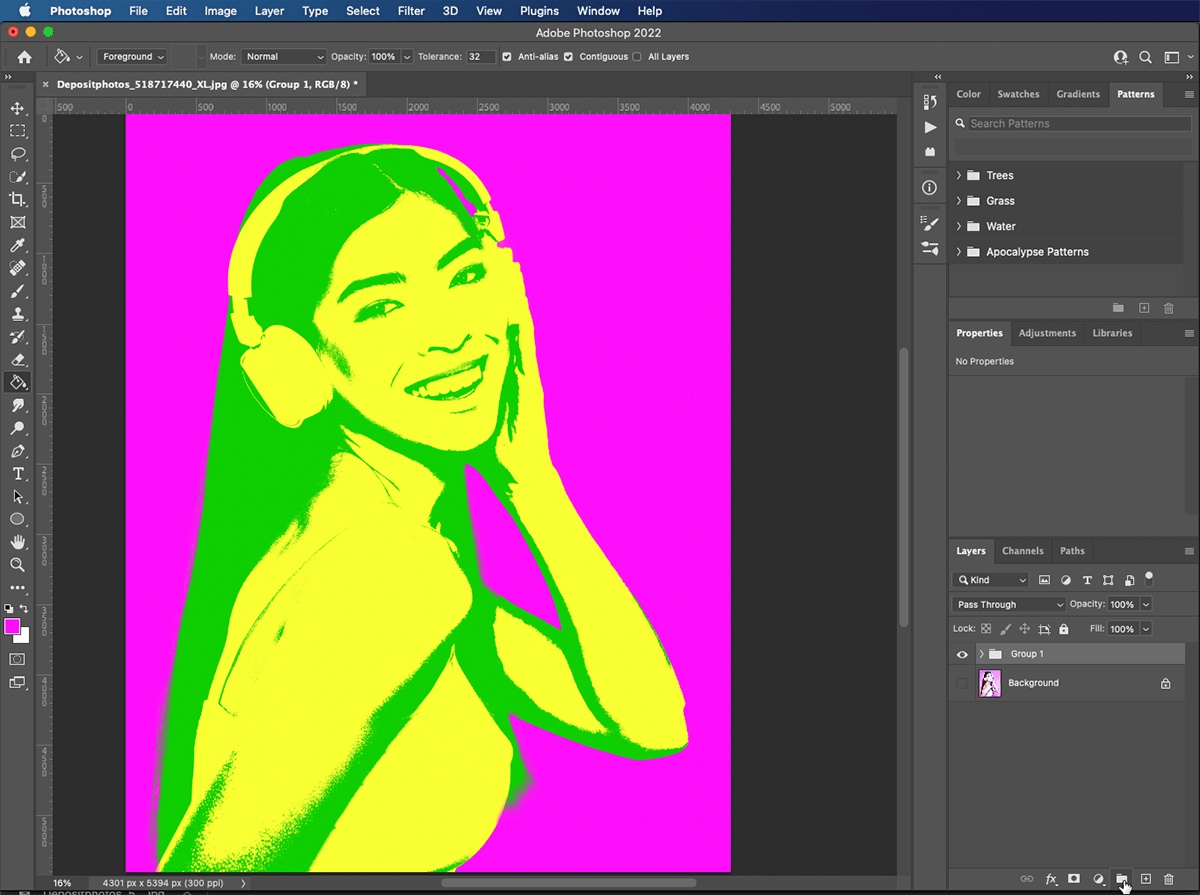
It can be a picture of a can of soup, a celebrity, or someone you know. High-contrast images work best for a pop art effect because they have clearly-defined dark and light areas. We are going to make a pop art portrait of this girl wearing headphones.
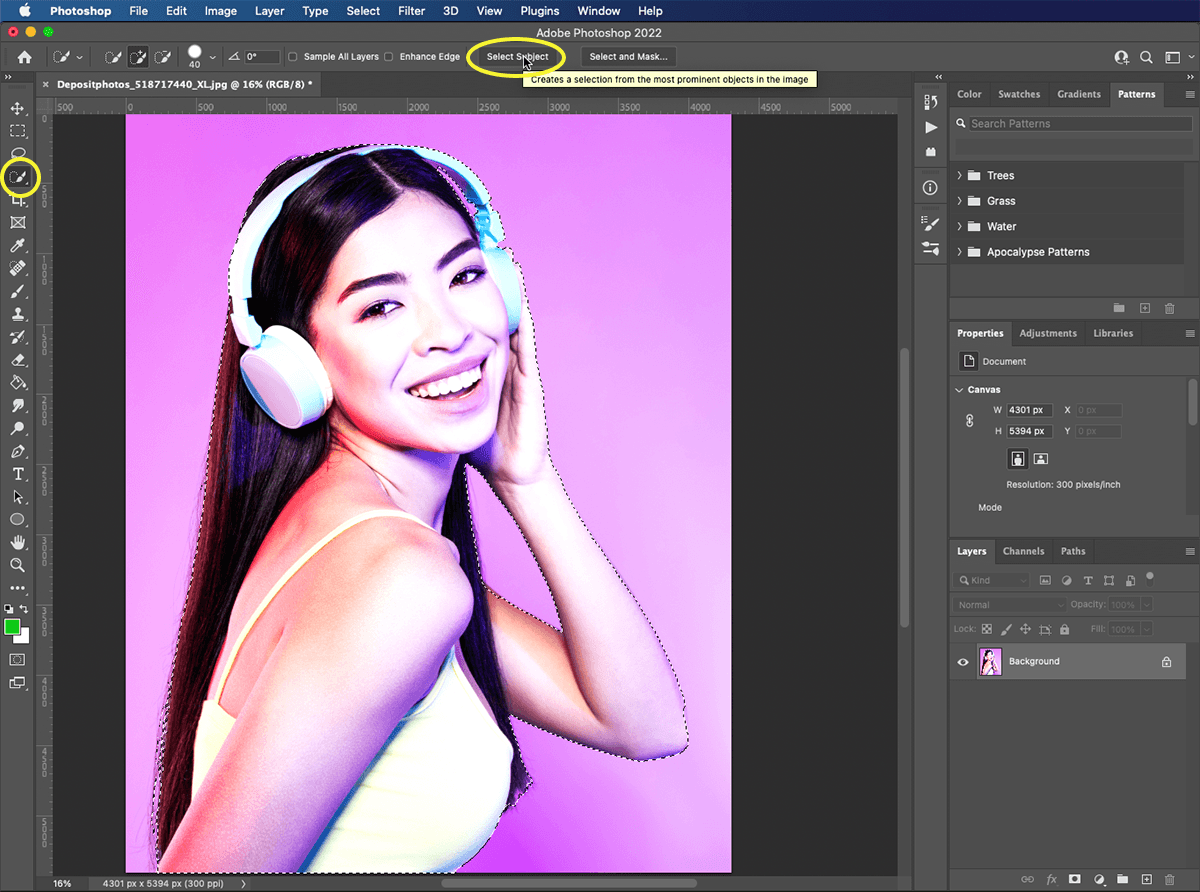
Step 2: Select your Subject
Choose the Quick Selection tool from the Tools palette. Click on the ‘select subject’ button at the top of the window. A line of marching ants will appear around your subject. You can refine the selection using the Quick Selection tool. Just click to add areas or option-click to take them away.
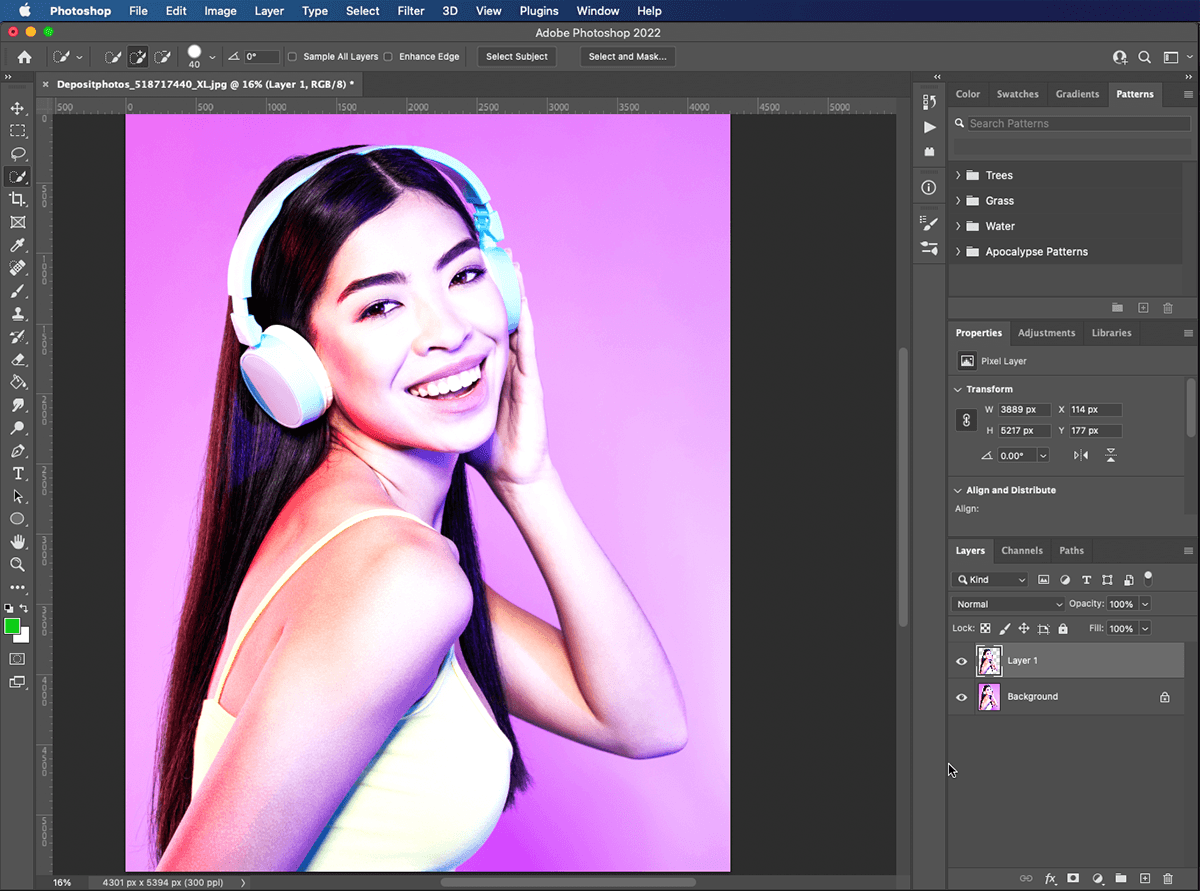
Step 3: Duplicate your Subject to a New Layer
With your subject selected, press Command+J to duplicate your selection on a new layer. Or go to Layer > New > Layer Via Copy. You can name it ‘new layer 1’. You should now have your original layer and a ‘new layer 1’ with your subject.
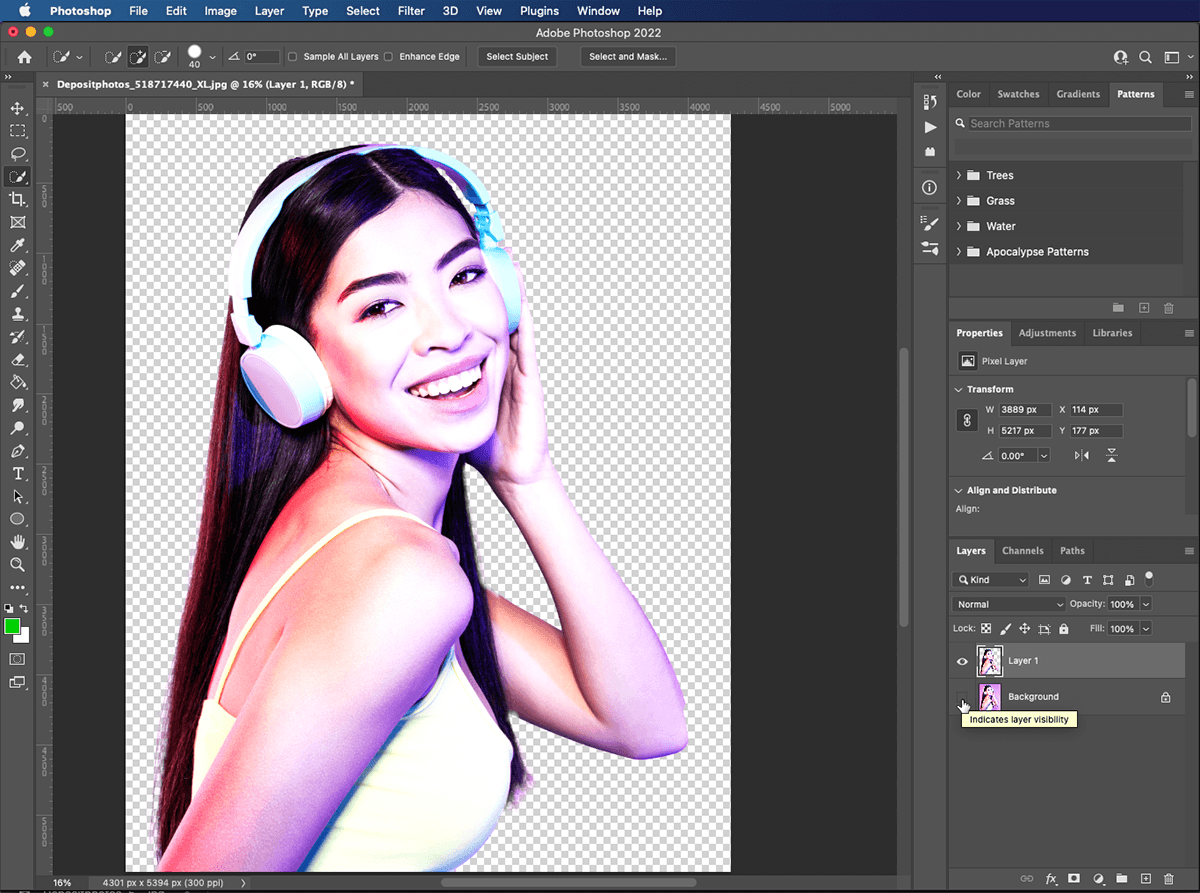
Step 4: Hide Your Background Layer
Click on the little eye icon to the left of your background layer. This hides it without getting rid of it, in case we need to go back to it at any point.
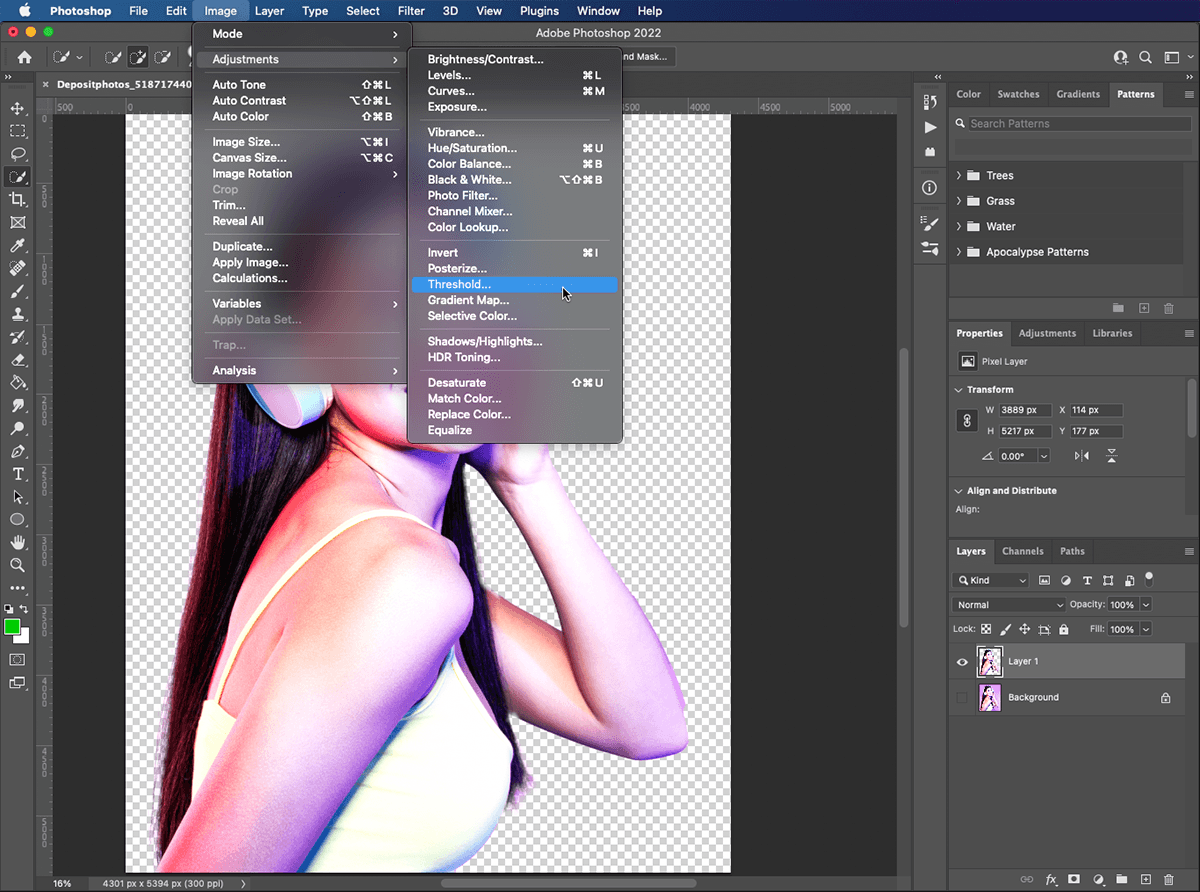
Step 5: Apply the Threshold Filter
The pop art effect requires us to convert our photo into a two-tone image. With ‘layer 1’ selected, go to Image > Adjustments > Threshold.
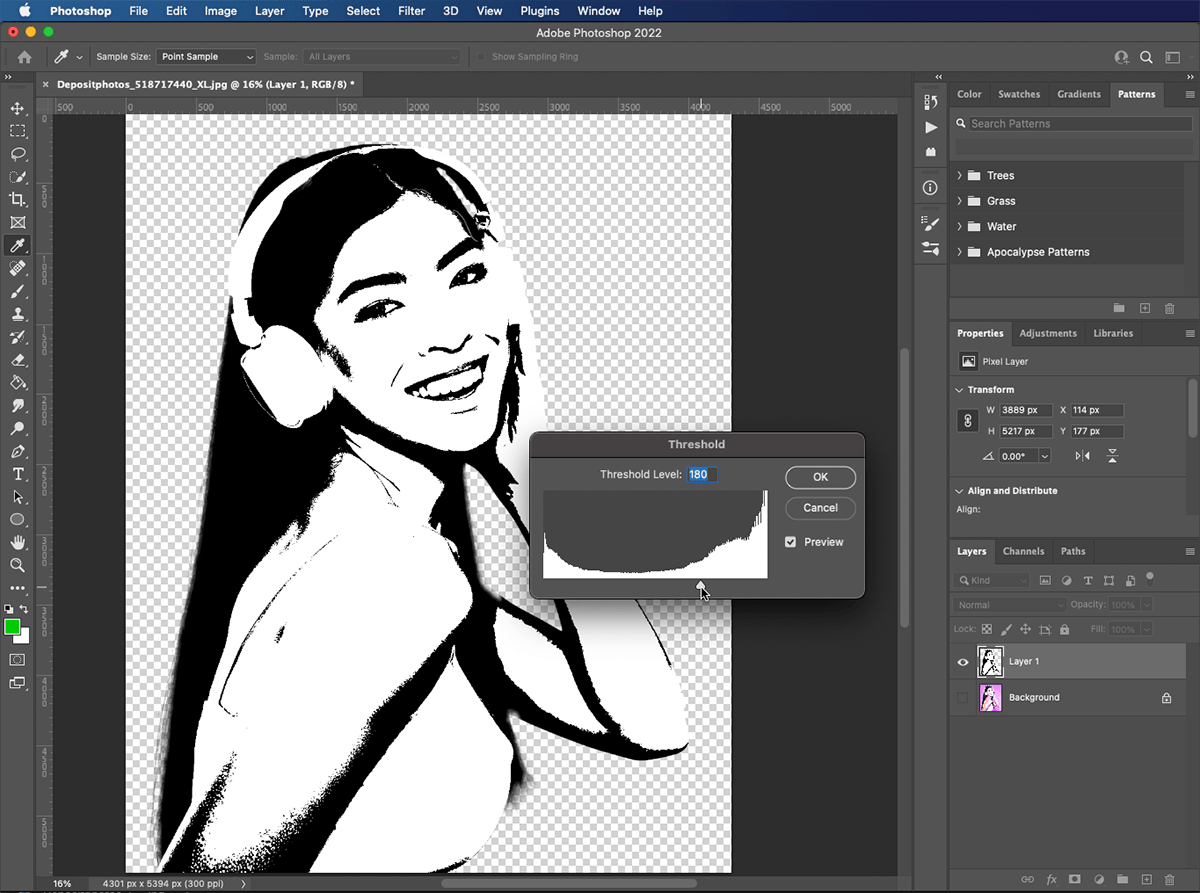
This will open a pop-up window showing a histogram of your picture. Use the slider to choose the level of brightness to expose the image properly.
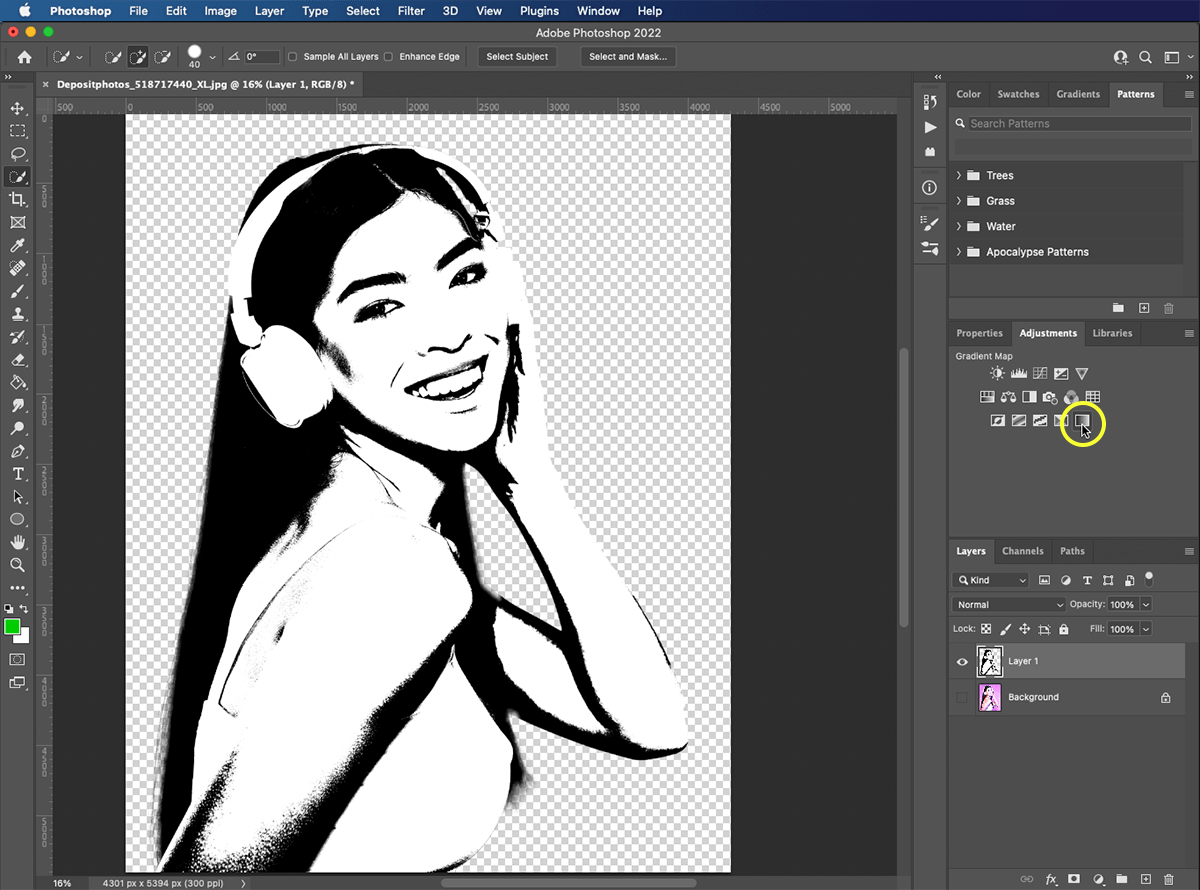
Step 6: Create a Gradient Map Adjustment Layer
Click the ‘gradient map’ icon in the Adjustments panel. This will create a new ‘gradient map adjustment’ layer above your subject on ‘layer 1’. Adjustment layers affect how you see the layers underneath them without actually changing the layers themselves.
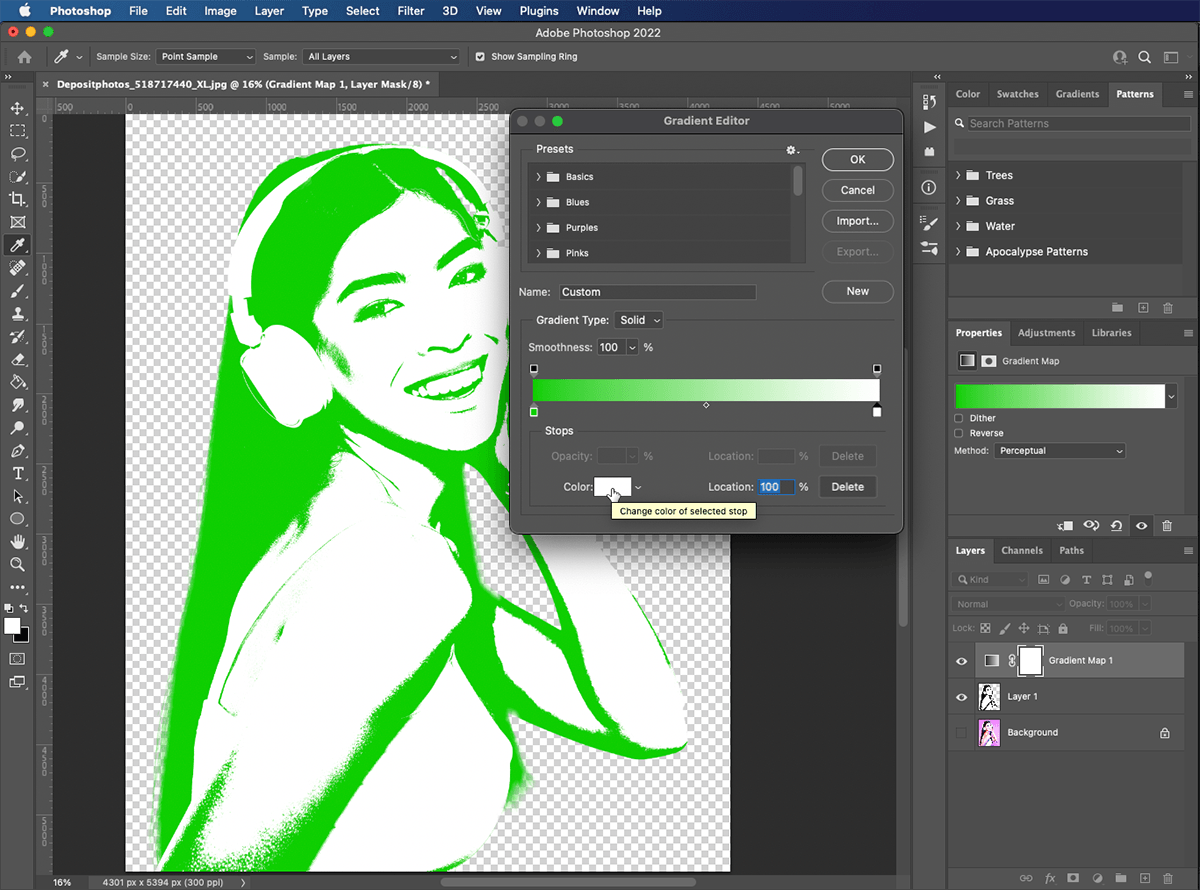
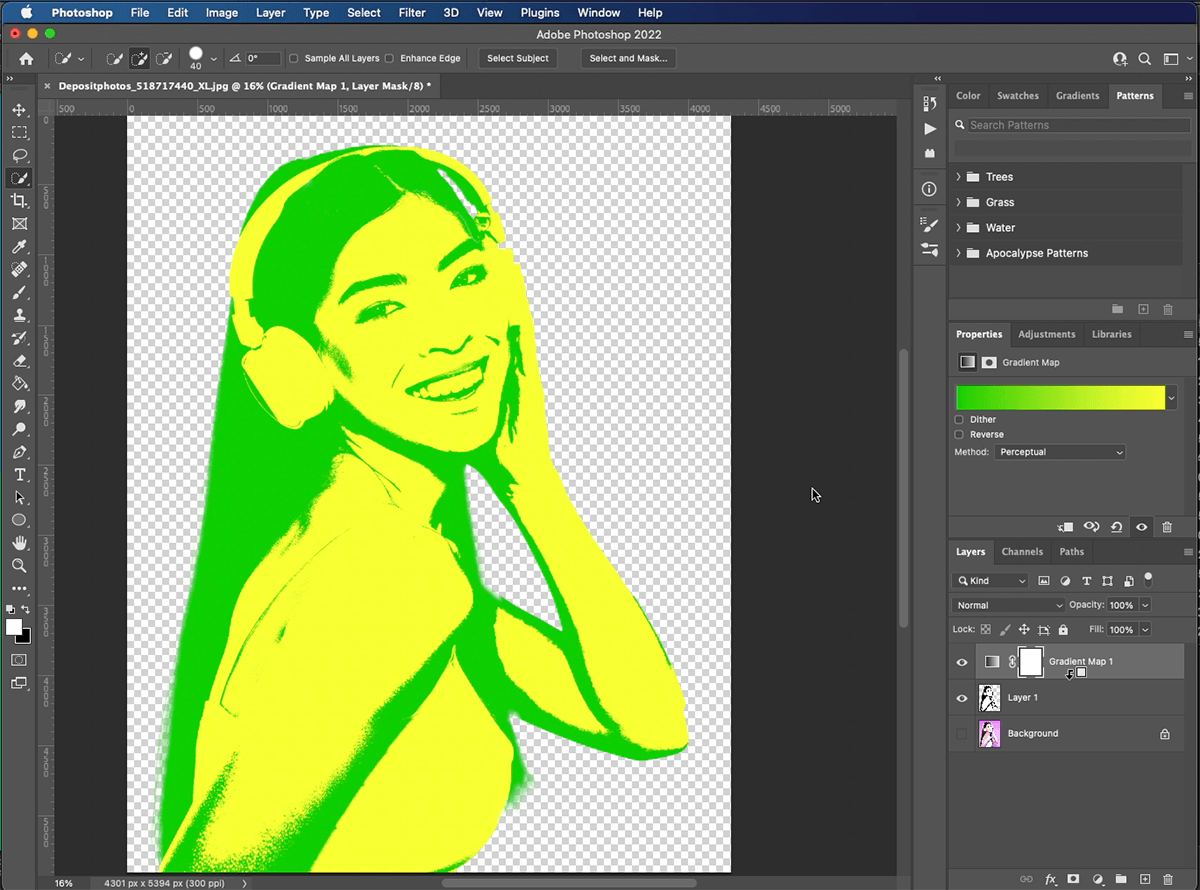
Step 7: Select Colors for the Gradient Map
Click the ‘graduated’ bar in Properties to open the Gradient Editor. The squares underneath the gradient bar are called ‘color stops’. A gradient can have lots of color stops, each with a different color. We are going to stick with two. Click the black ‘color stop’ on the left-hand side, and use the ‘color selector’ to choose a color.
Click the right hand ‘color stop’ and use the ‘color selector’ to choose a different color. Any black areas of your subject will now show as the first color you selected. Any that are white will show as the second color.
You can re-visit your gradient map controls at any time to change your color selection.
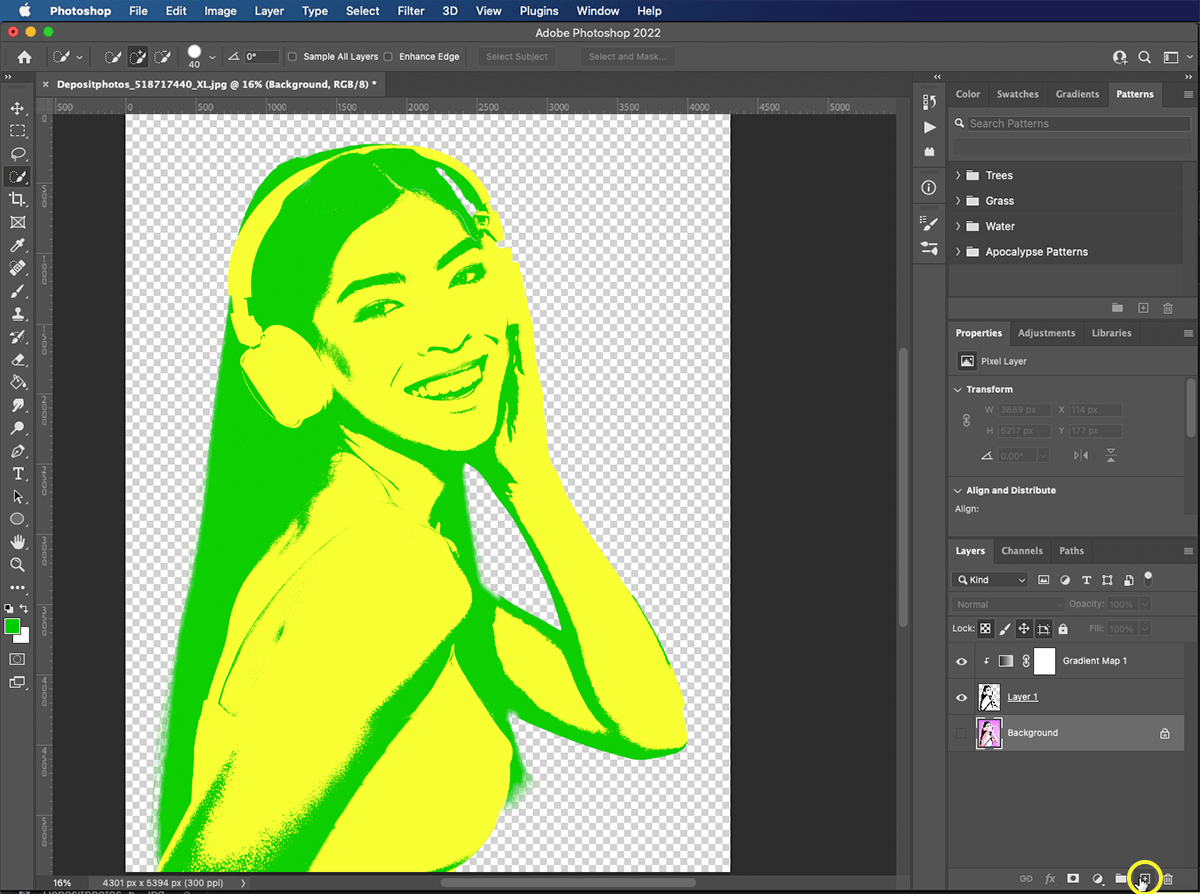
Step 8: Append the Gradient to the Subject Layer
Hold the option key and hover the mouse over the line between the ‘gradient map layer’ and ‘layer 1’. When the cursor changes to a square with an arrow coming out of it, click to append (or attach) the ‘gradient map’ to ‘layer 1’. This means any changes you make to the ‘gradient map adjustment’ layer will only affect ‘layer 1’.
You can also right-click on the ‘gradient map adjustment’ layer and choose ‘create clipping mask‘.
Step 9: Create a New Layer
Now that we have colored our subject, we need to add a contrasting color background. Select the ‘background’ layer and click on the ‘new layer’ icon. This will create a new blank layer above the ‘background’ layer and below your subject on ‘layer 1’.
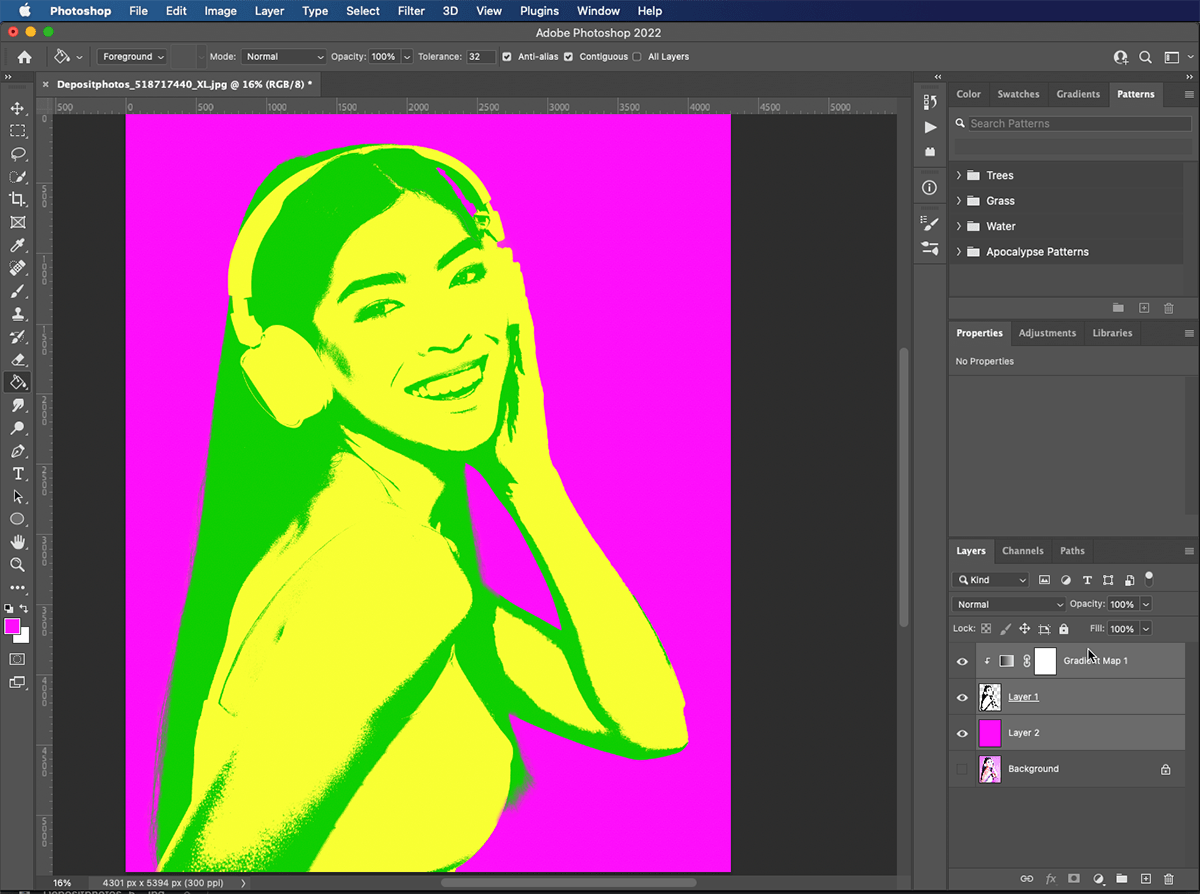
Step 10: Fill the New Layer
Select your Paint Bucket tool from the Tools palette. Select a color for your background and click anywhere on the empty ‘layer 2’.
And that’s it! You have just used Photoshop to make an Andy Warhol pop art effect. You can use these steps to record your own pop art Photoshop action and apply it to any images you want.

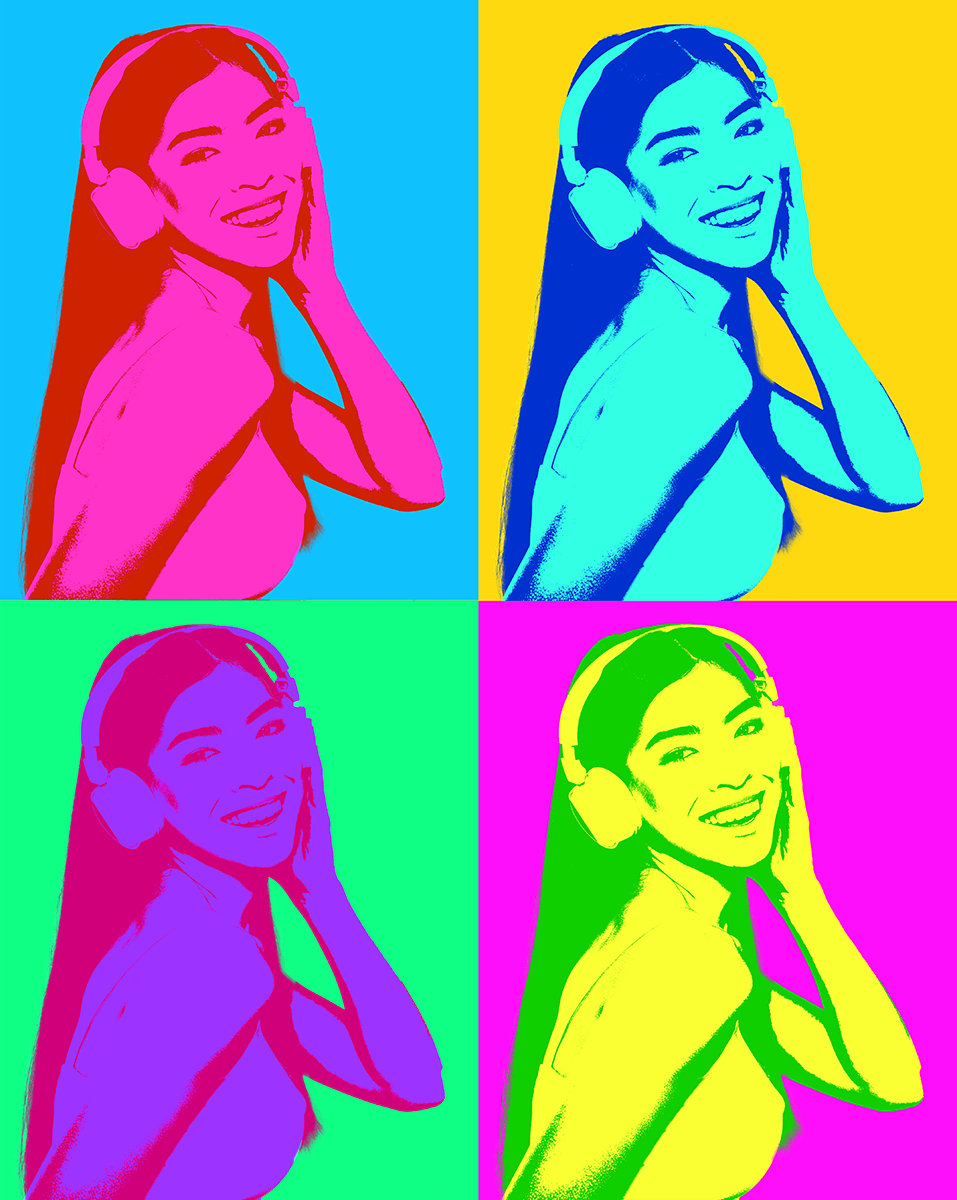
Making a Warhol-Style Pop Art Poster in Photoshop
To create our Andy Warhol pop art poster, we will duplicate our image four times.
Step 1: Select the Active Layers
Select the ‘gradient map’ layer, hold shift and click on ‘layer 2’. This will select three layers at once. To keep our layers panel from getting cluttered, we are going to group these layers together.
Step 2: Group Layers into a Folder
With the layers selected, click the ‘folder’ icon at the bottom of the layers panel. This will create a new group folder with your layers inside. We can now edit all the layers together as one image.
Step 3: Duplicate the Folder
Because we want four image on the page, we will duplicate our group three times. With the ‘group 1’ folder selected, press Command+J.
You can also right-click on the ‘group 1’ folder and select ‘duplicate group’. Repeat this until you have four folders.

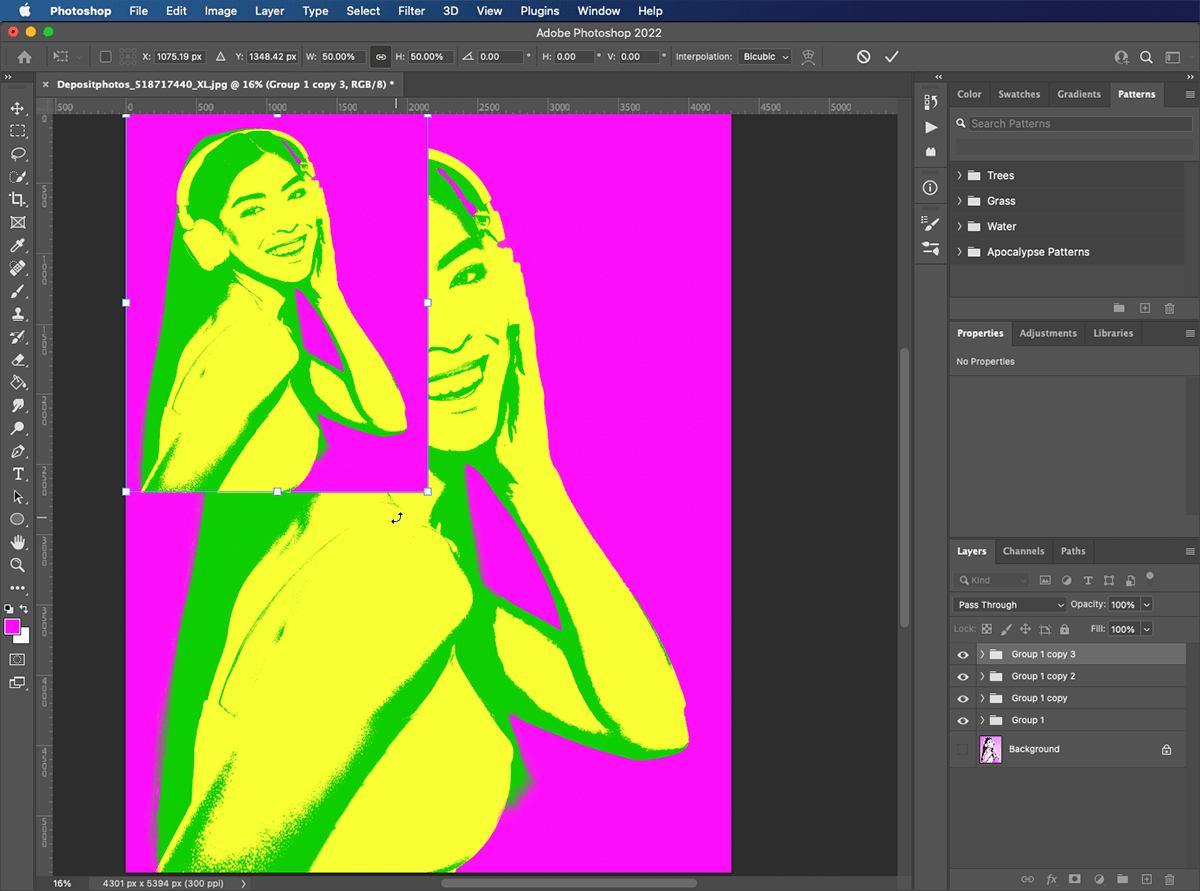
Step 4: Resize Each Group on the Page
We now have four copies of our image, but they are stacked on top of each other. Select the top folder in the layers panel. Press Command+T or right-click on the image and select ‘free transform’. Drag one corner of the bounding box to the center of the image, then press enter.
Repeat these steps for the other three folders until you can see all four on the page.
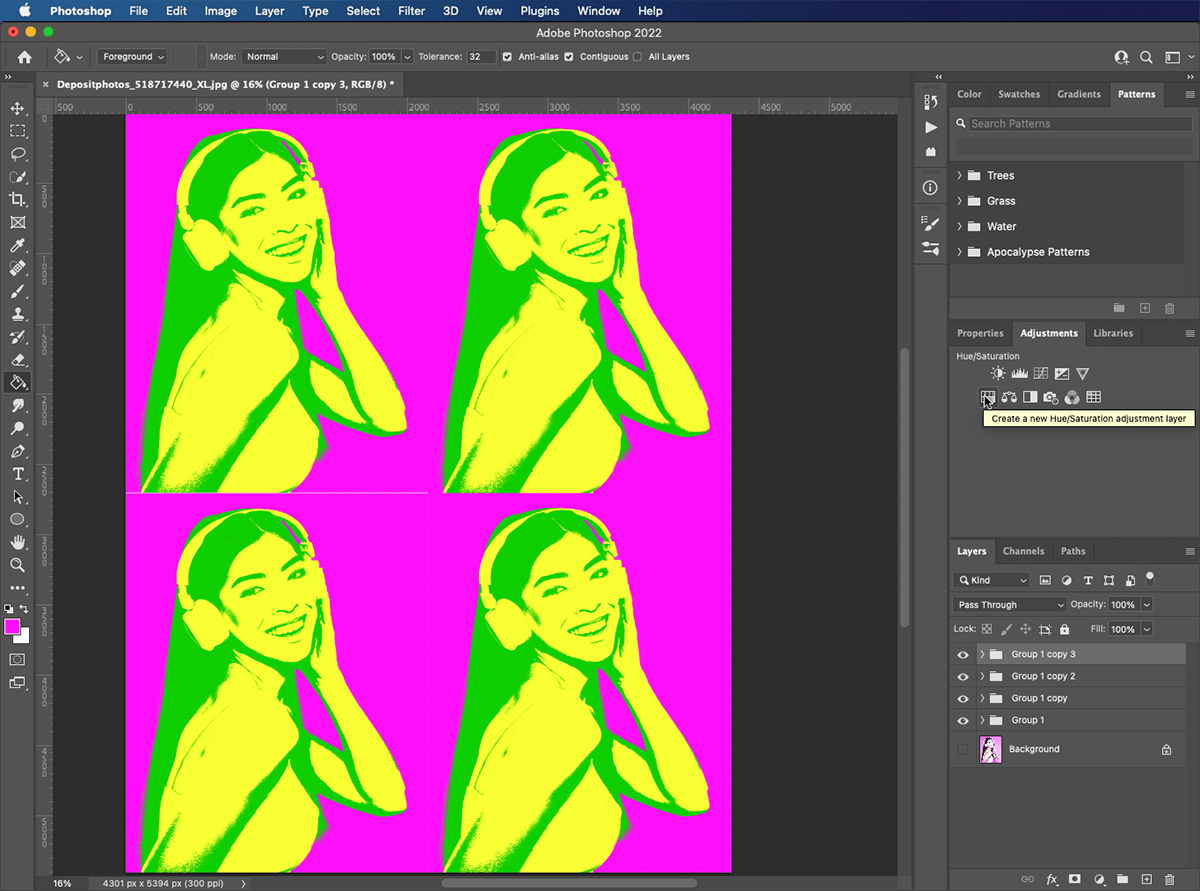
Step 5: Create Hue/Saturation Adjustment Layer
Select the topmost group in the layers panel. Go to the Adjustments panel and add a ‘hue/saturation adjustment’ layer. This will appear above your selected group and will affect all layers and groups under it.
Step 6: Append Adjustment Layer to Group
Just as before, hold the option key and hover your mouse over the line between the ‘hue/saturation adjustment layer and the group beneath it. When the cursor changes, click to append the ‘adjustment’ layer to only that group.
Or you can right-click on the ‘hue/saturation adjustment’ layer and choose ‘create clipping mask’.
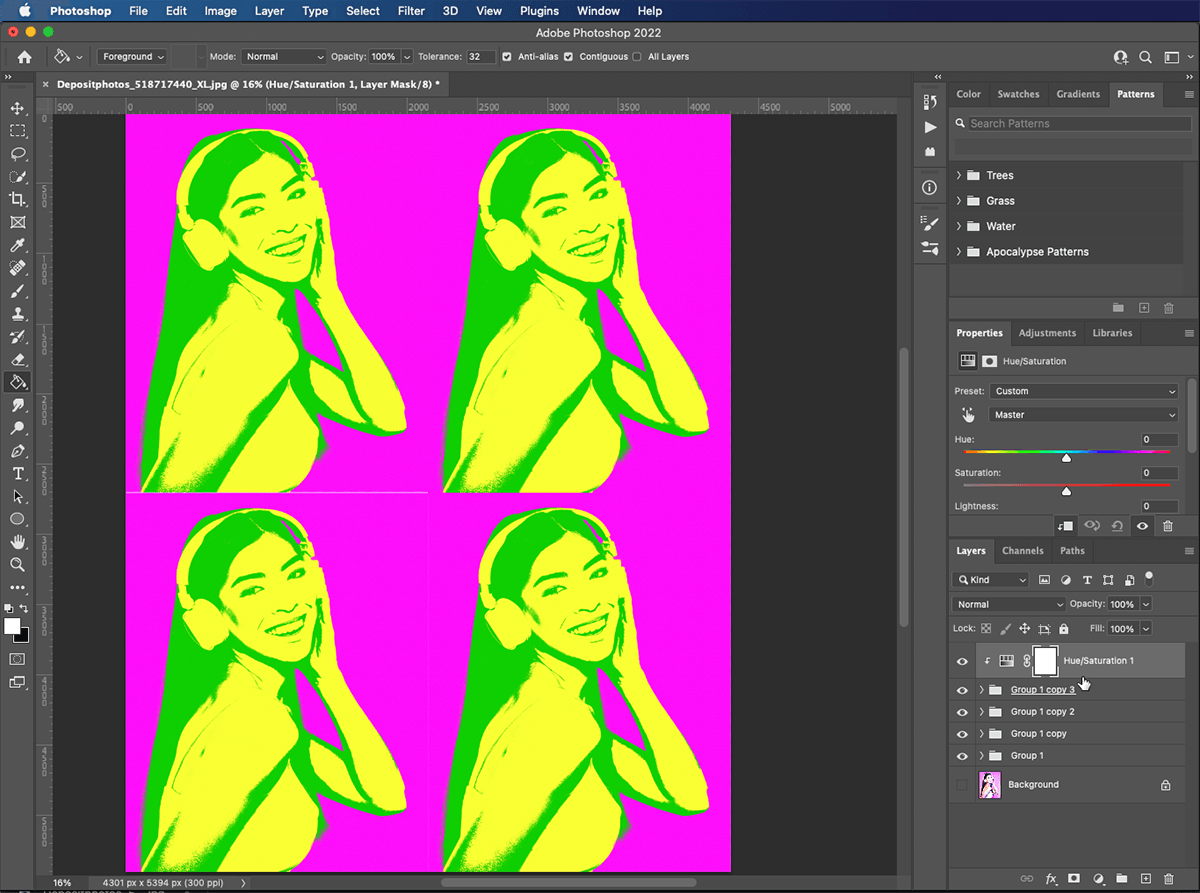
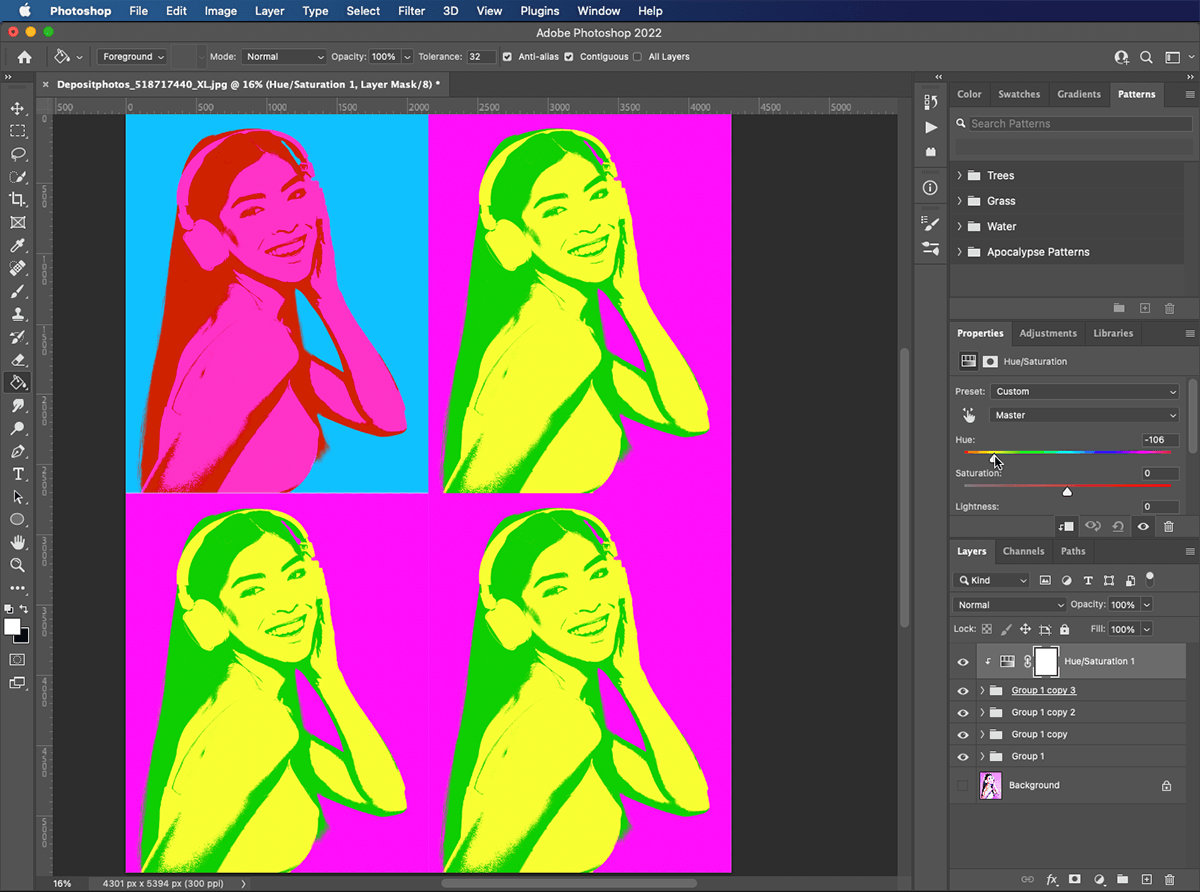
Step 7: Change the Colors in Your Photo
Move the arrow along the Hue bar in the Properties panel and watch the colors change in your image.
Step 8: Create Hue/Saturation Adjustment Layers
Create ‘hue/saturation adjustment’ layers for the other group folders. Use command-click or choose ‘create clipping mask’ to append them to the groups.

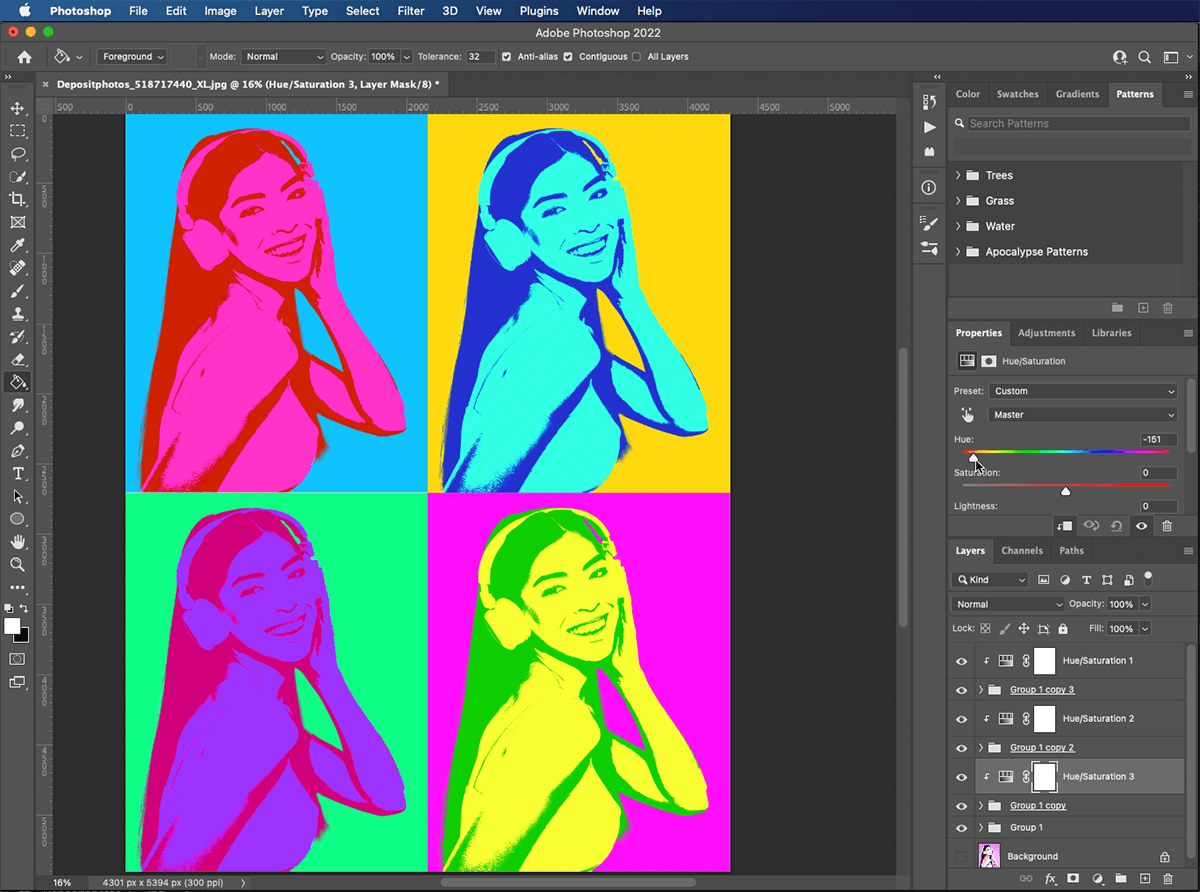
Step 9: Choose Your Colors
Select each of the ‘hue/saturation adjustment’ layers in turn. Move the Hue sliders until each version of your image is different from the rest. You can always go into your groups and edit your gradient mask to further alter the colors in a specific image.
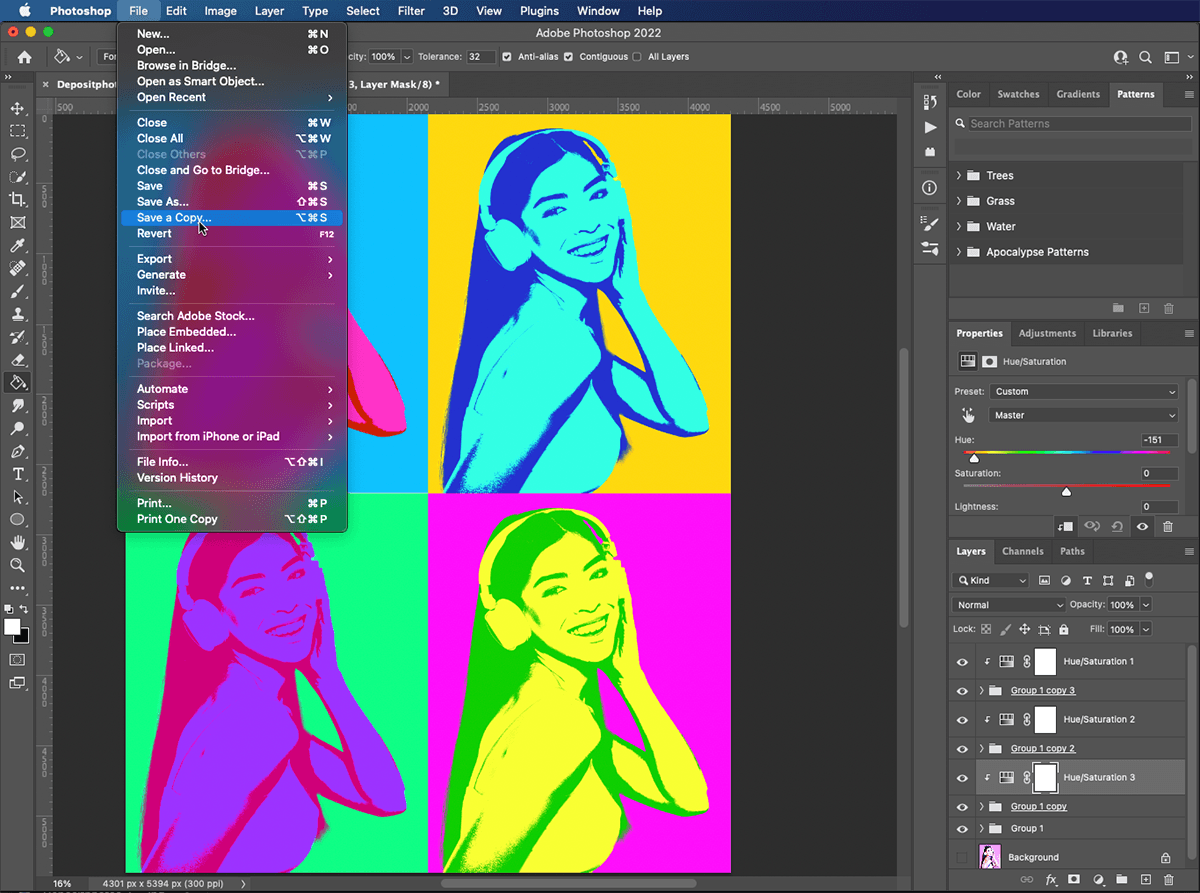
Step 10: Save your Multi-Layer Pop Art Poster
Make sure you save your work before you print your poster. Saving in Photoshop format will let you go back and edit your colors anytime. If you want to email or post your image on social media, save a copy as JPEG or PNG.
Conclusion
Creating a pop art Photoshop effect is as simple as it is fun. Now that you have learned to use and append adjustment layers, you can apply this technique to any type of photo.
Experiment with different colors to get different looks, or add text and other images to create pop art adverts, posters, and cards. You can use patterns like polka dots as cool cartoon style pop art backgrounds. Record any changes you make to a Photoshop action to save you time in future edits.
If you like creating images with fun effects, check out The Magical Photography Spellbook course for even cooler effects!
Image provided by depositphotos.com


