To make your makeup photography as striking as possible, there are a few important makeup tips you should be aware of.
Makeup looks very different in real life than it does in pictures. Not knowing how to apply makeup correctly will make your photos look flat and uninteresting.
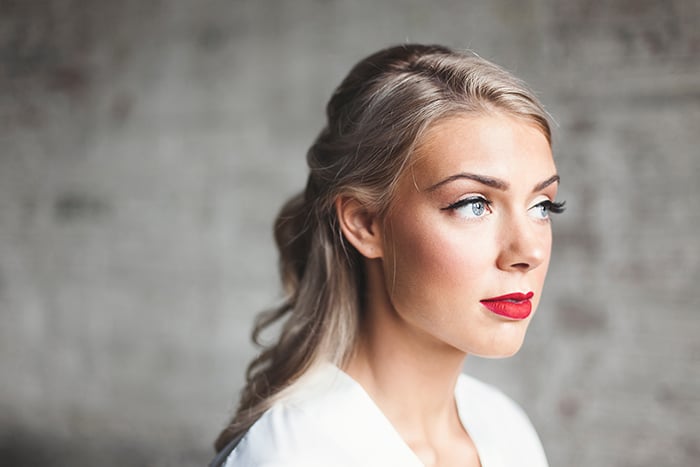
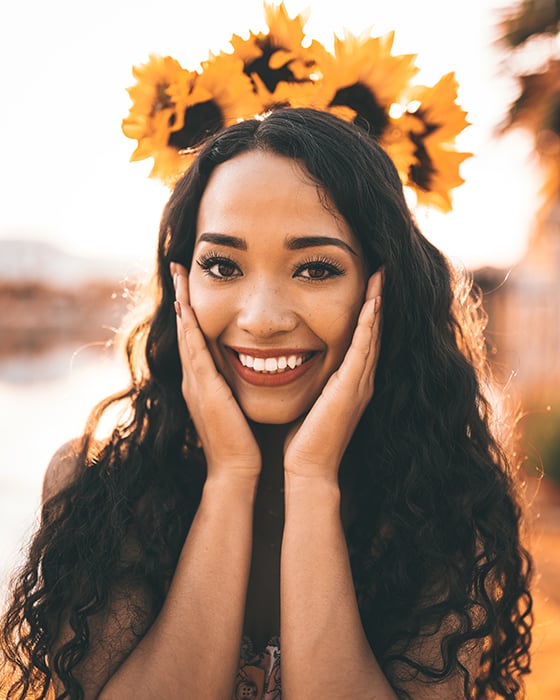
1. Makeup Photography: Using Natural Light to Make Every Color Stand Out
 Artificial light has a way of making skin tone textures and makeup look unflattering. If used incorrectly, it will brighten your image in all the wrong ways.
Natural light is a great alternative to this. It’s free, available everywhere, and perfect for enhancing makeup colors. It’s also very easy to use if you take photos in the right locations.
To make the most of natural light, shoot in an open space. Make sure the light hitting your model’s face is soft. This will make their face glow, add a boost of light to the background, and make their eyes sparkle.
This combination will naturally enhance their makeup.
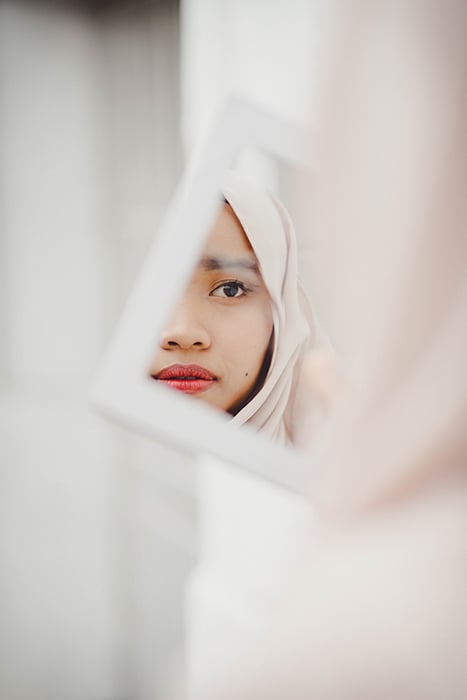
2. Use Bold Colors so the Makeup Doesn’t Fade With the Light
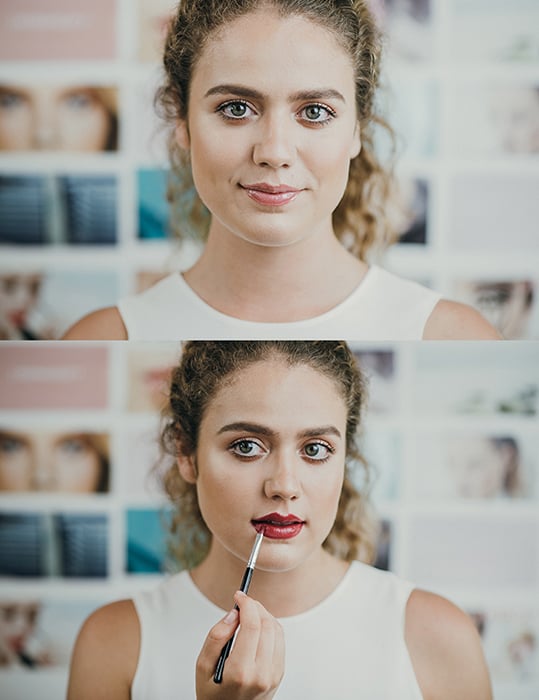 Compare the two images above. The model’s face stands out more in the second picture because of her red lipstick. This gives her a youthful, picture-perfect look that’s ideal for makeup photography.
Just wearing a bit of mascara and lip color isn’t always enough in photos.
Don’t be afraid of using bold colors, especially bold lip colors. This doesn’t mean you have to use green lipstick or heavy brown eyeshadow. Just make sure that the makeup is a little more intense than it typically would be.
The reason photographers do this is to avoid fading. Cameras tend to create slightly more desaturated versions of what they capture, so it’s important to make up for that with brighter colors.
You can then enhance those colors further in an editing program.
3. Avoid Cakey Foundation to Take Natural Portraits
 Cakey foundation is easy to spot, especially in photos. Avoid using too much so that your model’s skin doesn’t look too textured or perfect.
Use professional foundation or concealer that won’t cover every pore on your model’s face. Make sure the model’s freckles and birthmarks are all visible so that your portraits look natural.
Perfection will make your images look like unflattering beauty commercials. Your makeup photography should enhance your subject’s features and not remove them completely.
If possible, hire a professional makeup artist to do the work for you.
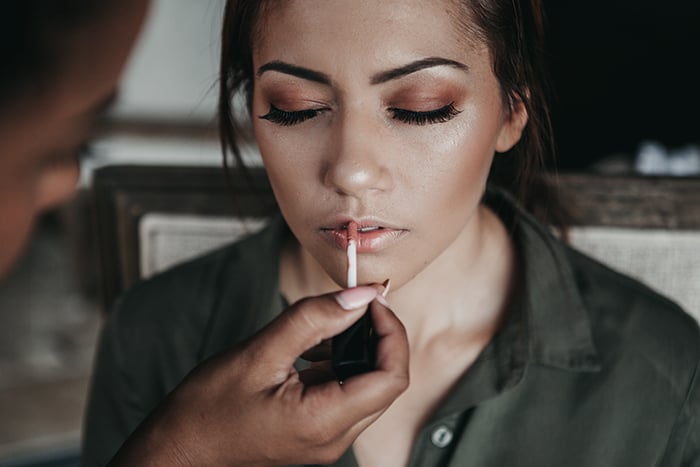
4. Use Fake Lashes to Accentuate the Eyes
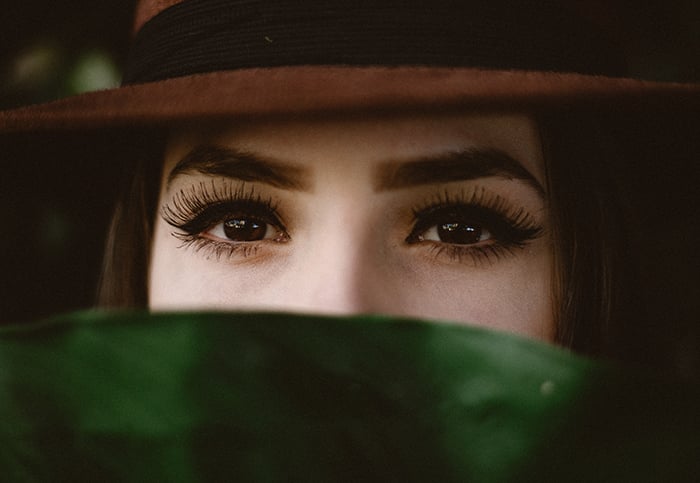 Most makeup photographs focus on the eyes and lips. You can make any eye size and shape look beautiful by using fake eyelashes.
Be careful when it comes to the type of lashes you use.
For example, fluffy eyelashes might make certain eyes look heavier. In this case, you can use wispy lashes (a small bunch of lashes that you can apply separately). These will accentuate certain parts of the eyes.
5. Emphasise Freckles and Skin Textures to Make Your Portraits Look Authentic
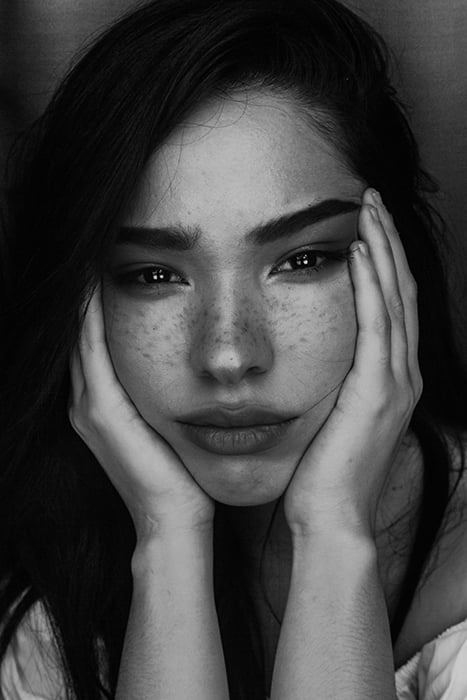 Many makeup artists love bringing out freckles and birthmarks because they make for striking portraits. Natural skin textures can complement a makeup look, which is why you should emphasize them even more.
You can do this by drawing over freckles with an eyebrow or eyeliner pencil.
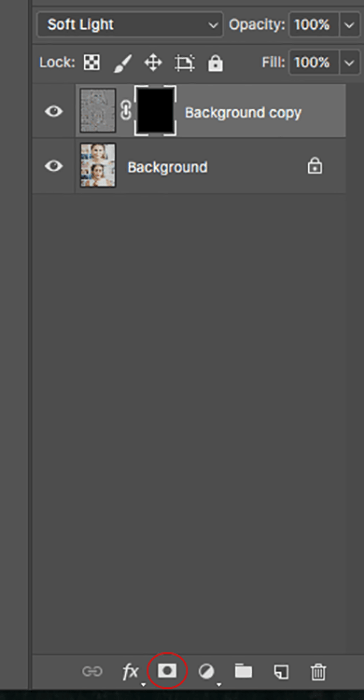
Alternatively, you can make them sharper using the High Pass filter in Photoshop. Create a duplicate layer and go to Filter > Other > High Pass. Choose a small radius like 7.
Change the layer mode to Soft Light and create an inverted filter by clicking on the layer mask icon while holding the Option key. Your end result should look like this.
 You can then use a brush to paint over any areas that you’d like to sharpen. This kind of selective sharpening is perfect for close-ups of makeup.
6. Make Sure the Outfit Complements the Makeup
 To take great makeup photos, you need to photograph your models up close. Even though you won’t always be focusing on their outfit, a part of it will always show in the frame.
A simple outfit can complement both natural and bold makeup. Something more colorful can clash with different textures.
Make sure your model’s outfits don’t stand out more than the makeup or make it look unflattering.
7. Use Powder so Your Model Doesn’t Look Sweaty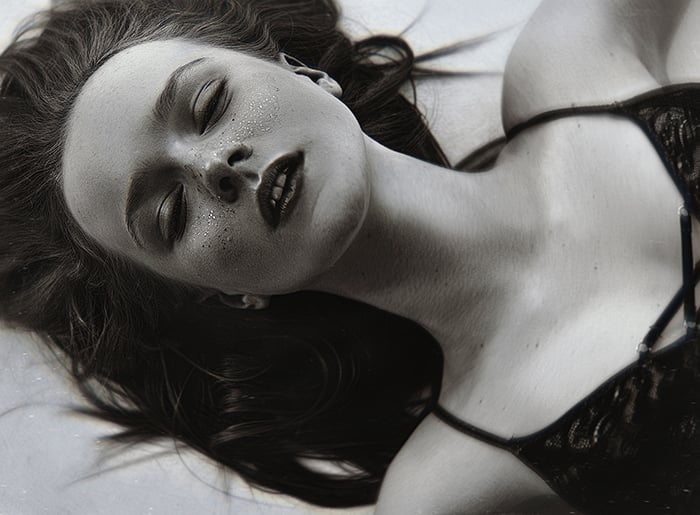
Posing, changing outfits, and even talking with the team will inevitably make your model sweat a little. Everyday sweat like this might not be visible in person, but it’s very obvious in pictures.
A small amount of translucent powder is enough to avoid this. Powder will create a matte effect and make every part of your model’s face look even, which is exactly what you need in makeup photography.
You might think that a healthy and natural glow will complement your pictures, and that’s true. You can use a small amount of highlighter to enhance your model’s cheekbones, the tip of their nose, and their cupid’s bow.
8. Use a Reflector to Get Rid of Dark Circles
 Everyone has dark circles under their eyes that, like sweat, stand out too much in pictures. While you don’t have to remove them completely, you have to make sure that they don’t stand out more than the makeup itself.
You can hide dark circles using a generous amount of concealer, but that might make your model’s face look unnatural.
A better alternative is using a reflector. If used from the right angle, it will give your subject’s face a nice boost, remove shadows, and make their eyes sparkle.
Most reflectors come in different colors, like gold and silver, to give your photos a specific tint. They’re also very affordable.
If you want to make your own, you can use a sheet of paper or foil.
9. Don’t Use Shimmery Makeup to Avoid Shiny Pictures
 Shimmery makeup is fun to play with, but it doesn’t always look great in pictures. If there are too many bright light sources around your model, the makeup will reflect them and take the spotlight away from other parts of the image.
Don’t go overboard with the highlighter, shimmery lipstick, and glitter eyeshadow. Keep your model’s face as matte as possible so that every part of their makeup complements their face.
10. Reapply Makeup Throughout the Shoot so Your Photos Look Fresh
 Regardless of the time of year, your model’s makeup will slowly come off throughout the photoshoot. These details will all be visible in your close-ups.
To make sure your model looks fresh throughout the entire shoot, take breaks regularly. You, the make-up artist, or the model themselves can then quickly freshen up.
This is an easy way to avoid unflattering photos and make your model feel comfortable about their appearance.
Conclusion
You can use makeup photography to express yourself and improve your knowledge of colors. You’ll even get better at photographing artistic details.
The more your practice, the easier it will be to take incredible photos of any kind of makeup.