

A vantage point in photography is the position from which your camera sees the subject. Its height, distance, and position to one side all affect what appears in the frame. Crouch beside a dog, look down from a hill, or move around a building, and the same subject can look quite different.
The aim is to choose a viewpoint that shows what matters. A small move may separate a person from a busy background or reveal a pattern you couldn’t see before. Here’s how to use high, low, and eye-level vantage points with that purpose in mind.
Understanding Vantage Point in Photography
Your vantage point can range from extremely high to low and everything between. It is relative to your subject: standing above a flower gives you a high viewpoint, while the same standing position is low compared with the top of a building.
Vantage point, camera angle, and perspective are related. Your vantage point is where the camera is. Your camera angle is the direction you aim it. Perspective is how near and far objects appear in relation to one another in the photo.
Changing focal length while staying in the same place changes how much of the scene you frame. It doesn’t move your viewpoint or change the relative sizes of near and far objects. To change those relationships, move the camera. You can then zoom or choose a lens to frame the view you want.
Why Is Vantage Point Important?
Your vantage point affects the angles, composition, and narrative of a photograph. Move a little to one side and a distracting object may disappear behind your subject. Raise the camera and you may reveal more of the scene around it.
Perspectives from high or low angles can also change the mood. Looking up can emphasise height; looking down can show a subject within its surroundings. Eye-level views can feel direct and intimate. These are possibilities to explore, rather than fixed rules about what a photograph must mean.
As you look through your viewfinder, ask yourself some questions:
- What do I want the viewer to notice first?
- Does anything in the background overlap or distract from the subject?
- Do I always stand in this position when taking photos?
- What else can I include in the frame to tell the story? How can I make this happen?
- What’s on the other side of the subject?
How to Use Different Vantage Points in Photography
Start with the subject and decide what you want to show. A high view can reveal its surroundings, a low view can emphasise height, and an eye-level view can put you face to face. Try each where you can, then compare the results.
What Can I Use for a High Vantage Point?
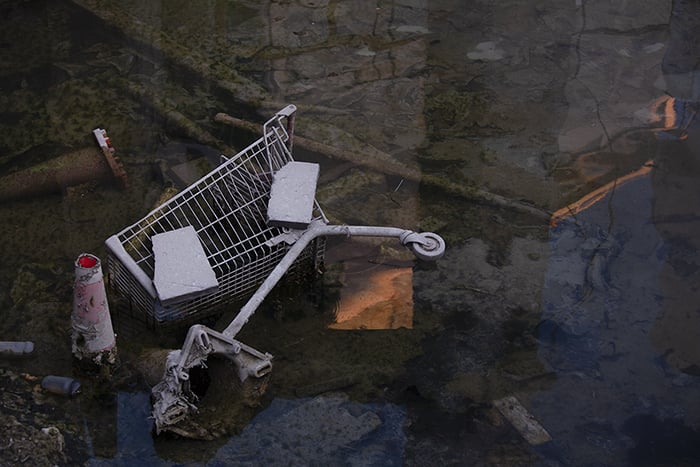
For a high-angle view, position the camera above your subject and look down. This can reveal the layout of a scene or separate objects that overlap from ground level. Looking straight down gives you an overhead, or bird’s-eye, view.
We can capture scenes from above with drone photography. You can also explore high viewpoints with your regular camera:
- Climb that hill – a path on higher ground can reveal the arrangement of the landscape below. You don’t always have to climb far.
- Try an upper floor – use a window or viewing area you are allowed to access. Compare the view from different levels if you can.
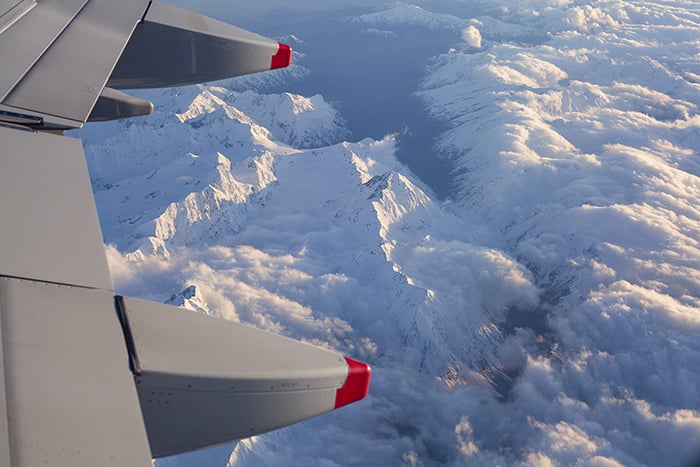
- From a plane window – document the views from above on a journey. A nifty 50 prime lens is optional; the high viewpoint comes from the aircraft’s position.
- Look down – if your subject is small and on the ground, you may already be above it. Practise with a leaf, a flower, or an object on a table.
Choose a firm place to stand and keep behind barriers. Skip cars, fences, and other improvised platforms. Settle into a stable position before taking the shot to help avoid camera shake.
How Do I Use a Low Vantage Point?
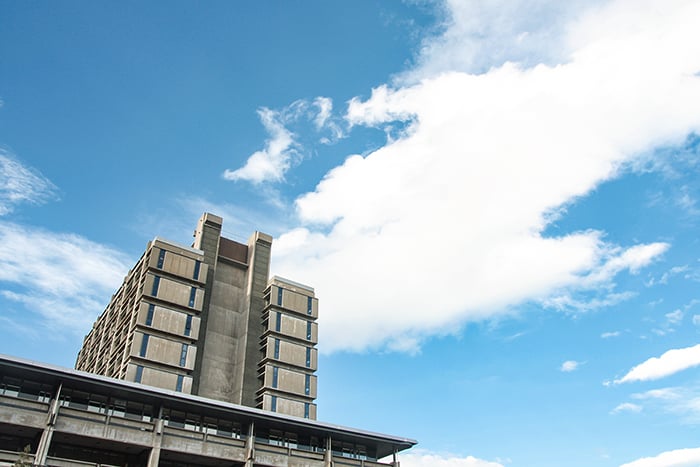
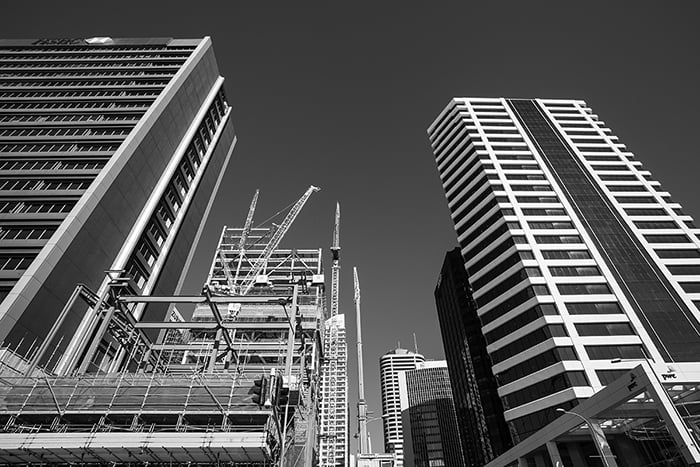
Are you surrounded by tall buildings in a city? In the middle of a forest? Pointing the camera upwards can emphasise the height of the buildings or trees. Lowering the camera can also bring nearby ground details into the foreground.
Try some different approaches:
- Worm’s view – get close to the ground and look up. Crouch or lie down where there is space to do so. Don’t wear your best clothes, though.
- Lower the camera – if your camera has a tilting screen, use it to compose without putting your face near the ground. Zooming in from a standing position can isolate a detail, but it won’t give you the viewpoint of a lower camera.
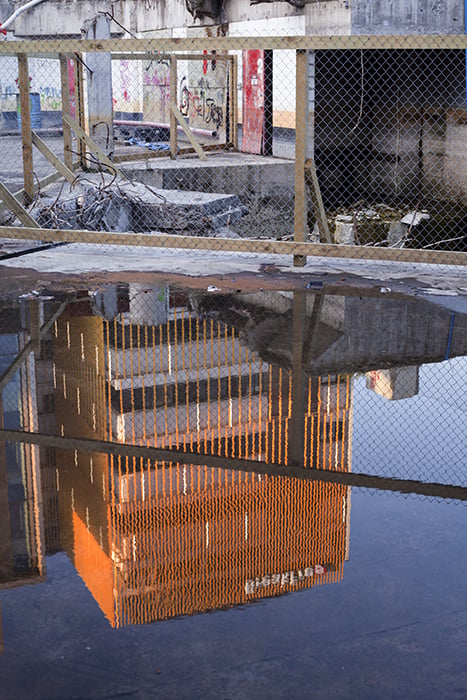
- Look down to look up – find a puddle that shows a reflection of your subject. Try different camera heights to change how much of the reflection you include.
- Practice with portraiture – photograph people from different low vantage points. Look for changes in the outline of the face and the background. Does looking up support the story you want to tell?
How Should I Use an Eye Level Vantage Point?
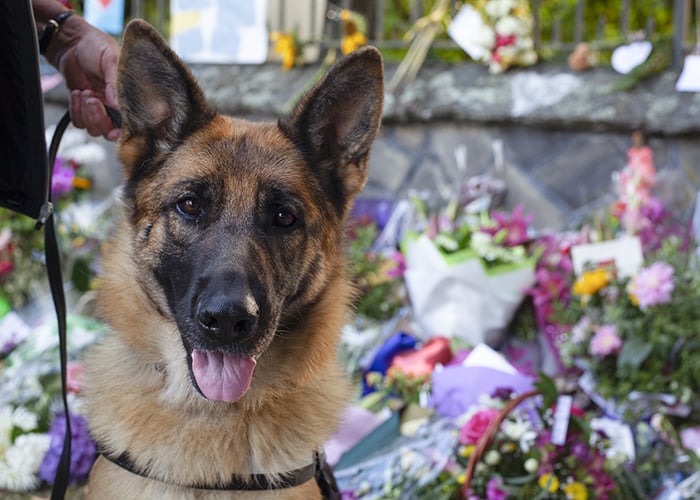
Eye level means the subject’s eye level. For a small child or a dog, that may put your camera much nearer the ground than your usual standing height.
To use an eye-level viewpoint, I either crouch or stand on my toes. Years of ballet training has helped with this skill! Using an eye-level vantage point can feel quite direct and intimate.
Match the camera height to the subject first, then check what sits behind them:
- Close up portraits – build a rapport with the model first, so they feel relaxed. Keep the camera near their eye height for a straight-on view.
- Pet photography – talk with the owner first, and make sure the animal is comfortable around you. Lower the camera to meet the animal’s eyes.
- Watch the background – shift left or right if a branch, sign, or other object appears to grow out of the subject’s head. You can change position without changing the camera’s height.
- Talk to people – if you’re making a posed portrait, explain what you’re trying to show. Give your subject time to feel comfortable at the camera’s level.
An eye-level viewpoint is a choice in its own right. Use it when that direct connection suits the photograph.
How Do Vantage Points Affect Photography Composition?
Changing your vantage point alters the arrangement of the elements in your photograph. Check the edges and background as well as the main subject. A small move can solve a distracting overlap without changing the rest of your idea.
- Leading lines can change their position in the frame as you move. Try lowering the camera beside a path or shifting sideways to see where the lines lead.
- Are you looking for a minimalist vibe? Try a different vantage point to include more negative space such as sky, grass, or concrete.
- A lower camera position can bring a nearby object into the foreground. Decide whether it adds depth or hides something the viewer needs to see.
- Check if there are opportunities to use symmetry, rule of thirds, or diagonals from a new vantage point.
- Recheck the light. Moving around a subject changes your view of its lit and shaded surfaces, even when the light source stays in place. Check your exposure again if you frame more bright sky or dark ground.
- Revisit the color wheel. Look for combinations from different vantage points. If color distracts from the shapes you want to show, try converting the photo to black and white.
Conclusion
Your vantage point decides what the camera can see. Choose it to show the subject, background, and sense of scale that suit your photograph. High, low, and eye-level views are starting points to test.
Practise with one familiar subject:
- Take a picture from your usual position.
- Keep the focal length the same and try a higher and a lower camera position.
- Move to one side and look for a cleaner background or a different foreground.
- Compare the pictures. Which position makes your subject easiest to understand, and which tells the story you intended?
Once you have chosen the viewpoint, refine the framing and check the focus and exposure. The best position is the one that serves your picture.