If you’re looking to take your phone photography up a notch, then you need to know how to get the best lighting. Natural light is always best, but if that’s not an option, there are plenty of artificial lighting options available as well. In this article, we’ll teach you everything you need to know about lighting for phone photography.
8. Lighting for Phone Photography: How to Tackle Direct Sunlight
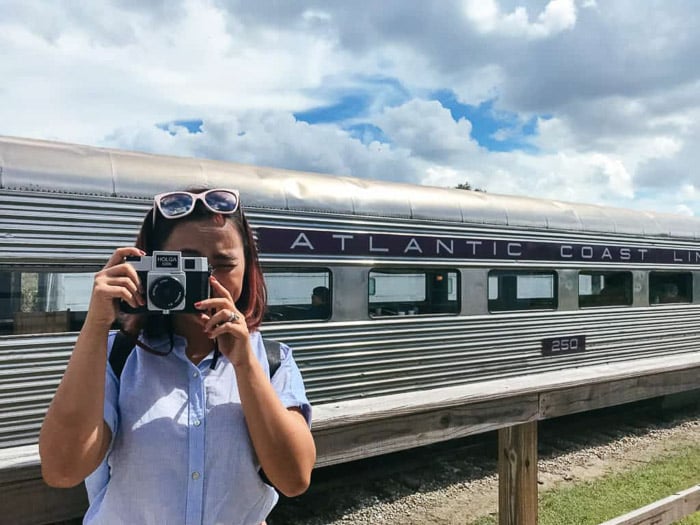
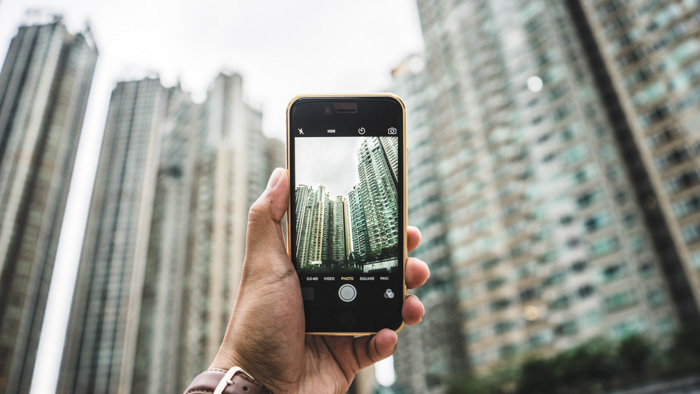
Taking photos in direct sunlight often creates unappealing images. Apart from the bad shadows, the harsh lighting often blows out the highlights of your image.
But sometimes there’s no avoiding it. Photography moments don’t wait around for us to get the right light.
Here’s what to do to never miss a shot again.
The first strategy you can try is to look for shade. Shooting under the cover of trees or a building allows you to limit the harsh light hitting your subject.
If you have to shoot out in the open, then do it before or after 12pm. Why? Because it's during this time when the sun is the highest (and harshest) in the sky.
Wait until it starts to come back down, so it shines on your subject at a better angle.
Finally, you should also adjust your exposure to prevent losing your highlights. Make sure you do this every time you shoot. Otherwise, you'll lose a lot of detail once you try to edit your image.
7. How to Make the Most of the Golden Hour
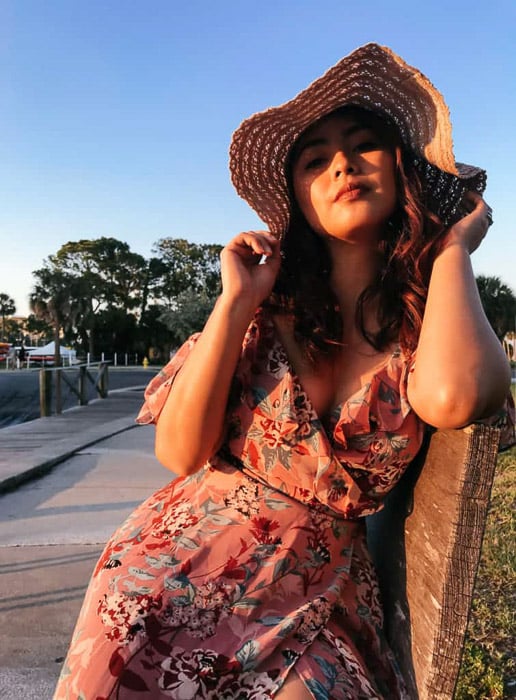
So you’ve survived the harsh midday sun. Your photography reward is the golden hour.
This happens right after sunrise or before sunset. And it’s the perfect light for different types of photography.
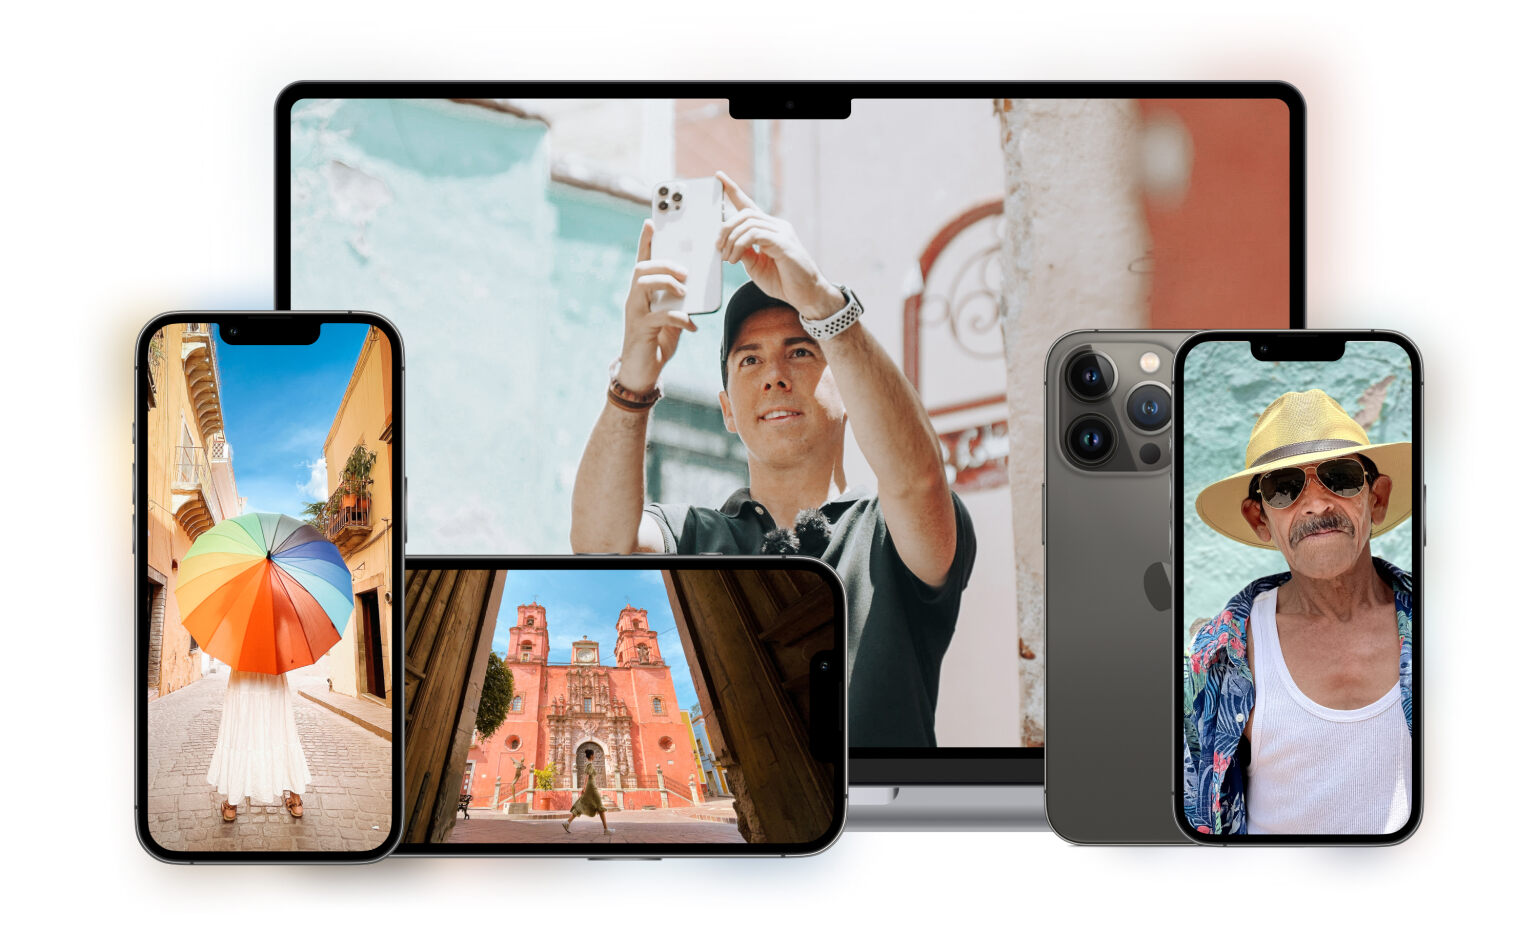
The golden hour is ideal for taking portraits because it makes the skin glow. All you have to do is take photos and let the light do its magic.
The golden hour also has the best lighting for silhouettes. Since the sun sits low on the horizon during this time of the day, it provides natural backlighting.
When a subject is lit from behind, you'll end up capturing only its dark outline. So, you need to position your model directly in front of the sun. Now, tap the screen, and you have yourself an image of a silhouette.
Due to the sun's position in the sky, it also casts long shadows that add contrast and dimension to your images.
During sunrise or sunset, look around for objects to create dramatic abstract photos.
6. Use the Blue Hour to Add Moodiness
The blue hour comes right before sunrise and after sunset. It's that short period where everything is bluish. The sun is barely below the horizon.
It may not be as intense as the golden, but it still also offers good lighting for pictures.
The cold tones of the blue hour are perfect for taking dramatic portraits. Everything looks cooler than the golden hour. This creates a more mysterious and intimate vibe.
The blue hour is also the perfect time to take landscape photos. Since the sun doesn't overwhelm the frame with orange tones, you get to see more colors in the sky.
Although it’s below the horizon, the sun’s rays fill the air with different hues from red to purple.
During this time, you also have an excellent chance to capture the moon and the stars once it's dark enough.
The bad news is, phones currently don't let you do long exposures to photograph stars.
Even so, you can always use third-party apps such as Camera+ 2 to select slower shutter speeds. Swipe the slider down to 1/15th or lower depending on the ambient light.
Since you're dealing with slow shutter speeds, you'll need to use a tripod.
Because your shutter is open longer when it's dark, any movement will register as a blur. Keeping your device steady is crucial.
5. How to Achieve Balanced Lighting on Overcast Days
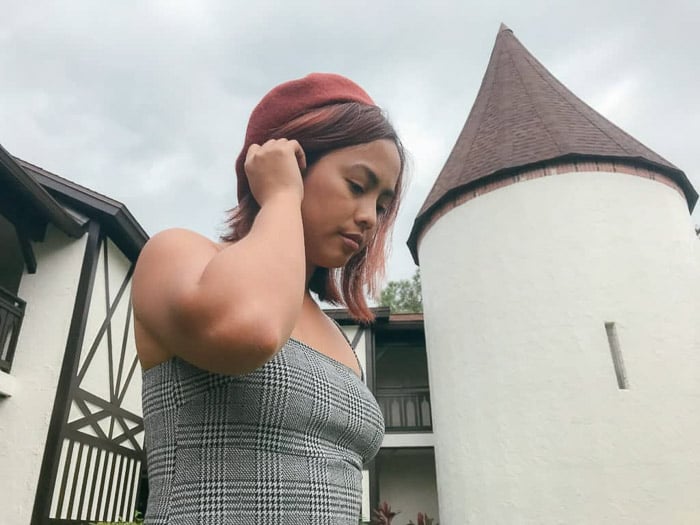
What if the sun, your giant natural light source, is covered by clouds?
You may not expect this, but overcast days are perfect for shooting portraits. Why? Because the clouds block the direct sunlight.
By diffusing the light, it creates a soft and even exposure. As a result, your pictures will often look as if they were taken in a studio.
The best light for photos during an overcast day is when the sun is still high in the sky.
During this time, you'll still have plenty of light coming through the clouds. Because of this, you don't have to worry about the bluish tones that you often see before it rains.
Try not to shoot when the sun is low on the horizon or when the clouds are too thick. Doing so will result in dark, bluish photos that makes your images look depressing.
The ambience it produces may work in certain situations. For instance, if you want a moody look, shoot during this time.
4. Soften Your Exposure With Window Lighting
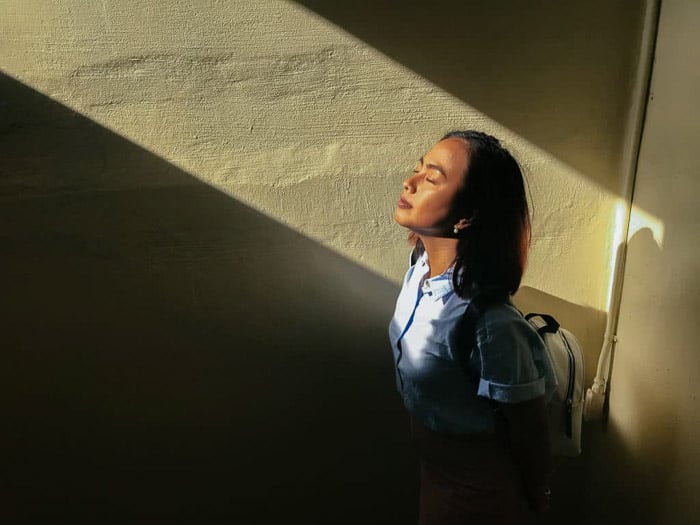
When you're indoors, the best lighting for pictures is by the window.
Windows block the sun from hitting your subject directly, and help diffuse some of that light.
Just remember that results vary depending on how much light is hitting the window.
When the sun is hitting the window at a 45-degree (more or less) angle, it produces nice studio-like lighting.
If the sun is shining away from the window, then you're likely to get split lighting. In other words, one-half of your subject’s face is lit, while the other is entirely in the dark.
The same effect happens during sunset when the sun is low on the horizon. The only difference is that you'll have warmer tones and more vivid colors.
If the light coming through the window is too harsh, you have the option to use a white curtain.
Like a studio softbox, it works as a diffuser to soften the light entering the room.
3. Brighten Your Nighttime Photos With Artificial Lights

Taking photos during the daytime is easy. But how do you get good lighting for night photography?
The quick answer is to take advantage of the artificial lights around you.
There are many different types of light sources out there. The most common ones include fluorescent, incandescent, and even neon lights.
Every light source has a different color temperature. These can be helpful in establishing different moods in your photos.
If you want clean, studio-like images, then consider using fluorescent lights. Since they emit white light, they tend to make photos look cool and bright.
If you’re going to shoot vibrant images, then try incandescent lights. The warm color they produce can simulate the sun, and thus produce dynamic results.
Or, you can also dim them to recreate candlelight for soft, dramatic pictures.
And for a futuristic look? Neon lights will offer the best lighting if you're going for that style. The vivid colors they produce not only look out of this world, but they also make your subject pop.
While taking photos, avoid combining light sources with different color temperatures.
Mixing hot and cold light sources often make the colors in your images look weird and unbalanced.
2. Get Creative With Your Phone’s Flash
Camera phones these days work well in dimly lit conditions. But what if you find yourself in dark, isolated locations with no light source nearby at all?
When possible, try not to use your own phone's flash to illuminate your subject. It often produces flat images.
Instead, ask a friend to use their phone's flash and light up your model from the side. That way, the person you're photographing won’t look like a deer in the headlights.
You can also bring your own photo lighting equipment. These days, you can get cheap LED panels for as cheap as $20. They're much brighter than your phone's flash, and they can illuminate subjects from a distance.
Like shooting with artificial lights, it would help if you use a tripod to avoid motion blur. You should also remind your subject to stay very still.
Even when your phone is stable, your model can end up fuzzy in the photo.
1. Experiment With Long Exposure in Near-Dark Conditions

If there aren’t any light source around, you can also consider doing long exposures.
Like shooting the sky during the blue hour, you can use long exposures to take photos even when it’s dark. You’ll still need third-party apps such as Camera+ 2 to do this, but it does the job well.
Even though the sky appears pitch black to our eyes, it’s never completely dark. Open up that shutter and you’ll get to capture whatever light is available at your location.
You’ll need to play around with your shutter speed to get the right exposure. Depending on how dark it is outside, you’d want your settings to be between 2 seconds to 30 seconds.
It’s challenging to capture portraits using this technique, but it’s useful for landscapes. Since you don’t have to deal with movement, you don’t have to worry about motion blur.
Even so, it’s crucial to use a tripod so minor movements from your phone won’t end up making your image blurry.
Conclusion
You don’t always get to choose the type of lighting you have when taking smartphone photos.
So keep in mind these simple tips and tricks. They’ll help you improve your smartphone photography and get the best lighting each time.