Neon light photography is all about capturing the magic of colorful lights against a dark background. It can be really fun and exciting to shoot, and the results can be stunning. Here are 10 tips to help you get started.
10. Use a Large Aperture for Neon Light Photography

Prime lenses are perfect for low light photography. Even affordable prime lenses, such as the 50mm f/1.8, will allow you to take sharp photos in relatively dark places.
If you’re going to take photos at night, you’ll need as much light as possible. The larger your aperture (or the smaller your f-number), the easier it will be to take well-lit photos in low light.
Keep in mind that a large aperture will create a blurred background and not capture every detail in your composition. This is ideal for outdoor neon signs with distracting backgrounds.
If you want to photograph a sign in a dark room, you can use a small aperture instead.
9. Use a High ISO to Create Sharp Photos
Because you’ll be working in the dark, you’ll probably have to use a high ISO to take bright, sharp photos.
Some people are afraid of high ISO numbers because of all the noise they create. With the right amount of exposure, you’ll be able to hide any unnecessary noise.
In the worst case scenario, you’ll have to manually remove it in an editing program. This process usually takes a few seconds.
Modern cameras can handle a lot of noise (ISO 12800, for example). But you don’t need to use the highest ISO to take sharp photos.
Experiment with different settings and figure out how much grain is perfect for the situation.
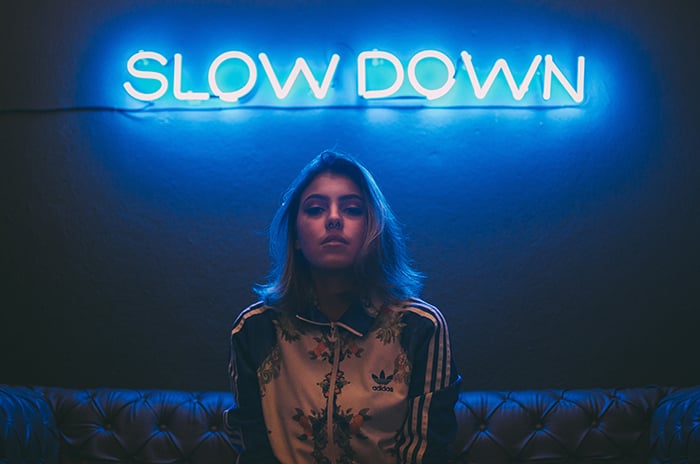
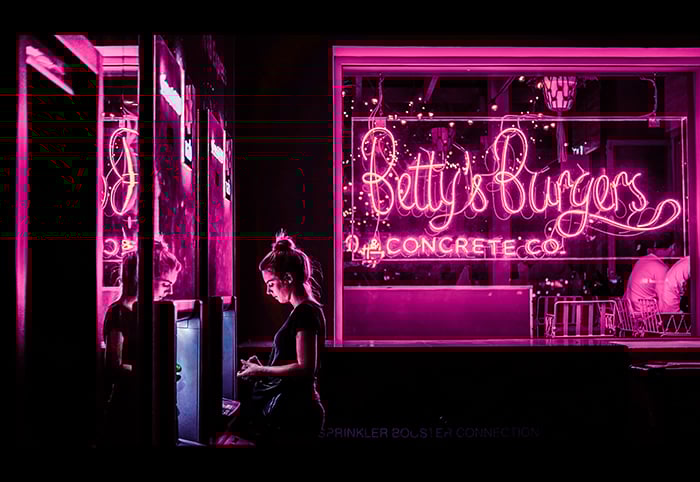
8. Include Models in Your Photos
If your model’s face is covered in shadows, use a reflector to brighten their face. You can also subtly lighten parts of your image using a layer mask in an editing program.
Neon light portraits are ideal for portrait photography enthusiasts. Neon signs will encourage you to limit yourself to specific colors and types of light.
Since you’ll be working with very little light, you’ll have to come up with creative ways to light your portraits. This will quickly improve your portrait and nighttime photography skills.
7. Or Take It Further by Using Glasses
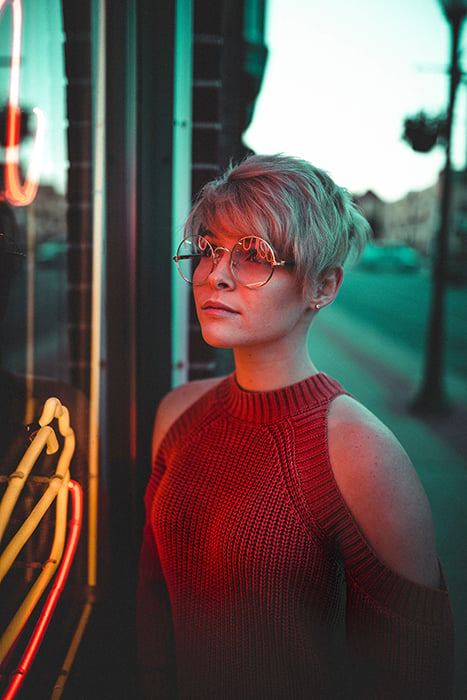
All your subject has to do is face a neon sign. The neon sign’s colors will create beautiful reflections and complement your model’s face.
When you photograph people who wear glasses, your main goal is to shoot from an angle that doesn’t reflect too much light.
After all, too many reflections can hide your subject’s eyes and make your portraits look unflattering. The opposite is true for neon signs photography.
Photographers like Brandon Woelfel have introduced a new trend: neon lights reflected in glasses.
Even models who don’t wear glasses will willingly put them on for the sake of an eye-catching portrait.
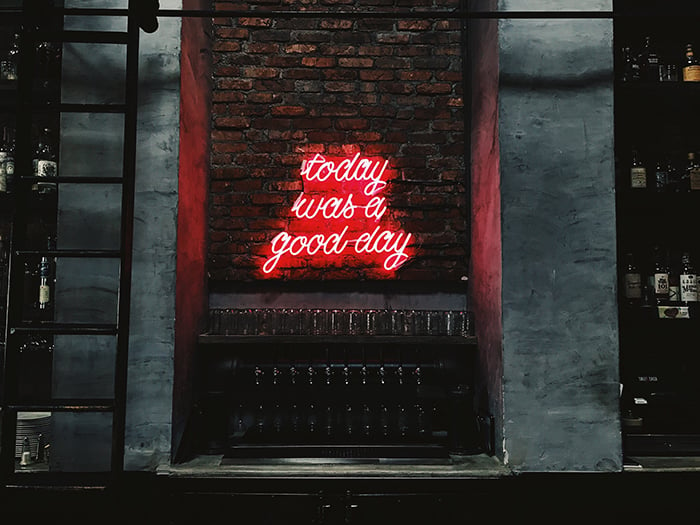
6. Avoid Busy Places If You Want to Experiment
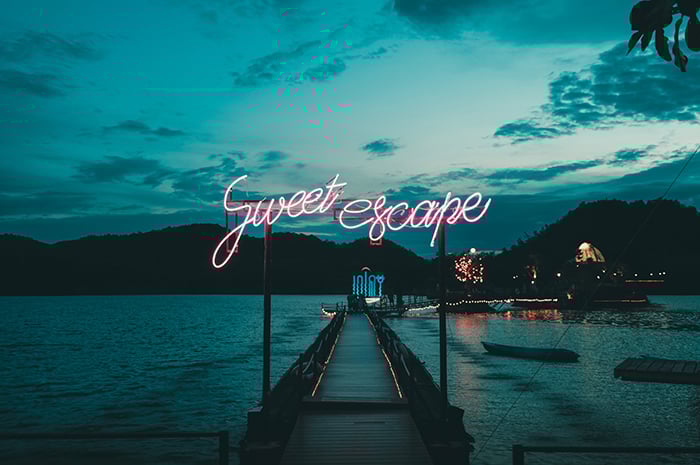
Many people’s most productive selves come out when they’re not being rushed or bothered by strangers. If you can relate to this, look for signs in tranquil locations like this one.
One of the disadvantages of street photography is the never-ending busyness. Neon signs are usually found in bustling cities that never sleep, which may make it difficult for you to focus.
The solution? Find neon signs in quieter places.
Even if it takes you longer to find a lone neon sign, all the free space and time will allow you to have a successful photoshoot.
5. Manually Adjust Your Camera’s White Balance to Create Flattering Colors
Neon signs come in a variety of unusual colors that might look too saturated in your photos. If your white balance is slightly off, your photos will look unnatural, especially if people are involved.
You can manually adjust your camera’s color temperature to avoid this. Many cameras have two white balance options.
One will let you use a Kelvin scale, and the other will give you lighting-related options.
4. Shoot RAW to Prevent Image Data Loss
You’re probably familiar with the RAW vs JPEG dilemma by now, but it’s still worth mentioning. If you take RAW photos, you’ll be able to preserve more image data. This will result in higher-quality photos.
RAW will also make it easier for you to make all kinds of adjustments in your editing program.
This is very important in neon light photography because of how vibrant and different every neon sign is.
The only downside of using RAW is the image size and conversion process. RAW photos will take up a significant amount of space in your camera. And they will need to be converted before the editing process begins.
3. Use Long Exposure to Create Surreal Motion Blur
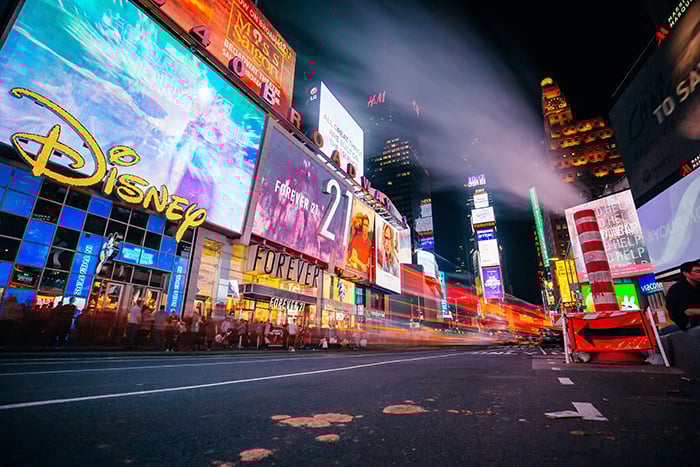
A small aperture, or large f-number, will allow you to take detailed photos of buildings near and far.
If you’re a fan of saturated street photography photos like the one above, you’ll love photographing neon lights at night.
To create streaks of moving light, you first need to understand how long exposure photography works. First, you need to find a safe place from which you can photograph a street.
You’ll need a tripod and a knowledge of shutter, ISO, and aperture.
Once you familiarise yourself with these settings, you’ll be able to take surreal street photos wherever you want.
2. If You Want Neon Signs to Stand Out, Take Photos at Night
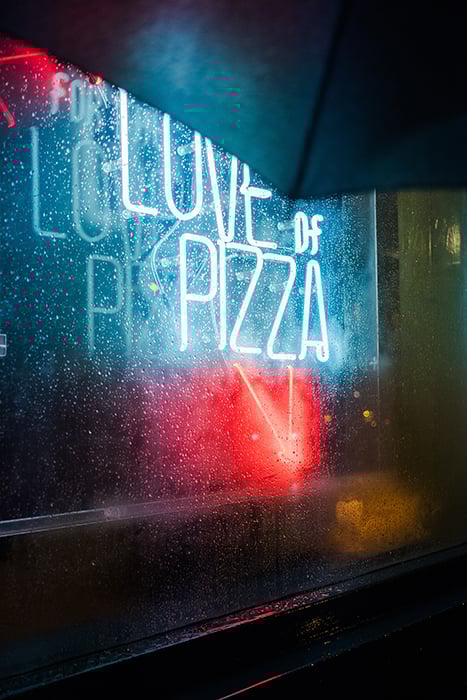
If you want your neon signs to stand out, take photos of them in the dark. Complete darkness will emphasise textures that may not be visible on sunny days.
For example, in the photo above, the neon sign emphasises the textures of the raindrops and adds a pleasant pop of color to the glass.
Details like this are perfect for those who want to get better at creating interesting compositions using simple objects.
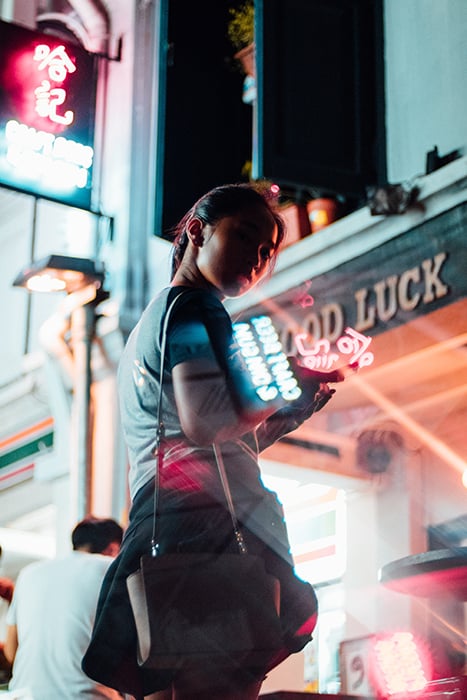
1. Shoot from Different Angles to Create Exciting Photos
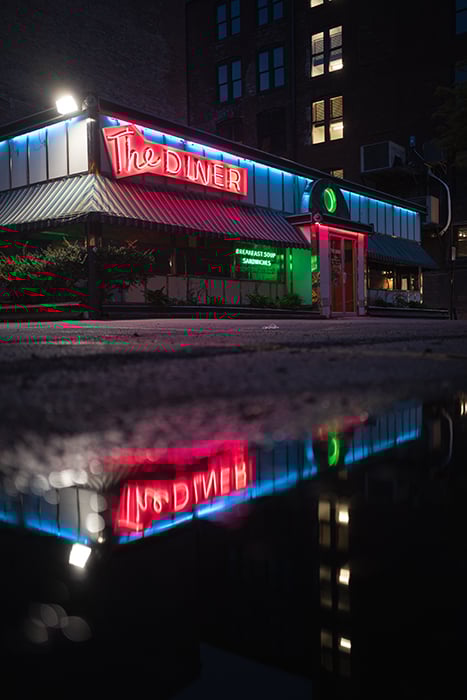
Even something as simple as shooting from the ground through a puddle can take your neon sign photography skills to the next level.
There’s nothing wrong with photographing a neon sign while standing in front of it.
Using the same angles all the time won’t challenge you and will make your photos look boring.
This doesn’t mean you have to invest in a drone or climb a building to take unique photos.
All you have to do is walk around the sign and look for unusual shooting perspectives.
Conclusion
Neon signs are accessible, fun to photograph, and perfect for those who want to improve their technical skills.
Even if you’re not a neon sign photography pro, don’t be afraid of experimenting with this vibrant and eye-opening genre. It’s guaranteed to teach you something exciting and fresh.
Looking for more neon techniques? Check out our new post about neon portraits next!