How to Take Black And White Photos: A Complete Guide
Color photography has been possible for over a century, and dominant for at least 50 years. But black and white still has a strong position. And if you’ve never tried it, then you should certainly give it a try. If for no other reason that it has never been simpler. You can turn any digital photo into black and white at the press of a button.
Getting Started in Black and White Photography
The easiest entry point for black and white photography is with your digital camera or smartphone. It is probably best to shoot with black and white in mind, but you can just as easily convert color images later. Let’s start our discussion by looking at the merits of both color and black and white.
Is Black and White Better Than Color?
Black and white photography is a classic style that goes back to the roots of the medium. It’s a great way to learn composition and contrast. Color photography offers endless creative options but can be harder to master.
Black and white images are simple and direct. They let you focus on shapes, textures, and composition. Portraits, architecture, and street scenes often look stunning in black and white.
Color adds complexity to photos. There are many more variables to consider when shooting and editing. But color also lets you develop a signature style. To learn more about the differences between black and white vs color, check out our in-depth guide.
Film Vs Digital
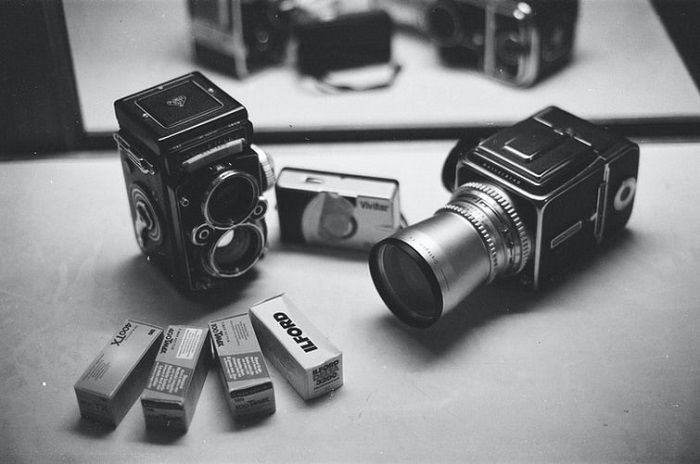
Black and white film photography is alive and well. Ilford, Foma, and Rollei are producing a variety of excellent film stocks. The best all-around option is Ilford HP5 Plus 400. It has a fine grain structure and works well in low light.
Fomapan 100 is a top choice for 100 ISO film. It delivers outstanding image quality with dramatic contrasts and deep blacks. Ilford FP4 Plus is the go-to for pro-grade results. The unusual 125 ISO gives you more options for smooth or textured finishes.
Finding the best black and white film depends on your needs. Low ISO films need more light but give you the highest quality. High ISO films work in darker conditions but have more grain. 400 ISO film is the most versatile, balancing quality and flexibility. You can read our in-depth guide to learn more about black and white film.
How to Improve Your Black and White Photography
There are plenty of things you can do to improve your black and white photography. One of the best things is to think in black and white. Try to picture the scene as it will appear. This can help you to avoid errors. I once took a picture of a black and white dog against a green hedge, which looked superb in the viewfinder. When I had the film developed, though, the dog was almost invisible against the background!
Camera Settings
You can set your camera to shoot in black and white. This lets you see a black and white preview on your camera’s display right after taking the photo. The best part is, you don’t lose any color data if you shoot in RAW + JPEG.
Shooting in black and white helps you focus more on composition. Look for leading lines, patterns, framing, and negative space. Critique your black and white photo in the camera display to learn during the photographic process.
Experiment with your camera’s black and white settings to find the look you like. Increase sharpness and contrast on flat, dull days. Use color filters to darken or lighten specific colors in your frame. Look for a balance of highlights, shadows and textures to give your black and white photos definition. It is worth taking some time to learn more about settings for black and white photography to improve your results.
Black and White Contrast
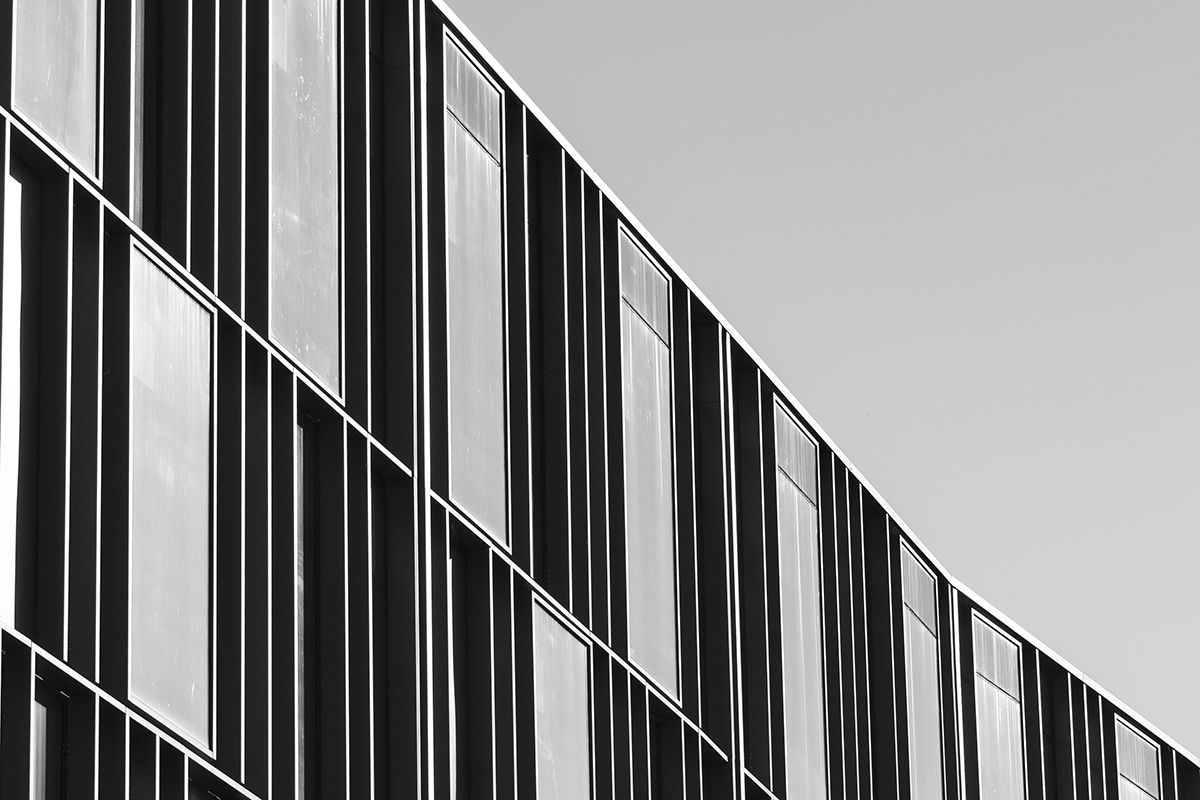
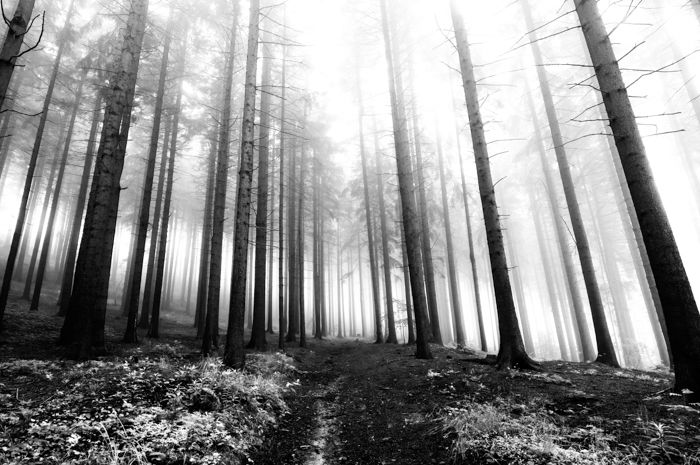
To create black and white photos with impact, you need contrast. Look for scenes with both dark and bright areas. Pay attention to shadows and highlights to separate your subject from the background.
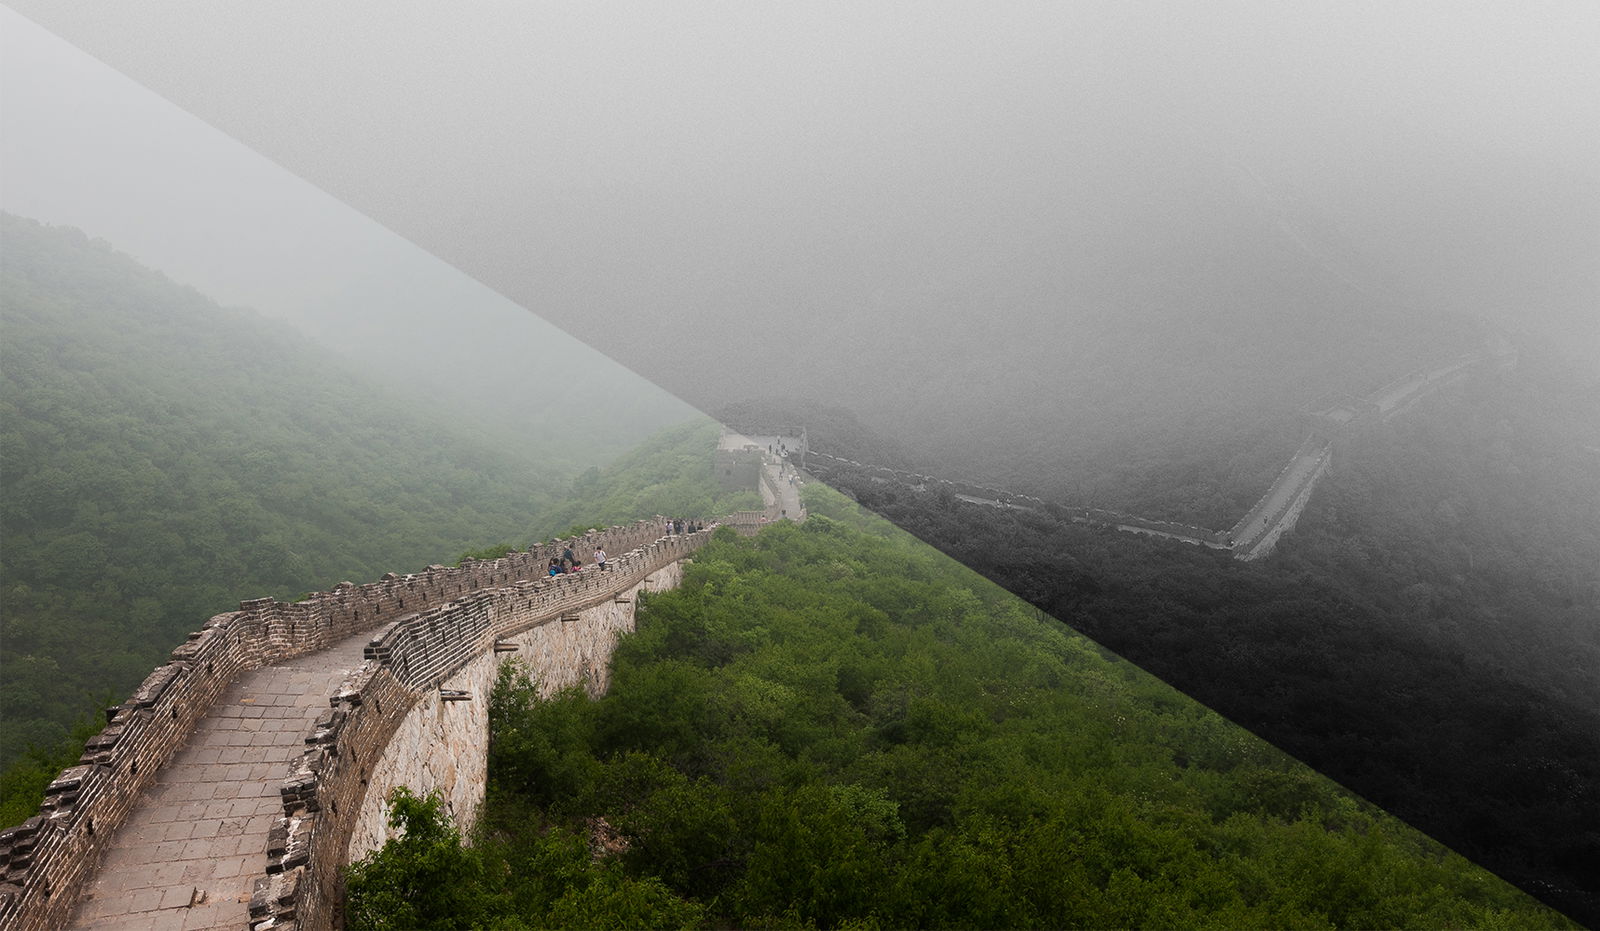
You can also use color contrast to improve your black and white images. Colors convert to different shades of grey. Red, violet, and blue become dark tones while orange, yellow, and green turn into bright tones. Capture complementary colors in your frame for the best results.
Adobe Lightroom makes it easy to adjust how colors convert to black and white. Use the Black & White Mix sliders to make specific colors brighter or darker. This lets you fine-tune the contrast in your black and white images even after you take the shot.
Using Tone
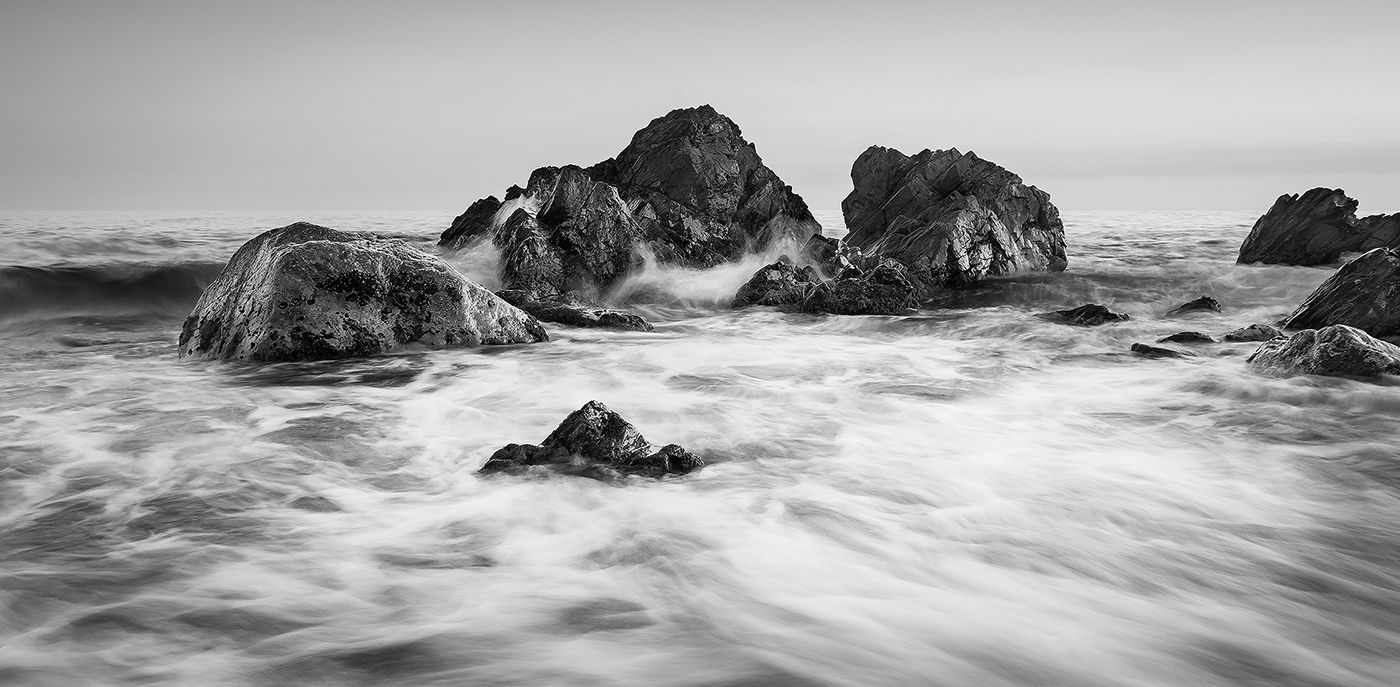
Tone in photography refers to the difference between the lightest and darkest parts of an image. Adjusting the tonal range can help you tell stories through your photos.
In post-production, use tools like exposure, temperature, dehaze, and contrast sliders to improve tonal range. The tone curve tool is also useful for balancing tones and emphasizing highlights or shadows. Converting images to black and white is a great way to practice using tonal range.
Set the mood of your photos by considering factors like weather, light, and subject matter. Use cool tones to suggest isolation or tranquility, and warm tones for happiness and nostalgia. Make tonal changes gradually in post-production and keep the integrity of your photograph. There is a lot to learn more about tone in photography, but if you take the time, you’ll appreciate the results it gives you.
Advanced Black and White Photography
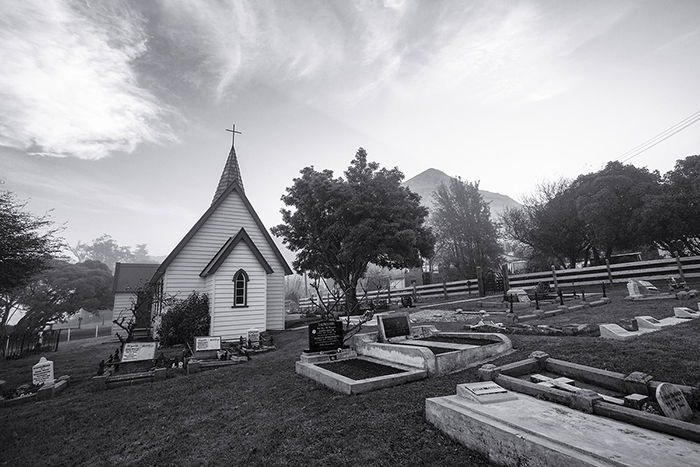
Here are some advanced black and white photo ideas to take your photography to the next level. Point your camera towards the light source to capture interesting shadows and silhouettes. This emphasizes important lines and shapes in your composition.
When editing, avoid over-processing which can be distracting. Aim for true blacks, whites and a full range of gray tones. Look for lines everywhere to draw the viewer’s eye around the frame.
Get creative by making abstract black and white nature photos. Use Photoshop to create unique compositions with repeated lines, shapes and mirror effects. Avoid banding in areas like skies by shooting in RAW, working in 16-bit mode and adding a small amount of noise. Most importantly, photograph stories that are meaningful to you. Black and white has the power to convey narratives with clarity and emotion that color often can’t. Take a look at our article to learn more black and white photo ideas.
Create Compelling Black and White Texture
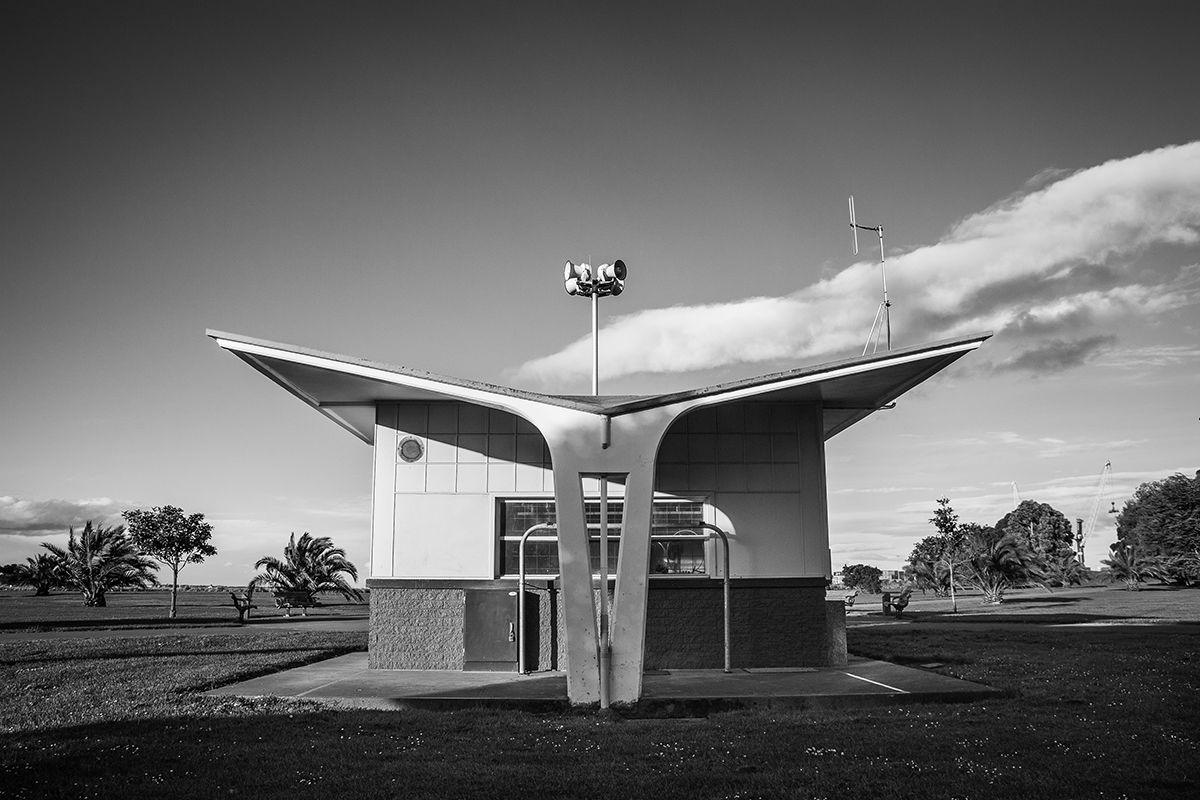
Black and white texture photography can produce stunning results. Textures add interest to photos by providing tonal variance and detail. Being able to see surface details enables the viewer to get a better feel for your subject and location.
To capture compelling black and white textures, avoid direct light and shoot during the golden hour when the sun is low in the sky. This will create tiny shadows that exaggerate the texture. Get close to your subject and don’t be afraid to let the texture dominate the image.
Use a depth of field that covers the entire texture without losing detail, typically around f/8. Keep in mind that colors with similar luminosity will convert to similar grayscale tones, resulting in a flat image. Experiment with these techniques to create striking black and white texture photos. We have put together this guide to black and white texture, so check it out!
Low Key Black and White Photography
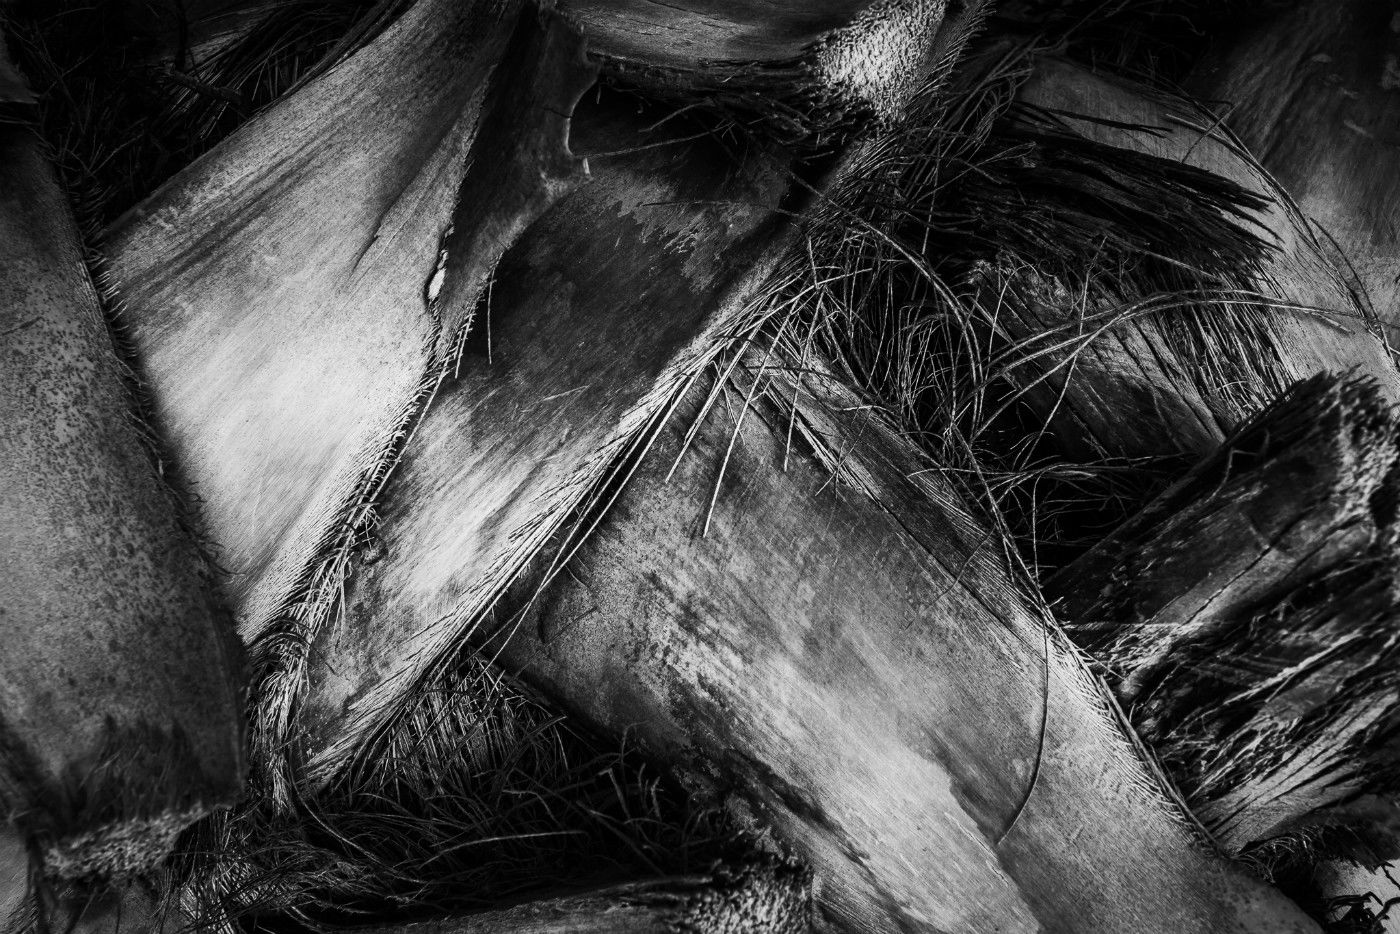
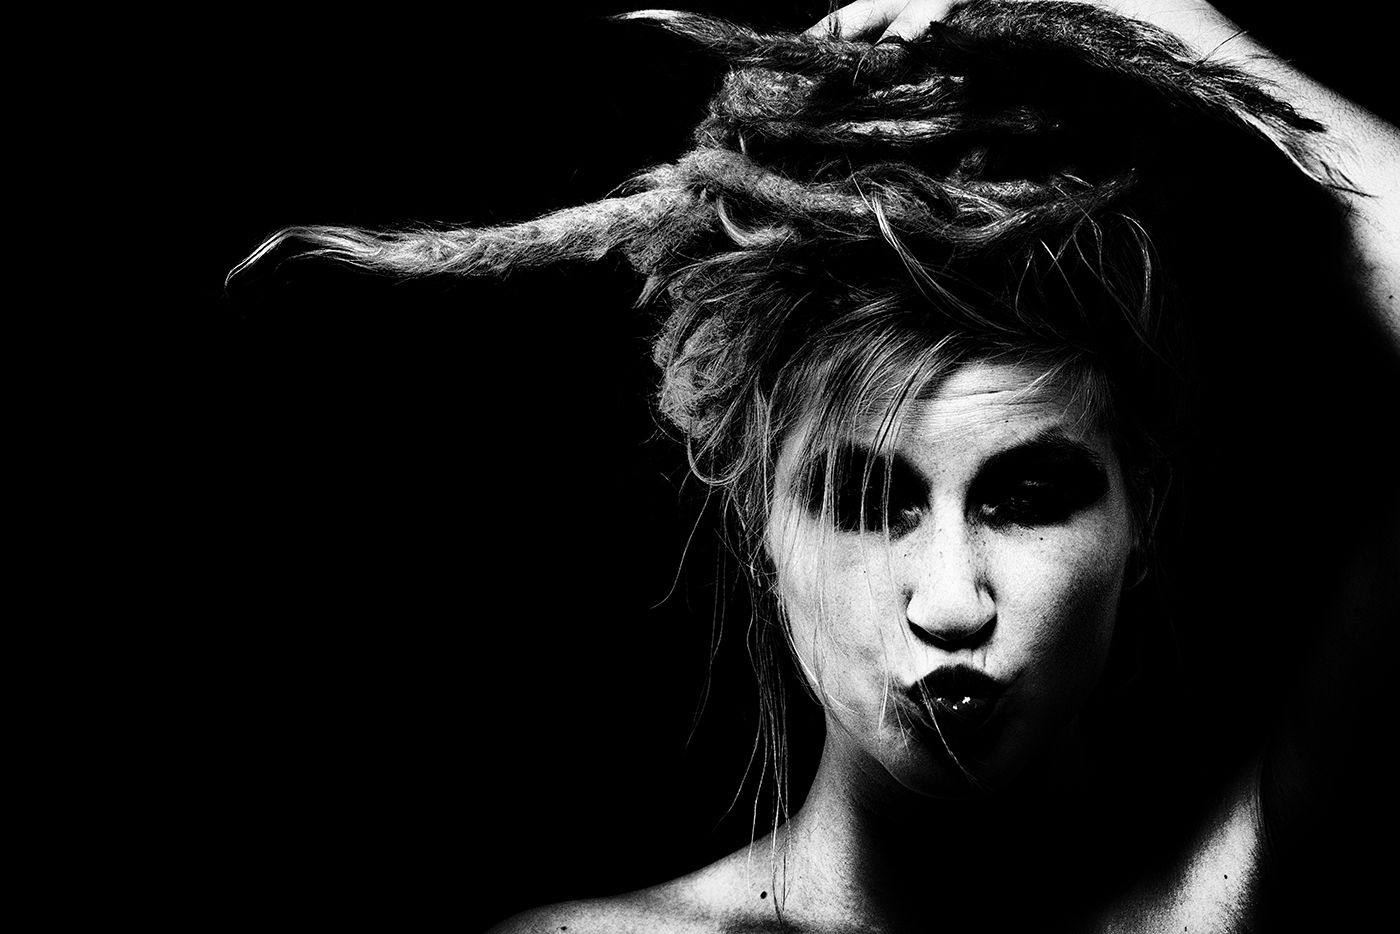
Low key black and white photography creates moody, atmospheric images. It’s often used for portraits and fine art nudes. The key is to control the light in your scene.
Use a single main light that’s much brighter than the ambient light. Position your light and subject to reveal more or less detail. Remember, your camera captures a narrower dynamic range than your eyes can see.
Expose for the highlights and let the shadows fall to black. Post-processing is essential to eliminate unwanted shadow detail and achieve the low key look. Low key black and white photography involves careful consideration of light, exposure, and editing to create.
How to Shoot Black and White Film
There’s no denying it, shooting black and white film is a bigger challenge than digital. First of all there is the wait before you see the result. And then there are the limitations of film, and the expense. However, it’s still hard to beat film as a medium, when done well.
Tips for Black and White Film
Shooting black and white film photography requires a different approach than digital or color film. The dynamic range is more limited, so you need to carefully consider the lighting and composition before taking the shot. This can be used to your advantage, creating dramatic images with high contrast and emphasised details.
Black and white film also renders skin tones beautifully, with the natural grain adding texture and the lack of color emphasising the skin’s tone. However, finding places to develop black and white film is becoming increasingly difficult and expensive.
If you want to learn more about the unique challenges and rewards of black and white film photography, takes look at our guide.
Using Filters
Black and white filters can have a big impact on your photos. They affect contrast, which is important in black and white photography. Different color filters will change how colors are shown in the final black and white image.
Red filters lighten reds and pinks while darkening greens and blues. They’re great for adding mood to landscape scenes with foliage. Orange filters add contrast and depth. Yellow filters darken blue skies to make clouds stand out. Green filters lighten foliage for pleasing results in landscape shots.
Using the right black and white filter can take your photography to the next level. Experiment with different options to find what works best for each scene. To dive deeper into black and white filters, check out our detailed guide.
Black and White Photography on Your Phone
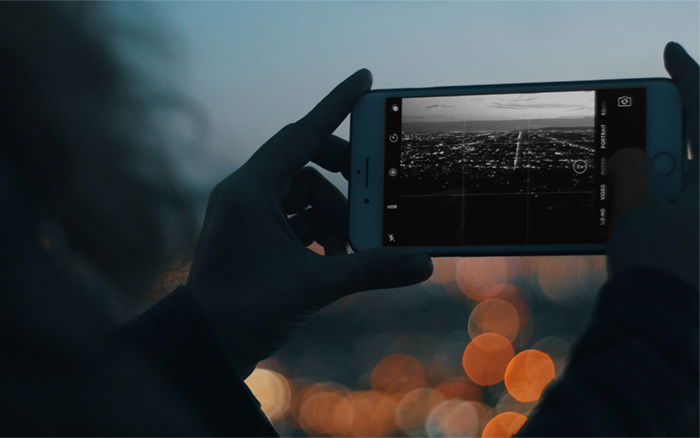
I have probably taken some of the best black and white photos of my life on my iPhone. So if you have a fairly modern phone, there’s no excuse for not getting great B&W images.
Phone Apps for Black and White Photography
The best apps for black and white photos can transform your B&W images. Some apps turn your phone into a black and white camera, while others let you convert color photos to monochrome.
Camera1 is a favorite black and white photography app that gives you manual control over exposure and focus. You can shoot in RAW formats and apply color filters to see their effect in real-time.
Snapseed is a popular photo editing app and one of the best for converting color images to black and white. It offers a wide range of editing tools, including filters like Vintage, Retrolux, Noir, and Grainy Film to give your images an old-fashioned look. Apps for black and white photos can help you create stunning monochrome images on your smartphone.
Black and White for Different Photography Niches
I love black and white, and I think there is a place for it in almost every photography niche. But there are certain fields where it excels, and they are well worth your attention.
Portraits
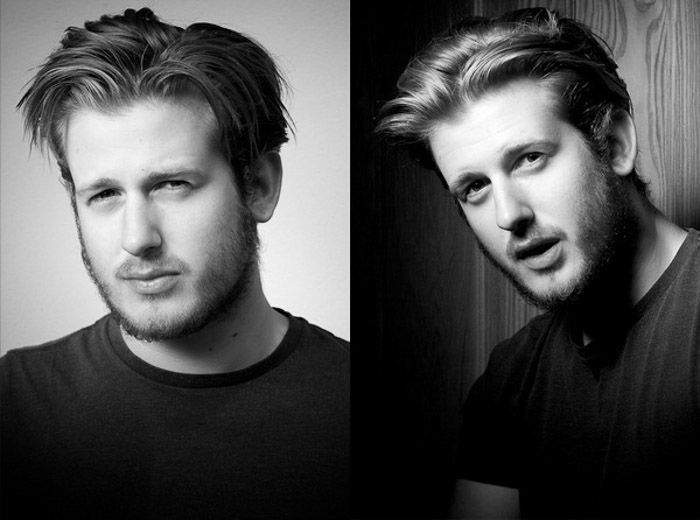
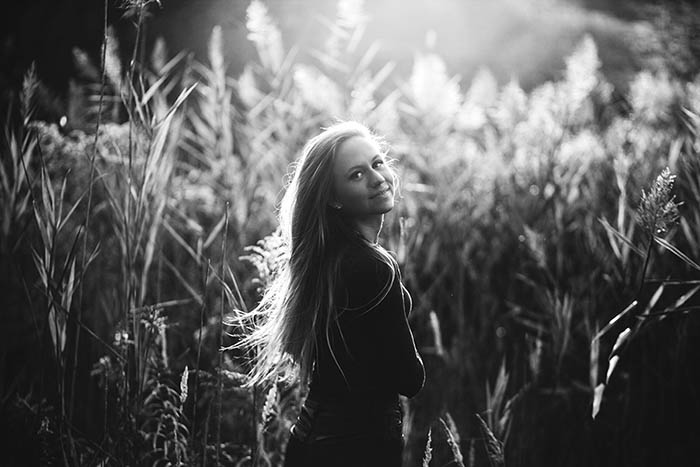
Black and white portrait photography is a timeless art form that can create striking and emotive images. By removing color, the photographer can focus on the subject’s expressions, textures, and the interplay of light and shadow. This creates a raw and honest perspective that draws the viewer into the photograph.
To capture the best black and white portraits, it’s important to plan your shoot carefully. Consider the lighting, location, and your model’s posing to tell the story you want to convey. Experiment with different apertures and ISOs to create separation between your subject and the background, and to add dramatic grain to your images.
When editing your black and white portraits, you can use tools like filters, curves, and clarity to deepen shadows, brighten highlights, and add contrast. Subtle grain or dust textures can also enhance the film-like quality of your photographs. With practice and experimentation, you can learn to master the art of black and white portrait photography and create stunning, emotive images.
Landscape
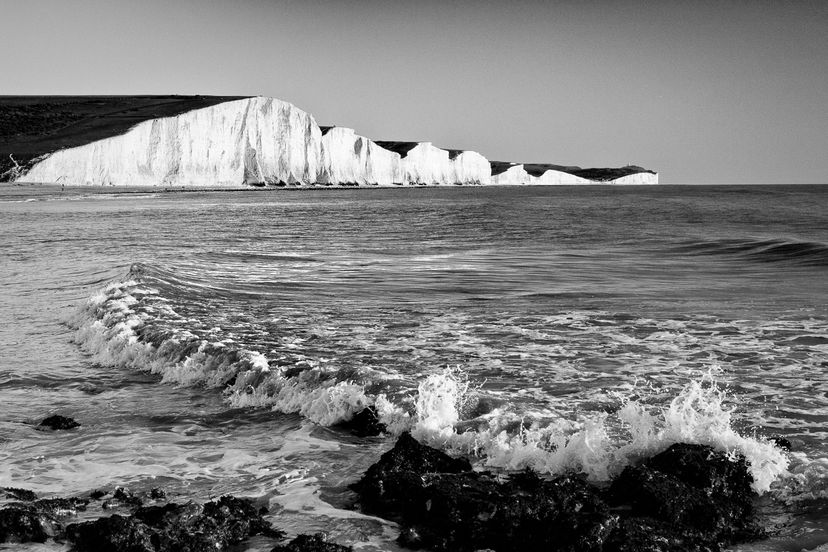
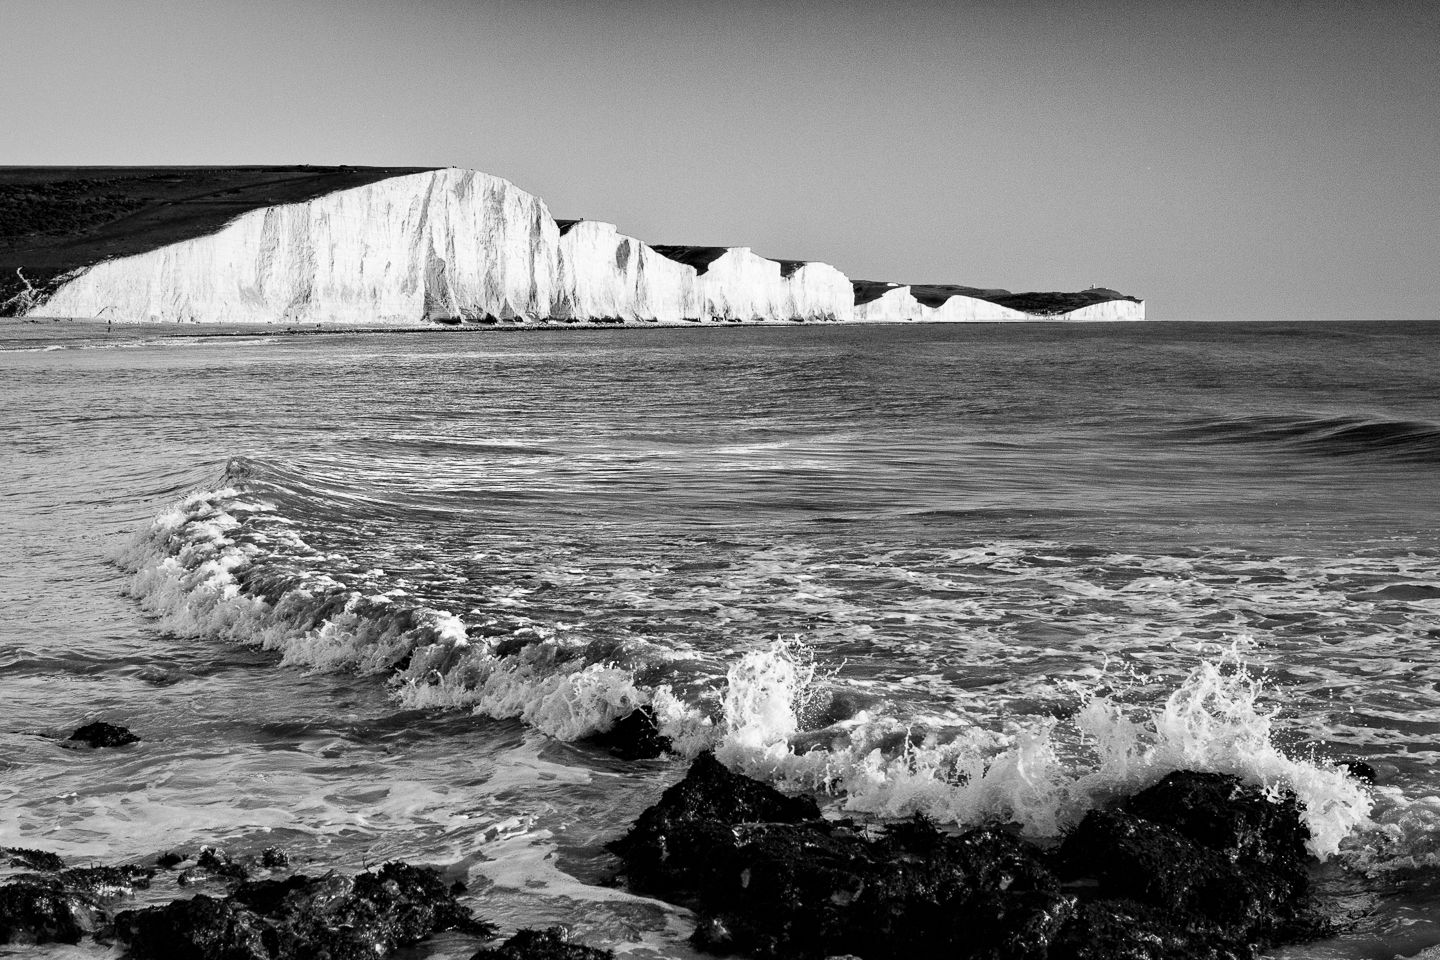
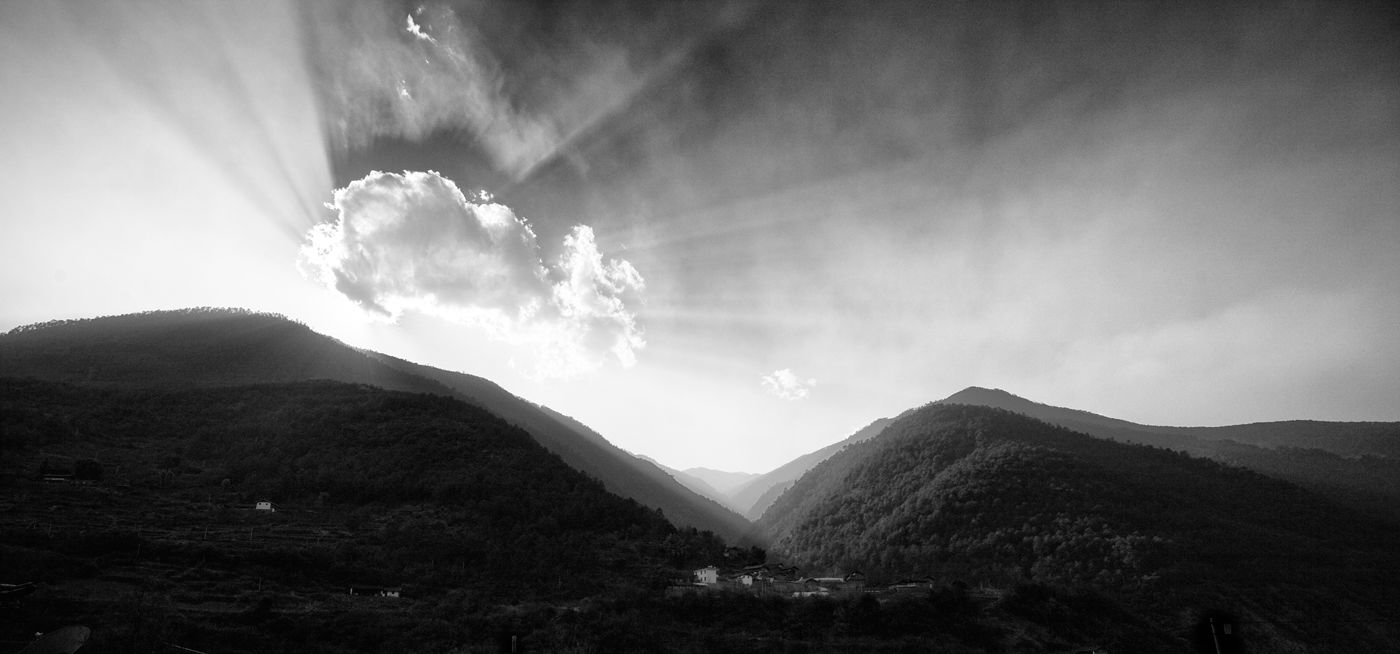
We think of the beauty of nature as being a colourful thing. And it is. But black and white landscape photography has a timeless quality that can produce stunning images. To capture the best shots, look for scenes with strong contrast and interesting textures. Composition is key, so use leading lines, patterns, and natural framing to create a balanced image.
Filters are essential for black and white landscape photography. A graduated neutral density filter will balance the exposure between a bright sky and dark ground, while non-graduated filters can smooth out moving elements like water.
Shoot in RAW and convert to black and white in post-processing for the most control over your final image. Experiment with different apertures and shutter speeds to achieve your desired look, but keep the ISO low for the best quality. A sturdy tripod, wide-angle lens, and a backpack to carry your gear are must-haves for any black and white landscape photographer. To learn more about creating black and white landscape photography, check out our in-depth guide.
Macro Photography
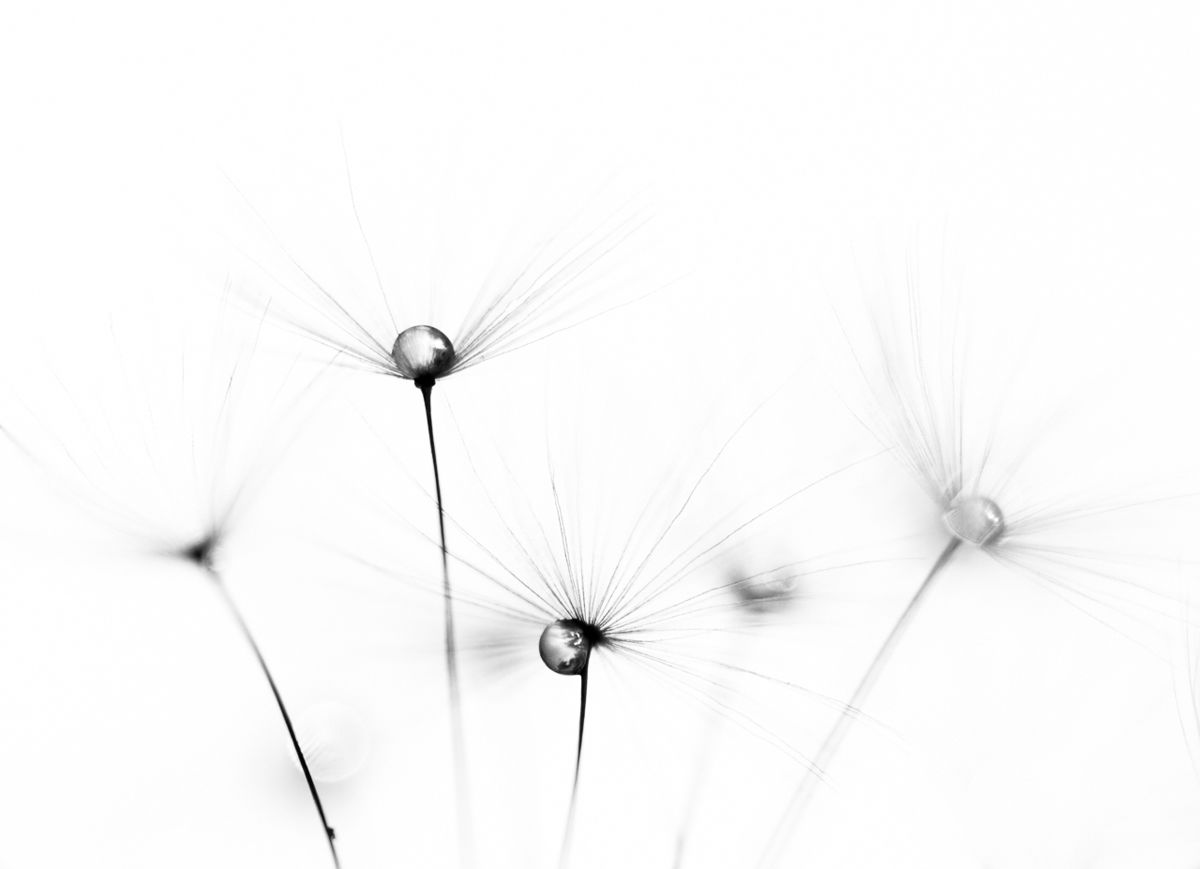
Black and white macro photography is all about contrast. Look for scenes with strong backlighting during the golden hours or harsh midday sun. Shoot dark subjects against light backgrounds or vice versa to make your subject stand out.
Keep your compositions simple with uncluttered backgrounds and a single point of focus. Zoom in on small, isolated details like a flower petal or water droplet. Textures from wrinkles or patterns can add visual interest to black and white shots.
Surround your subject with empty negative space to draw the viewer’s eye. Finally, improve the contrast in post-processing by setting true black and white points. With these tips, you can capture stunning black and white macro photos. You will find more tips for black and white macro photography in our in-depth guide.
Street Photography
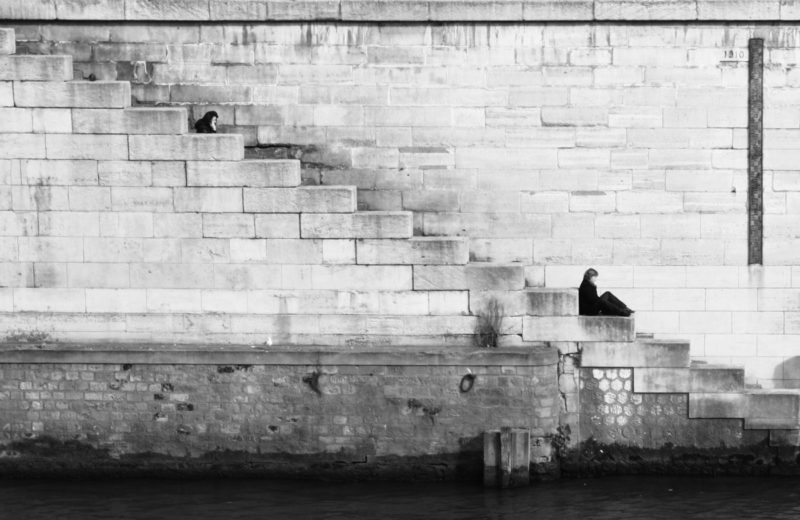
When it comes to black and white vs color street photography, there’s no secret rule book. The choice depends on your own experiences, culture, and background. However, certain conditions may influence your decision to shoot in black and white or color.
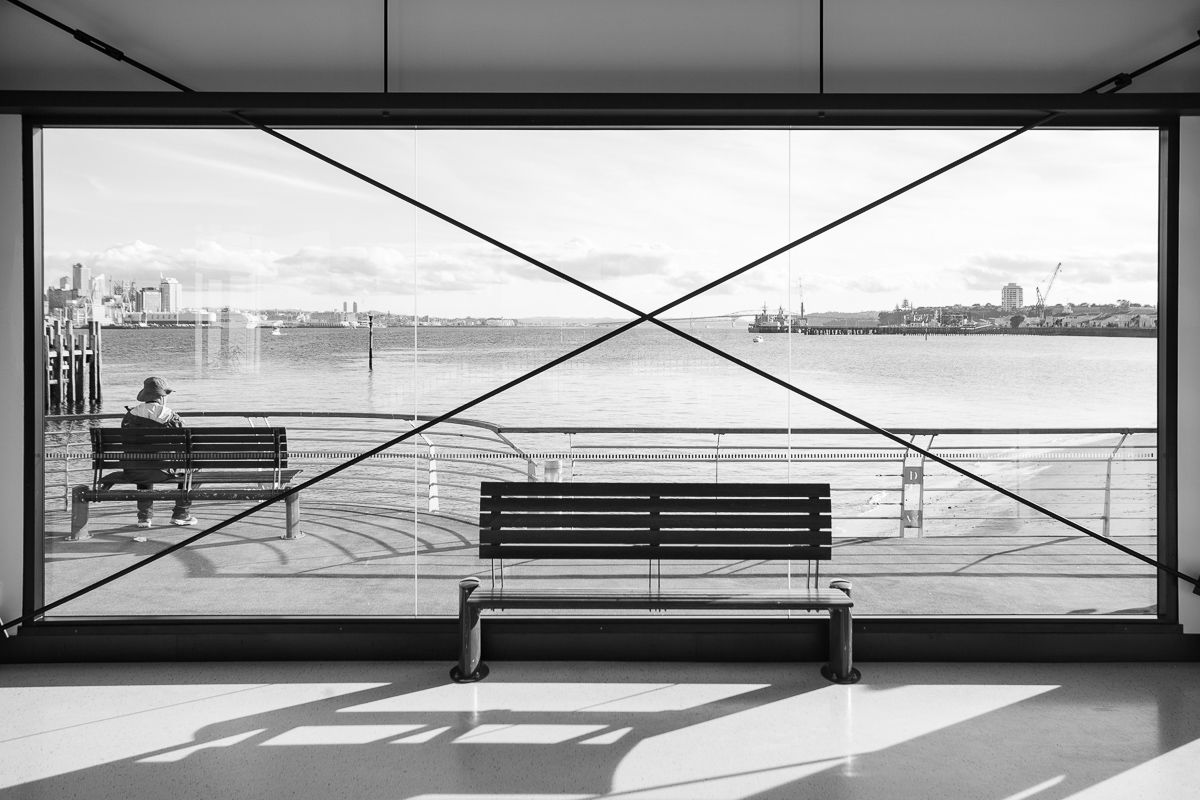
Black and white street photography is great for conveying emotion and personality. Without the distraction of color, facial expressions and body language translate beautifully and tell a clearer story. You can also use black and white to emphasize shapes, lines, and patterns in architecture and structures.
On the other hand, color is perfect for capturing bright sunshiny days, nature, and unexpected pops of color in clothing, vehicles, or signage. Street lights and lit shop windows are also great for showing off color in night time street photography. If you’d like to learn more about black and white street photography, we have a detailed guide that covers this topic in depth.
Wedding Photography
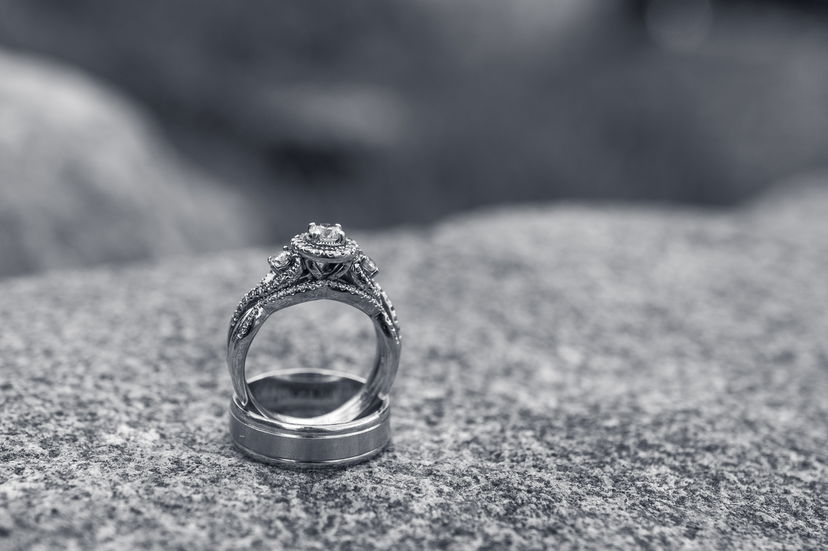
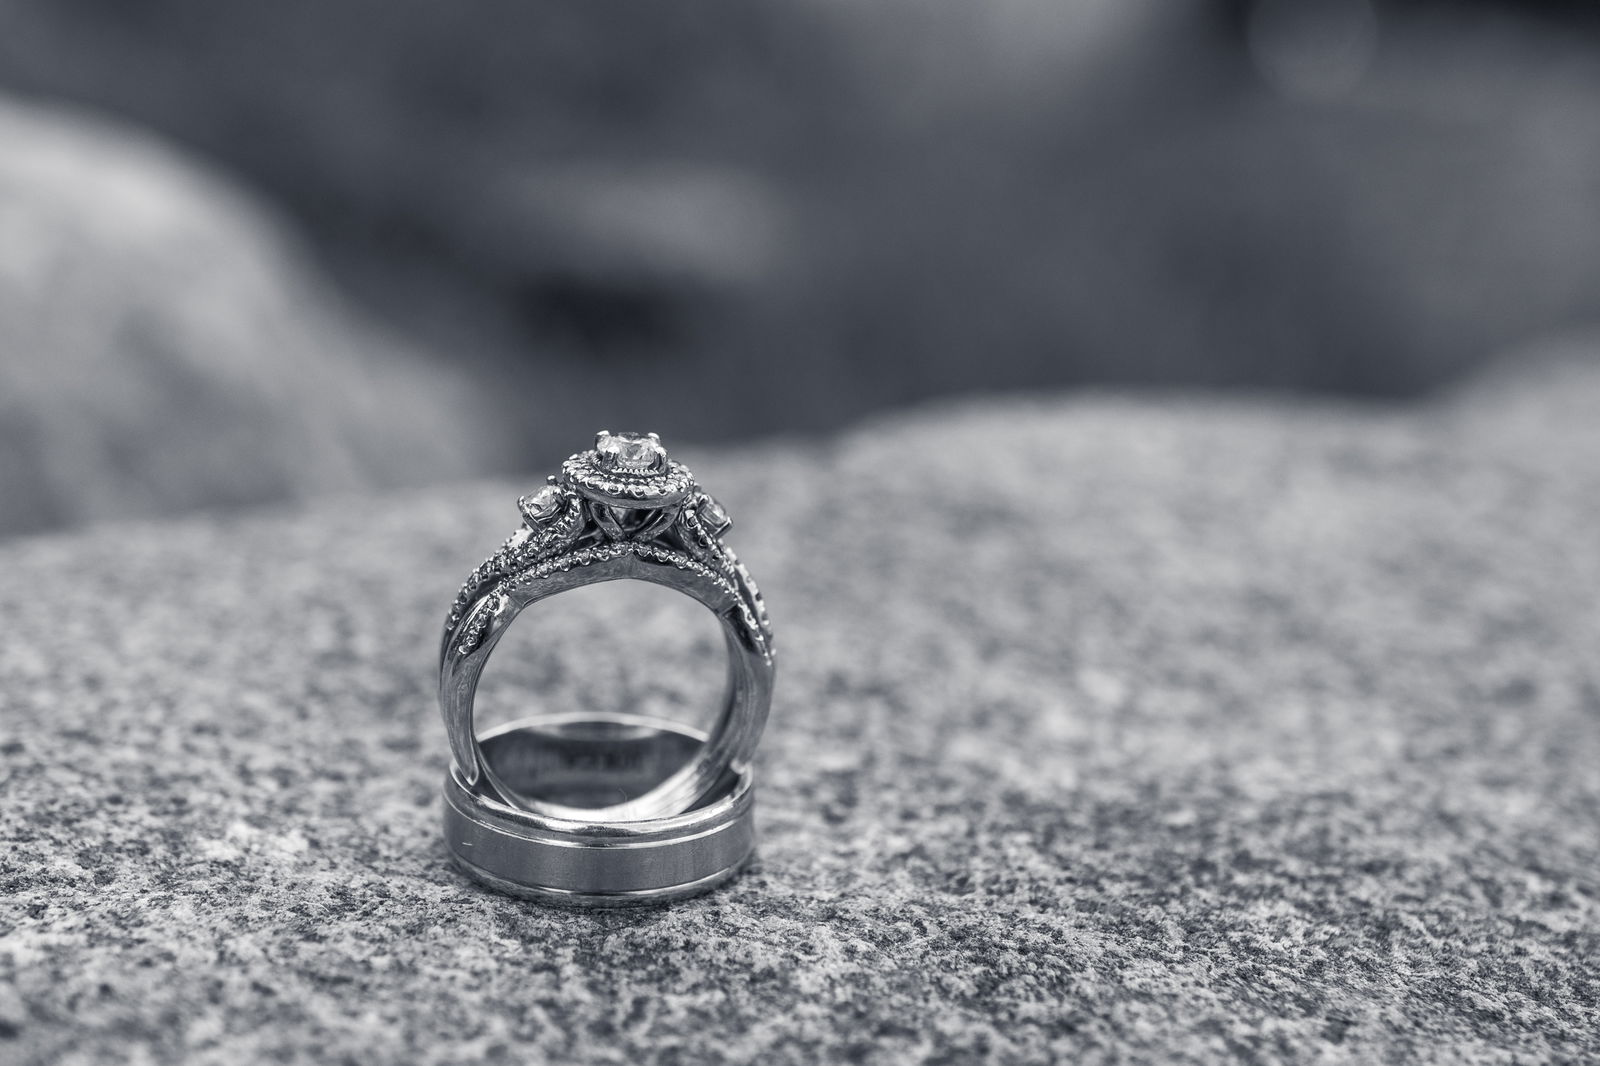
Black and white wedding photography can add emotion and elegance to your images. By removing color, the focus is drawn to the interaction and feeling in the photo. Distractions like busy backgrounds or clashing colors are also minimized.
High contrast shots often look great in black and white. You can use the editing process to control how colors convert to shades of gray, letting you fine-tune the contrast. This is also helpful for dealing with difficult lighting situations.
While shooting, look for scenes that play with light and shadow rather than relying on color. But you don’t have to choose between black and white and color. Shoot in RAW and you can always have both versions. Timeless black and white combined with vibrant color photos gives you the best of both worlds. Find out more about black and white wedding photography in our guide.
Travel Photography
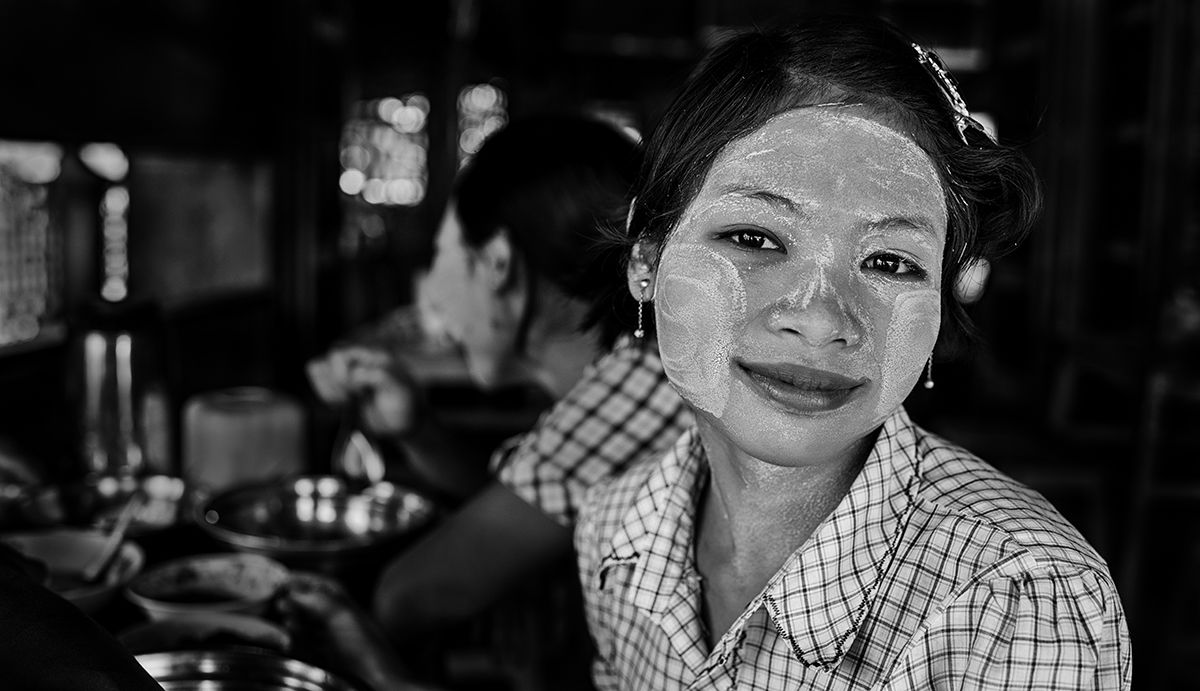
Black and white travel photography can be a powerful way to capture the essence of a place. By eliminating color, you can focus on the light, shapes, and textures that make a scene unique.
Pay attention to contrast and tone in your black and white images. Look for strong shadows and highlights that create depth and drama. Textures can also be emphasized in black and white, so keep an eye out for interesting patterns and surfaces.
Most importantly, use black and white photography to connect with your subject and tell a story. Whether it’s a portrait of a local person or a landscape that captures the mood of a place, aim to use black and white travel photography to convey emotion and meaning in your images.
Still Life Photography
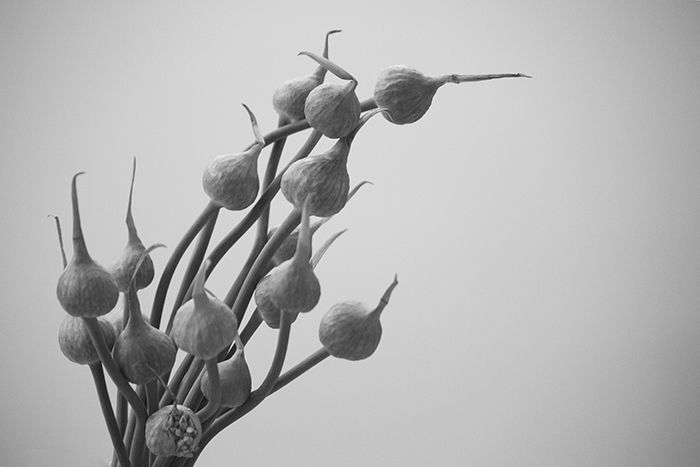
Black and white still life photography is a beautiful way to capture the simplicity of inanimate objects. By removing color, you can focus on the textures, shapes, and lines of your subjects. Low key lighting with natural light from a window or a soft sidelight works well to bring out these details.
Even the most basic objects can become works of art in black and white. Experiment with items like flowers, books, food, or antique objects to tell a story without any people or movement in the frame. Keep your composition simple to avoid distracting from the key elements.
Editing is an important final step in black and white still life photography. Use the HSL color sliders in Lightroom or Camera Raw to fine-tune the blacks, whites, and greys in your image. Adjusting these sliders can help you define textures, change the focal point, or alter the mood of your photo.
Professional Black and White Headshots
Black and white headshots are common in acting and modeling portfolios. They can be a fun way to get creative with your photography. Shooting in black and white draws attention to the form and structure of the face, letting you see details more clearly.
To take great black and white headshots, include texture in the photo. Use things like hair, clothing, and interesting backgrounds to add contrast. Carefully control the lighting to highlight texture and hide unsightly features.
Shoot in color and RAW, then convert to black and white in post-production. This gives you more options for adjusting the final image. Boost contrast and make other creative edits to get the perfect black and white headshots.
How to Edit Your Black and White Photographs
Editing digital black and white photos is so easy compared with all the skill and time needed for perfect darkroom work. So there’s no excuse for your work not to be exceptional!
Making Your Image Black and White
Converting an image to black and white is easy in both Photoshop and Lightroom. In Lightroom, go to Settings > Convert to Black and White or choose the Black & White treatment option in the Develop Module’s Basic panel. This switches your photo’s profile to Adobe Monochrome.
In Photoshop, you can desaturate the image by going to Image > Adjustments > Desaturate. Another option is to change the image mode to Grayscale under Image > Mode > Grayscale. Both of these methods are destructive, so it’s best to work on a copy of your image.
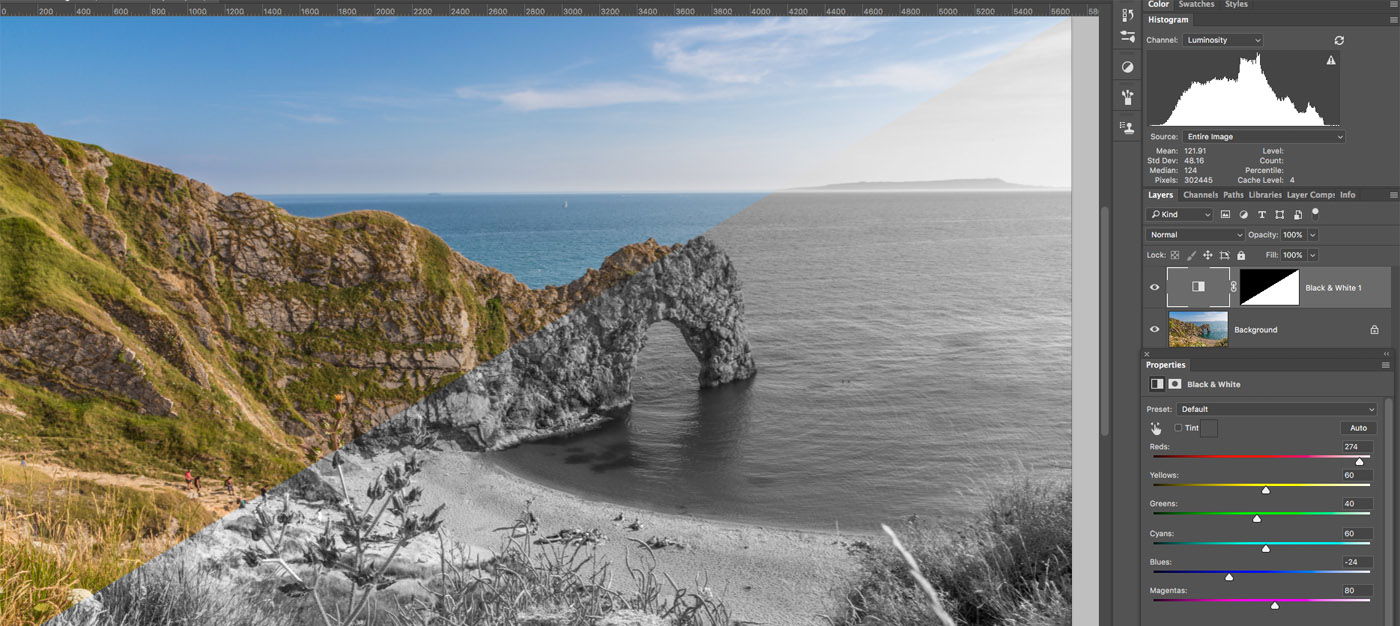
For more control over the black and white conversion, use the B&W panel in Lightroom or add a Black & White adjustment layer in Photoshop. These tools let you adjust individual color channels to selectively lighten or darken certain colors in your monochrome image. This adds richness and visual separation to your photo. To make an image black and white in Photoshop, the adjustment layer method is non-destructive and provides the most flexibility.
Editing in Lightroom
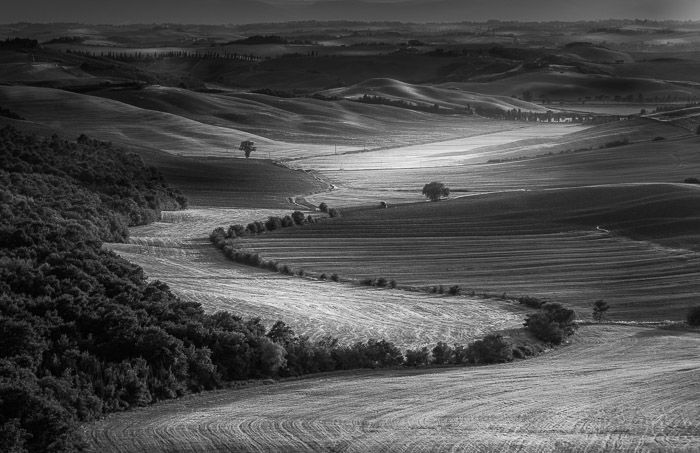
Editing black and white photos in Lightroom gives you a lot of control over the final look. Start by setting your camera to monochrome mode to better visualize black and white scenes. In Lightroom, click the ‘B&W’ button or hit ‘V’ to convert your color photo to black and white.
Use the color sliders in the ‘B&W’ panel to adjust how bright each color appears in the final image. Drag the Targeted Adjustment Tool over colors to quickly change their brightness. Aim for good contrast and a full range of tones from black to white.
Lightroom presets can speed up your black and white editing workflow. Try the built-in presets or create your own black and white presets in Lightroom to get a unique look with one click.
Editing in Photoshop
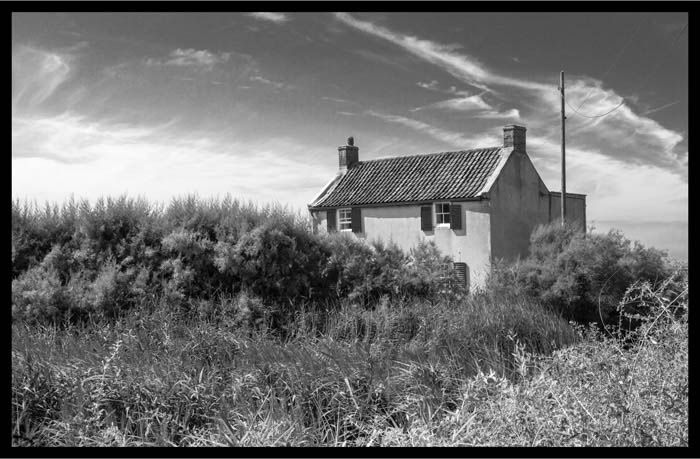
Photoshop provides several ways to convert a color image to black and white. The process involves calculating a single value from the red, green, and blue components of each pixel, which is then applied to all color channels to create shades of gray.
One quick method is to switch to Grayscale mode, which removes color information and stores only brightness values in a single channel. This conversion models how the human eye perceives brightness, with greater sensitivity to green, less to red, and least to blue. While destructive, it can yield good results for images with strong composition and well-differentiated colors.
For more control, use Photoshop’s Black & White adjustment layer. This non-destructive method offers sliders to adjust the contribution of specific color ranges to the final grayscale image. Experiment with the sliders while monitoring the histogram to avoid clipping, and save custom combinations as presets for future use. You can also add a tint to warm up the final print. To edit black and white photos with even greater precision, open a raw file in Adobe Camera Raw and use the HSL/Grayscale controls to target eight color ranges for your custom grayscale mix.
Editing Fine Art Photography
Here are 6 tips to get you started in editing black and white fine art photography:
Use adjustment layers to convert your image to black and white. This lets you adjust individual color values for a more precise conversion.
Work with layers and masks in Photoshop. You can add effects and healing on separate layers, masking out areas you don’t want affected.
Add depth and contrast with Levels adjustment layers. Apply these to individual layers for targeted adjustments.
Further adjust tonal balance using Curves, which correlates to the histogram. Create reference points on the curve and drag them to change tonal values.
Pay attention to how colors like blues and magentas transform when converting flowers to black and white. Focus on the shapes and tonal transitions.
Decide the emotion you want to convey in black and white portraits. Increase contrast and focus on the face, leaving the background blurry but visible. Black and white fine art photography is a powerful way to create striking, emotive images.
Some Inspiration to Help You Go Further in Your Black and White Photography
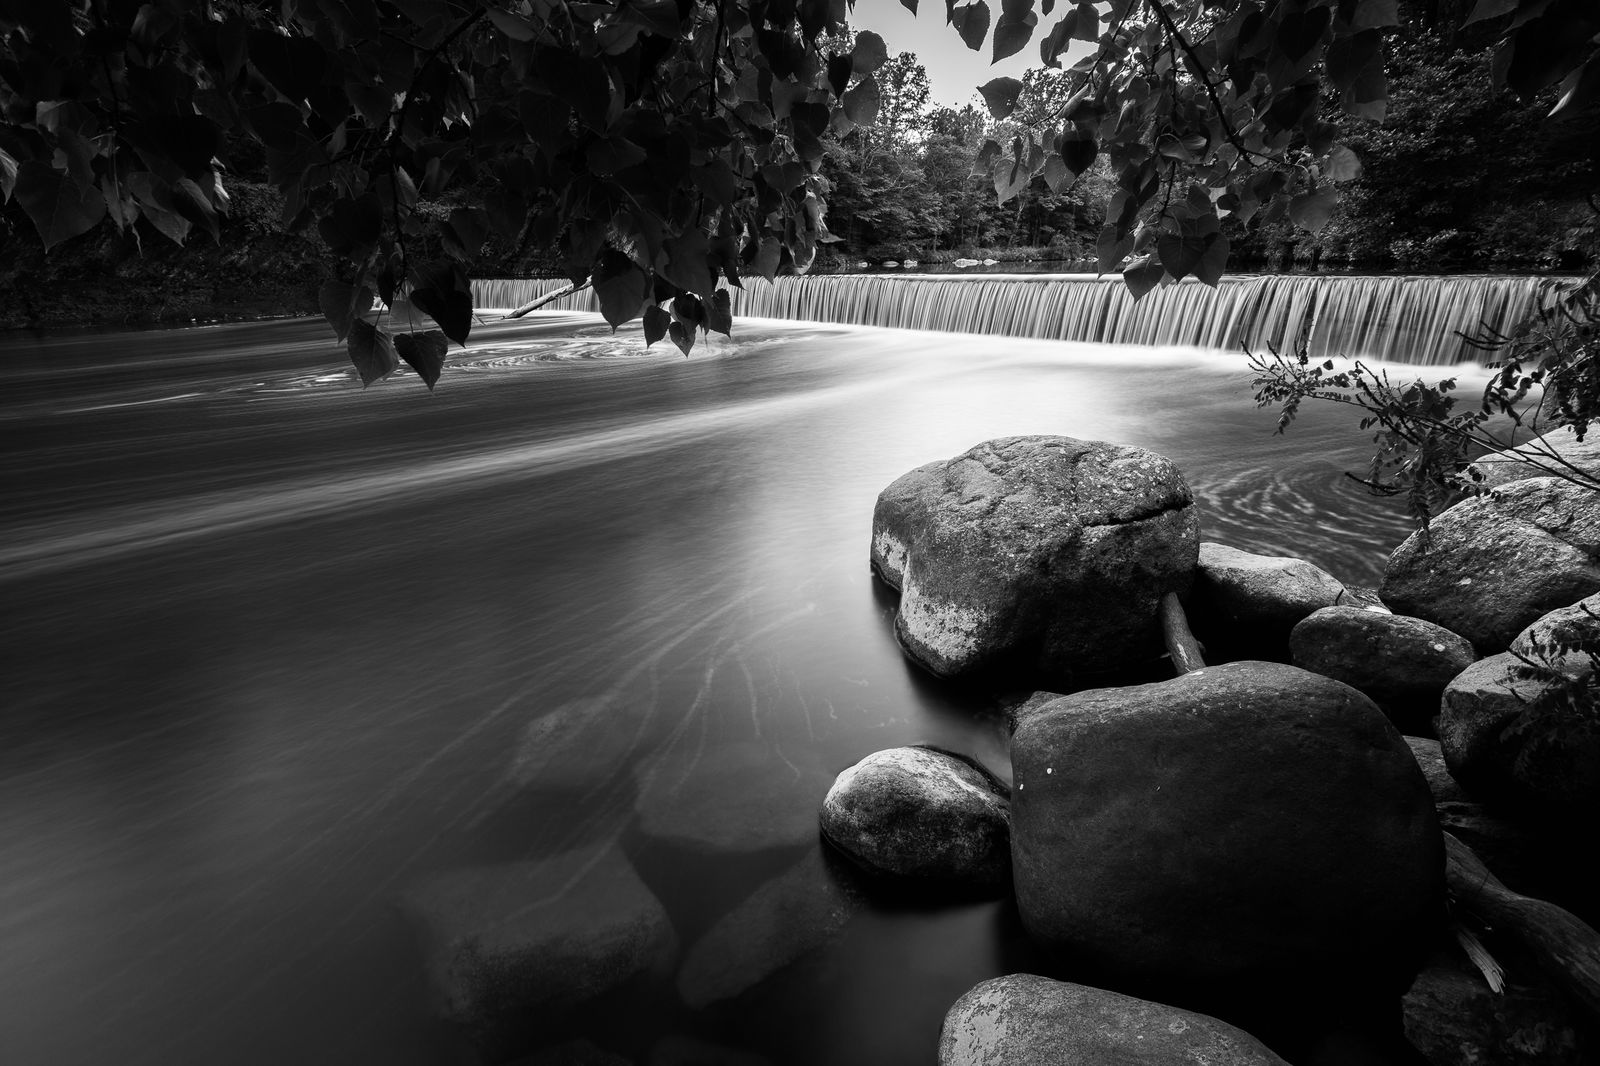
Black and White photography has at least two advantages. First of all it has been around so long, that there is an unmeasurable amount of previous work to insure you. And second, it has attracted the greatest photographers throughout the history of the art. So there is no shortage of excellence for you to draw motivation from.
Inspirational Photographers
Black and white photography is a timeless art form that continues to inspire photographers around the world. From the old masters to contemporary artists, there are many talented black and white photographers to follow for inspiration. Tim Booth’s versatile work explores shutter speed to evoke emotions, while his approach to light on the human body is stunning.
Julia Anna Gospodarou combines her skills as an architect and fine art photographer to create breathtaking images of grand buildings. Doc Ross’ photographs of people and buildings in Christchurch, New Zealand provide a unique archive of the city before and after devastating earthquakes. Adela Filip’s otherworldly landscapes and portraits celebrate textures, tones, shadows, and light in nature.
For more inspiration from talented black and white photographers, explore the works of black and white photographers like Nolan Ryan Trowe, Koen Jacobs, Carina Hedlund, Nicolas Decoopman, and Noriaki Kimura. Each artist brings a unique perspective and style to the monochrome medium, from storytelling and street photography to quiet, meditative landscapes.
Black and White Photography in Quotes
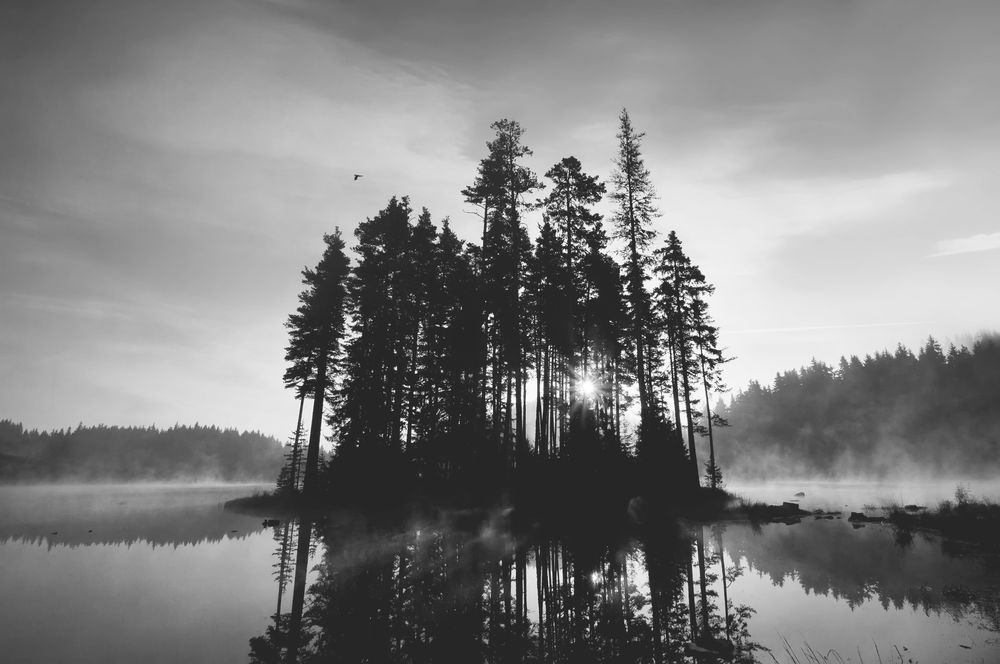
Black and white photography is a timeless art form that can create stunning images. But it takes skill and practice to master. These quotes from famous photographers provide insight and inspiration for anyone looking to improve their black and white photography.
Ansel Adams notes that visualization must be modified when shooting in black and white versus color. Mary Ellen Mark connects more with black and white images, seeing more in them and enjoying the abstraction. And Ted Grant suggests that black and white photography captures the soul of the subject, rather than just their clothes.
Black and white photography strips away distractions, allowing the photographer to focus on texture, contrast, and emotion. As you explore this classic medium, let these words of wisdom guide and inspire you. If you’d like to dive deeper into black and white photography quotes, there are even more gems to be found.
