In this article, I'm going to give you 8 tips for amazing black and white macro photography.
You'll come away with the ability to take stunning black and white macro shots.
How to Create Stunning Black and White Macro Photography: Tip 1 – Shoot Using the Best Light
Amazing black and white macro photography starts with amazing light.
In fact, black and white macro photography depends more on light than other types of macro photography. You need good light for the black and white effect to actually work with your photo.
But what counts as good light for black and white macro photos?
You can capture gorgeous black and white macros with golden-hour light. I'm talking about the hour or two after sunrise and before sunset when the landscape is covered with a golden glow.
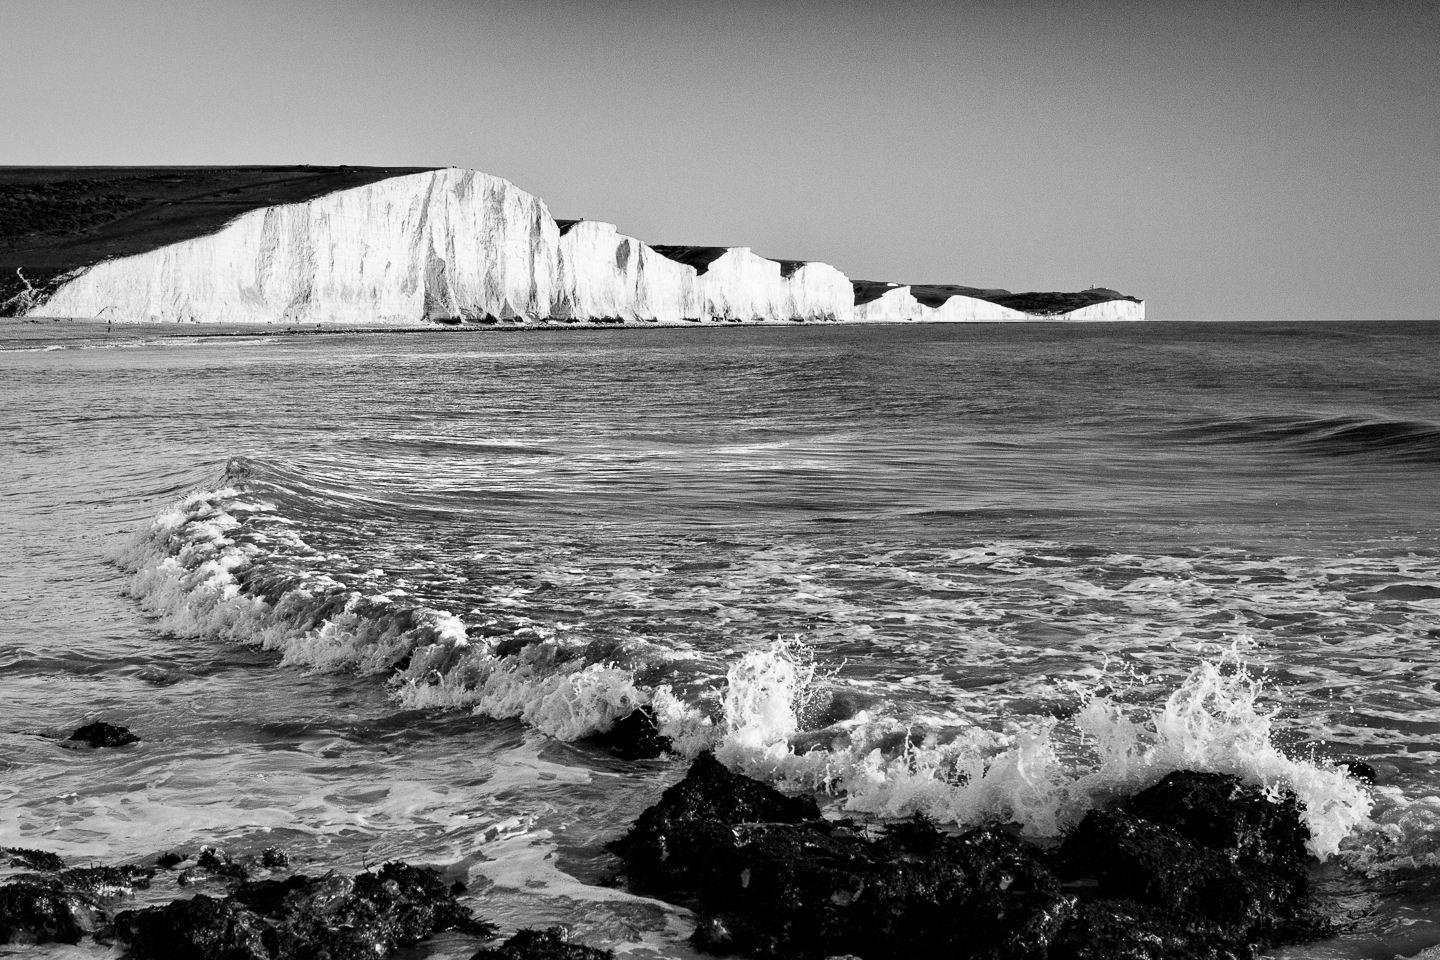
This black and white image was taken during the golden hour. Notice the enhanced intensity of the light: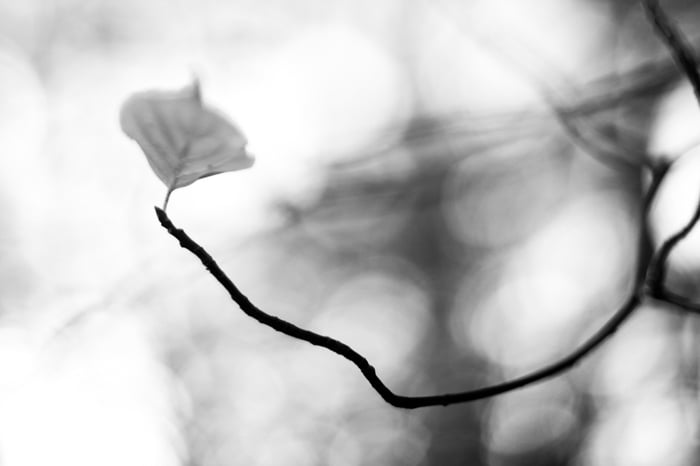
If you're doing golden-hour black and white photography, you should be careful. As I'll explain in a later tip, black and white photos are all about contrast.
This means that you need to use your light to achieve as much contrast as possible.
This means avoiding scenes that are bathed in one-dimensional sunlight. Instead, look for photo opportunities that are sidelit and backlit. These scenes will lend themselves much better to stunning black and white photography.
There's also another type of light that's good for black and white macros:
Harsh, midday light.
You've probably been told to stay away from midday light, and this is generally true except when it comes to black and white photography.
Because midday sunlight causes harsh shadows. And black and white photography are all about that contrast!
So don't be afraid to go out and shoot at either time: golden hours or sunny midday.
Remember to pay attention to the direction of the light, and increase contrast as much as possible.
Which brings me to my next tip.
Tip 2: Shoot Into the Light for Ultimate Black and White Contrast
I talked about the importance of contrast-heavy light, and you discovered the power of the golden hour.
But I need to expand on this because it's so essential.
If you're out shooting in the golden hour, you have three broad lighting options:
Frontlight, where the light comes from in front of the subject (and over the shoulder of the photographer).
Sidelight, where the light comes from off to the side of the subject.
And backlight, where the light comes from behind the subject and into the eyes of the photographer.
While front light is great for many types of photography, it results in dull black and white macro shots. This is because it minimizes contrast. It illuminates scenes too evenly.
On the other hand, backlight creates the absolute best contrast. And this looks amazing in black and white.
Here's what you should do:
Find a subject with a clear horizon in the background. You need to be able to get down low so that the subject is ultimately framed by the sky.
Make sure that the sun is coming from behind your subject. You want to be staring almost straight into the sunlight (though be careful and don't look at the sun through your camera).
Finally, take a few photos, being careful to expose for the bright background. This should result in a gorgeous macro silhouette, which will look amazing in black and white.
I used that exact technique to capture this shot.
Note that you probably shouldn't include the sun fully in the frame, because that will cause the whole photo to blow out.
Instead, put the sun off to one side, out of the photo or position yourself so the sun is blocked by your main subject.
Here's the bottom line. If you make sure to use backlight and get down low, you're going to capture an amazing black and white macro!
Tip 3: Shoot Your Macro Subject Against an Opposite Backdrop for the Best Contrast
As I mentioned in the previous tip, black and white macro photography is all about contrast.
In fact, creating a good contrast should be your main point of focus when shooting black and white macro photography. It should be your ultimate goal.
That's why this tip is all about creating contrast.
And one of the best ways to create contrast is to shoot a dark-colored subject against a light backdrop or a light backdrop against a dark-colored subject.
This ensures that the subject really stands out, despite its lack of color. And it makes the photo much more striking and powerful.
You see, in macro photography, it's so easy to include a messy, busy, complex background. And when this is converted to black and white, it looks muddy and unpleasant.
So you should aim for a backdrop that contrasts with your subject. If your subject is a dark-colored butterfly, make sure that you include a very light-colored backdrop, such as a reflective lake or a patch of yellow leaves.
If your subject is a light-colored flower, put it in front of something dark, such as a shadowy tree.
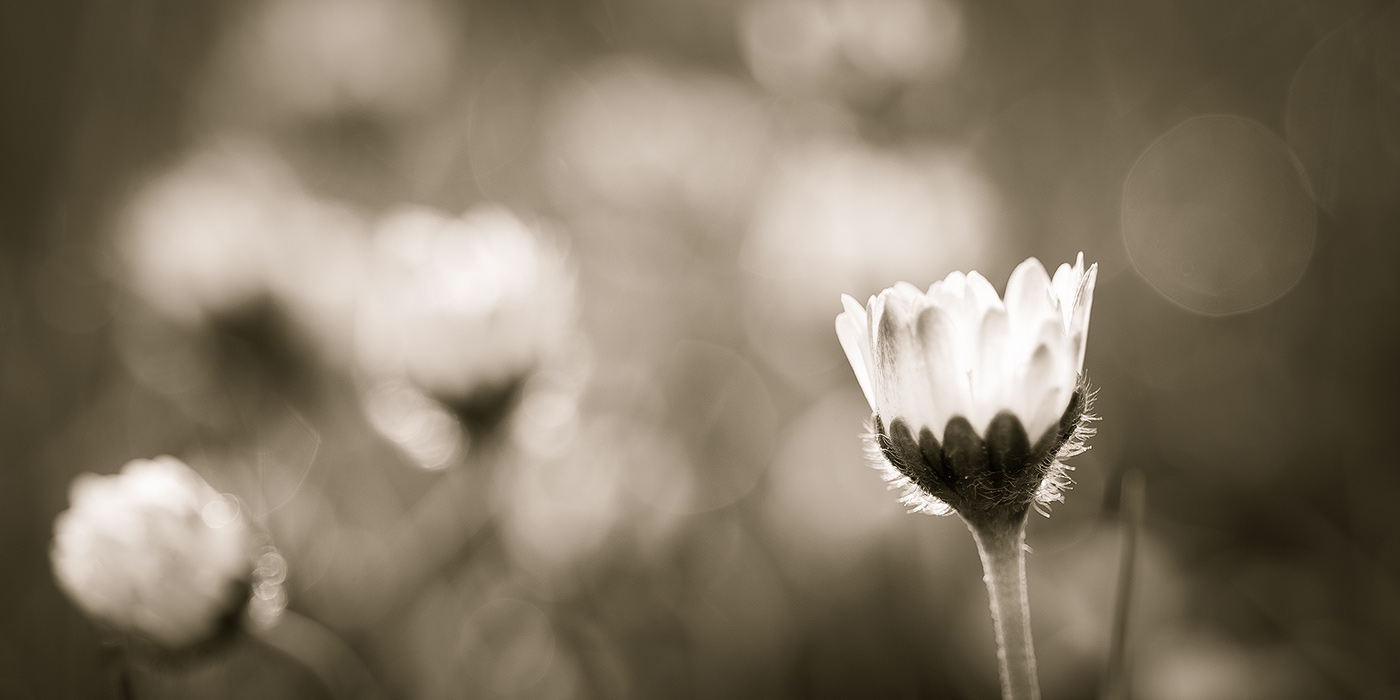
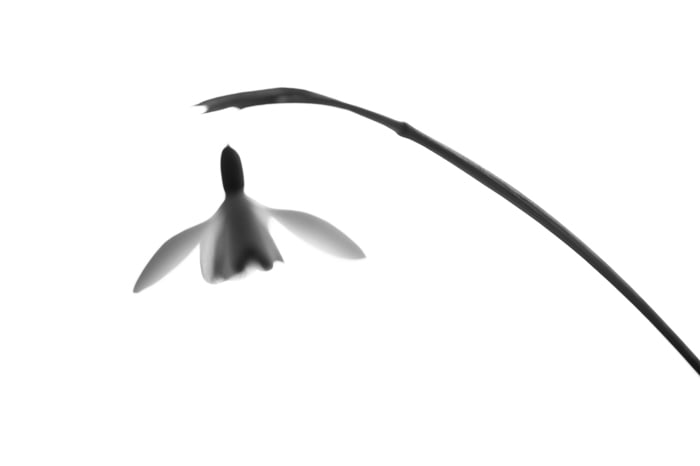
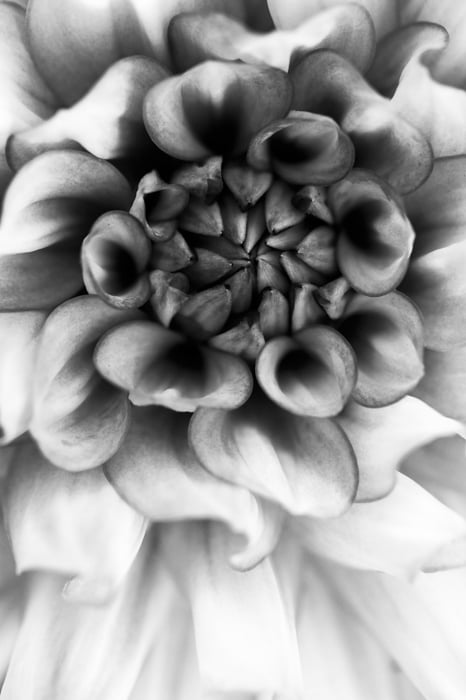
Look at this black and white of a dark flower.
Notice how the background is white? That's what makes the shot work because the main subject stands out from the background.
In fact, here's a little trick for you. If you're shooting a dark subject, you can always get down low and frame your subject against the sky for a nice backdrop.
And if you're shooting a light subject, you can easily position your subject against an area in shadow.
That way, you'll get the background you need.
Tip 4: Simplify Your Photo for the Most Powerful Composition
If you want your photos to be powerful, you have to master composition.
But here's the thing. Black and white macro composition is unique. You're dealing with such a limited set of tones, you have to be careful.
You don't want objects to blend with one another and create a visual mess.
That's why the best black and white macros are consistently simple.
By simple, I'm referring to a few different things.
First, great black and white macros have simple backgrounds. That is, the backgrounds have very little going on. They're uniform. They're not distracting.
You can accomplish this by shooting against a bright white or a dark black background which is already a good idea, as explained in the previous tip.
Great black and white macros also have simple subjects. They have one focal point, and nothing else. Nothing that could draw the eye, and nothing that could take the focus away from the main subject.

So when you go out looking for a macro subject, make sure that it's extremely simple. It should have nothing behind it or surrounding it. Instead, it should stand on its own.
If you want powerful compositions, simple is the way to go.
Tip 5: Focus on a Single Detail for the Most Compelling Composition
You already know the importance of simplicity in your black and white macro photos.
And you know that you need a simple main subject one that commands the frame.
But how do you actually find this subject? And what really works for a black and white photo?
I recommend searching for a single, isolated detail. Zoom in your lens, and move it all around your potential subjects, looking for tiny elements that catch your eye.
You want something that stands on its own. Something that you can highlight.
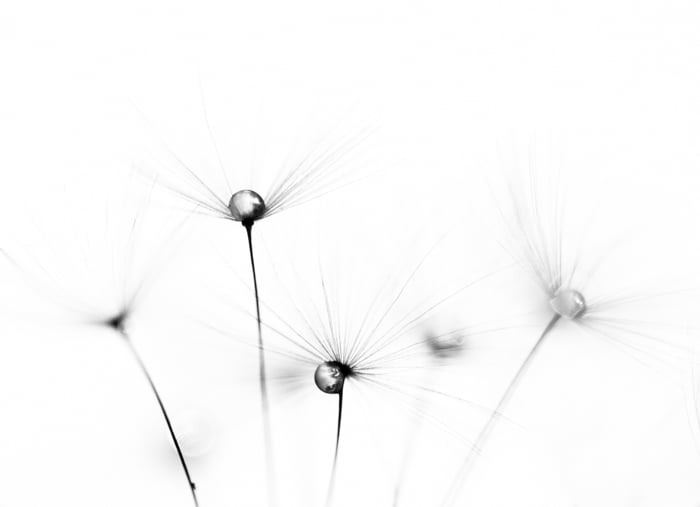
For instance, you could focus on a flower or a butterfly. You could also focus on something ultra-small, like a dandelion seedhead, or a droplet of water.
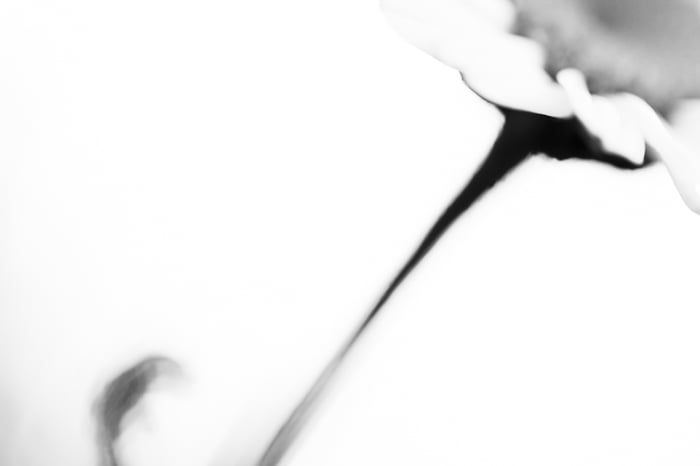
For this photo, a dandelion seedhead caught my eye.
In fact, I quite like using tiny details as my main subjects. These details tend to be more discrete, so they don't appear overly messy.
And you have to shoot at such high magnifications that the rest of the shot is blurred, making the whole photo look more simple overall.
For extra stability, try using a tripod for macro.
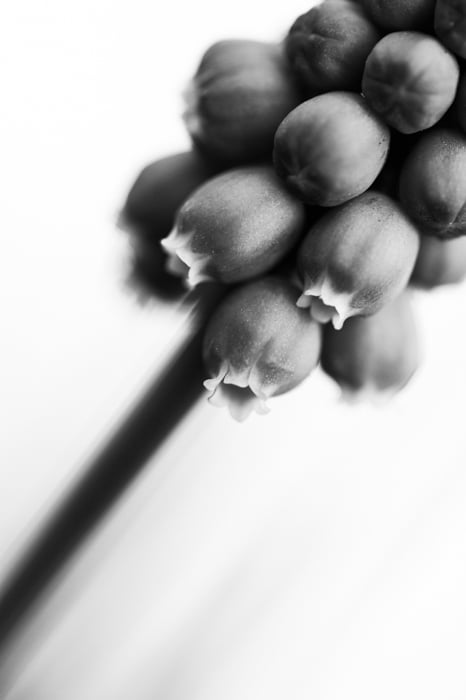
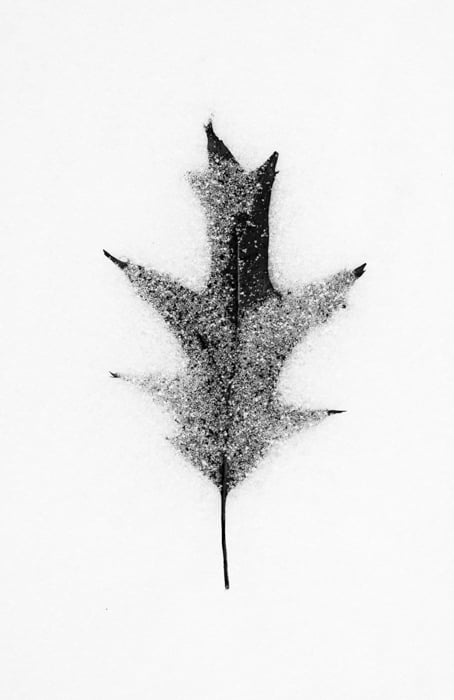
Tip 6: Find Texture for an Eye-Catching Black and White Macro Photo
Macro photographers think about texture very rarely.
But the best black and white macro photographers think about texture all the time. Because stunning black and white photography relies on texture. Texture is what makes black and white photos so much more interesting!
Texture also makes black and white photos moodier which can work well.
Now, the texture is essentially the result of intense, localized contrast.
And as you already know, more contrast is pretty much always better in black and white photography.
So whenever you can, include texture in your photos!
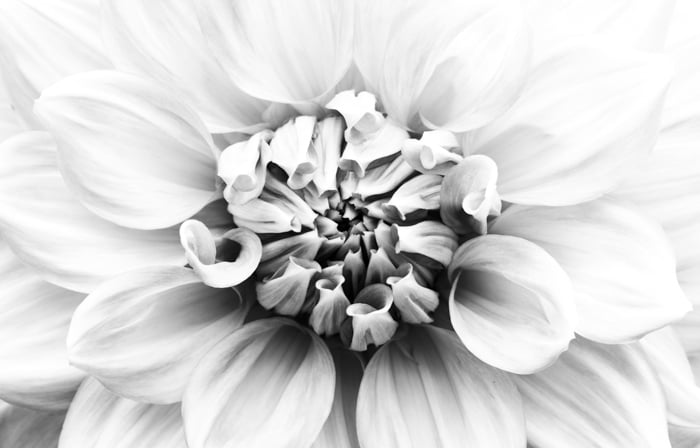
For instance, you should look for flower petals that are full of wrinkles. This is especially the case with flowers that are dead, or on their way out. These will create a beautiful texture and, in turn, result in a nice, somber mood.
You should also look for interesting patterns, such as ripples in the sand. Because the rippled texture looks amazing when hit by the setting sun absolutely beautiful.
Tip 7: Include Negative Space to Help the Subject Stand Out
Negative space is basically empty space in a photo. Space where nothing is happening.
In macro photos, negative space is a spot where only blurred background is showing.
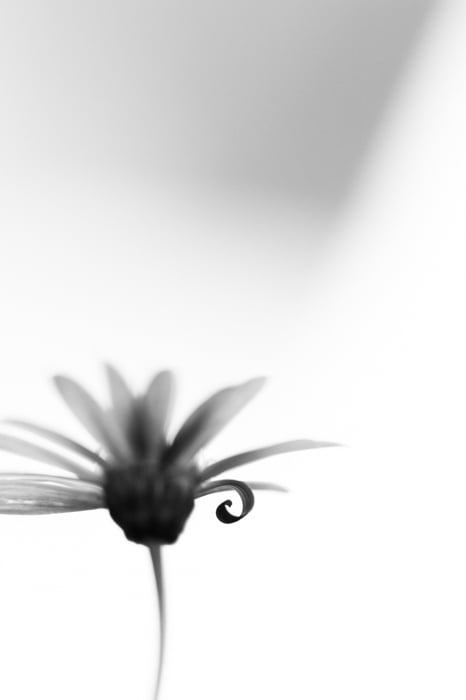
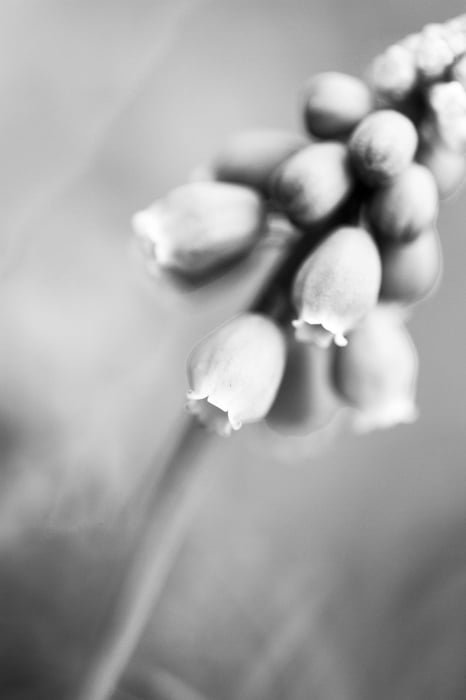
For instance, look at the photo below.
The negative space is simply the area below and around the flower where nothing is going on.
Now, pretty much every composition could use some negative space. Negative space helps photos to breathe.
Negative space also helps attract the viewer to the main subject especially if the main subject is surrounded by negative space.
Because black and white requires such compositional simplicity, negative space is especially useful when doing black and white macro photography.
All you have to do is choose a main subject then surround it with empty space. Don't put your subject smack-dab in the center of the frame. But make sure that it has a good amount of breathing room.
That way, when a viewer sees your photo, they'll be drawn past the negative space, straight to your main subject.
Tip 8: Enhance the Contrast in Post-Processing for the Most Stunning Look
If you want truly amazing shots, you cannot stop after clicking the shutter button.
You have to go deeper.
You have to enhance your black and white macro shots with post-processing.
This is what will give your black and whites the pop they need to stand out from the crowd. Plus, some subtle post-processing goes a long way in making your photos look more professional.
Now, I don't recommend you do a lot of post-processing. A little bit of work is enough. Because you don't want to overdo it. You want to bring out the contrast in your photos.
I recommend you use Adobe Lightroom CC or a similar program.
You should start by opening your black and white macro, then immediately enhancing the contrast (by now, you should know how important contrast is for black and white photographers!).
You should also use the blacks slider to set the black point as a true deep black, and you should use the whites slider to set the white point as a true bright white.
This will ensure that you have a full range of tones in your photo. You won't get stuck with an image full of muddy greys.
If you like, you can set the contrast, the white point, and the black point using the tone curve.
This will give you much finer control over the tonal range of the photo. But the truth is that you can do this all with only the Lightroom sliders! Lightroom can be used for all your macro editing needs.
Conclusion
You should now know exactly how you can achieve amazing black and white macro photography.
Pay attention to the light. Include as much contrast as you can. Simplify the composition.
And use post-processing to add the finishing touches.
Now, all that's left to do? Get out and shoot!
Read more on how to shoot stunning fine art macro photos!