Camera resolution or megapixel (MP) count is important when looking for a new camera. You have to sift through plenty of camera specifications. But this is one that you should pay attention to.
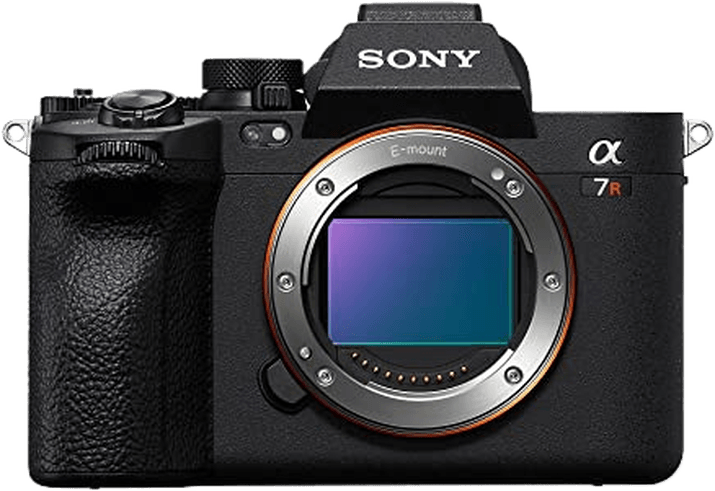
Camera manufacturers often use a camera’s resolution as the headline feature. And when cameras like the Sony A7R V have a 61 MP resolution as standard, you can’t help but be impressed.
But does a higher megapixel count always result in better images? Do you need a 61 MP resolution in your camera? And is resolution the only thing that matters when it comes to image quality?
Camera Resolution Basics
First, it’s important to start with the basics. We need to find out what resolution is and how we measure it. This knowledge gives you a sure footing so we can continue our explorations of resolution and megapixels.
What Is Camera Resolution?
Camera resolution refers to the amount of detail the camera renders in its images. A camera with a low resolution produces images with very little detail. A high-resolution camera produces highly detailed images.
We measure a camera’s resolution using the number of megapixels on the camera’s sensor. This is denoted by a number followed by “MP.”
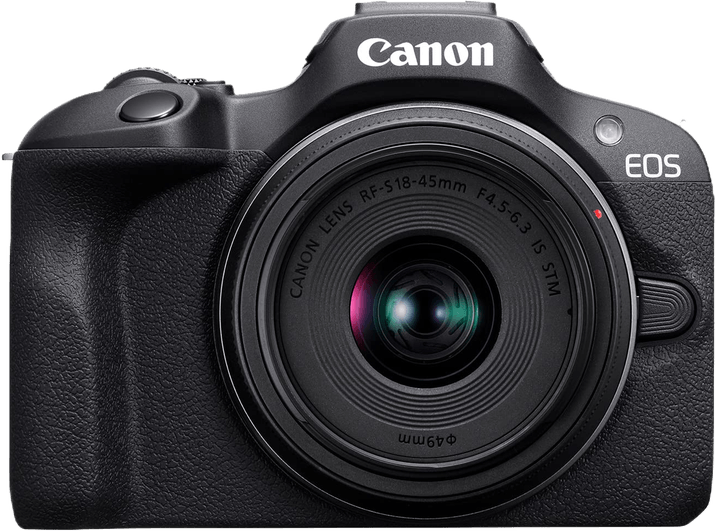
For example, we would say that the Canon EOS R100 has a 24.1 MP resolution. That means the R100’s sensor has 24.1 megapeixels.
What Are Megapixels?
Digital camera sensors gather information using pixels situated on the front side. A pixel is a tiny square that absorbs information so the camera’s processing engine can turn it into something visual.
Because modern sensors use so many pixels, they are grouped into megapixels. One megapixel is a grouping of 1,000,000 (one million) pixels. That means a 24 MP resolution sensor has a total of 24,000,000 pixels.
A camera’s resolution is also sometimes displayed as a multiplication sum. For example, the Canon EOS R100 has an image resolution of 6000 x 4000 pixels.
This is the number of pixels along the long side and short side of the rectangular sensor. The sensor measures 6,000 pixels long on the horizontal axis and 4,000 pixels along the vertical.
When you multiply one by the other, the result is the sensor’s total megapixel count. (6,000 x 4,000 pixels = 24 megapixels or 24 MP.)
How Does MP Count Affect Image Quality?
Pixels absorb information that the camera then uses to create an image. That means the more pixels or megapixels the camera has, the more information the camera receives from the sensor. That’s why higher resolutions or MP counts result in better image quality.
Older readers might remember the awful picture quality from the first camera phones. These had a camera resolution of less than 1 MP. With a resolution of about 350,000 pixels, these images were soft, blurry, and had a blocky “pixelated” effect like the one pictured below.
Photo by Hongkha (Pixabay)
That’s why the Sony A7R V‘s 61 MP resolution is so impressive on paper. That’s 61 million pixels, all providing information to the camera’s processing engine. You know the level of detail is spectacular.
But even beginner camera models like the Canon EOS R100 have a fantastic 24.1 MP resolution. And the latest smartphone cameras, can take pictures with a 48 MP resolution or over.
The difference is incredible if you compare an image from an early camera phone to an iPhone. And if you compare images from the Canon R100 and the Sony A7R V, the jump in quality is equally astounding.
Are Megapixels Everything for Image Quality?
Of all the camera specifications, MP count is the biggest indicator of a camera’s image quality capabilities.
Generally, you can presume that the higher the MP count, the better the image quality. Even without using them, you can safely assume that a 24 MP camera produces better images than a 4 MP camera.
But the story of camera resolution doesn’t start and end with megapixels. Other factors affect image quality in positive and negative ways. Pixel size, sensor size, and lens resolution all play their part. So, we look at all these and more in the following sections.
Camera Resolution and Sensor Size
In this section, we look at how sensor size affects image quality. This leads us to subjects such as pixel size and pixel pitch, two more interesting topics relating to resolution.
Does Sensor Size Affect Camera Resolution?
All the pixels absorbing data are stored on the camera’s sensor. As a sensor has a fixed surface area, the MP count is sometimes limited by the size of the sensor.
A larger sensor can house more megapixels than a smaller sensor. Therefore, we expect a higher resolution level from cameras with larger sensors.
When looking at interchangeable lens cameras, there are three main sensor sizes:
- APS-C (Crop): 23.5 x 15.6 mm
- Full Frame: 36 x 24 mm
- Medium Format: 43.8 x 32.9 mm
The APS-C sensor format is common in entry-level cameras like the Canon EOS R100 or the Nikon Z50. In most cases, the resolutions range from 20 MP to 26 MP.
Cameras at the more professional end of the scale have full-frame sensors. Due to the larger sensor size, full-frame cameras have, on average, a higher resolution than APS-C models.
We see a similar trend when we look at full-frame sensors compared to medium-format cameras. Medium-format cameras have the largest sensors, often with very high MP counts.
But smaller sensors can have higher resolutions than larger rivals. For example, the Fujifilm X-T5 has an APS-C sensor with a 45 MP resolution. That’s staggering for a crop-sensor camera. And it beats the resolution of many full-frame cameras.
Our Top 3 Choices for the Best Entry-Level Cameras
The Nikon Z6 II has a full-frame sensor but only a 24.5 MP resolution. That’s nearly half the resolution of the X-T5.
Similarly, the Sony A7R V has a 61 MP resolution on a full-frame sensor. That’s far more than most other full-frame sensors. And it’s even more than some medium-format cameras. For example, the Fujifilm GFX 50S II has a 51.4 MP resolution on a full-frame sensor.
But it is common for medium-format cameras to go much higher than that. The Fujifilm GFX100 II has an incredible 102 MP resolution from its medium-format sensor.
This high resolution is only possible due to the larger physical size of the medium-format sensor compared to full-frame and APS-C ones.
How Does Pixel Density and Pixel Pitch Affect Camera Resolution?
As there are set sizes of sensors but varying numbers of pixels, you get different levels of pixel density and pixel pitch. But what are pixel density and pixel pitch? And how do they affect resolution?
Pixel density is the number of pixels in a given area. The more pixels you have in that area, the higher the pixel density.
Pixel pitch is the distance between the center of one pixel and the adjacent pixels. The smaller the pixel pitch value, the closer the pixels are to one another.
Without getting too technical, a larger pixel density value gives you better resolution. And a smaller pixel pitch value gives you better resolution. Looking at both pixel pitch and density then gives you an idea about the size of the pixels on a sensor.
How Does Pixel Size Affect Camera Resolution?
Put very simply, smaller pixels give you better resolution. Or at least, a greater number of small pixels give you better camera resolution than fewer larger pixels spread over the same area.
Let’s say we have a one-inch square sensor. If that sensor only has four pixels covering its entire surface area, there is practically no definition when taking a picture. We would only have four colored squares.
Let’s increase the number of pixels to 120. As more, smaller pixels are spread over the same area, we get a better indication of what the photo might be of. But the image is still very rudimentary.
We can then take this process much further by looking at the one-inch sensor in the OM System Tough TG-7. This sensor has 12 megapixels covering the same surface area.
That means the pixels must be much smaller than in the precious examples. We, therefore, know the resolution and image quality are far superior. But that isn’t the end of the story on pixel size and picture quality. We also need to consider pixel sensitivity.
We can compare the crop-sensor Fujifilm X-T5 and the full-frame Canon EOS R5. Both have 45 MP sensors. But for so many pixels to be squeezed onto the XT-5’s APS-C sensor, they need to be smaller. We might then assume that the X-T5 has superior image quality to the EOS R5.
But pixels lose sensitivity as they get smaller. Larger pixels are more sensitive, passing more detailed information to the camera processor.
That’s why cameras with a slightly lower MP count can have better low-light performance (reduced noise) and better dynamic range. Also, diffraction can be a problem for sensors with smaller pixels.
Understanding Diffraction and Lens Resolution
Moving away from the spec sheets and pixel counting, we now look at the natural lens diffraction (light diffraction) phenomenon. While often overlooked, diffraction plays a big role in a camera’s effective image resolution.
What Is Lens Diffraction?
Diffraction is an optical effect when light passes through an obstacle or aperture. This can limit a lens’s sharpness and a camera’s resolution, no matter the camera’s MP count or sensor size.
Due to the wave nature of light, the waves diverge when passing through an aperture and then disperse on the other side. This dispersion is known as diffraction.
As the light waves diffract, they must travel different distances to reach the sensor. This causes them to move out of sync and interfere with each other.
The result is a diffraction pattern that has an inconsistent spread of light. The “airy disk” pattern below is a two-dimensional representation of diffraction. It shows us how light waves hit a sensor with an uneven intensity when diffraction has occurred through a circular aperture.
Good quality lenses do well to control diffraction. The effect is normally so minor you can’t detect it, especially when using larger apertures. But your camera’s resolution also determines how much diffraction can be a problem.
An airy-disk pattern (Wikipedia)
What Is the Relationship Between Diffraction and Resolution?
The visual effects of diffraction can be a softness or lack of intensity in certain image areas. You might see discoloration or color bleeding. The loss of sharpness negates the extra resolution of having more megapixels on your sensor.
Airy-disk diffraction patterns are more of a risk when you use higher f-stops. When the aperture is narrower, there’s more dispersion, and the diffraction effect is larger and more pronounced.![]()
But diffraction becomes more visible when you’re using high-resolution cameras. It also becomes visible at wider apertures.
The camera can pick up even the slightest diffraction thanks to the high number of pixels. This is especially the case if you have a sensor with a high pixel density. Diffraction can become noticeable at apertures such as f/8 or even f/5.6.
The increased detail captured from high resolutions is a blessing and a curse. The obvious plus is the incredible image quality. The downside is the camera’s sensitivity to the slightest imperfection, particularly diffraction.
The diffraction effect can be so strong that it limits your camera’s resolution at high f-stops. That means you’re not getting the most out of your high-resolution camera shooting at f/22.
A diffraction-limited camera is one unaffected by diffraction at even its narrowest aperture. Low-resolution cameras are often considered diffraction-limited. This is because diffraction is not detected at any f-stop available.
But being diffraction-limited is next to impossible on high-resolution cameras.

The effect of diffraction on resolution
Does Lens Sharpness Also Affect Resolution?
Diffraction means getting diminishing returns for image resolution when you use narrower apertures. This suggests that you should use wider apertures to maximize resolution. While that is the case for diffraction, lenses can experience other optical problems at the other end.
Lenses can lose sharpness when used with the widest aperture, such as f/2.8 or f/1.4. The loss of sharpness is usually more prominent around the edges but can affect the entire image.
Lens sharpness is also known as lens resolution. This is because it refers to the lens’s ability to resolve details as light passes through.
A lens with a higher resolution gives you crystal-clear, razor-sharp images. Lenses with a low resolution can give you soft, smudgy, or unclear details.
It’s also more of a problem with cheaper, sub-standard lenses. But even the best lenses can lose sharpness at the wide end of the aperture spectrum.
Again, this is more of a problem with high-resolution sensors, especially if they have a low pixel pitch level. They can pick up the slightest loss of sharpness. And it is made all the more obvious by the ultra-sharp areas that haven’t been affected.
A low-resolution lens undermines a high-resolution sensor. If a lens cannot resolve detail to such a fine level, there’s no point in having a super-high-resolution sensor. Many pixels are wasted, and the image quality won’t be what it could be.
It isn’t easy to evaluate lens sharpness without physically testing the lens. But MFT charts are a great way to check lens resolution without having the lens in your hands. They give you a good indication of the level of lens resolution of any particular lens.
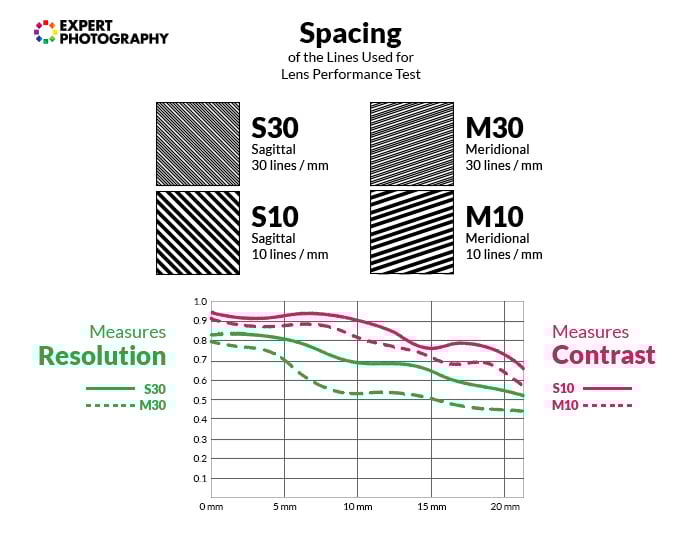
An example MFT lens chart
How to Maximize Camera Resolution
You might be disheartened learning how diffraction and lens resolution limit resolution. But there are steps you can take to maximize your camera’s resolution so you always get the most out of your camera.
Get to Know Your Camera
The best way to learn about your camera’s strengths and weaknesses is to try and experiment. You can only learn so much from a spec sheet. The real knowledge comes from using the camera and testing its limits.
Setting up your camera properly is the first place to start. To maximize the sensor’s MP count, you should set it to the full aspect ratio.
Then you should set it to RAW shooting. Or, if you want to shoot in JPEG to save space, make sure you’re using the highest JPEG setting on the camera.
Some cameras also have in-camera sharpening settings. These can give you a boost of sharpness that gives you more detail. But be careful. Oversharpening can damage the image quality. Run a few tests and find which setting gives you optimal results.
Also, test your camera’s ISO limits. Of course, every camera has a maximum ISO setting. But this is about finding the last ISO setting where you don’t experience digital noise. It’s best to look for noise using photo editing software. You can zoom into your images for a closer look.
You can also dive into the technical details of your camera. Look at the pixel density and pixel pitch of the camera sensor. This gives you a deeper understanding of your camera specs and resolution limitations.
Get to Know Your Lens
Just like with cameras, manual testing is the best way to learn your lens’s strengths and weaknesses. Do test shots at both extremes of the aperture range.
Identify where lens diffraction might be an issue by shooting with the highest apertures. And check for loss of sharpness by shooting at the other end.
Find out which apertures give you the best results. These will probably be in the middle. But knowing which specific f-stops give you the best results is always good.
Also, get to know the focus modes of the lens and camera. And don’t be scared to focus manually to get better sharpness.
Keep Your Camera and Lens Clean
This might sound basic, but it has to be a top priority if you want the most from your camera setup. The slightest smudge or speck on the lens can have a terrible effect on light transmission and resolution.
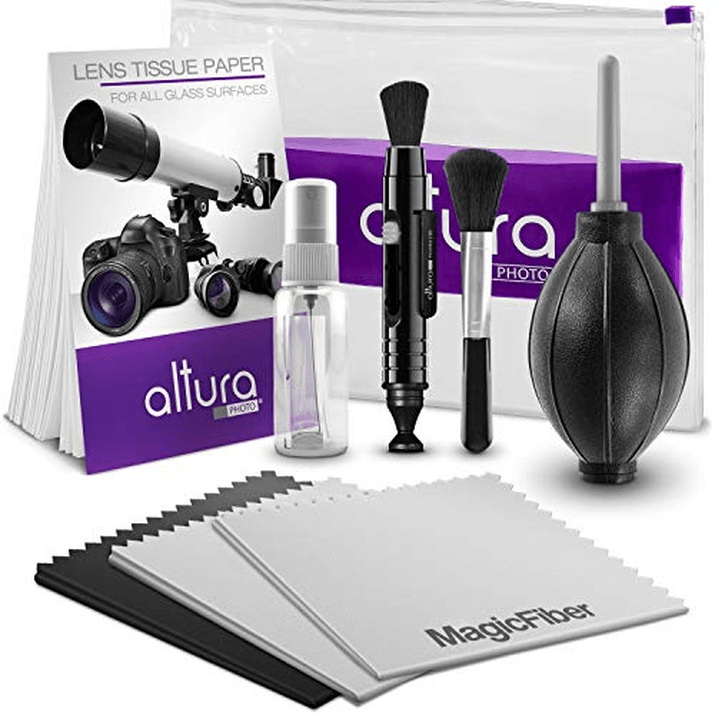
Specks of dust on the sensor can render some megapixels completely useless. So, invest in a good quality camera cleaning kit to maintain your gear.
Our Top 3 Choices for The Best Camera Cleaning Kit

Use Camera Filters
There are many types of camera filters photographers like to use. Several of these filters can be used to maximize image quality.
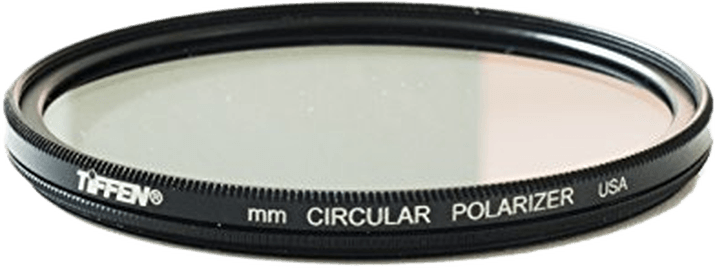
Polarizing filters are popular with landscape photographers. They reduce glare and flare as light passes through the lens, helping light transmission. And they reduce the effect of reflected light in your images, helping the camera pick up details. The results are sharper, more intense images.
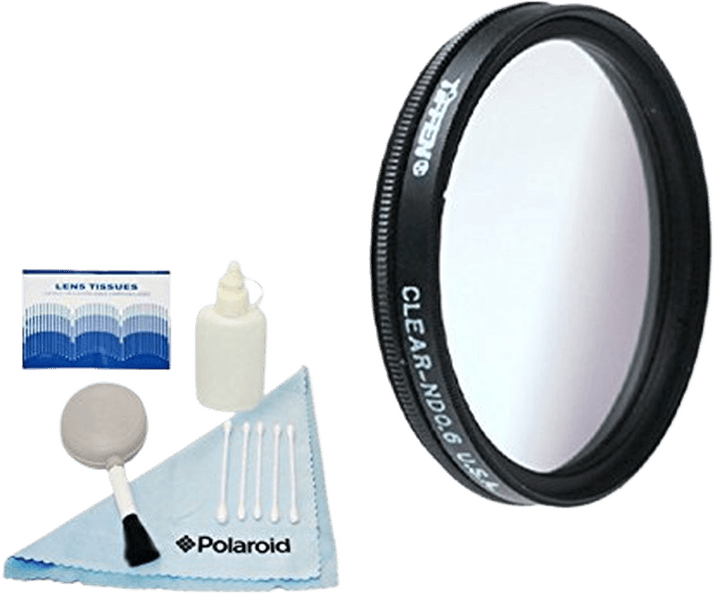
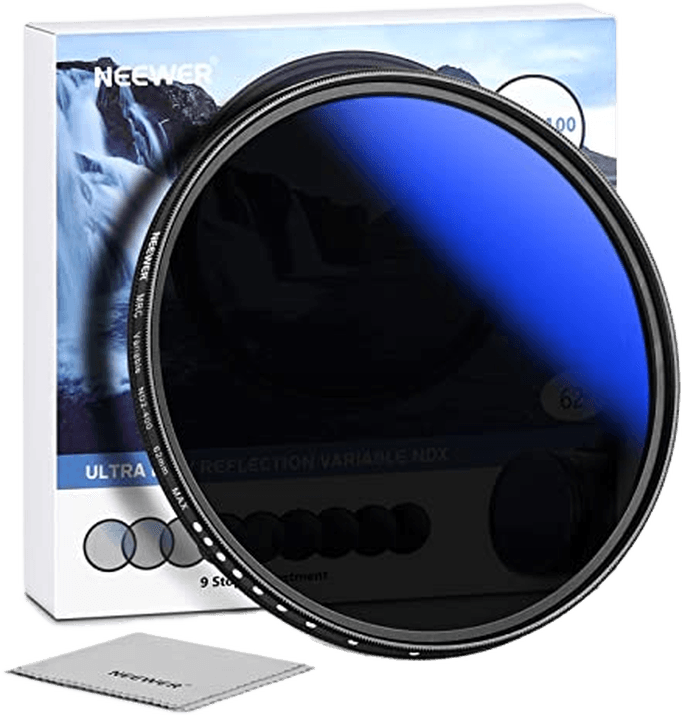
You can also use neutral density (ND) filters to avoid diffraction. They block light at the front of the lens, letting you use longer shutter speeds without overexposing the image.
That means you can use wider apertures when shooting outdoors on bright sunny days. Variable ND filters are the most versatile options.
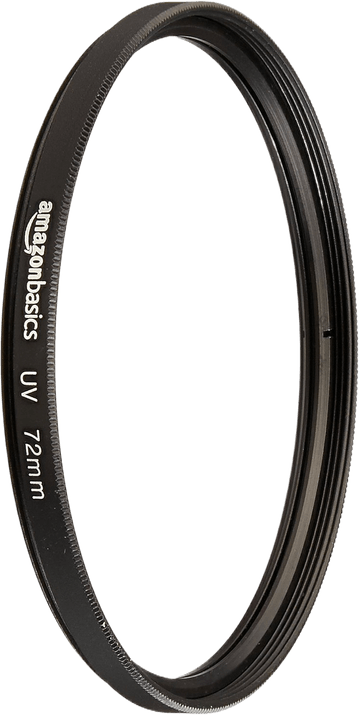
But be careful when using filters. Cheap, poor-quality filters will hurt image quality and resolution. Always buy a filter from a reputable brand.
Also, you have to keep your filters clean. Even small amounts of dust and grime can reduce resolution and performance, like with cameras and lenses.
Our Top 4 Choices of the Best Budget Camera Lens Filters
Try High-Resolution or Pixel Shift Shooting Modes
Some of the latest mirrorless cameras now have high-resolution shot modes. These are also called pixel-shift modes because they use the image stabilization system to create the images.
With pixel-shift mode, the camera takes several exposures in quick succession. Depending on the camera, this can be between 3 and 20 exposures. It then creates a composite using all the exposures to generate one high-resolution image.
The Fujifilm X-T5 has a Pixel-Shift Multi-Shot mode. While a standard image from this camera has a 45 MP resolution, the images from this mode have a 160 MP resolution.
You do need a tripod when using the pixel-shift mode with the X-T5. But the Olympus OM System OM-1 has a 50 MP high-resolution shot mode you can use when shooting handheld.
Not all cameras have high-resolution shot modes, so check before you invest in a new camera. But these modes are a great way to get more camera resolution. And because the final image is a composite, diffraction, and lens resolution have less of a negative effect.
© Alessandro Torri
Camera Resolution and Cropping
A primary reason for shooting high-detail images is the option to crop them later when editing photos. This gives you flexibility and creative freedom. You can change your composition, main subject, and focal point. You can communicate something else by cropping.
Note that “digital zooming” is the same process as cropping. But it happens in the camera, with no option to later reveal cropped-out parts. I recommend avoiding the digital zoom. Crop your images during post-processing instead.
I don’t enjoy shooting with zooms. I appreciate extra light over versatility. So, I often carry just a 24mm and an 85mm lens when traveling. Most of the time, I change framing by moving closer with the 24mm. It also gives a perspective that I like better.
But in the photograph below, I had to crop in later. I couldn’t go closer. I like both versions equally. But the cropped image focuses more on the boy and less on the surroundings. I could do this because I had plenty of resolution.

Shot with a Canon 5D Mark III and a 24mm F/1.4 II lens at f/2 and 1/400 s.
How to Avoid Pixelation When Upscaling
Upscaling or enlarging small images rarely yields the results you’d like. Photoshop and other editing programs offer algorithms to make upscaled photos less pixelated. But the outcome is far from sharp.
Also, remember the previous points. A close-to-pixel-level sharp photo is easier to upscale than a blurry, softer one.
Adobe Photoshop‘s tool has improved significantly, but there are web-based services for advanced upscaling. And in the past few years, the options have become much more sophisticated. This is due to the rise and evolution of machine learning algorithms.
Software like Topaz Lab’s GigaPixel AI is another option. You can read our full review of GigaPixel AI for more info and other online upscaling options.
Camera Resolution and Printing
The other reason for really high-resolution images is printing. Now, I don’t mean printing at home with the printer you use for printing documents. I mean professional professional photo printing of magazines, books, posters, and prints.
Printing works similarly to digital imaging. Printers paint tiny dots on the paper. And those dots are the smallest unit of detail in printing. Digital pixels can be directly translated to dots. And just like pixels, dots also don’t tell much about detail.
But printing services ask for files with specific pixel dimensions. This is because they assume that the files you submit contain pixel-level information and are detailed.
During printing, you will encounter a new unit of measurement called DPI. It stands for “dots per inch.” DPI tells you how densely the dots are printed onto the paper. The denser they are, the more detailed the print can be.
Magazines, books, and smaller prints generally look good above 300 DPI. Posters and larger prints are made with slightly lower dot densities. This is because there’s often not enough resolution for supplying 300 DPI.
Calculating Print Size
Let’s suppose that you’d like an 8 x 10-inch print size. It’s a standard, medium-sized format. Just multiply the desired DPI (in this case, 300 DPI) by the length of the sides.
For this print, you need to submit an image of 2400 x 3000 pixels. If you translate that to megapixels, it’s not a lot—only 7.2 MP.
Now, make a calculation the other way around. If I use the full pixel count on my 22.1 MP camera, what size can I print at different densities? The images would be 5760 x 3840. They have an aspect ratio of 3:2. The other possible sizes are in the table below.
| Dots Per Inch | Final Size |
|---|---|
| 600 DPI | {{column-name-2}}: 9.6" x 6.4" |
| 300 DPI | {{column-name-2}}: 19" x 13" |
| 200 DPI | {{column-name-2}}: 29" x 20" |
| 100 DPI | {{column-name-2}}: 58" x 38" |
| 10 DPI | {{column-name-2}}: 14m x 10m |
Camera Resolution and Digital Use
Digital displays of images don’t need a lot of resolution. The images that you find on websites are tiny.
For example, on our site, we use images of 700 or 1200 pixels on their longer side. That’s still enough for seeing what’s in the image. But it’s also small enough to load quickly.
The full resolution of monitors and TVs is not much bigger, either. The most popular display sizes used to be HD and Full HD. But 4K monitors, 4K webcams, and 4K cameras are now the standard rather than the exception. But what are those exactly?
HD refers to 1280 x 720 or 1366 x 768 pixels. These are around one megapixel (1 MP). FullHD is twice as large, at 1920 x 1080 pixels. That’s 2 MP.
4K is a significant step. It’s four times larger than Full HD, at around 3840 x 2160 pixels. It’s close to 8 MP.
Higher-resolution displays are rare. But we are now seeing 6K and 8K displays enter the market, with 8K cameras available. The dimensions for 6K are 6,144 x 3,456 pixels. This is 21.2 MP. For 8K, they are 7,680 x 4,320 pixels. This is 33.2 MP.

Photo by Designecologist (Pexels)
Conclusion: Camera Resolution and Megapixels
So, do you need high resolution? If you do, you now know that detail and resolution are not all about megapixels. Other technical and human factors contribute to a high-res photograph. Hopefully, you can now take the sharpest image with your camera gear.


