Blowing out the highlights or underexposing the shadows destroys the detail in your images. It leaves the resulting photo lackluster.
Understanding dynamic range can help keep these details intact. From skies in landscape photos to shadows in street photography.
Learn how to get the most dynamic range out of your camera with this beginner's guide.
What Is Dynamic Range?
Cameras can't capture all the details in the scene when the light is too bright. Either the brightest areas will turn into white blurs. Or the darkest areas will turn a detail-less black. Dynamic range explains why, exactly, this happens.
A digital camera sensor (or a strip of film) can only capture a limited range of light. This is the dynamic range. The limitations of dynamic range often come into play in bright scenes with a lot of contrast.
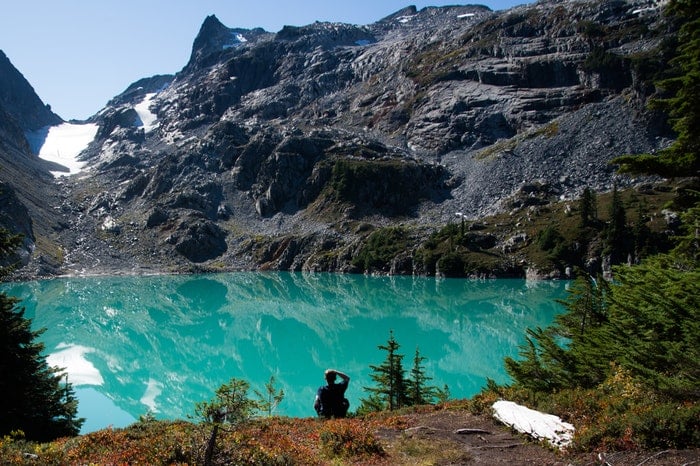
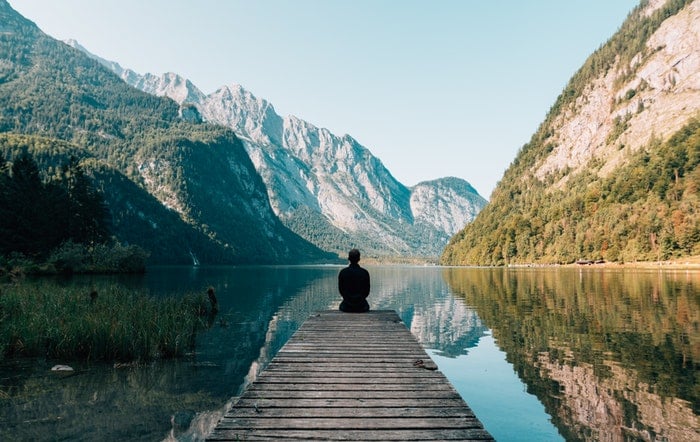
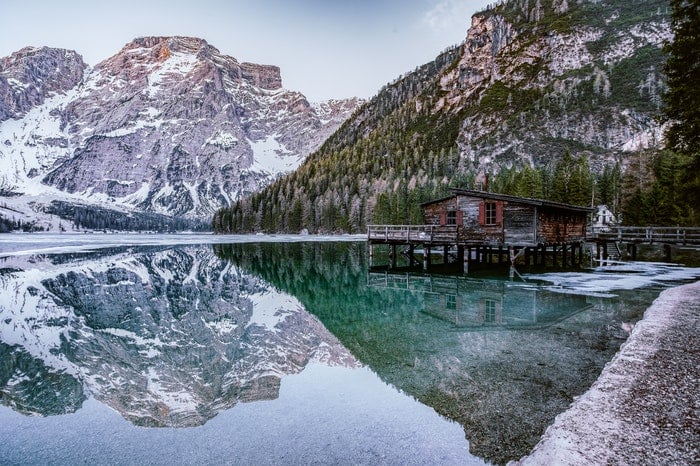
On a cloudy day, most cameras can often capture the darkest and brightest areas of the image. It’ll be properly exposed, in a single shot. Add in bright, directional light and it's a different story. This includes backlit portraits or landscape scenes.
Dynamic range in photography refers to the range of light that a camera can capture in a single exposure. The human eye can see detail in light with around a 20 stop dynamic range. DSLRs and mirrorless cameras are often lucky to capture half that.
Cameras can't see the same dynamic range as our own eyes. That brilliant blue sky that you see, on camera, becomes an overexposed white mass. Or a completely dark foreground.
The settings used on the camera can determine what settings that range is set for. These include bright conditions such as sunshine. Or dark conditions such as night photography.
Exposing for the brightest areas of the image will keep those areas intact. But the rest of the scene will be dark, like in a silhouette. Or, you can expose for the darkest parts of the scene. This leaves the highlights blown out into white blobs.
Finally, you could expose for the midtones. But you might lose detail in both the bright and dark portions of the image.
You can choose to expose to keep the highlights, mid-tones, or shadows intact. But shutter speed and aperture won't increase the limits of the camera's dynamic range.
ISO plays a role in dynamic range. The higher ISO settings limit the range of light the camera captures. ISO won't solve most dynamic range issues. It can play a small role in what the camera is capable of capturing.
Using a low ISO won't allow you to capture a high contrast scene perfectly. But it does offer an advantage over high ISOs.
Dynamic range doesn't mean you're forced to choose between leaving the brightest or darkest areas of the image intact for all eternity.
You can use in-camera tricks and/or photo editing. And you can move beyond what your camera is capable of capturing in a single shot. Here’s how to fix the common dynamic range issues in photography.
How to Improve Dynamic Range Without Photo Editing
You can expand the dynamic range with High Dynamic Range. But the HDR process has several downfalls (more on that in a bit).
There are other tricks you can use. These will avoid overexposing the highlights or underexposing the shadows in the camera.
Many of these tricks don't actually adjust the dynamic range the camera can capture. They adjust the range of light in the scene by adding or removing light, instead.
Shoot Again in Better Weather, in the Shade, or From a Different Angle
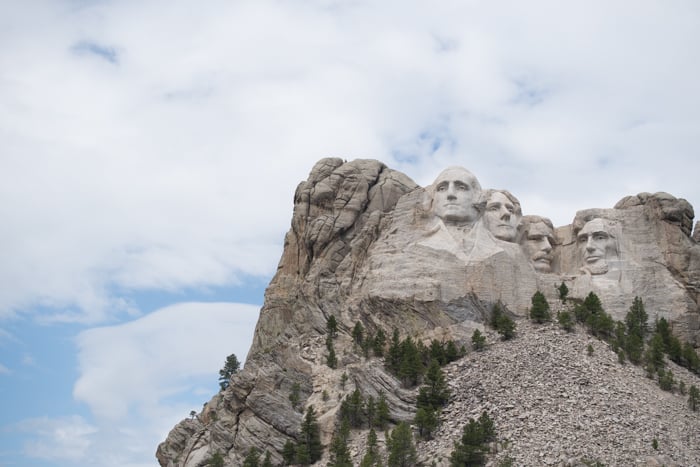
The most common type of scene that a camera can't capture well in a single shot is one brightly lit by the sun. Sometimes, you can wait for better weather, different time of the day, or move into the shade. This can the contrast in the scene.
Say you are shooting on a sunny day at noon. You're shooting a scene with a wide dynamic range between the bright sun and the surrounding scenery.
Wait for a cloudy day, or shoot early or late in the day when the sun isn't overhead instead. This will make the shot easier to capture.
Another option, depending on the type of shoot, is to move the subject into the shade.
Even adjusting your composition can help. Point the camera towards the sun and it will make the sky much brighter than the backlit landscape.
If you put the sun to your back, it will help light up the scene. This will create a view with a dynamic range narrow enough for your camera to capture.
Waiting for better weather or turning around isn't always an option or the best option. You can't photograph a sunset with your back to the sun. Or maybe you're traveling and you only have one chance to take in that view in front of you.
Waiting for better weather or a better angle may be the easiest options. But they’re not the only options.
Use a Graduated Neutral Density Filter
A graduated neutral density filter can solve one of the most common dynamic range issues a sky that's too bright. It blocks light from only part of the image.
Like a pair of sunglasses for your camera lens, a neutral density filter will help block out light. A graduated neutral density filter will block out light only in a part of the photo. This makes it an ideal tool for fixing dynamic range problems.
Place the darkened part of the filter over the sky (or whatever part of the image is too bright). Now the sky becomes well-balanced with the rest of the scene.
You’re no longer trying to increase your camera's ability to capture a wider dynamic range. Instead, a graduated neutral density filter reduces the range of light in the scene. Before it even comes through the camera lens.
Graduated neutral density filters come in several different strengths. If the sky is only slightly overexposed, a lighter filter like a GND .3 may do the trick.
If the sky is very overexposed, you'll need a stronger filter to correct the issue. Try a GND 3.0.
Square or rectangular graduated neutral density filters work better than circular screw-in ones. They offer more flexibility in placing where that darker part of the filter is.
Filters are one of the simplest ways to correct dynamic range problems. But they aren't perfect for every scenario. Graduated neutral density filters work best with a straight horizon.
Imagine you are capturing a photo of skyscrapers jutting into the sky. That same filter will also darken the top of the skyscrapers as well as the sky.
Use Flash or Artificial Lighting
Another option is to add more light. Using flash or a video light will help fill in the darkest portions of the image.
Filling in the shadows decreases the difference between the dark and bright areas. This allows your camera to capture the entire range of light in a single photograph.
Consider a portrait backlit by the sun. Using the camera's metering mode, you can expose for the face to keep the subject well-exposed. That will leave the background overexposed.
By using a flash, the amount of light on the subject becomes much closer to the amount of light on the background. The subject and the background are now similarly lit. You pushed the dynamic range of the image into one that the camera sensor is capable of capturing in a single shot.
You can use the flash to narrow a scene's dynamic range. Enough for the camera to capture without any editing.
Real estate photographers, for example, often use wireless flash. This creates a bright and cheery room without overexposing the view from the windows.
Flash is a great tool for capturing high contrast scenes. But it is often tougher for beginners to master. It can take some time to learn how to balance the light from the flash with the light from the rest of the scene.
Using off-camera flash can further improve the shot, but adds more gear and more time to make the shot.
How to Improve Dynamic Range With HDR and Photo Editing
Some scenes make it impossible to improve the dynamic range in-camera.
These include a landscape too large to cover with a flash. Or one with a horizon too jagged for a graduated neutral density filter to cover.
When filters and flash fail, you can improve the dynamic range through photo editing. For the most extreme cases, HDR might be a must.
For others, simpler tweaks may be all that's needed.
Improving Dynamic Range With Lightroom or a RAW Photo Editor
When you shoot a RAW photo, the file has enough information to recover the highlights and shadows. You might be able to do this with only a bit of manipulation in Adobe Lightroom or a similar program.
The first step is to learn how to identify whether an image can be rescued in post or not. This way you can adjust your capture before you leave the scene.
A RAW photo has a wider dynamic range. But RAW won't solve every dynamic range problem alone.
The histogram will tell you if the dynamic range can be improved in post in a single shot. Or if you need to use the HDR technique instead.
A histogram charts the pixels in an image based on how light or dark those pixels are. Check if the peaks in the histogram are cut off on either the right or left side. If they are you won't be able to recover that data with simple photo edits.
If the peaks of the chart are cut off on the left, you've lost data in the shadows. On the right, you've lost details in the highlights.
If the histogram is skewed too far left, adjust your exposure settings to brighten the image and vice versa.
If you can't adjust your exposure settings to avoid cutting off peaks on the right or left, then the scene has a dynamic range that's wider than your camera can capture.
In this scenario, you won't be able to correct the issues easily in post. The HDR technique is a better option. It's worth noting that every image doesn't have to have a perfect histogram every time. If you intentionally shoot a silhouette, for example, your histogram will be sewed left intentionally.

If the preview on the LCD screen has some areas that are a bit too bright and/or a bit too dark but your histogram is intact, you should be able to rescue the image in post.
Do you find the histogram daunting and hard to understand? Turn on the highlight warnings in your camera settings menu. The "blinkies" will highlight overexposed areas in your image on the LCD screen.
Once the image is open inside Lightroom, Adobe Camera RAW or a similar tool, you can get to work recovering the details in the highlights and shadows. Use the highlights and whites sliders to recover the brightest areas of the image.
If needed, use the shadows and blacks as well to bring back some of those details. Reducing both the highlights and shadows can reduce contrast. You may need to add some back in using the contrast slider.
The sliders aren't the only options for recovering details either. Use the brush tool to dodge and burn, or to lighten or darken specific areas of the image.
The graduated filter is also a helpful local editing tool for correcting an overexposed sky.
Improving a Photograph's Dynamic Range Using the HDR Technique
Sometimes, flash, graduated neutral density filters and Lightroom adjustments simply aren't enough to capture all the details in a scene.
High dynamic range is a technique that uses multiple exposures and combines them all later to create an image that would have been impossible to capture in a single exposure.

HDR images are often dramatic, well lit and impressive when done right. But they can appear fake and cringe-worthy when overdone.
The HDR technique involves shooting several of the same images, but with different exposure, settings to capture the entire range of light. Those images are then merged later in Photoshop, Lightroom, Aurora HDR or a similar program.
By merging those files taken at different exposures, it's possible to create an image that covers a dynamic range well beyond your camera's capabilities.
HDR has a few limitations. The technique can't be used on moving subjects, or the resulting image will have "ghosts," for example.
Here’s a great guide to the HDR technique, so we won't go into detail again here.
A graduated neutral density filter or flash may be a better option. In some cases, HDR is the only option to get a well-exposed shot.
Conclusion
While HDR is a big buzzword in the photography community, capturing a well-lit image requires understanding dynamic range as a whole, and not simply the HDR technique.
A camera sensor can only capture a limited range of light. When a scene extends beyond that range of light, techniques such as filters, flash, and editing techniques can still create a dramatic, well-detailed image.
Knowing when to use each type of solution can help you capture some of the toughest, high contrast scenes.


