Ever tried to freeze motion in your photography? Or tried water splash photography? If not, this is the article for you.
If you have, this is still the article for you as we’ll show you how to have fun photographing water splashes.
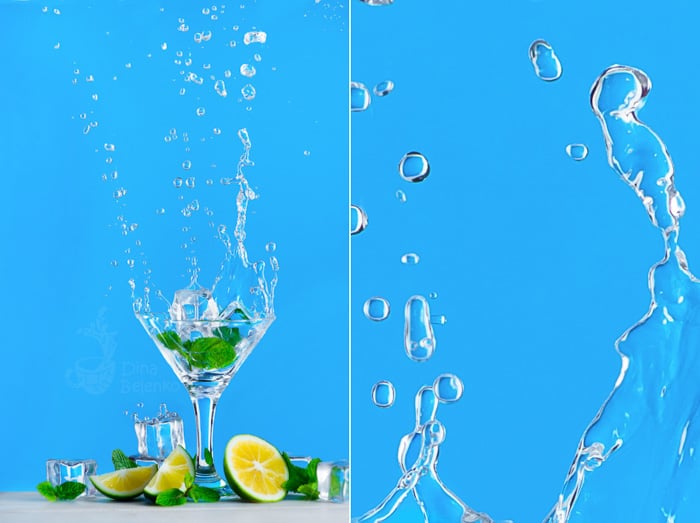
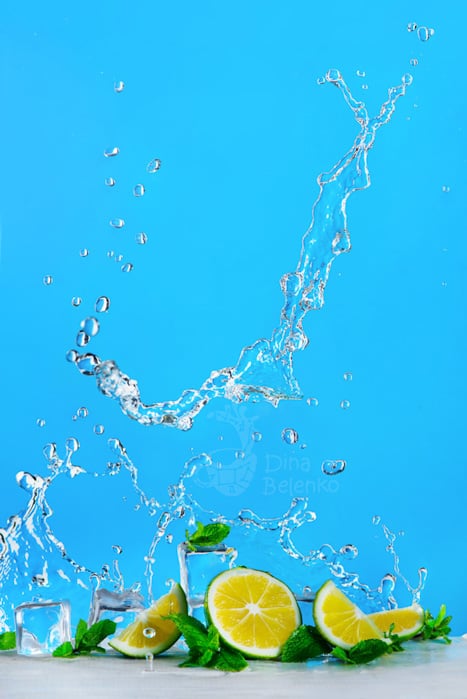
We are going to create a shot with chill drinks, dynamic splashes, and a fun atmosphere for creative food photography!
1. How to Freeze Motion for Splash Photography
First of all, we need a light source. That’s the most important thing. It must be suitable for shooting high-speed scenes such as photographing water drops. You can use strobes or hot shoe flashes (speedlights).
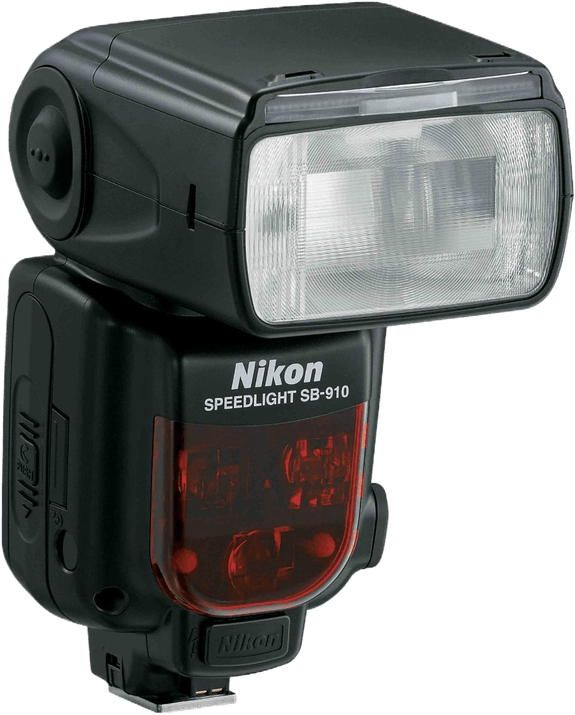
In my case, the scene is lit with two SB-910 speedlights. These are affordable and easy to use solutions for frozen motion problems.
You can use anything that has a short enough flash duration though. This is a characteristic of any flash or strobe. It refers to the length of time that a flash emits light for a single burst.
 Since you are shooting in a dark setting (and you should!), the flash duration will become your shutter speed.
The light will be hitting the sensor of your camera for only the amount of time the flash is working, lighting the scene.
It won’t matter if your shutter speed is set for 1/250 of a second or for a half a minute.
If there’s no ambient light available, the flash is the only visible light source. This way, the camera sensor is only exposed to the light for the duration of the flash.
To avoid blurred drops, take one shot with the speedlights turned off. This shot should look like a black rectangular. That means there’s no excess light.
 In my experience, short enough flash duration for water splashes is about 1/4000th of a second. But obviously, the faster, the better.
This is the speed that helps freeze liquid in motion and keeps all the drops sharp and clear. Pick a Speedlight flash or a fast enough strobe.
Also, check your manual and find if the impulse speed of your light source is at least over 1/4000s.
You may need to lower the power of your flash a bit to reach a required impulse speed.
I have to set the power of my speedlights at about 1/8 or even 1/128.
2. Pick Your Splash Photography Props
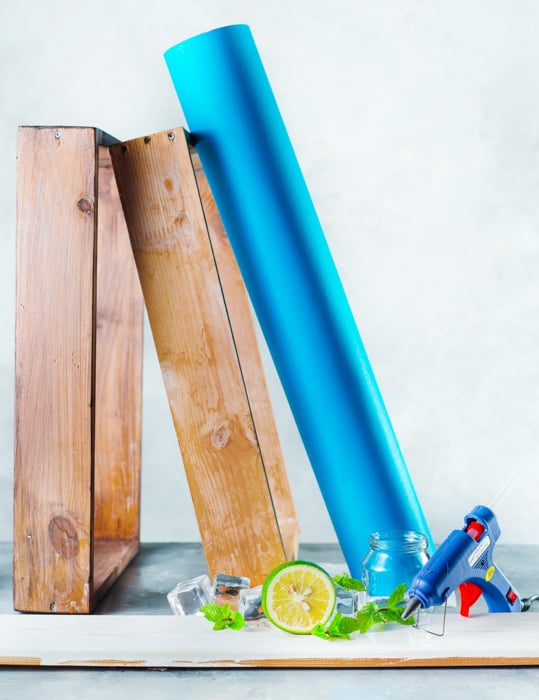
Besides the flash suitable for shooting at high speed we will need:
- Camera and a tripod;
- A lens with a long focal length;
- A transmitter or sync cable for your flashlight (optional);
- Still life items (lime slices, mint leaves, a couple of acrylic ice cubes, and maybe a martini or other cocktail glass);
- Horizontal backdrop (something narrow and lightweight);
- A vibrant background (preferably a washable and waterproof one);
- A glue gun.
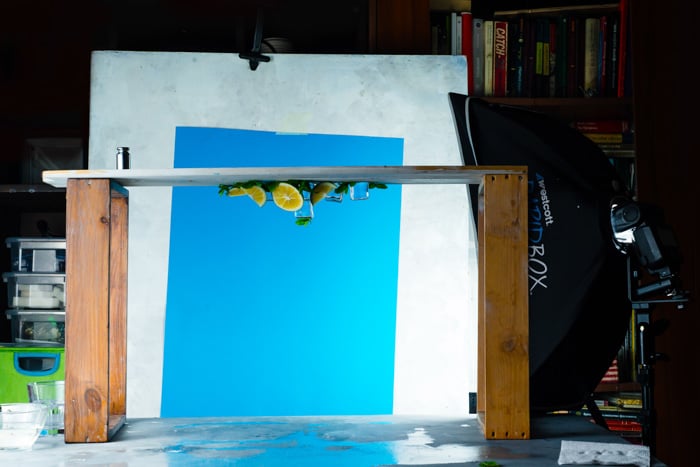
 A note about backdrops – we need two. One to place the limes on and another to create a brightly colored background.
For the first one, it’s better to choose something narrow that you can easily take down. I used two narrow wooden boards for interconnecting flooring.
They work great as general food photography backdrops too. Worth keeping even if you’re not shooting something unusual and dynamic.
Pick a surface you can turn upside down without much effort. So don’t choose granite or marble backdrops.
And it must be made from a material that can survive a glue gun: acrylic and plastic backdrops are definitely out of the discussion.
Wooden boards of any kind and narrow sheets of plywood will be your best friends here.
For a vertical backdrop, you can use anything with vibrant color. It’s good if this material is waterproof.
However, I wanted it to be a bright blue color, and the only blue thing I had was a big sheet of colored paper.
So I set it as far from the action as I could and tried to keep the splashing water away from it.
3. Keep Your Gear Safe
Remember to take care of the safety of your camera, lighting and other gear. Keep all electric equipment out of the possible way of water droplets. Pick a long focal lens to set your camera as far from the action as you can.
Prepare a couple of towels and a stack of paper napkins. Be cautious about the direction and speed of the water drops.
Look out for the water on the camera lens too. Keep a UV filter on to protect it or have a microfiber cloth handy to clean the lens. The water drops in the middle of your camera lens can create unwanted marks in your photograph.
I found out that there are only two things I can do about the mess. First one is to take measures to avoid the mess. Cover the floor with a plastic film. Set a container directly beneath the scene to collect most of the water.
The second is to accept the fact that it’s going to get out of control. Your workplace is going to get messy. The floor is going to get wet.
Keep anything that can be damaged by water (not only gear but any papers and books, for example) away from the setup. You’ll clean everything up later so just enjoy the process!
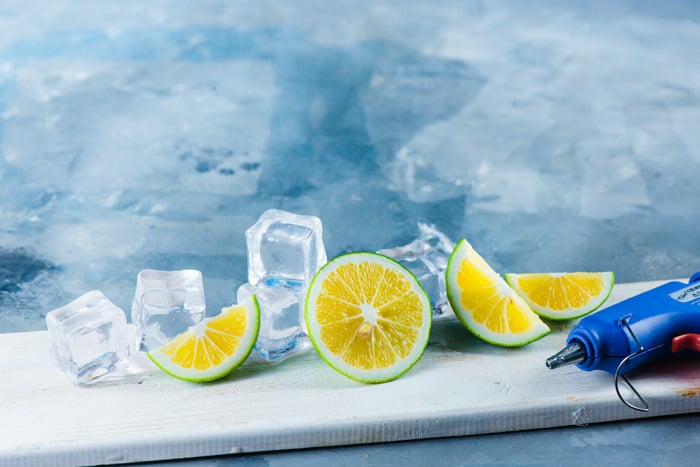
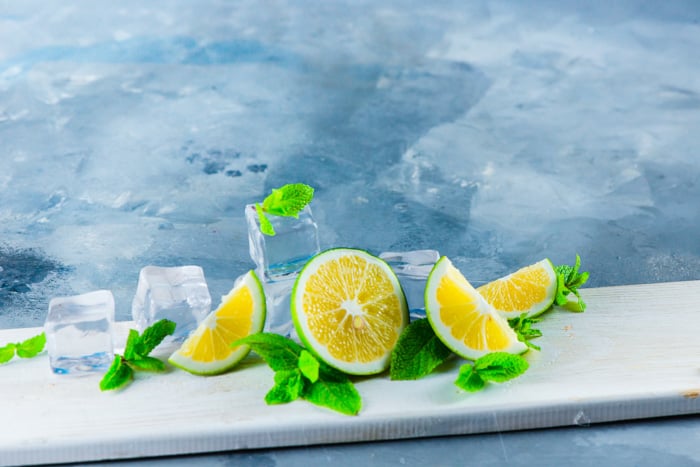
4. Create the Composition
Arrange your limes and acrylic ice cubes in a nice composition. Keep it simple and remember to leave some space for falling drops.
I like pictures that have a place to breathe, so I left a lot of empty space for splashes.
You can add other fruits with smooth surfaces. Apples and oranges are good, but peaches and kiwis may be tricky. Or add a cocktail glass with a straw to create the perfect mixture!
Make sure that it's a composition you like because later you won’t have a chance to change it.
5. Glue Your Composition in Place
Do you like your composition? Yes? Now it’s time to fix it in place.
Glue every item of your still life to a background. The glue gun works great for smooth surfaces like glass but check everything twice. Better be safe than sorry.
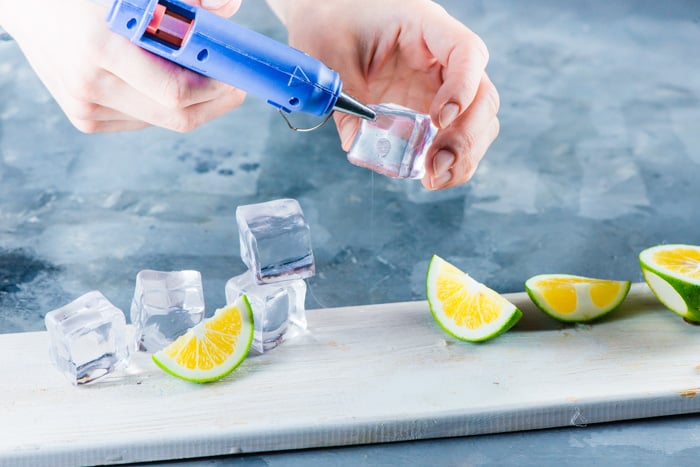 And yes, glue the mint leaves too. Be careful to put glue on the stems, not the leaves.
The hot glue gun is a very accurate name and may leave dark spots on tender leaves.
The glue gun can be a rather capricious tool, so be careful with it. Try not to leave too many visible glue spots.
They not only can expose your photography trick but also look rather messy.
It’s okay to leave some of the glue visible on, say, acrylic ice cubes. After you make a splash, transparent glue will look almost like water.
6. Turn It Upside Down
Now pick the entire background with glued still life and turn it upside down. When post-processing the image, you will flip it 180 degrees again.
When you set your camera on a tripod, take into account this future rotation.
 It's very important to make sure that your construction is steady and still. Be especially careful with glass items, don’t spare any glue on them and check twice if they hold firm.
Put the backdrop with your composition on any improvised supports that you can find. I used two wooden frames. They’re lightweight but pretty steady.
Choose anything that is waterproof and can stand motionless under the weight of your backdrop with the glued items.
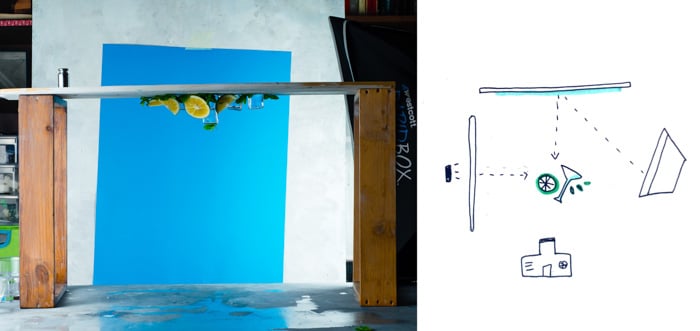
7. Light It Up
Time to set up the lights. One of my speedlights is inside a strip box on the right side of the scene. It is lighting the bright blue background, which reflects some of that light back to the limes and the water. This is the key light.
Another flash is behind a large diffuser on the left side. This is the fill light. It lifts the shadows and adds some volume.
You can use practically any lighting scheme you like, but I strongly recommend to have at least some light coming from the back.
It will make the ice cubes transparent and add some sparkle to the water droplets!
Lower the power of your flash to 1/16 or even 1/128. This provides a very short pulse that will freeze the motion of the liquid and get you a stunning splash photo.
8. Choose Your Camera Settings
Set your camera in burst mode (continuous high) to take a few shots in a row and use manual focus.
Sometimes the camera’s autofocus doesn’t work well, especially in continuous mode. It slows things down and tends to make mistakes.
Switch your focus to manual mode and put the camera on a steady tripod to get a nice and sharp image.
 Finally, set your camera’s shutter speed to the flash sync speed – usually between 1/160 sec and 1/250 sec.
From there, take a test shot to establish what maximum aperture you can get without underexposing an image. This way, you can get the ideal depth of field that works for your shot.
That’s all about the camera settings, you’re ready to shoot!
9. Let It Pour
Make sure you like your composition and lighting. Take a clean shot. You’ll need it later in case something goes wrong.
Take a breath. Get ready. Pour some water onto limes and mint leaves, create a splash! Take a sequence of shots. One more splash!
Rinse and repeat.
Since your tripod allows you to keep your camera steady, you can make as many tries as you like.
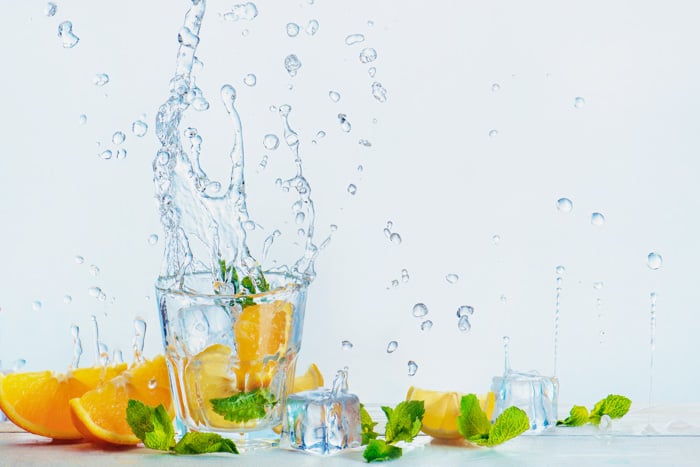
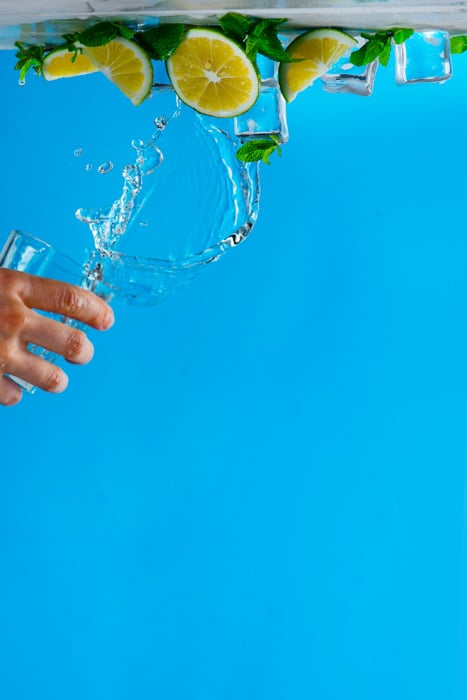 Experiment with the bowls you use to pour water. Oblong cylindrical glasses provide elongated splashes with drops on the edges. Vials make smooth splashes.
Also, try pouring water from behind the limes. This way, it will arch behind them and won’t fall to the foreground, making it difficult to see the fruits.
 Most importantly, have fun! Don’t be afraid to make a mess, just keep liquid away from any electronic equipment and especially from your camera.
10. Post-Processing Tips
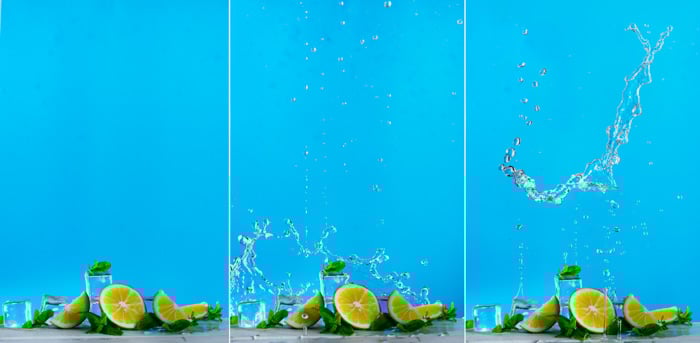
Now it’s time to choose the best splash and tweak it a bit. Get your clean shot, place the shots with splashes you like best as separate layers above it and use Layer Mask to conceal parts that should be hidden.
This should be pretty simple: put layers one above another like a sandwich. Then create Layer Mask on the first one, use a soft brush to paint in the areas that should be hidden.
I took one shot with the splash forming a beautiful arc above limes. I combined it with another splash, which was flying above them not touching anything.
Also, I added a couple of flying drops to make the dynamic more prominent.
 Finally, adjust colors and contrast.
Now you have it, a chill drink for a hot summer day in a piece of most refreshing splash photography!
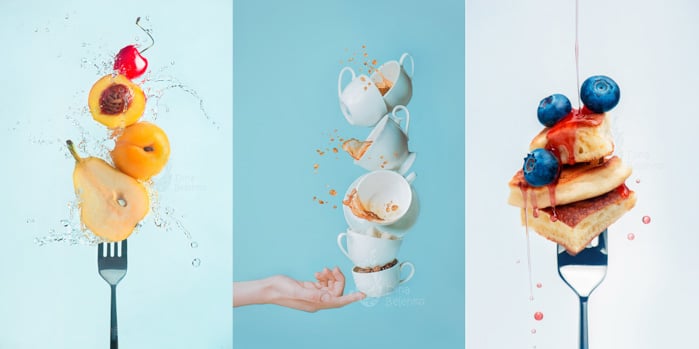
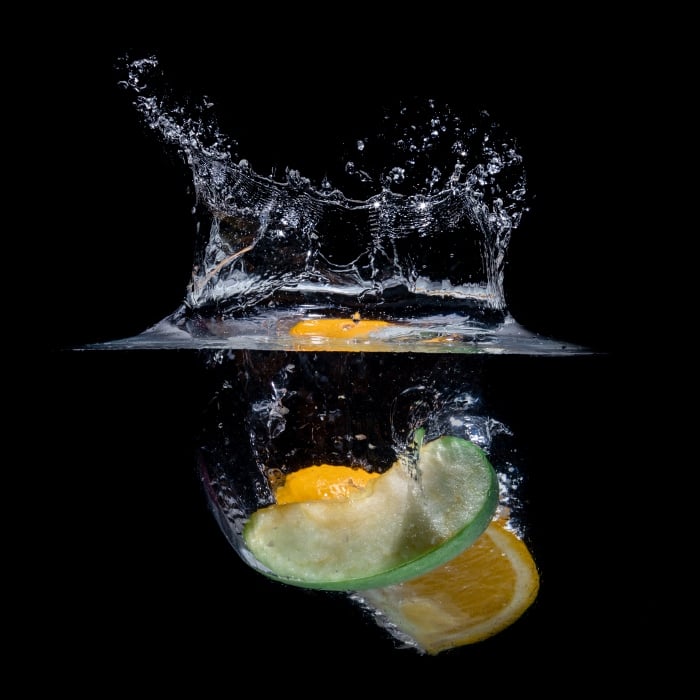
Here are a few other shots made with the same trick.
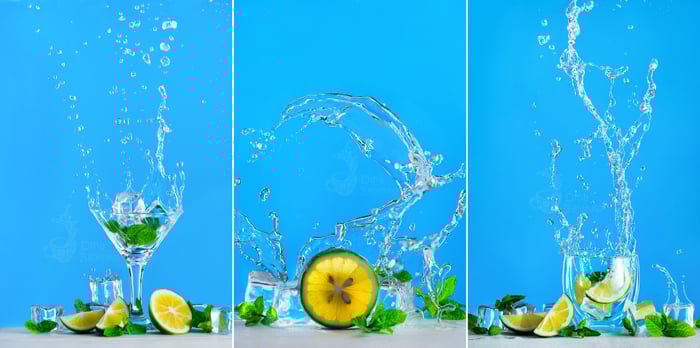 Let your imagination run wild and try this antigravity trick with a set of different objects.
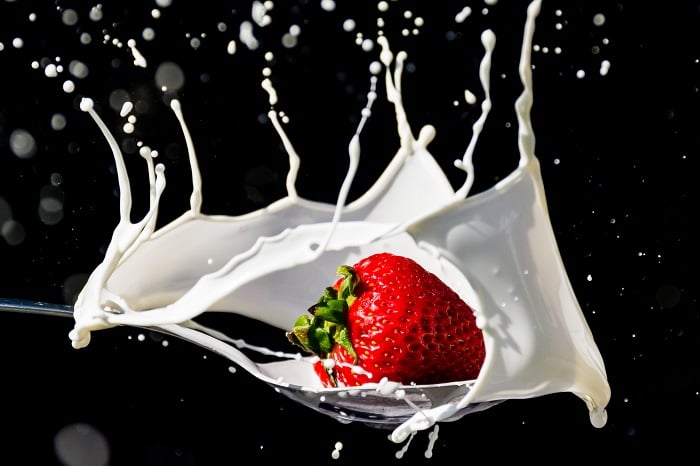
Do not limit yourself to mojito or lemonade. This trick works great with coffee, milk and practically any other liquid you can think of.
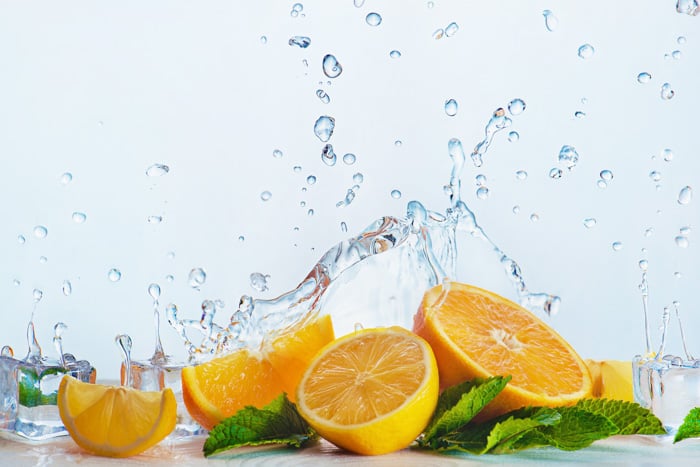
 It doesn’t have to be food photography either. Try laboratory flasks with zero gravity potions. Try flowers with dew rising back to the skies.
Think of anything that goes well with liquid and try it out.
 Now it’s your turn. Best of luck!
Water splash photography is one of the topics we cover in our creative photography course, Wow Factor Photography. If you'd like to learn more, check out the course!
Below are some of the photos taken by our students. If you'd like to learn more, check out the course here.
Photograph by Stephen Jans

Photograph by Carl Newlands
Photograph by Carl Newlands