To send a Live Photo with its movement, open it in Photos, tap Share, and leave LIVE turned on. Choose Messages for an iMessage conversation or AirDrop for a nearby Apple device. If your recipient’s app does not support Live Photos, save it as a video first.
How to Send Live Photos With Messages or AirDrop
Send a Live Photo in Messages
- Open the Live Photo in the Photos app.
- Tap Share (the square with an upward arrow).
- Check that LIVE is still on in the sharing preview. Tapping it off sends a still image.
- Choose Messages, select your recipient, and send it through iMessage.
- Ask the recipient to open the photo, then touch and hold it to play the motion.
Apple’s Live Photos guide confirms playback in Messages on iPhone and iPad. On a Mac, double-click the received Live Photo to open it. It plays once; click LIVE to replay it.
Send a Live Photo With AirDrop
Keep both devices nearby with Wi-Fi and Bluetooth on. Disconnect Personal Hotspot if it is active. In Photos, select your Live Photo, tap Share → AirDrop, and choose the recipient. They can then accept the transfer.
If the person does not appear, have them check their AirDrop receiving setting. Everyone for 10 Minutes can make them visible. Newer systems may request an AirDrop code when sharing with someone outside your contacts; follow the prompts. See Apple’s current AirDrop steps.
To include the original file, edit history and metadata, use Share → Options → All Photos Data before sending with AirDrop. This shares more than the visible picture, so check what you want to pass on. Apple explains these choices in its photo-sharing guide.
How to Send Live Photos to Android or Other Apps
A service that does not support Live Photos may deliver only the still image. Mail sends a Live Photo as a still, so use a video if the movement is the point of the message.
WhatsApp is one exception to the old idea that Live Photos work only between Apple users. WhatsApp now supports Live Photos and Android Motion Photos, including sound and movement across platforms. Check the attachment preview before sending. If your app does not offer that option, use the video method below.
Save a Live Photo as a Video
- Open the Live Photo in Photos.
- Tap the More button (three dots).
- Select Save as Video.
- Open the new video and share that file with your recipient.
Apple’s video export instructions confirm that the original Live Photo stays in your library. The new file is a video, so the recipient watches it with normal playback controls rather than pressing a still photo.
This is also a useful route for social media sites: select the exported video in the app’s video uploader. Preview it before posting. You do not need a separate converter for this step.
How to Take a Live Photo
In Apple’s Camera app, choose Photo mode. Open Camera Controls, then turn on the Live Photo button. Keep the phone steady and press the shutter. Button positions can differ on older iOS versions.
A Live Photo records the 1.5 seconds before and after the shutter press. Keep your framing steady for that whole moment rather than lowering the phone as soon as you take the picture. Review the sound as well as the image before sharing.
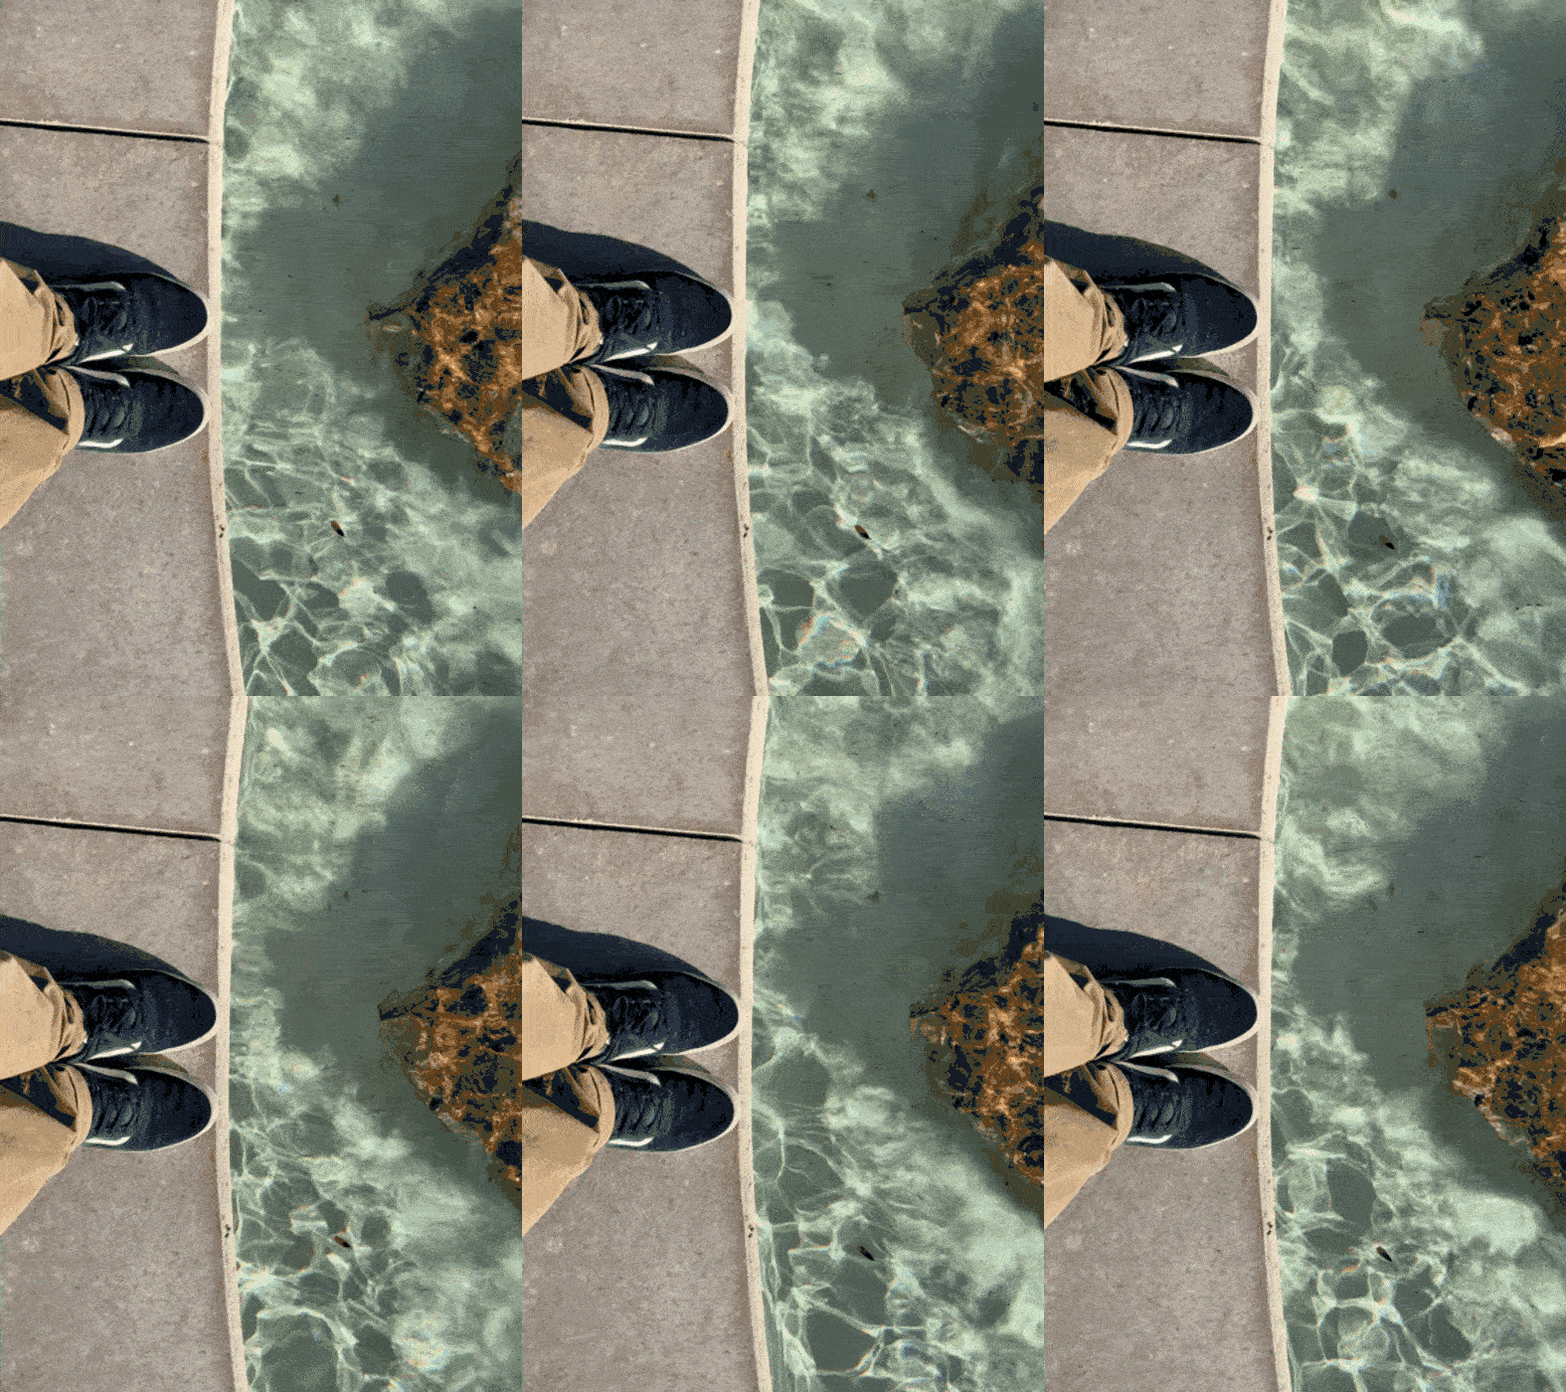
The waterfall below shows why a little movement can make a familiar scene more engaging.

How to Create Better Live Photos
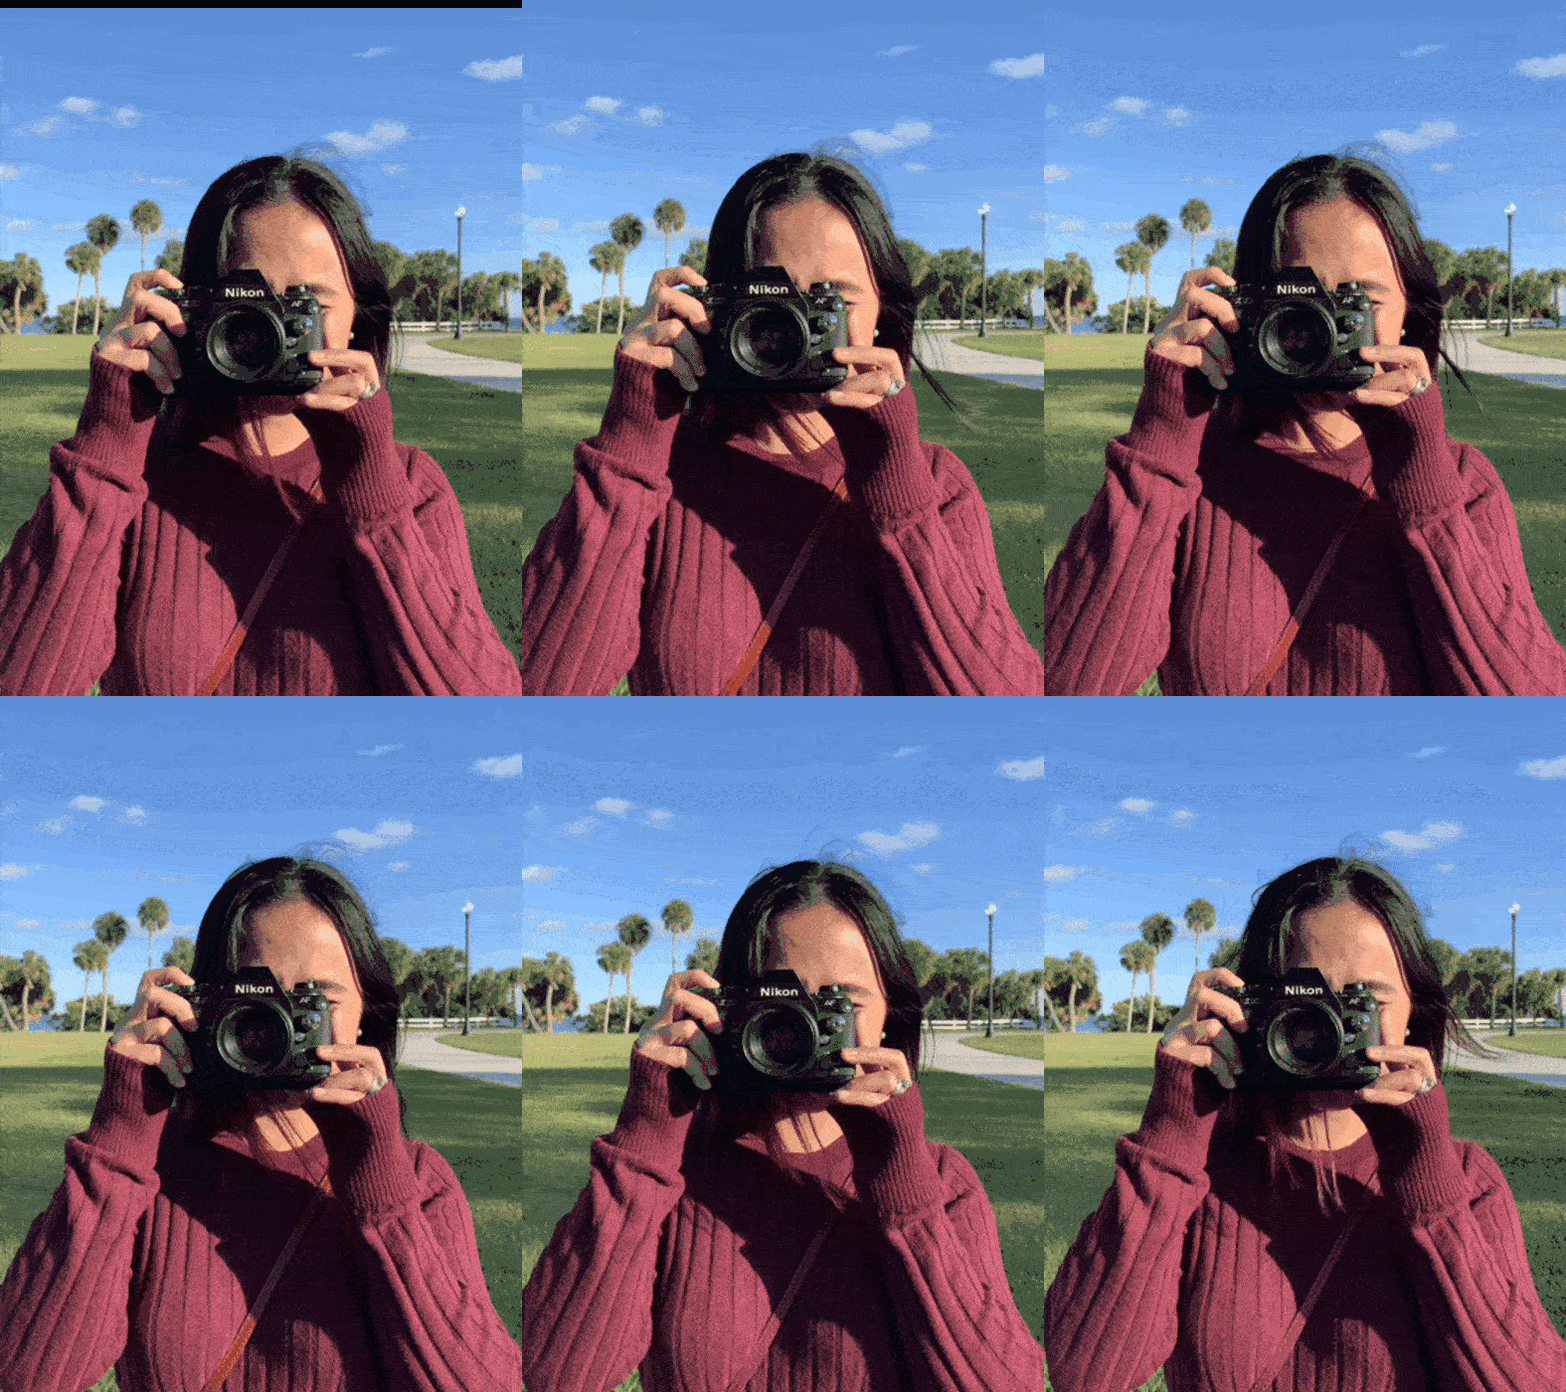
Look for one small action that fits the short recording: someone lifting a camera, a wave breaking, or a smile changing into a laugh. Choose a moment that tells a story.
When photographing people, let them make a simple, natural movement. You do not need a dramatic pose. Watch the start and end of the action as well as the instant you press the shutter.
For landscapes, keep the phone still and let trees, clouds or moving water provide the motion. If you try a pan, make it slow and deliberate. Camera movement can distract from the subject or make it harder to find a sharp still frame.
How to Find and View Live Photos
In Photos, open Collections → Media Types → Live Photos. Open a picture, then touch and hold it to play. This collection is more useful than trying to identify moving photos from the main thumbnail grid.
Older Photos layouts may put Media Types under Albums. The original screenshots in this article show older interfaces; use the named controls in these steps if your screen looks different.
How to Edit Live Photos and Choose a Still Frame
Open the picture and tap Edit, then the Live Photo button to show its frame viewer. Apple’s editing guide describes these controls:
- Choose a key photo: Move the white frame to the moment you want, tap Make Key Photo, then Done.
- Trim the motion: Drag either end of the frame viewer to shorten playback.
- Mute the sound: Tap the speaker button. Tap it again to restore sound.
The key photo is the still frame that represents the Live Photo. Compare frames carefully: a better expression is useful, but another frame is not guaranteed to be sharp. On an iPhone 15 or later, changing the key photo of a Live Photo with a portrait effect removes that effect.
You can also adjust brightness, apply a filter and crop using the usual Photos editing tools. Make these changes after choosing your frame so you can judge the final composition.
Save or Send Just the Still Image
To make the library item a still, use Edit → Live Photo, tap LIVE to turn off the Live feature, then tap Done. It uses your chosen key photo. This changes the same item; it does not create a separate copy. You can turn Live back on when editing it later.
If you only want to send a still, leave the library item alone and turn LIVE off in the sharing preview instead.
How to Use Loop, Bounce and Long Exposure
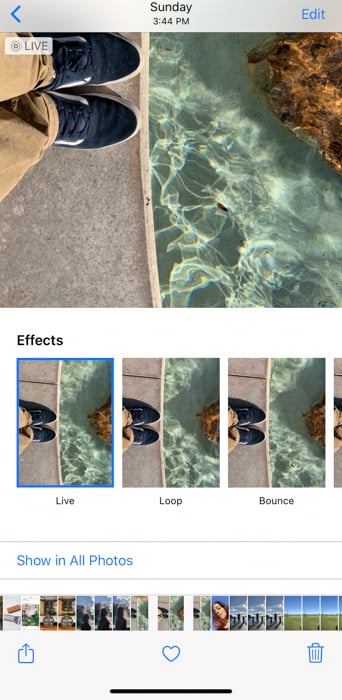
Open a Live Photo and tap Live near the top of the picture to choose an effect.
- Loop repeats the action. Try it with a regular movement, such as flowing water.
- Bounce plays the action forward and backward. A small jump or a splash can work well.
- Long Exposure blurs movement for an effect similar to a long exposure. Try moving water against a still background.
These effects offer different ways to use the same moment. For motion blur, keep the phone steady so the moving part stands out. Experiment with light trails, but judge the result on screen rather than expecting the control of a manually timed exposure.

Why Did My Live Photo Arrive as a Still?
Check these points before sending it again:
- Does the original move? Open it in Photos and press and hold. A still copy cannot supply the missing motion.
- Was LIVE switched off? Check both the photo and its sharing preview.
- Does the receiving app support Live Photos? Mail and unsupported services send a still. Try Messages on a compatible Apple device or send the exported video.
- Is the recipient playing it correctly? On iPhone or iPad, they need to open the photo and hold it to play.
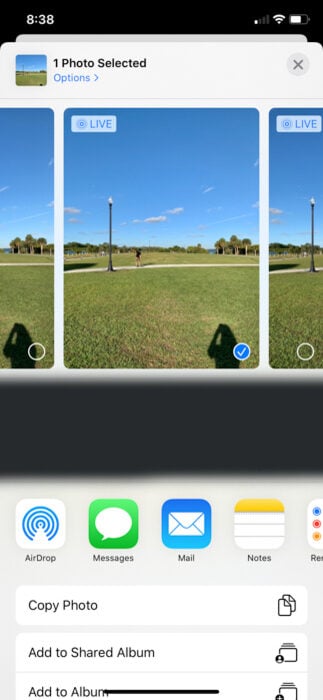
The older sharing screen below illustrates selecting photos before opening the share options. Its layout may differ from your phone.
Do You Need a Live Photo Converter?
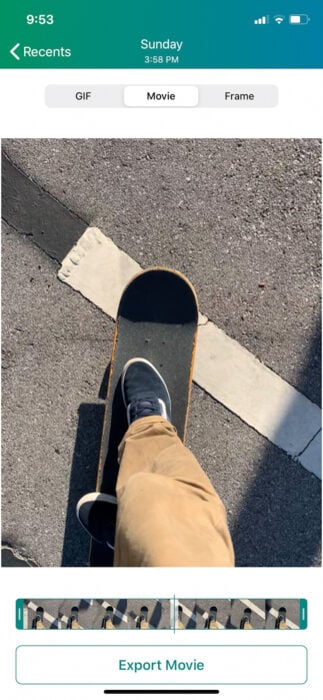
For a normal video export, no: use Save as Video in Photos. The Lively screenshot below comes from the original version of this tutorial, which used a separate converter. It is not a required step in the current method.
If you choose another app for a different export format, check its current features and export restrictions before relying on it. Avoid passing your only copy through several apps; keep the original Live Photo in Photos.
Editing the Exported Video
Once you have a video, treat it as a short clip. Trim away an awkward start or end, check the sound, and preview the result before you share it. Apple also documents using iMovie to combine videos made from Live Photos.
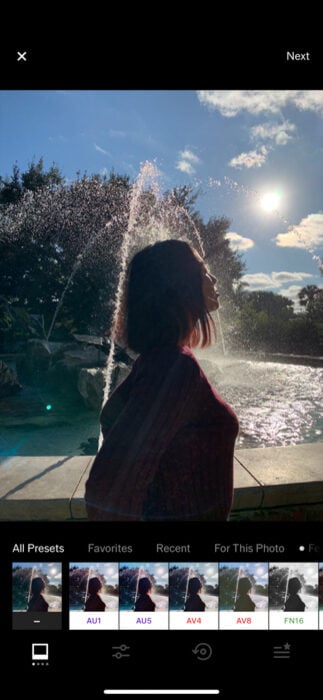
The original VSCO example below shows a separate editing workflow. A third-party editor is optional, and its tools may differ from the older screenshot. Our guide to smartphone editing apps can help you explore other options.
Conclusion
Choose the format before you send: a Live Photo for a supported app, a video for normal motion playback, or a still of your chosen key frame. Then check the result. That small check prevents a moving moment from arriving as a picture that does not play.
Check out our Social Success Strategies ebook to learn the optimal ways to share your photos!