Are you caught between using a Nikon lens and a Canon DSLR?
Devoted Nikon or Canon users better look away now.
Despite the competition between these two camera giants, there are many good reasons for using a Nikon lens on a Canon DSLR. All you need is a Nikon to Canon lens adapter.
This article will take you through four simple steps for using a Nikon to Canon lens adapter. We’ll also explore the limitations of using one of these tools and compare the different types you can find on the market.
So, if you want to unite your favourite Nikon lens with your Canon DSLR, look no further.
1. Check Your Nikon To Canon Lens Adapter Mounts
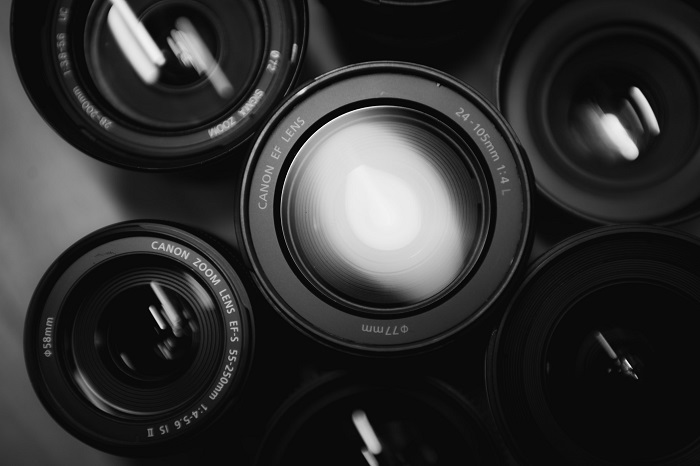
In photography, the mechanical connection between lens and camera is called the lens mount.
Each manufacturer has its unique mounting mechanism. Because of this, a lens will not connect to the camera body of a different manufacturer.
There are exceptions to this rule, however. Third-party manufacturers, such as Sigma, Tamron, and Zeiss, design lenses especially for Nikon and Canon (and many more). But if you’re not using a third-party lens, the manufacturers need to match. And this is where lens adapters come in.
To find the correct adapter, we must first identify the mounts on each end.
So, let’s start with the lens.
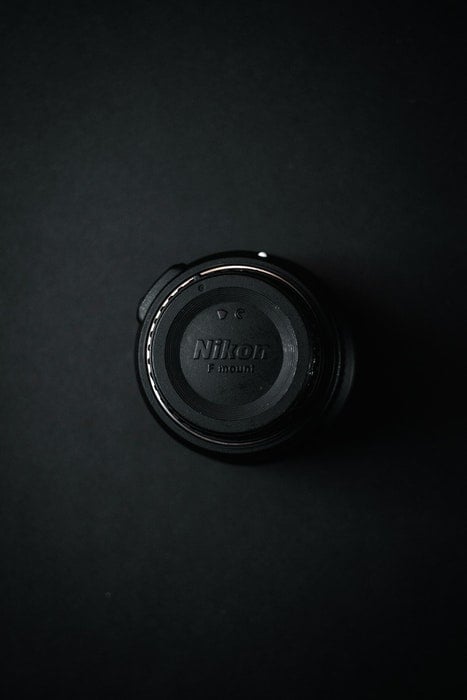
Nikon Lens Mounts
Let’s look at Nikon lens mounts first. Nikon produces two lens mounts, which are the F-mount and Z-Mount.
F-mount lenses are made for Nikon SLR cameras. Lenses with this type of mount can be used with any Nikon SLR. They are also compatible with Canon SLRs when using an adapter.
Z-mount lenses are made for Nikon mirrorless cameras. These lenses are not compatible with Nikon DSLRs. Likewise, Z-mount lenses cannot be used on a Canon DSLR with an adapter.
Within Nikon’s F-mount range, you should also consider which specific type of lens you have. This is because some lens types are more compatible with adapters than others.
The easiest way to find out which lens you have is to check the lens’s exterior for clues.
Classic Nikon F-mount lenses (AI-Type, AI-S Type, D-Type) have an aperture ring on the lens. This means you can still easily control the aperture, even when using an adapter.
Modern Nikon F-mount lenses (G-Type and E-Type) have no aperture ring on the lens. Aperture values for these lenses are instead controlled electronically using the camera’s internal settings. But while this feature is ideal for modern Nikon DSLRs, it creates a problem when using an adapter.
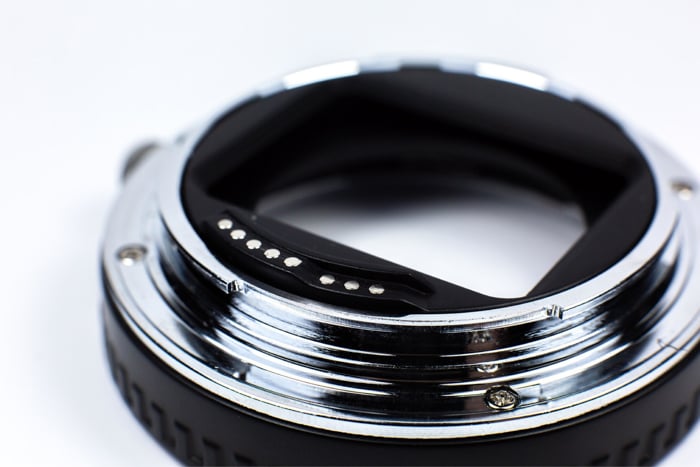
To use a G-Type or E-Type lens on a Canon DSLR, you will need an adapter that has an integrated aperture control function. This type of adapter includes an aperture ring that you can control manually with your finger.
Problem solved!
Can You Put a Canon Lens on a Nikon Mount?
Unfortunately, using a Canon lens on a Nikon camera isn’t as straightforward.
It all comes down to design.
Cameras are designed to have a specific distance between the rear of the lens and the sensor (or film). This feature is known as the flange distance. In all Canon SLRs, this distance is 44mm. For Nikon, it’s 46.5mm.
Because the flange distance is greater in Nikon cameras than in Canon, there’s extra space (2.5mm) to add an adapter. Doing so enables you to use infinity focus in Nikon lenses.
However, mounting a Canon lens onto a Nikon SLR is impossible, as you cannot have a negative 2.5mm adapter.
The jury is still out on whether an adapter to connect Canon lenses to Nikon SLRs will happen in the future.
Canon Lens Mounts
At the other end of the adapter is a different mount.
So, it’s also a good idea to identify which type of Canon mount we are adapting to our lens.
Canon produces three lens mounts for the EOS system. These are the EF, EF-M, and RF.
EF lenses are made for full frame Canon DSLRs. The EF-M mount is made to support cropped sensor, mirrorless Canon cameras. RF lenses are made for full frame, mirrorless Canon cameras.
Although these mounts support different Canon systems, they are all compatible with Nikon F-mount lenses when using the correct adapter.
The easiest method for determining which mount is on your Canon camera is to look for indicators on the lens mount itself. First, remove the lens and then check for the following marks.
A red dot indicates an EF mount. A white square indicates an EF-M mount. A red dash indicates an RF mount.
Can You Use Canon Lenses on Other Cameras?
Yes! There are many adapters on the market capable of connecting your Canon lenses to camera bodies made by different brands.
These include Micro-Four-Thirds, Sony E and Sony Alpha E, Fuji X and Fuji GFX, Samsung NX, Leica M, and Pentax Q.
There are also many lens mounts you can connect with your Nikon DSLR.
They include Micro-Four-Thirds, Contax/Yashica, Pentax K and Pentax 67, Bronica SQ, Leica R and Leica M, Pentacon 6, Minolta MD MC, and Hasselblad.
2. Choose the Right Adapter
In most cases, you want to use a Nikon F-mount to Canon EF/EF-S adapter.
However, adapters range in quality, function, and price.
The most cost-effective options on the market come in as low as 18.99€ from K&F. At the opposite end of the scale, a high-quality adapter from Novoflex can set you back upwards of 170€.
Regardless of cost, you should aim to find a sturdy adapter designed precisely to connect your lens and camera. I highly recommend using an adapter made from metal parts that will not break easily.
You want it to withstand a bump here and there.
3. Connect the Dots to Avoid Damaging Your Equipment
When using an adapter, it’s crucial that we first secure the adapter onto the lens.
In doing so, we prevent any damage to the camera or the lens, should one component fail. You don’t want to risk dropping your expensive equipment.
Attach Adapter to Lens
First, remove the rear lens cap. Then line up the red indicators on the lens and adapter. You’ll then want to turn the adapter counter-clockwise until you hear a click.
To remove the adapter, find and press the release catch on the lens and then turn clockwise.
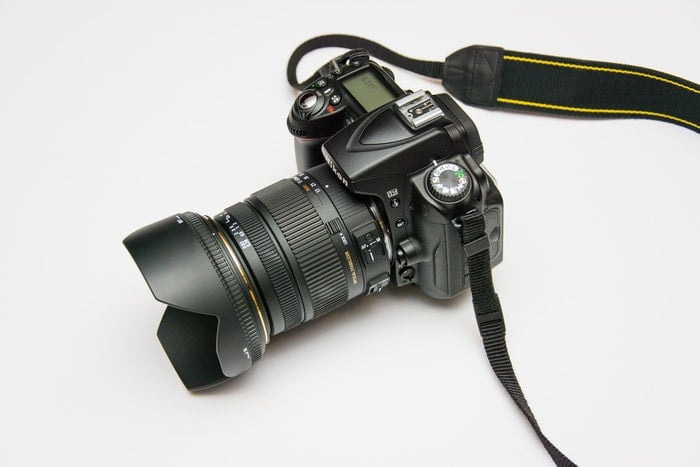
Attach Lens to Camera
Now that our adapter is safely mounted to the lens, we can attach the adapter to the camera.
First, turn off the camera. Remove the existing lens by pushing down the lens release button. If there’s no lens on the camera body but instead the mount protector cap, turn to remove it.
Next, you need to match up the red dots on both the adapter and camera mount. Rotate clockwise until you hear a click and then turn the camera on.
You will see an alert that reads something like ‘Ensure lens is attached’. You can skip or bypass this alert using the camera’s settings.
4. Shooting With an Adapter Will Limit Some Functions
With your lens, adapter and camera connected, you’re now ready to shoot.
But before taking your first shots, you should be aware of some limitations to using an adapter.
The connections that make autofocus possible will not work between different manufacturers. This is because Autofocus relies on precise electronic communication between lens and camera. When using an adapter, this becomes disrupted.
Modern Nikon lenses automatically open to the widest aperture when mounted to a Nikon camera. The lens then closes to the smallest aperture when dismounted. This feature exists to allow the most amount of light to pass through the lens to help with focusing.
However, an adapter bypasses this feature, making manual focusing more difficult.
You may have to open the aperture to its widest setting to focus your images manually. Then you’ll need to close down to your desired f-stop to take the shot.
On Nikon lenses, image stabilization is called Vibration Reduction. Special features such as this, which are often found on telephoto lenses, will not function. Take this into account if stabilization is a priority for you. One example of this would be when shooting nature or wildlife photography.
Light metering will work, but it can be imprecise. We recommend using a handheld light meter for more accurate metering in this case.
Automatic aperture control will also not work. This is because the lens and camera cannot communicate electronically. As a result, you will have to control your aperture settings manually.
Conclusion
Lens adapters are divisive in the photography community. But there are still many great reasons for using them.
Be aware that you’ll be working nearly entirely with manual settings and features when using an adapter. So, if you enjoy shooting manual, an adapter might be the right choice for you. These handy tools offer a simple solution to uniting your favourite Nikon lenses with your Canon DSLR.
For a reliable Nikon to Canon lens adapter, er recommend the K&F adapter. If you have a modern Nikon lens, the same adapter with a manual aperture control feature is also available.
Novoflex also offers a solid Nikon to Canon adapter alternative with this feature. Check out both options to see which best fits your needs and budget.
If you’re ready to put your new adapter to use and capture stunning images, check out our Dreamy Childhood Portraits eBook.