Photography umbrellas are one of the simplest kinds of light modifiers to use. They are perfect for beginners as they are inexpensive, portable, and efficient. Umbrellas soften and spread the light, allowing for off-camera lighting without harsh shadows.
As common as photography umbrellas are, they are also often misused. Here’s what you need to know to make the most of a photography umbrella.
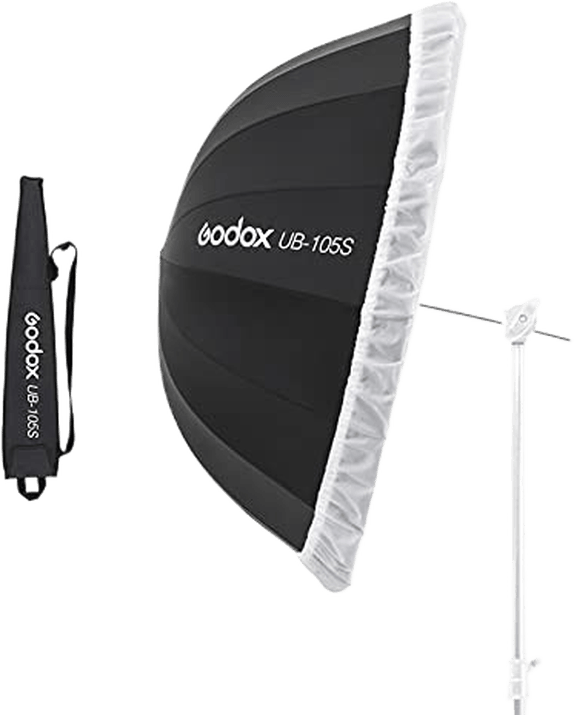
Photography umbrellas are a type of light modifier. This means that you will need to attach it to an external lighting source. Umbrellas are also a type of diffuser, which means they spread light out over a larger area. This creates soft lighting.
Like softboxes, an umbrella is often used in portraits and other types of studio photography. While softboxes are easier to control, umbrellas tend to be more affordable and easier to set up.
For portraits, it’s useful to remember that catchlights will take on the shape of the modifier. While all umbrellas are circular, softboxes come in different shapes.
Umbrellas are great for beginners. But there are a few things that you should know before buying your first one.
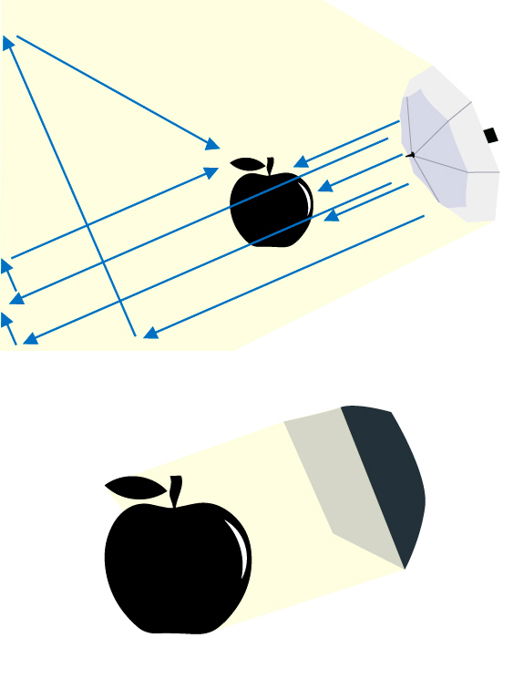
Lighting modifiers come in different types. Umbrellas are no exception. The umbrellas are white or black, and lined with white or silver.
A white umbrella (also known as a “shoot-through”) has translucent white fabric. This fabric diffuses and spreads light over a larger surface. This reduces the intensity of the light, and you may need to turn up the power on your flash or strobe to offset this.
White umbrellas are best for lighting a larger area, such as a group of people. Because they spread the light over a larger surface area, they reduce the glow of light more than other types of modifiers.
Black umbrellas are reflective. These umbrellas keep more of the light’s power and don’t spread out light as much as white umbrellas. This makes reflective umbrellas easier to control.
The umbrella’s lining will also affect the lighting. A black umbrella with a white lining creates a softer light than the same type of umbrella with a silver lining.
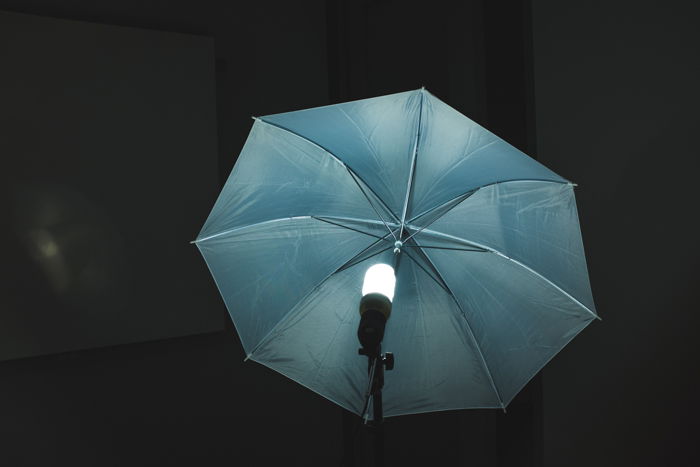
Convertible umbrellas are white umbrellas with a black cover. With the cover removed, these umbrellas are shoot-through. Add the cover, and the umbrella becomes a reflective umbrella.
If you’re unsure whether to choose a reflective umbrella or a shoot-through umbrella, a convertible umbrella is an excellent option. It also won’t cost much more, either.
Convertible umbrellas also allow for a more advanced lighting technique called flagging.
Umbrellas also come in a variety of different sizes. Like any diffuser, larger means softer light. Both factors (size and type) will affect how the umbrella works.
To use a large umbrella outdoors on a windy day, you’ll need to sandbag your light stand. This will keep the umbrella from tipping over. If you don’t have a sandbag, you can try weighing down the light stand by hooking on your camera bag.
If you plan on working only in a studio with powerful strobes, you can safely use a large umbrella.
When it comes to price, there are different brands available at different price points. The perk of going with a more expensive brand is more durability and longevity.
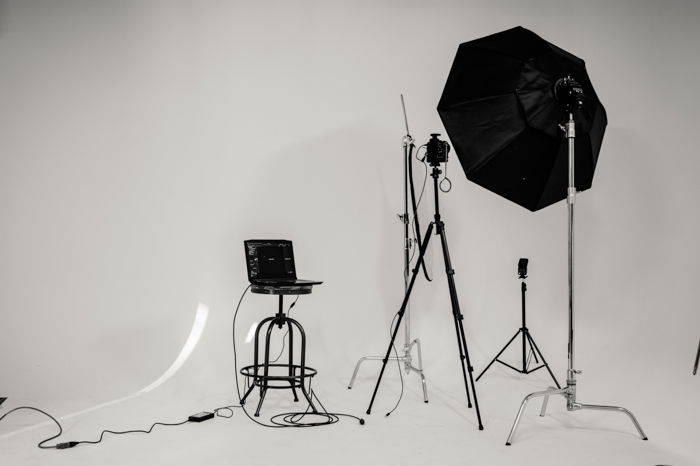
Most studio strobes will have a small hole to insert the umbrella’s handle, and a knob to tighten it in place.
If you are using an off-camera flash system, you’ll need a flash bracket with an umbrella holder. The flash bracket screws into the top of the light stand, and the flash or off-camera receiver slides into the receptacle at the top.
There’s a small hole on the bracket that the umbrella handle can slide into. It has a knob at the side to tighten it in place.
Pay attention to how close you place the light to the umbrella. If you place the strobe or flash too close to the umbrella, it won’t light the entire umbrella. The result will be a light that isn’t as soft as you would want it to be.
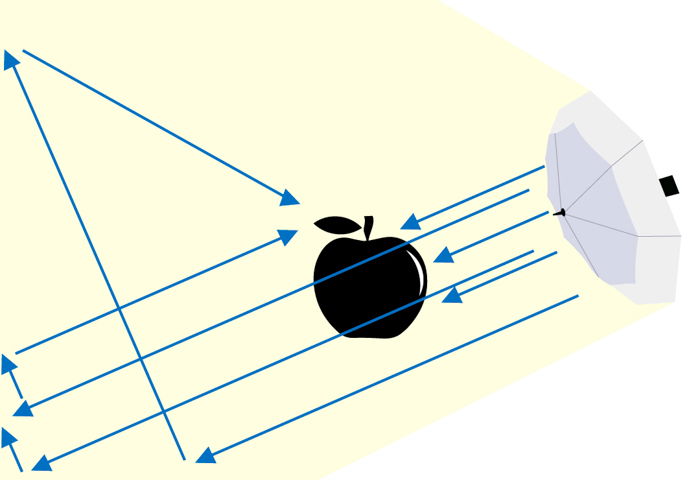
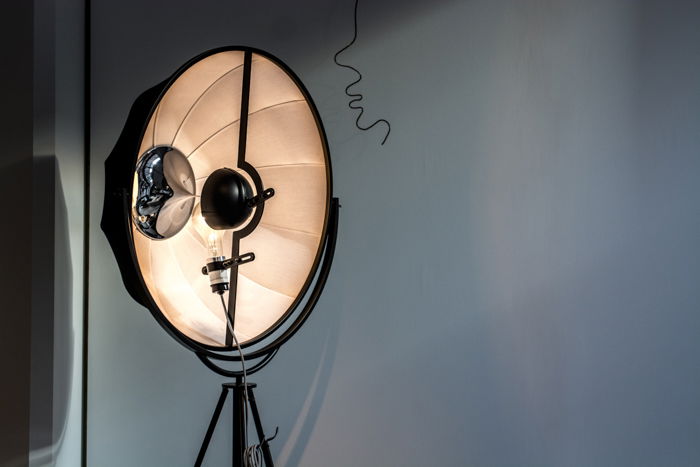
Using an umbrella follows much of the same process as using any other light. Adjusting the angle of the light to the subject will create different creative lighting patterns. These include split light, Rembrandt, loop, and butterfly. You can learn more about lighting patterns here.
Try experimenting with different angles. Facing the subject will create intense light that also illuminates the surroundings. Whereas, if the umbrella faces slightly away, you will only have an edge of the light reaching your subject. This is called feathering, which is a great technique for covering an area with softer and weaker light.
Don’t forget that you can also change the height of the light. Go higher for more dimension, or lower for more even light.
Take an experimental photo after setting the umbrella up, then adjust the light as needed.
Using one light is simple and easy to manage. But for more advanced lighting techniques, you will need more than one external light source.
Try combining different light sources with an umbrella. Softboxes work well as the main light, while extra umbrellas are excellent fill lights. If you have a third light, such as a flash or a strobe, you can also add it behind the subject to create a backlight.
Don’t be afraid to experiment with multi-light setups. You can even try adding colored lighting gels or reflectors to add color to your image.
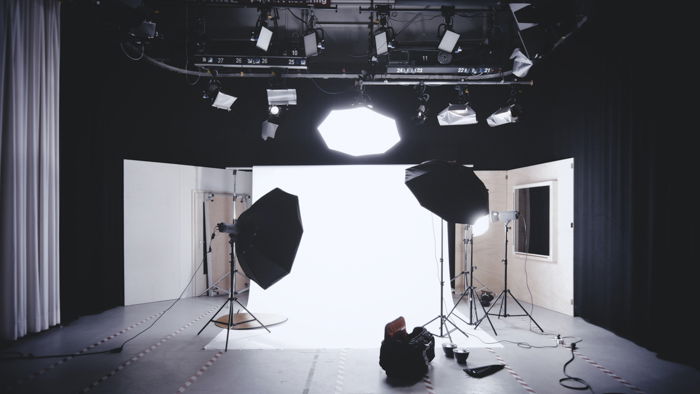
Photography umbrellas make excellent diffusers for both professional photographers and beginners. They are portable, inexpensive, and easy to use.
If you found this article useful, check out our Photography Unlocked eBook next!
