Today we will learn how to remove light glare from photo. Knowing how to remove light glare from photos is crucial in photography. Glare in your photos can be distracting and ruin a photograph. On the other hand, they can also be a creative way that adds to an image.
This article will cover how to reduce, control, or eliminate glare from your photos, and how to remove glare in Photoshop. By the end, you will understand the causes so a light glare will not ruin your photos again.
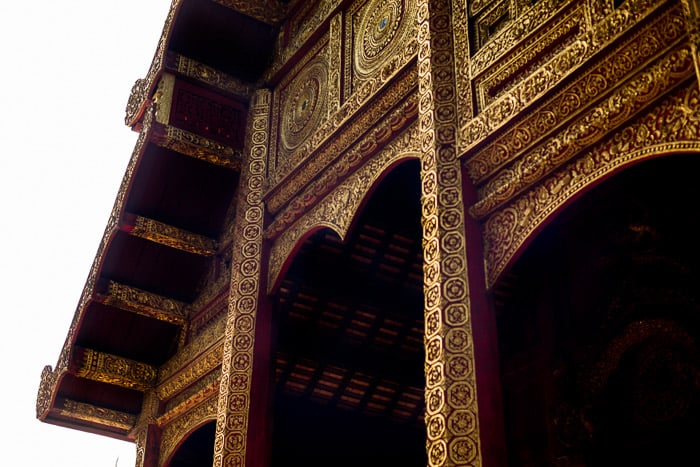
© Kevin Menajang
What is Light Glare?
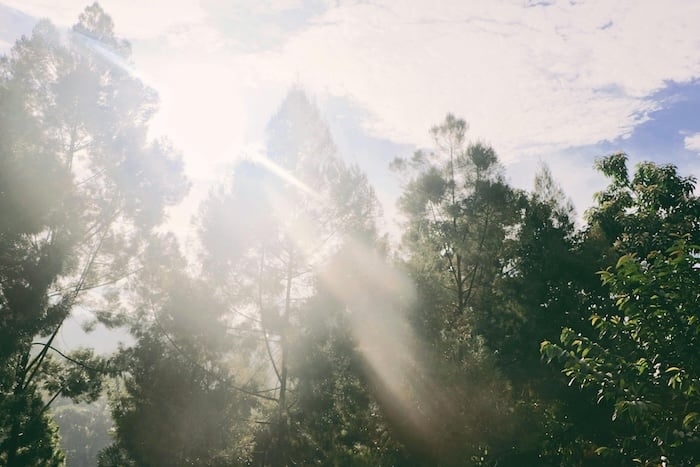
A light glare is when bright light will cause the areas around it to wash out and loose detail. A reduction of detail is a bad thing in photography as we want as much detail as possible.
Bright light sources included or reflected in your lens' field of view can:
- Cause haziness in your photos
- Reduce the apparent contrast in your photos
- Cause incorrect exposure
- Distract from your main subject
There are ways that you can remove light glare from photo. We will go through these now.
© Kaique Rocha
Remove Light Glare From Photo
Find the Source of the Glare
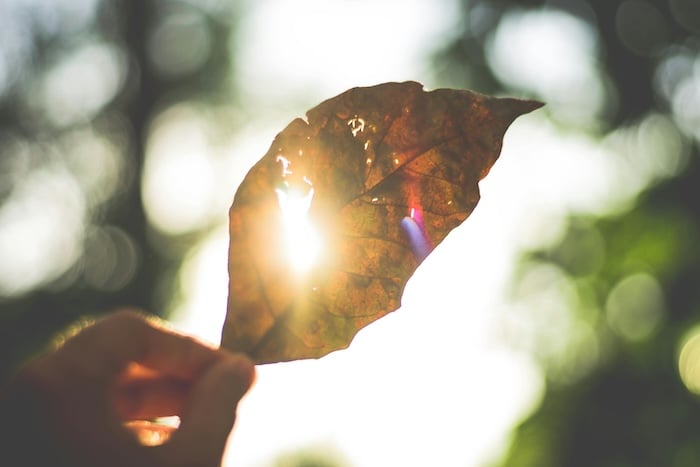
Before you can deal with glare you must find its source.
Sometimes camera glare is caused by a light source shining into your lens. This often causes haziness and what's known as lens flare.
Lens flare shows up as shapes and spots caused by light refracting internally between the glass elements in your lens. The larger the number of elements in the lens, the greater the likelihood of encountering flare.
It's more common in zoom lenses because they contain a larger number of individual lens elements.
Sometimes the source of the glare will be apparent, like when the sun is behind your subject. This happens more frequently in the mornings and late afternoon when the sun is low in the sky.
Reflected light causing camera glare can be more challenging to detect and deal with. It does not always cause haziness or lens flare. It can be a bright reflection of someone's glasses or a window in the background.
© Daria Obymaha
Reduce, Control, or Remove Light Glare From Photo
Once you are aware of the source of the problem, you can use various techniques to remove glare from your photos.
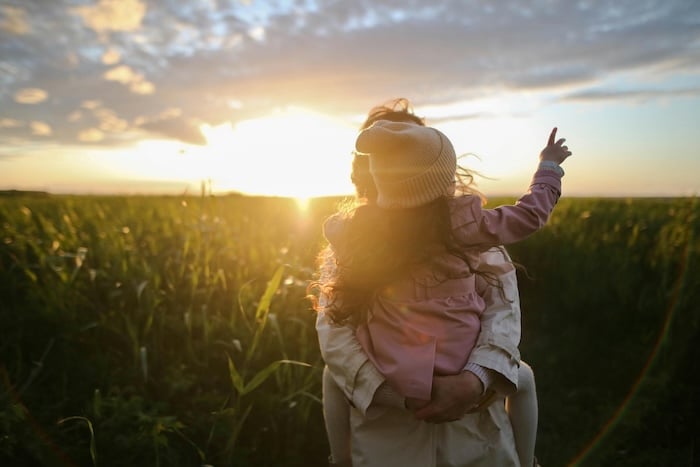
1. Change Your Camera Position
When light enters your lens directly you need to change your position so your camera is not pointed in the direction of the light source.
Reflected glare can be dealt with in the same way, but for a different reason.
Light reflects off a flat surface at the same angle that it strikes the surface. If you move your camera position to a different angle the reflection is no longer a problem.
Moving a little to your left or right (or up or down) will often achieve the desired result. As you move, pay attention to what's happening with the light as you do. You may want to retain some of the effects the glare is causing.
Hiding the glare behind your subject or another element in your composition is also possible. You can try positioning your camera so that an object in your composition blocks the unsightly brightness.
2. Shade Your Lens
To remove glare from photos, you need to stop the light source from shining into your lens.
Many lenses come with a lens hood specifically designed for this purpose. At times they may not provide enough shade to stop the light source entering your lens. This is when you must get creative.
Hold your left hand above and in front of your lens to block the light. You can also use your hat or anything you can hold or have someone else hold to shield your lens.
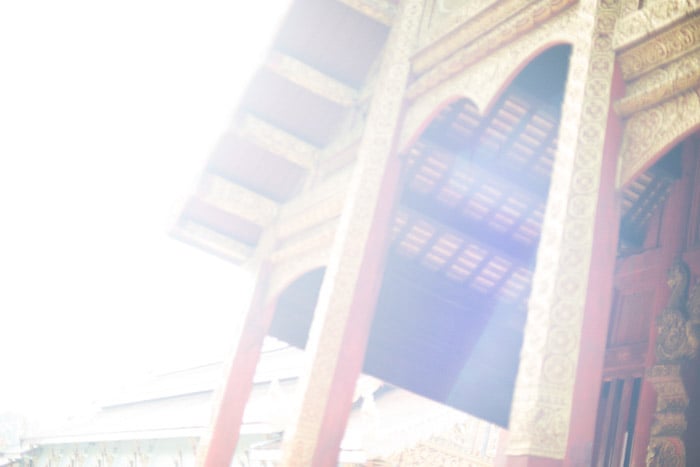
Photographing the Silver Temple in Chiang Mai during the afternoon when the sun is behind it is challenging. A wide lens is necessary. There's not enough space to move. Changing positions will not always be effective.
In this photo, I used the red umbrellas to stop the sunlight from entering my lens directly.
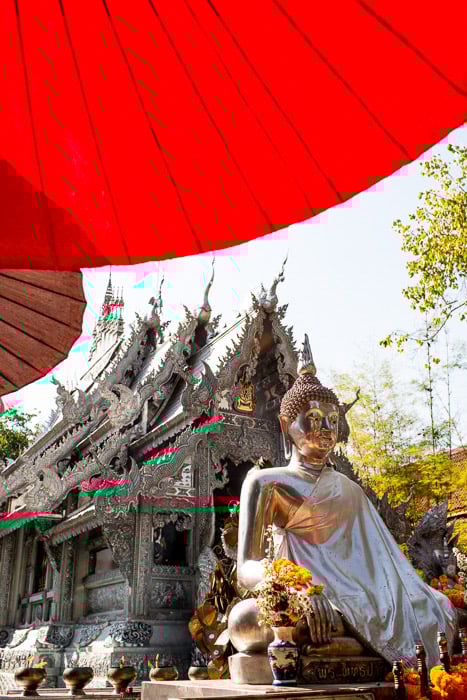
© Kevin Landwer-Johan
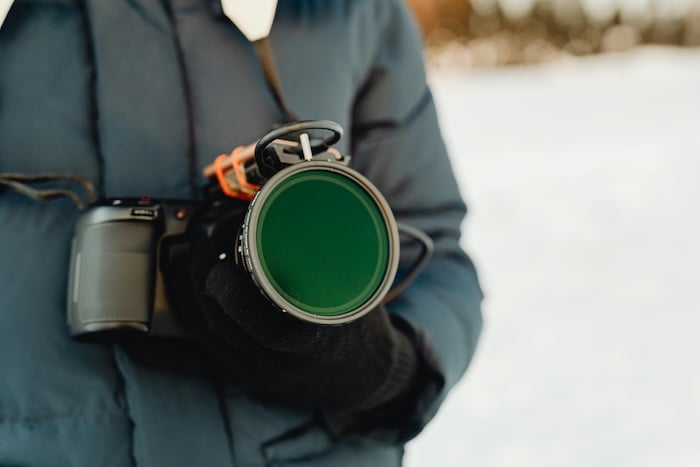
3. Use a Polarizing Filter
Attaching a polarizing filter to your lens can have a significant impact on the amount of glare. You may not be able to eradicate a reflection, but this filter will improve the way your photo will look.
By rotating the outer ring on a circular polarizer, the filter blocks out some forms of light entering the lens. For a detailed description of how circular polarizing filters work, take a look at this article.
4. Set Your Exposure For the Highlights
You can also control the amount of light that enters your camera. This won’t eliminate glare, but it will reduce it.
Take a spot meter reading from an area of your composition that's causing glare. Set your exposure to less than what your meter recommends. You can do this using -1 or -2 exposure compensation.
In manual mode, you can choose a narrower aperture, a faster shutter speed, or a lower ISO setting.
I have used this technique in this photo. I positioned myself so the reflection was flaring into my lens on purpose. I then slightly underexposed the highlights.
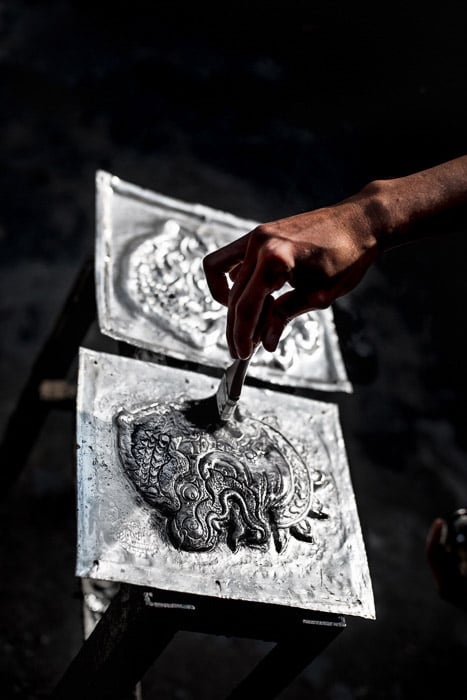
© Kevin Landwer-Johan
3 Ways to Remove Glare in Photoshop and Lightroom
1. Dehaze tool
One of the most effective tools in Photoshop and Lightroom to help with a glare problem is the Dehaze tool.
In Photoshop, this can be found by going to the top menu and choosing Filter > Camera Raw Filter. In Lightroom, when you're in Develop Mode, you will see it in the bottom section of the Basic Panel on the right-hand side.
This slider will either increase or decrease the amount of haze.
© Kevin Landwer-Johan
Using the Brush tool in Lightroom is about the easiest way to dehaze selective parts of an image.
2. Shadows and Highlights Adjustment
- With your image open in Photoshop, make a duplicate layer (Ctrl+J).
- With your new layer selected, go to the top menu and choose Image > Adjustments > Shadows and Highlights.
- Click the Show More Options box. This will allow you greater control of the changes you will make.
- In the Highlights section, drag the Amount slider to the right. This darkens the parts of the image with glare. You can also make adjustments to the Tone and Radius slider. Experiment with those two to see the best effect you can create.
- Next, drag the Amount slider in the Shadows section to the left. Make adjustments to the Tone and Radius sliders here as you need to.
- You may have noticed some color shift as you have manipulated the sliders. If so, use the Color slider to desaturate your image a little.
- Click OK.
- Turn off the layer you have made the adjustments to so you can see the original. When you’re done, turn the layer back on. Now change the Blend Mode to Soft Light. You may have impacted the contrast when you were making your adjustments. Changing the Blend Mode can help to bring balance.
3. Use Clone and Patch Tools
These are good ways to remove light glare from photos when the light is entering the camera from behind your subject.
Conclusion: Remove Light Glare From Photo
At times, camera glare and lens flare can be used to your advantage. Being knowledgeable of these techniques will help you make better use of it at the appropriate times.
Carry a polarizer for each lens in your bag. Think about your angle of view in relation to the light source. Watch the light and its effect as you change positions. Attach a lens hood or use something else to shade the lens and at times try exposing for the highlights.
Practice with the post-processing methods I have outlined. These are by no means the only ways to deal with reducing glare in your photos, but they will help.
Managing the glare or flare well in-camera will mean you can more effectively manipulate your photos during post-processing. All these actions will remove light glare from photo.
Check out our Effortless Editing with Lightroom course to become a master of editing photos!


