In this tutorial, I’ll show you how to add a vintage effect in Photoshop. Old photos look different from modern ones. Film and chemicals used to develop them created a unique look.
And with age, the images continue to change. The colors fade with exposure to UV light and the paper deteriorates. Old photos are as unique as snowflakes!
How to Add a Vintage Effect in Photoshop
A vintage photo effect can have a lot of different looks. You can simulate vintage black and white photography or recreate a ’70s retro aesthetic. Mix and match the steps in this Photoshop tutorial to create your own look!
Step 1. Open Photo in Adobe Photoshop
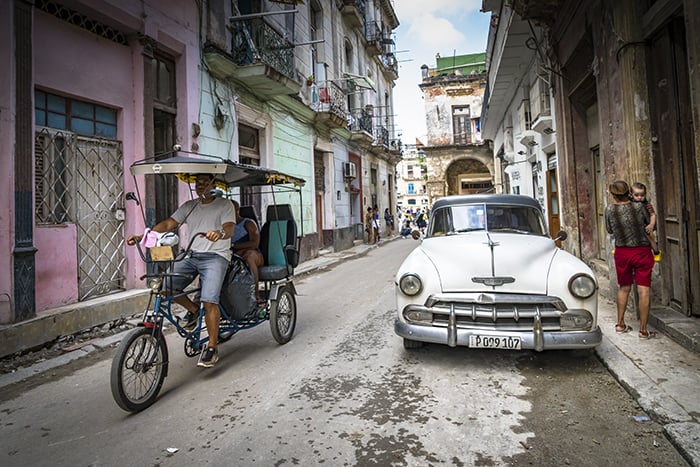
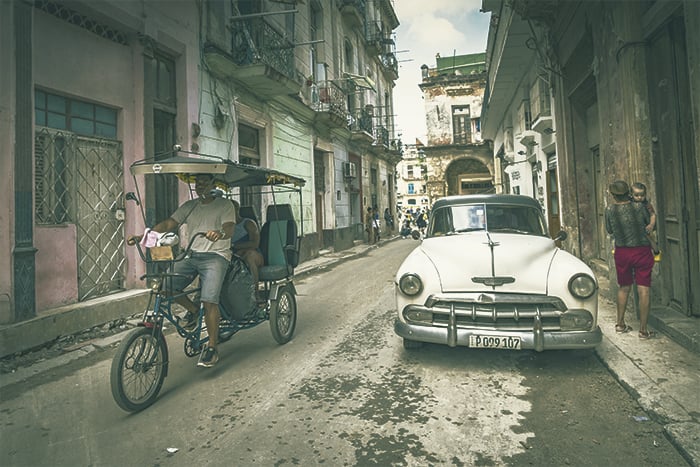
Open a photo in Adobe Photoshop by going to the File drop-down menu, selecting File > Open, and navigating to your image. Let’s use this photo from Cuba. The subject matter lends itself well to a timeless, vintage photo effect.
Step 2. Duplicate the Background Layer
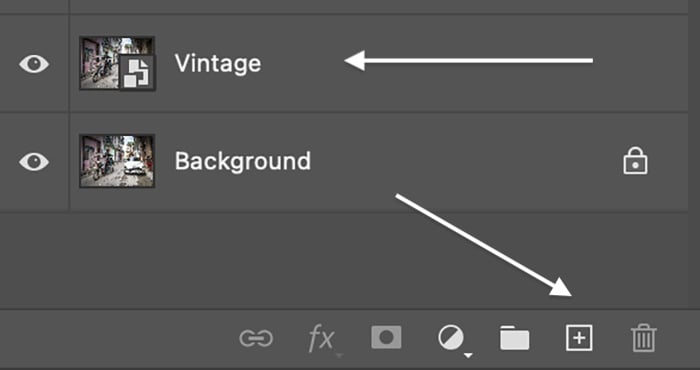
Duplicate the background by dragging it to the + icon at the bottom of the Layers panel (Ctrl/Command+J). Rename the layer “Vintage.”
Step 3. Convert to Smart Object
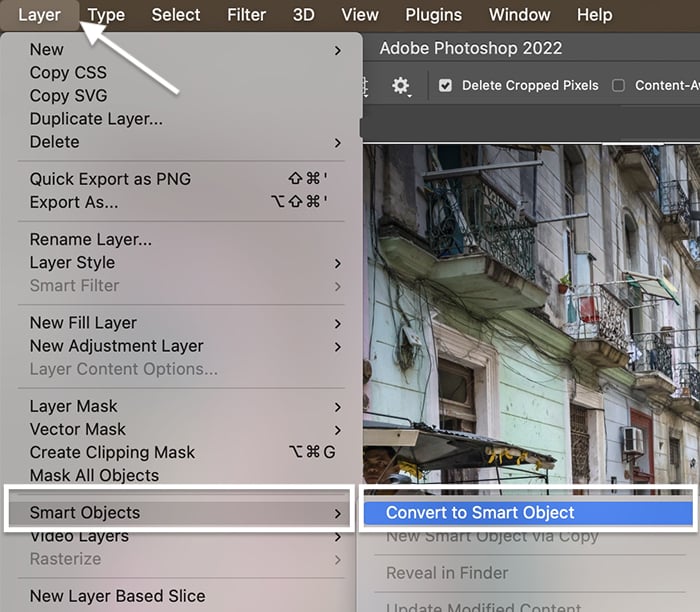
Convert the “Vintage” layer to a smart object. Go to the Layer drop-down menu. Select Layer > Smart Objects > Convert to Smart Object.
Step 4. Fade Photo with a Curves Adjustment
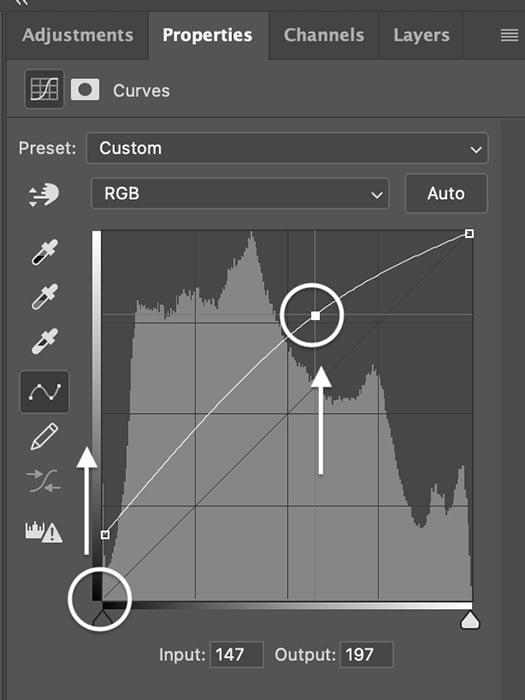
The vintage photo effect starts with fading. Vintage prints lighten with time. Simulate the effect by reducing black in your image.
Go to the Layer drop-down menu. Select Layer > New Adjustment Layer > Curves. Then click OK.
In the Properties window, select the black point in the lower-left corner. Drag it up. You can also lighten the highlights by grabbing a point towards the upper right corner. Drag it up.
Some vintage photos have a darker look with a lot of heavy blacks. If you want this look, drag the line down near the bottom left and top right.
Step 5. Convert the Image to Black and White (Optional)
If you are going for a black and white vintage effect, remove the color from your image. There are a couple of different ways to do this in Photoshop. To get the most flexibility, go to the Layer drop-down menu.
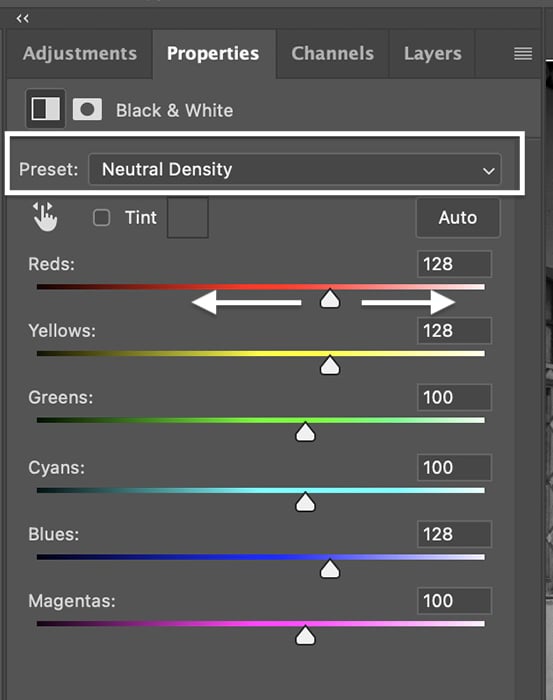
Select Layer > New Adjustment Layer > Black and White. Click OK.
In the Properties panel, move sliders to add illumination to various colors. Also, explore the presets. For my vintage aesthetic, I chose “Neutral Density.” You can also add a tint to the image by checking the box. But let’s do that another way.
Step 6. Add a Tint with Adjustment Layers
The inks used to print old photos react to UV light differently. To create a vintage effect, add a color wash. You can add a soft brown tint to black and white images. Or add a greenish tint that old color images often have because of the way magenta inks break down.
There are many different ways to add a vintage tint to your photos. Let’s first add a sepia tone to a black and white image. Then, we’ll tint a color version.
Add a Sepia Tint
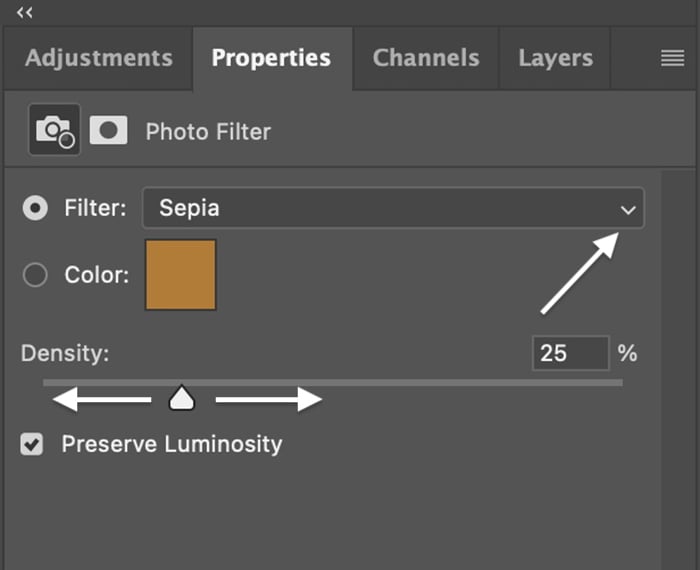
When converting a photo to black and white, you can add a color overlay. But you can also add a photo filter. Select Layer > New Adjustment Layer > Photo Filter. Then click OK.
In the Properties window, experiment with the Filter preset options. Warming Filter 81, Sepia, or Deep Yellow will give you different tones. Select “Color” if you want a different color. Click the colored box and choose any tint you want.
“Density” adjusts the saturation levels. Move the slider until you get a color cast that you like. Try unchecking the Preserve Luminosity box. Depending on your image, this may intensify the vintage look.
Add a Green Tint
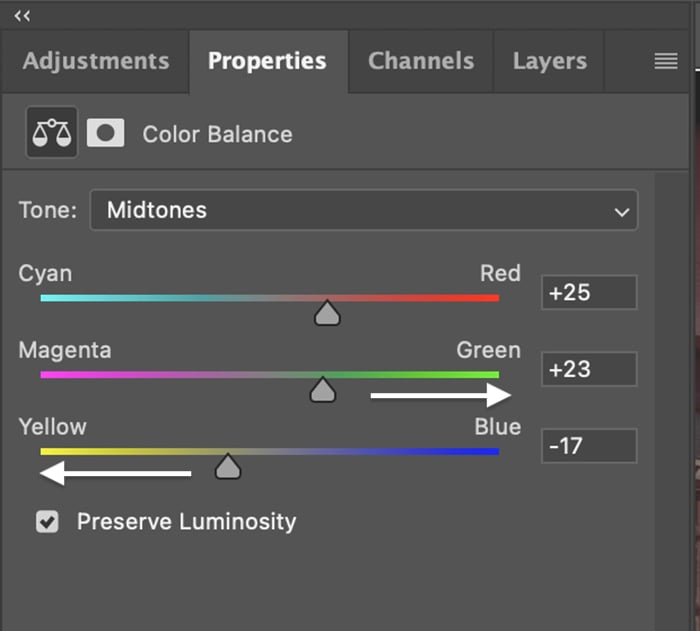
To a color image, you can simulate the color of a faded photograph using Color Balance. Select Layer > New Adjustment Layer > Color Balance. Then click OK.
Move the sliders for midtones, highlights, and shadows. Try moving them towards greens and yellows. Color Balance gives you a lot of flexibility. Try unchecking the Preserve Luminosity box. Depending on your image, this may make intensify the vintage look.
Green tint
You can also create a vintage effect with a Color Lookup layer or Photoshop actions.
Re-Add Color with a Neural Filter
If you want to create something a bit more experimental, first convert your image to black and white (Step 5). Then select Filter > Neural Filters. And toggle the Colorize button on. That will colorize your image as if it was originally black and white.
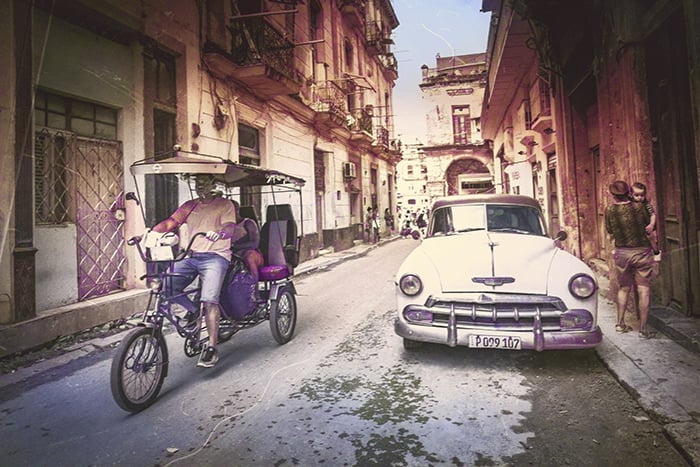
Photo converted to black and white, then colorized with a neural filter
Step 7. Add Noise
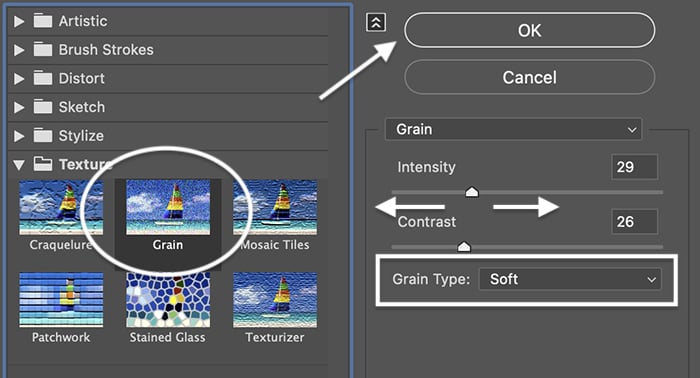
Your vintage effects would not be complete without adding a bit of grain. To add grain, select the “Vintage” layer. Go to the Filter drop-down menu and choose Filter > Filter Gallery. If the Filter Gallery is grayed out, go to Image > Mode and select “8 Bits/Channel.”
You have some options in the filter gallery. Go to the Texture menu and select Grain. Explore the different grain types. Try “Soft” or “Contrasty.” You can change the grain’s intensity or change the layer’s opacity. Then click OK.
Vintage Photo Effect Final Touches
There are many ways to create a vintage effect in Photoshop. Vintage photos often have low contrast and are faded and discolored. They may also be scratched or torn.
So add a light or a dark vignette. One way is by adding an inner shadow (Layer > Layer Styles > Inner Shadow). You can also add texture overlays with simulated film scratches to give your photography an aged look.
There are many free options on websites like Unsplash. You can even add a bit of motion blur to simulate the more prolonged exposure needed to take photos in the past.

Layer style vintage frame and vignette
Conclusion
Recreate the retro look from past generations! Adding a vintage effect in Photoshop adds a timeless look to any photo. Some photographers even prefer the look of vintage photos to new ones.
Try The Preset Collection for shortcuts to perfection!


