I love using beauty dishes. They’re my favourite lighting modifiers because they produce awesome results.
They can be picked up with a lighting stand and grid for less than $70. You will notice the difference immediately.
A beauty dish is a light source which is often used for portrait and fashion photography. But you don’t have to specialise in those areas to use them! Beauty dishes are great tools for any photographer.
What is the difference between a beauty dish and a softbox?
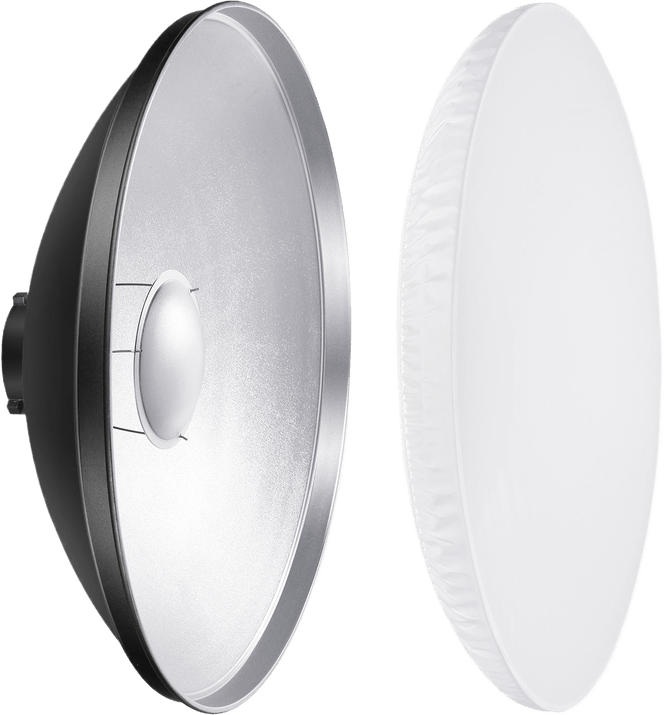
First of all, the beauty dish is a light source that has a parabolic disk attached to it. The light produced is harder than a softbox but softer than an umbrella. You can also add different modifiers to change how they work.
There are two main ways of using a beauty dish: with or without a grid. The effects are quite different. You’re likely to choose a favourite, but they are both beneficial.
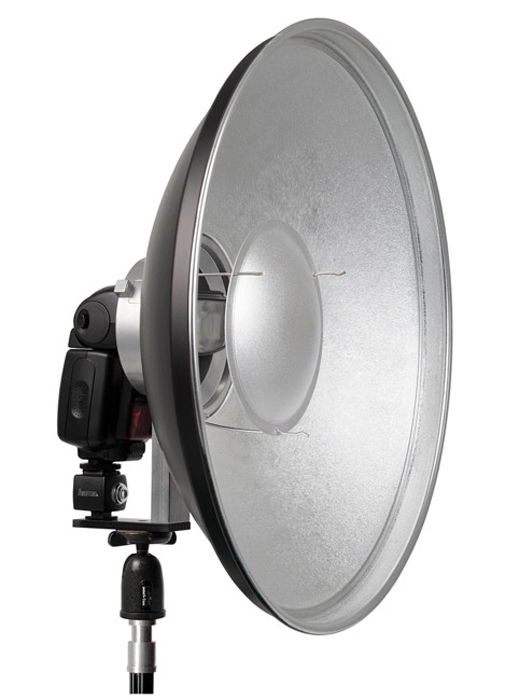
Without a grid, the light bounces into the back of the dish, reflects around the sides and then out the front.
When you include a grid, a similar thing happens. But when the light reaches the edge of the dish, it’s channelled forwards instead of going outwards.
This means that it’s much more focused on one spot. It provides a natural vignette effect. More on that later.
You will need to shoot with your flash off-camera if you want to use a full-sized one. That can be wireless or wired.
You can make the light harder when you use a grid, which you’ll see below, helping to add to the versatility of the modifier.
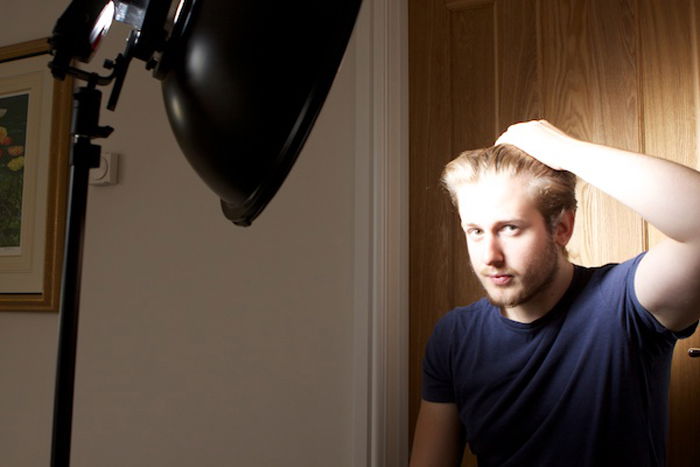
I recommend a sandbag to anyone who wants to use a beauty dish on a lighting stand. The sandbag will act as a counterweight for the other side of the stand. This way, it doesn’t fall over into your model’s face. They don’t tend to appreciate that too much.
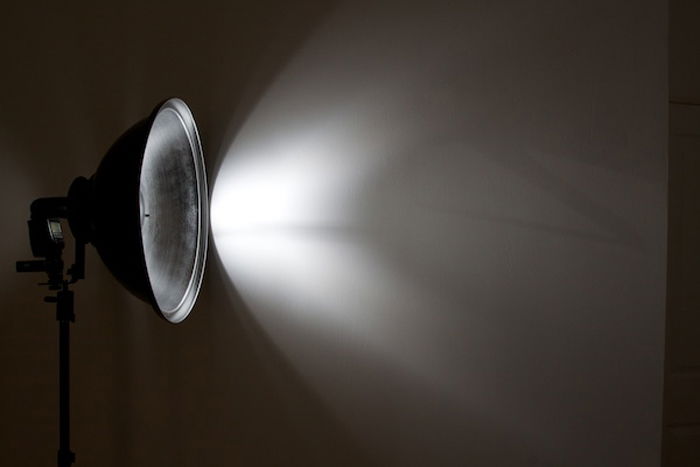
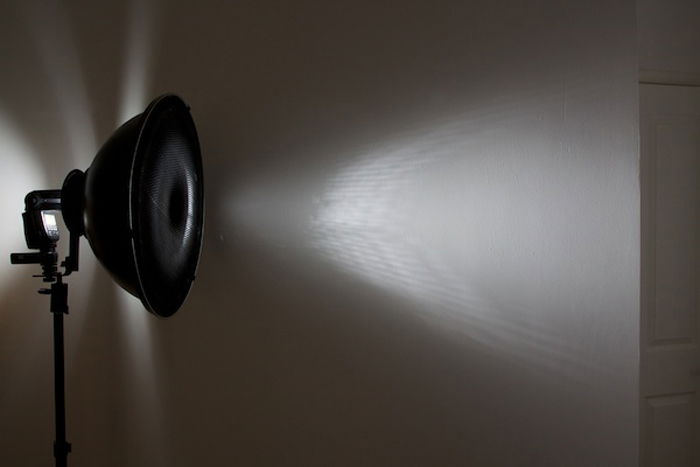
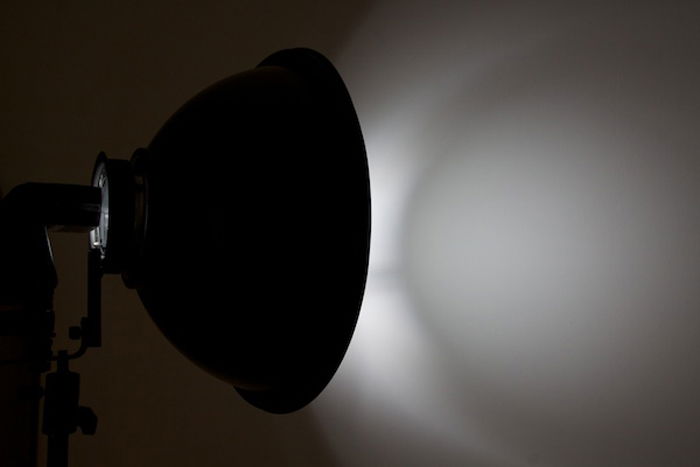
Have a look at these two photos below for comparison. The first photo is without a grid and second is with one.
You’ll notice that, without a grid, the light starts to dim about 18in away from the edge of the grid. This is because of the reflector in the center. This reflector sends the light back around the edges of the grid.
This effect is the main reason I don’t like using beauty dishes in this way.
In this second photo with the grid, very little light makes it around the side of the beauty dish. Although more light escapes out of the back, the majority is channelled forwards into a single point.
First, let’s have a look at how you may use a beauty dish without a grid. Remember that the light tends to spread farther when it leaves the tool, which is beneficial for larger subjects.
It’s up to you where you position the beauty dish. I prefer to have it facing down on to the subject. This produces a nice fall-off, allowing you to play with the shadows more.
When the light is facing directly into the face of the model, it’s going to appear harder.
The distance that you place the lighting tool from your subject is also going to create a big difference. The farther away it is, the more the brightness will cover and the softer the light will be.
When light is large and close to the subject, it will illuminate them from more angles. This will produce fewer shadows. When the light is farther away, it’s angle decreases, and we have more shadows.
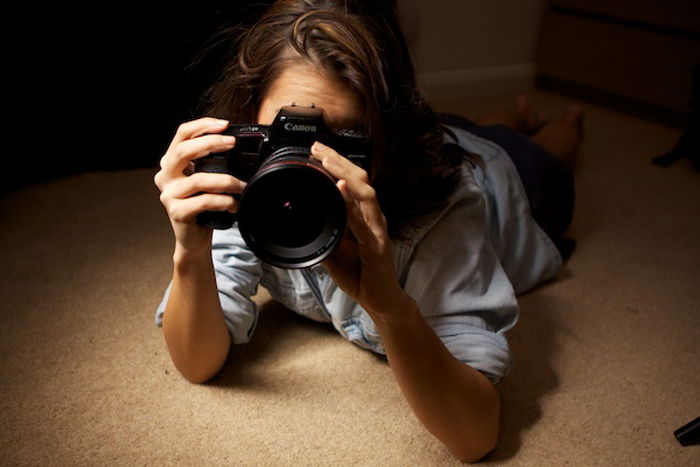
In the photo below, the beauty dish is roughly three feet above the model’s head, without a grid. For me, the best thing about the lighting here is the shadows that form around the model.
Remember—this is still harder lighting than a softbox. You can expect this sort of shadows.
Take a look at her right arm, for example. There are a lot of details in the shadows of her wrist and fingers that would simply have been flattened with a hard, direct light.
I prefer placing the dish nice and close to the subject. It doesn’t reveal the details of the inner workings of the lighting tool, as you can notice in the following photo.
When the beauty dish is much further away and is the only lighting source, you start to see how the modifier is made.
This is not an effect that I care for. If I’m using a beauty dish without a grid, I tend to use it with fill light (such as daylight). Or I get much closer like I did in the photo above (and the final photo of the post).
Without a grid, the illumination isn’t directional. It is great as a fill light instead of using a reflector or a softbox.
The harder light makes for a more interesting effect, in my opinion. It is good when you want it to be obvious that lighting tool has been used, rather than trying to hide it.

Take another look at the photo below. This time, it’s been shot with a grid on the front of the dish. As you notice, much more direct light is produced. It’s more consistent. It dims around the edges to form a vignette.
As much as I enjoy this lighting effect, it’s not suitable for the photo that I was taking. I wanted to include the legs in there too.
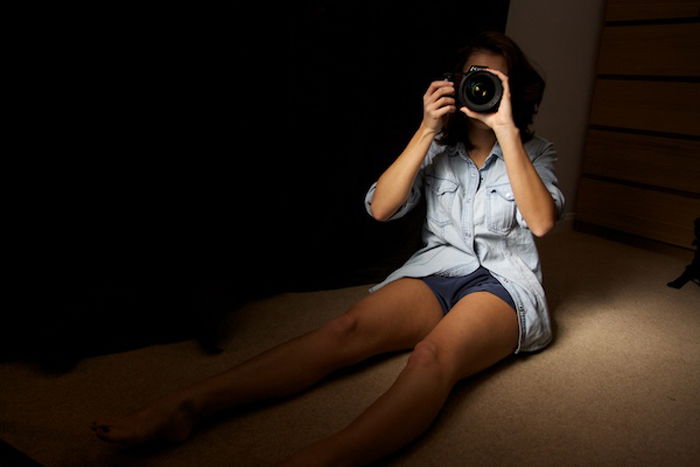
But you can take advantage of this vignette in different pictures. It’s much more natural-looking than anything you can do in Photoshop or with other post-production software.
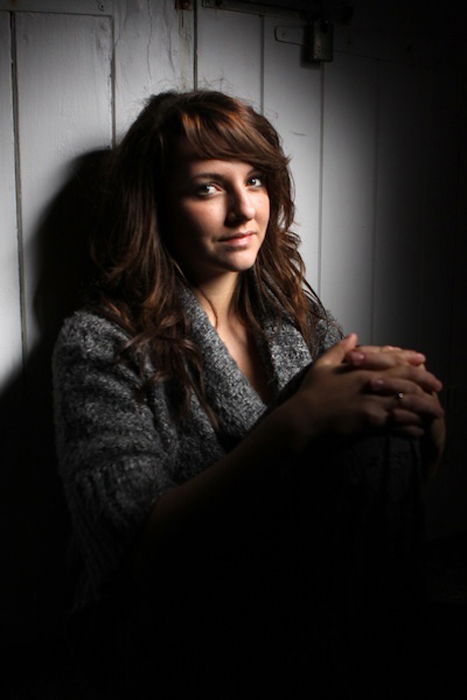
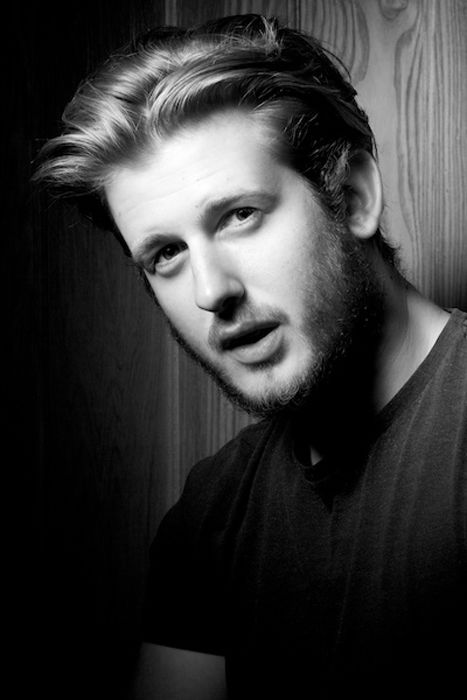
The portrait below demonstrates this. There are lots of nice shadows on the face which provide detail and make the image look more three dimensional.
It is an extreme example, and I only show it here for demonstration purposes. You would want to move the dish further away as it’s just out of the shot. You may also want to use another lighting source to have less dramatic effects.
So how do you set up a beauty dish for excellent portraits? Here is one of my favourite techniques when it comes to beauty dish lighting.
You can see this process in the two portrait photos below. The first photo demonstrates the setup I used, followed by an image of the result.
I used a grid and positioned the dish 45 degrees off the center of the face. This setup allows the light to produce some interesting shadows. I also make sure that the light is just out of frame. You get a harder light with the grid on – I try to soften it by having the light source a little closer.
Then I raise the stand and point down on the subject for more shadows on the hair, eyes, lips and neck.
Finally, I turn the model’s face towards the dish. This allows me to vary the amount of shadows on the face, depending on where they’re looking.
I like to choose a background and sit the model in front of it by about one foot. It will catch all of the excess light that comes off of the dish and result in a dimmer and vignetting background. I find this much more exciting than a white wall.
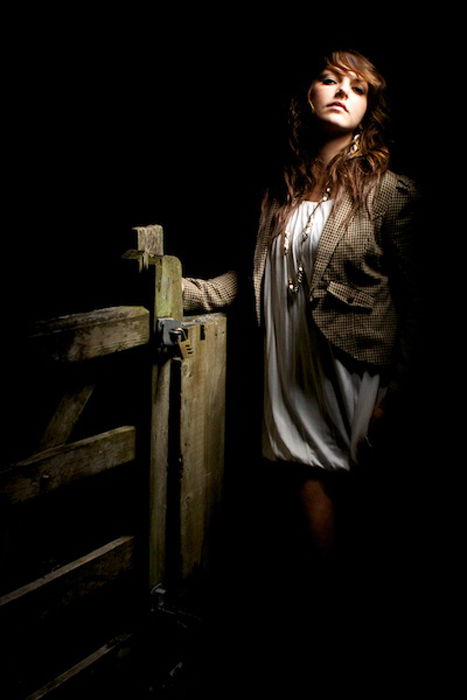
Below is a more dramatic example of how I used my beauty dish.
The light is pointing almost directly down on the model, with her face tilted towards it. This has left a strong shadow across her neck while illuminating the rest of the scene.
The circular shape of the light is still very much there. Only, now it’s an oval, and it travels farther away from the dish.
If you already have lots of light available to you, the tool makes for excellent fill light.
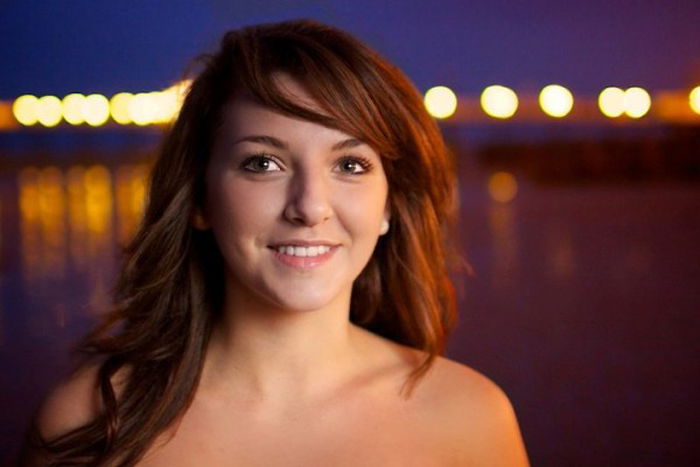
I took the following portrait with the dish, without a grid, and over my right shoulder.
I zoomed in on the model’s upper body. This way, you don’t notice any of the inner workings of the dish in the photo. It provides just the right amount of shadow on the collarbones, cheekbones, nose and eyes. And it provides a soft shadow on the left side of her face.
I chose to shoot the photo like this because it suited the background. You may choose different lighting conditions.
The possibilities in beauty dish photography are endless.
There are no exact rules on how to position your lighting tools. The best idea is to experiment and see what results you prefer. Look for exciting shadows and unusual effects.
Read our complete guide to photography lighting here.
Learn more about how to improve your photography with Photography Unlocked.
![P39 [Lead gen] sidebar banner Related ebook](https://expertphotography.b-cdn.net/wp-content/uploads/2022/09/P39-Lead-gen-sidebar-banner-Related-ebook-300x295.jpg)
![P39 [Lead gen] Sidebar Banner offer 2](https://expertphotography.b-cdn.net/wp-content/uploads/2022/09/P39-Lead-gen-Sidebar-Banner-offer-2-300x245.png)
![P39 [Lead gen] Sidebar Banner offer 1](https://expertphotography.b-cdn.net/wp-content/uploads/2022/09/P39-Lead-gen-Sidebar-Banner-offer-1-300x245.png)