Every photographer experiences a creative block or a period where they don’t feel inspired. That’s perfectly natural. But getting yourself out of that slump is key, which is why we’ve come up with these creative photography ideas.
Experimenting with new creative photography ideas is a great way to reignite your passion for taking pictures. Even if you’re an experienced shooter with tons of jobs under your belt, you can always try something new.
These creative ideas cover everything from 3D photography to traditional wet-plate photography. Whether you’re a seasoned pro or an absolute beginner, there’s a creative idea you can try.
Trying new styles and techniques is a great way to improve your photography skills. If you’re a beginner, you’re bound to learn something new by experimenting with types of photography you’re not yet familiar with. But even photographers with bags of experience can learn new skills or perspectives through creative experimentation.
These creative photography ideas are designed to inspire you and reinvigorate your passion for photography. You don’t have to try them all, but we’re sure you’ll find a couple that will tickle your fancy.
We start with creative types of photography you can experiment with. We look at 3D image making and several types of abstract photography. We have some homespun food photography ideas. And you can even take photography back to its roots with wet-plate photography.
Our article then looks at artistic themes and styles you can experiment with. From glitch art to horror visuals, there are a lot of ideas to get the creative juices flowing once again.
Each section has a link to a full article on that subject, so follow the links to find out more.
This section on creative types of photography aims to broaden your scope when it comes to photography. If you feel like you’re just going through the motions when you pick up your camera, trying one of these creative types of photography will change your state of mind for the better.
You might be familiar with some of the photographic genres here, but we’re sure everyone will find something new. And even if the genre isn’t new, you can definitely learn and develop from these articles.
We start with 3D photography and then cover topics such as abstract and fisheye photography. Remember to click the links to find out more.
3D photography creates images with depth, making them look more lifelike and detailed. It uses two offset photos of the same subject, which are then merged to create a photo with three dimensions. This tricks our brain into thinking there is depth, even though we are still looking at a flat photo.
3D photography has been around for decades, starting with the invention of the stereoscope in 1833. In the 1940s, the first stereo cameras were developed, using two separate lenses and sensors to capture the same scene from different angles. This simulates human binocular vision and creates a 3D image.
Today, there are many ways to create 3D photos, including using Photoshop, smartphone apps, or even manual processes like the rocking method or making your own mirror splitter. When taking 3D photographs, it’s important to keep the subject still, frame the images in the same way, position the subject strategically, and take plenty of pictures to ensure good framing. 3D photography is a fun and impressive way to add depth and realism to your images.
To learn more about the fascinating world of 3D photography, our article offers a comprehensive guide to getting started and mastering this unique technique.
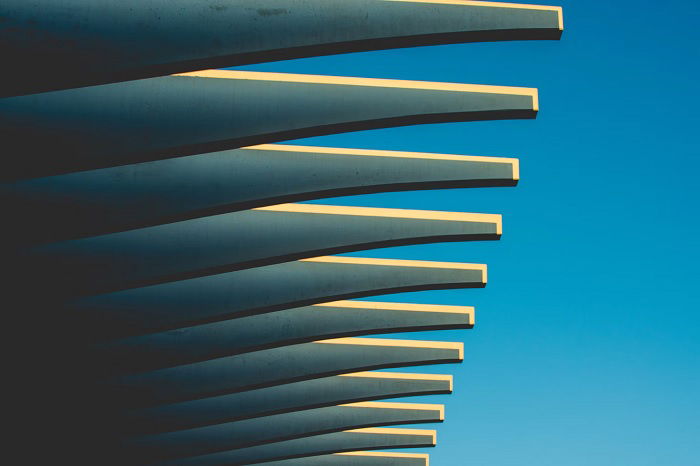
Abstract photography focuses on geometrical shapes, with photographers looking for hard lines and distinct angles. Abstract images often feature no human subjects, using only shapes, lines, and angles. Organic shapes are sometimes used minimally, contrasted against the hard lines.
Many abstract images don’t have a traditional subject, like portrait or pet photography would have. The entire abstract image is the subject. This builds intrigue as the viewer can decipher what the image depicts other than dynamic shapes.
Abstract photography is a great way to train your eye and enhance your image-making skills. In your quest for interesting shapes, you’ll start to see the world in a new way. You’ll be able to see clear, hard shapes made from everyday objects from familiar environments.
Learn more about abstract photography in this full-length article.
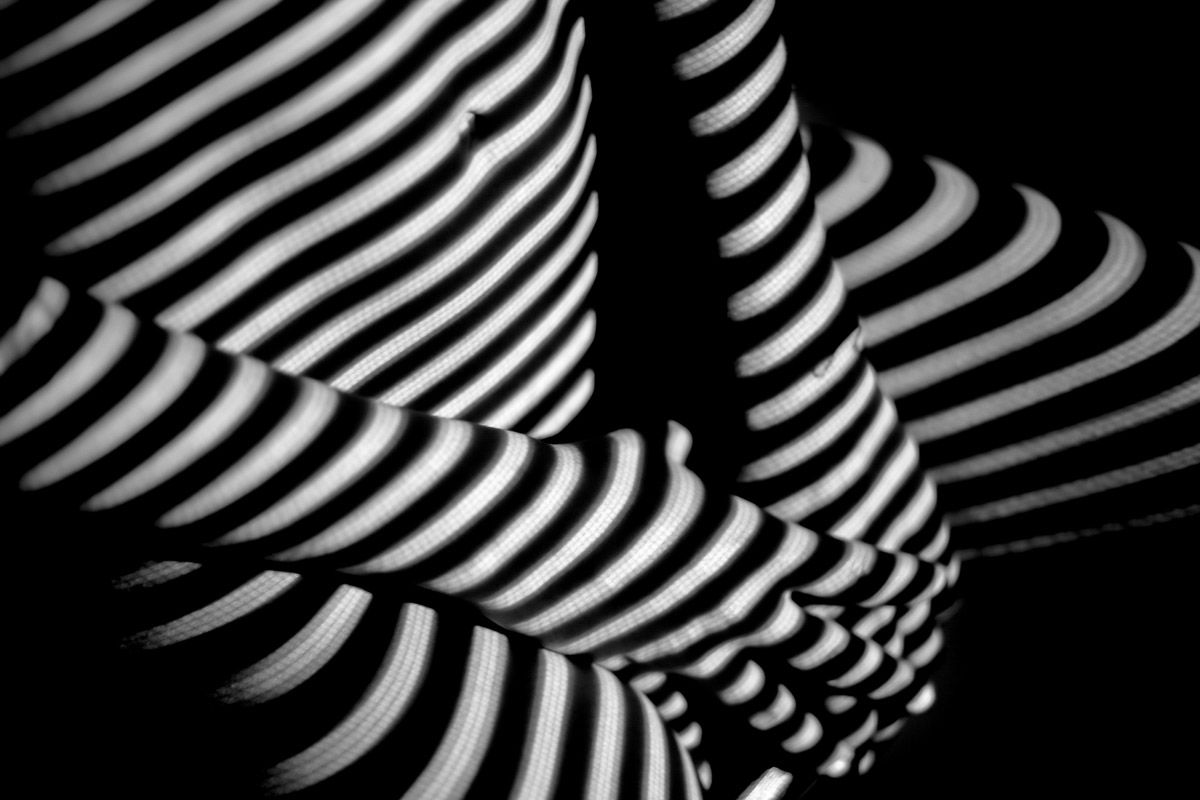
Abstract body photography captures the shapes, lines, and textures of the human form in a creative way.
To get started, use light to sculpt the subject and create emphasis. Black and white photography removes distractions and renders a sense of timelessness.
Adding movement through intentional camera movement or motion blur can also create a timeless feel. Incorporating tattoos into your images provides an intimate insight into the visual impact of the human experience.
Changing your perspective gives a 3D feel to a 2D subject. Using lines emphasizes the structure of the human body and creates visual paths, focal points, and frames.
If you’d like to learn more about abstract body photography, we have a great article that explores the topic in more depth.
Abstract photography can be challenging, but using colored paper is a simple way to create stunning images. To get started, you’ll need different colored paper, metal clips, a bright light source, and a macro lens or smartphone camera. Secure the paper with clips, weights, or tape to create your desired shapes and compositions.
Lighting is key for emphasizing the texture and color of the paper. Natural light from a window works well, or you can use artificial light for more control. Experiment with different aperture settings to achieve sharp focus or a blurry background effect.
Try creating a rainbow effect by clipping multiple sheets together and spreading them out, or roll the paper into circles and position them in different parts of the frame.
With a little creativity, you can transform simple colored paper into abstract photos that look like gallery-worthy art.

Food photography is a popular genre thanks to food-centric blogs and websites. But coming up with creative food photography ideas can be tricky. Here are some ideas you can try at home using simple backdrops, props, and lighting equipment.
Use reflections to create stylish commercial shots. Adding a reflection is a creative way to add interest to the image. Experiment with liquid splashes to make your photos more dynamic. Use a fast shutter speed and Burst mode to freeze the splash.
Props can also be used to create funny food photography. Look for weird, interesting, or funny items at kitchen stores and food markets.
Slice food up for cool deconstructed shots or create messages using food items arranged on a white backdrop. Colorful foods like macarons and Smarties are fun to work with and can be used to create playful images.
Food photography ideas are endless when you start to think outside the box.

To create cool broken glass photography, you’ll need a few props like a broken bottle, a small paper boat, and some sea-themed items. Wrap the bottle in a towel and hit it with a hammer on the side to break it into large, interesting pieces.
Arrange your scene with the broken bottle as the main subject and add flying glass shards using knitting needles and glue.
Set up your lighting with a backlight to make the glass look fantastic and a fill light to lift shadows. Use a closed aperture for a wide depth of field to keep the entire splash in focus.
Pour water onto the broken bottle to create splashes and take a series of shots. Combine the best shots in post-processing by merging them together and retouching any imperfections.
With practice, you can master the art of broken glass photography and create stunning, dramatic images.

Toy photography is a fun and creative way to capture the world of miniatures. To get started, you’ll need some basic gear like a tripod, shutter release cable, and a raised platform or table.
Natural light works best for toy photos, so try shooting outdoors on a lightly clouded day.
When setting up your shot, think about the story you want to tell with your toys. Use props and backgrounds to help convey emotion and add an element of adventure. Kids can also get involved in the process, making it a fun group activity.
Experiment with different angles and techniques like focus stacking to add unique perspectives and greater detail to your toy photos.
For more toy photography tips and inspiration, check out our in-depth article.
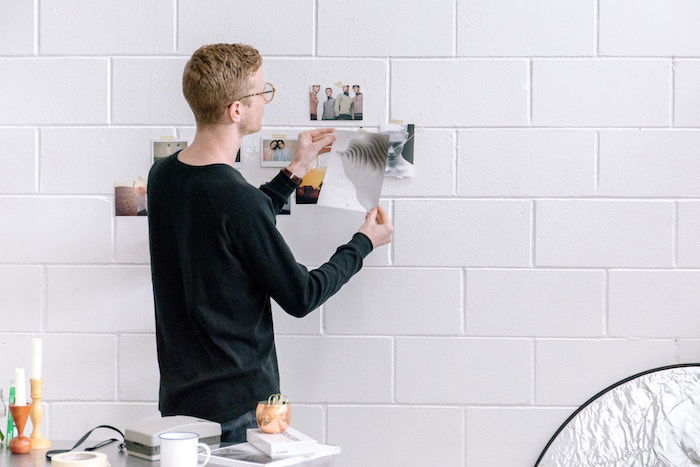
A storyboard is a visual roadmap for a photo shoot. It ensures everyone involved understands the desired result. Even if you’re shooting alone, a storyboard helps define your vision.
To create a storyboard, start by developing your idea. Find inspiration from magazines, Pinterest, or a mood board. Consider props, lighting, background, models, and clothing that complement your vision.
Next, define the details like image format, lighting, and mood. Edit down your ideas, keeping only what’s important.
Finally, create your layout considering composition, visual weight, and consistency. A storyboard is a useful tool, but leave room for spontaneity and creativity.
If you’d like to learn more about storyboards for photography, check out our in-depth article.
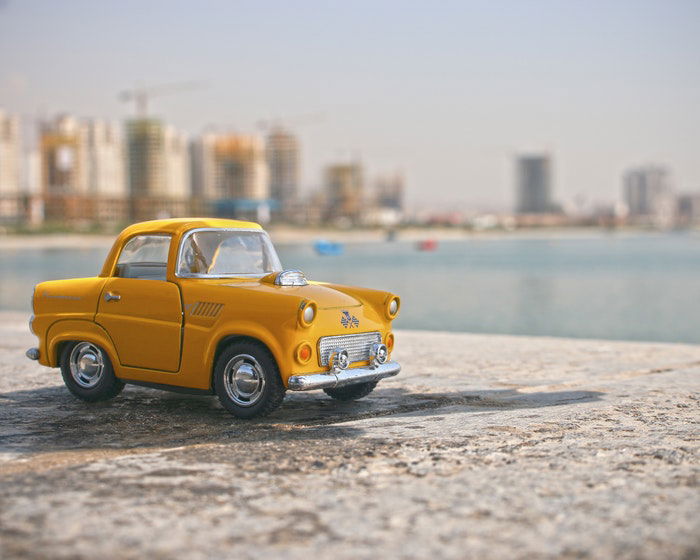
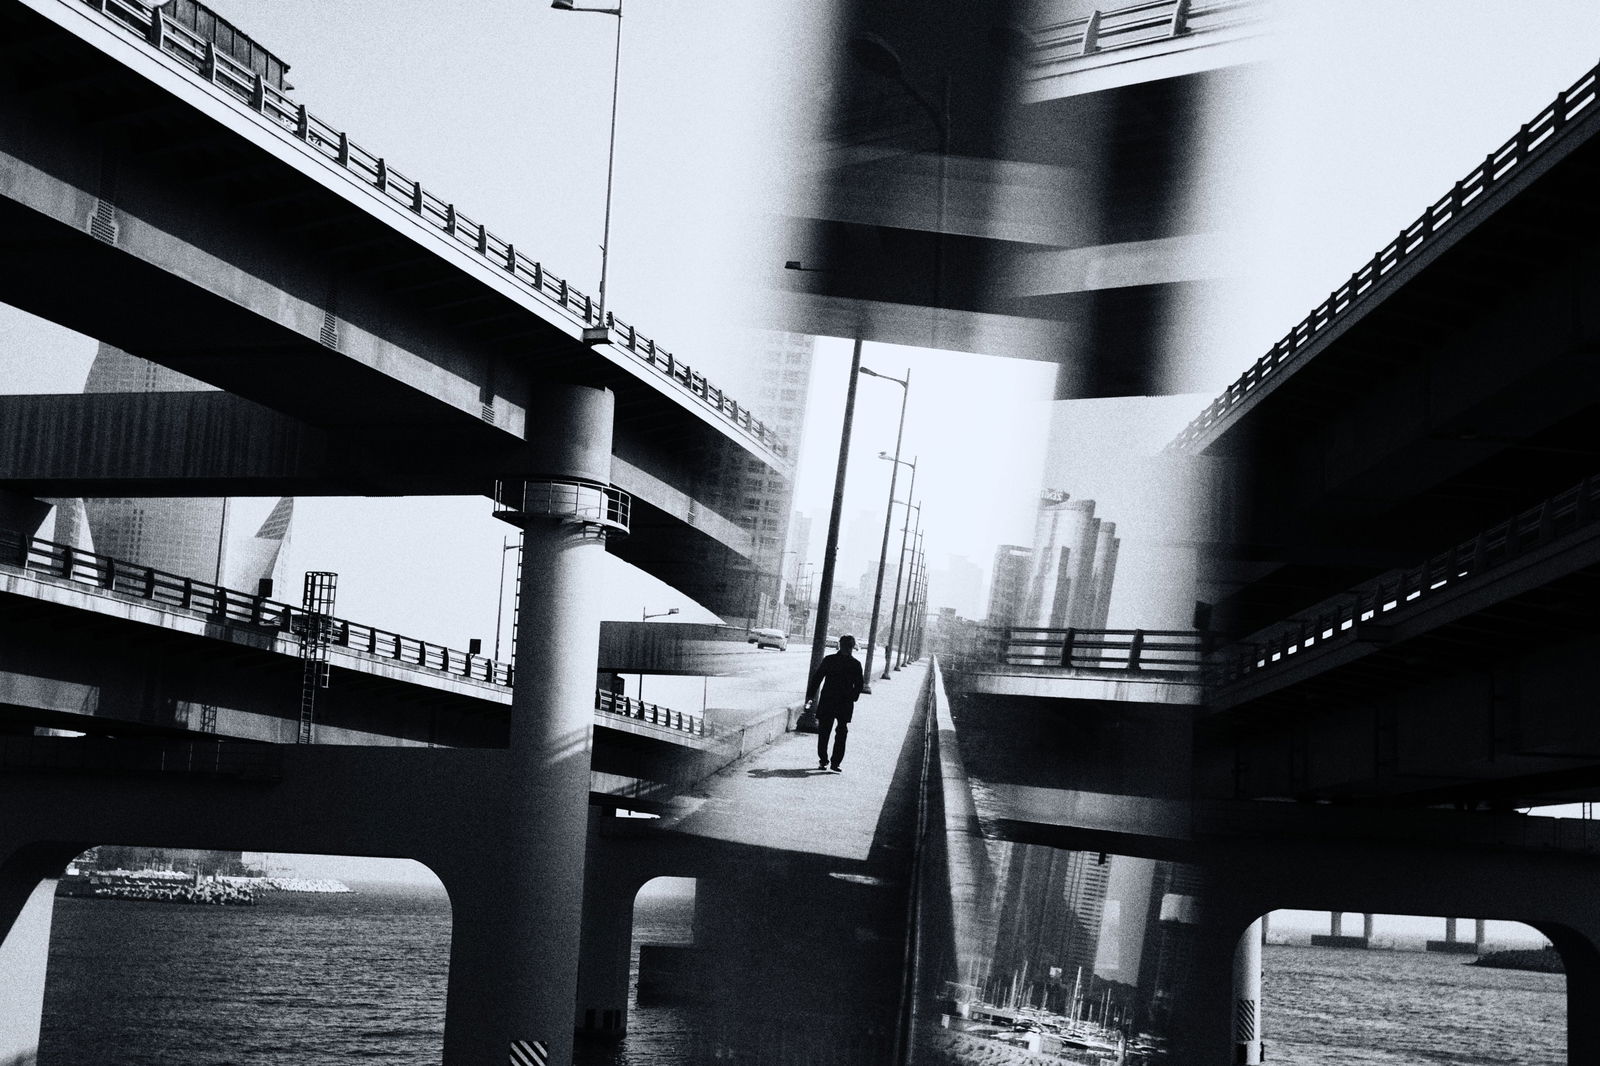
Tilt-shift photography is a unique and creative style that can make subjects appear like miniature models. Photographers can create stunning images with a toy-like appearance by controlling the plane of focus and depth of field.
Tilt-shift lenses allow for this effect to be achieved in-camera, but it can also be mimicked in post-processing.
Cityscapes and architecture are popular subjects for tilt-shift photography. When shot from a high angle, buildings, cars, and people can look like tiny models in a toy town. Vibrant colors and increased saturation further enhance the miniature effect.
However, tilt-shift photography isn’t limited to creating miniature scenes. It can also be used to add depth, adjust perspective, and bring out textures in various subjects, from landscapes to sports stadiums.
Click the link to learn more about the creative possibilities of tilt-shift photography.

Fisheye lenses are the weirdos of the photography world, with their ultra-wide field of view and strong distortions. Many photographers consider them to be just for fun, but it’s easy to create cool fisheye photos that are more than snapshots.
Fisheye lenses are perfect for environmental portraits in tight spaces and low light. They also make photographing fast-moving kids a breeze, as everything farther than a foot or so away is basically in focus.
For architecture, fisheyes can capture tall buildings from up close, with the distortions adding a creative twist. Fisheye lenses are a great way to spark your creativity and experiment with new techniques.
Our article on fisheye photography is an in-depth guide to help you master this unique style of photography.
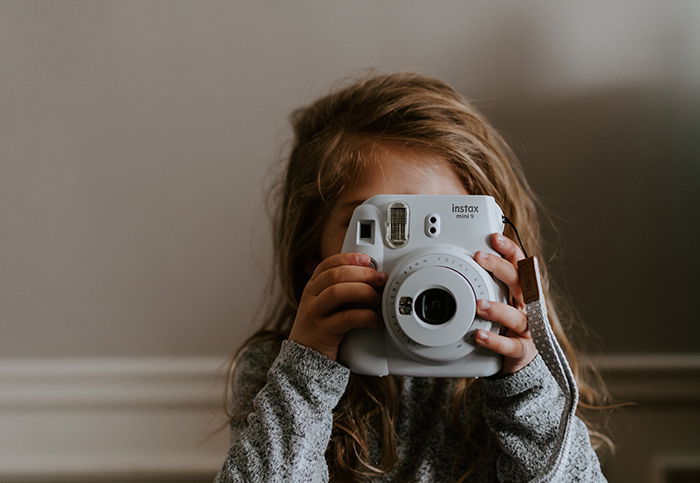
Polaroids and instant photos have a nostalgic charm that digital photos can’t quite match. To get the best results, take your instant photos on cloudy days or in shaded areas for even lighting. Avoid photographing details or getting too close to your subject, as this can lead to blurry shots.
Keep your compositions simple by centering your subject and using plain backgrounds like white walls or blue skies. Experiment with black-and-white film for moody, atmospheric photos. You can also use the double-exposure feature on some instant cameras to create surreal, imaginative images.
Have fun with colorful lenses, frames, and stickers to personalize your instant photos. Your Polaroids can even serve as examples to impress potential clients or for test shoots with models.
If you’d like to take good Polaroid photos, these tips will help you make the most of your instant camera.
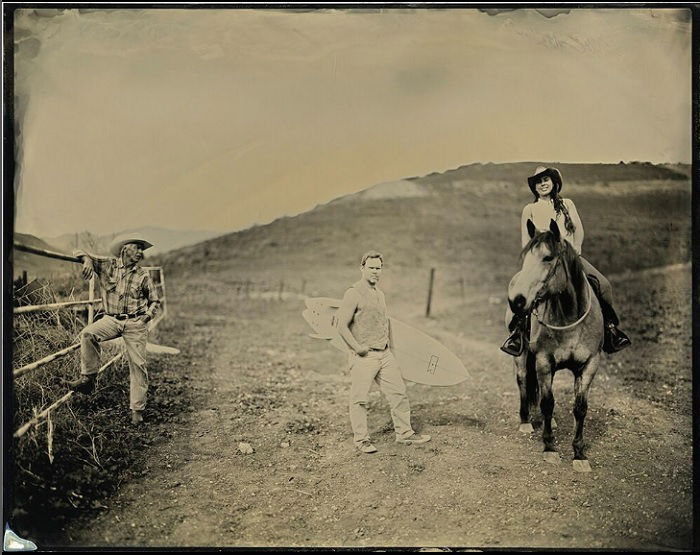
Wet-plate photography is one of the oldest types of photography, dating back to the 1800s. The process involves covering a metal or glass plate with a light-sensitive emulsion, which reacts when exposed to light. Unlike modern film, the plate must be developed immediately after the photo is taken.
The wet-plate process went through three main stages: daguerreotype, ambrotype, and tintype. Tintype was the most popular and lasted into the early 20th century before being replaced by newer technology.
In recent years, wet-plate photography has seen a resurgence among photographers looking for a unique, timeless look. The process is complicated and requires special equipment, but the results are worth it.
Wet-plate photography produces beautiful, one-of-a-kind images with rich, golden tones that can’t be replicated with digital cameras.
Now we change strategy and look at creative ideas and themes photographers can explore. Rather than looking at types of photography, these suggestions are more thematic than technical.
We cover two of the major US holidays, Christmas and Halloween. But we also look at things like impressionist and grunge-style photography. We also have sections of storyboard and storytelling photography for those interested in narrative.
Christmas is a magical time for still-life photography. Capture the cozy feeling of steaming hot drinks with backlight to make the steam shine. Arrange star-shaped cookies in a flat lay with tea cups, cinnamon, and fairy lights.
Build a classic gingerbread house and use it as a prop to tell Christmas fairytales. Light up your composition with sparklers using a shutter speed of 1/60 s or 1/20 s. Create still-life photography Christmas cards with festive letters made from gingerbread, sprinkles, or candy canes.
Tell stories of presents and surprises by photographing mysterious smoke coming out of a gift box. Add snow to your scene using flour or powdered sugar scattered above. Capture miniature scenes with tiny Christmas trees or LEGO people gathered around a Christmas dessert.
Experiment with Christmas still-life photography to bring even more Christmas cheer to your festive photos.

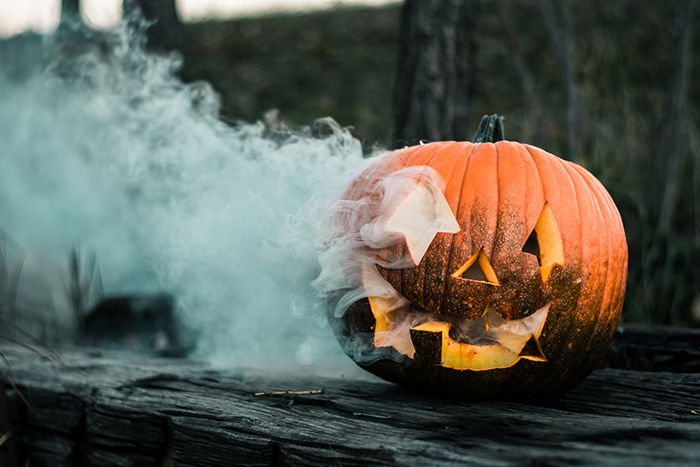
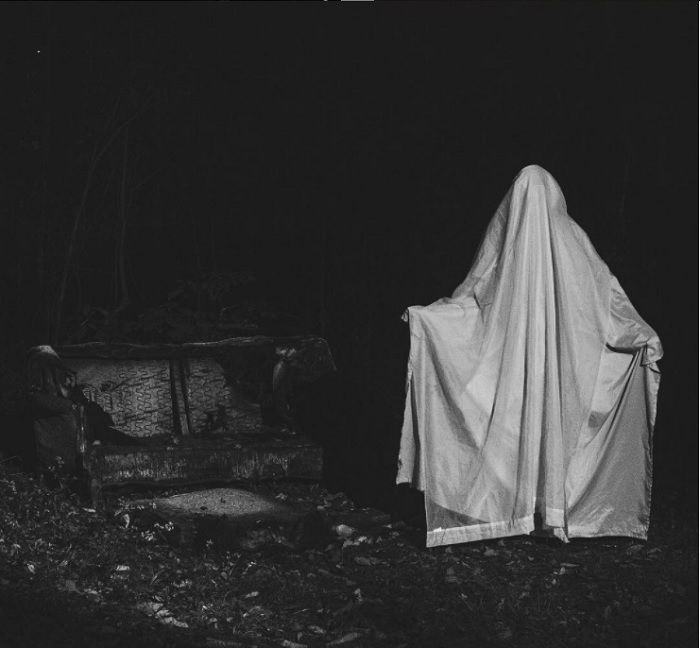
With all the costumes and decorations, Halloween is one of the most photogenic times of the year. It’s also a holiday with a built-in theme and strong visual style, which is perfect for creative photography.
Shoot through fabric to create ghostly silhouettes. Use a light diffuser or curtains to make your subject look surreal. Take photos in abandoned places to set a spooky mood. Look for locations that match your theme, like an old hospital for a ghost story.
Use fun photography tools to get creative. Put smoke bombs in jack-o-lanterns or use bokeh filters shaped like bats and ghosts. Capture creepy movements with a slow shutter speed to create motion blur. You can also desaturate your photos to make them look older and scarier.
Think outside the box with costumes and face paint. Take inspiration from pop culture to create unique looks or shoot from unusual angles to grab attention.
Use limited lighting from lamps, torches, or candles for a haunting atmosphere. Edit your photos with spooky Photoshop effects to make them stand out.
To learn more, read this guide on Halloween photography.
Horror photography aims to excite the darker side of people’s imagination. It’s no different from horror cinema, except photographers use still images to tell a story. The imagery can be explicit and violent, but it isn’t just buckets of fake blood and fog machines.
Photographers take a subtle approach, creating tension and unease. They are expert storytellers who sometimes use features of surreal and fantasy photography.
Darkness deprives us of sight, making us feel vulnerable. Things don’t look the same at night, and the familiar becomes unfamiliar.
Removing or obscuring someone’s eyes in a photo dehumanizes them. We lose our ability to make that human connection, and they become distant and soulless.
Our full article on horror photography is full of scary examples to inspire and terrify.
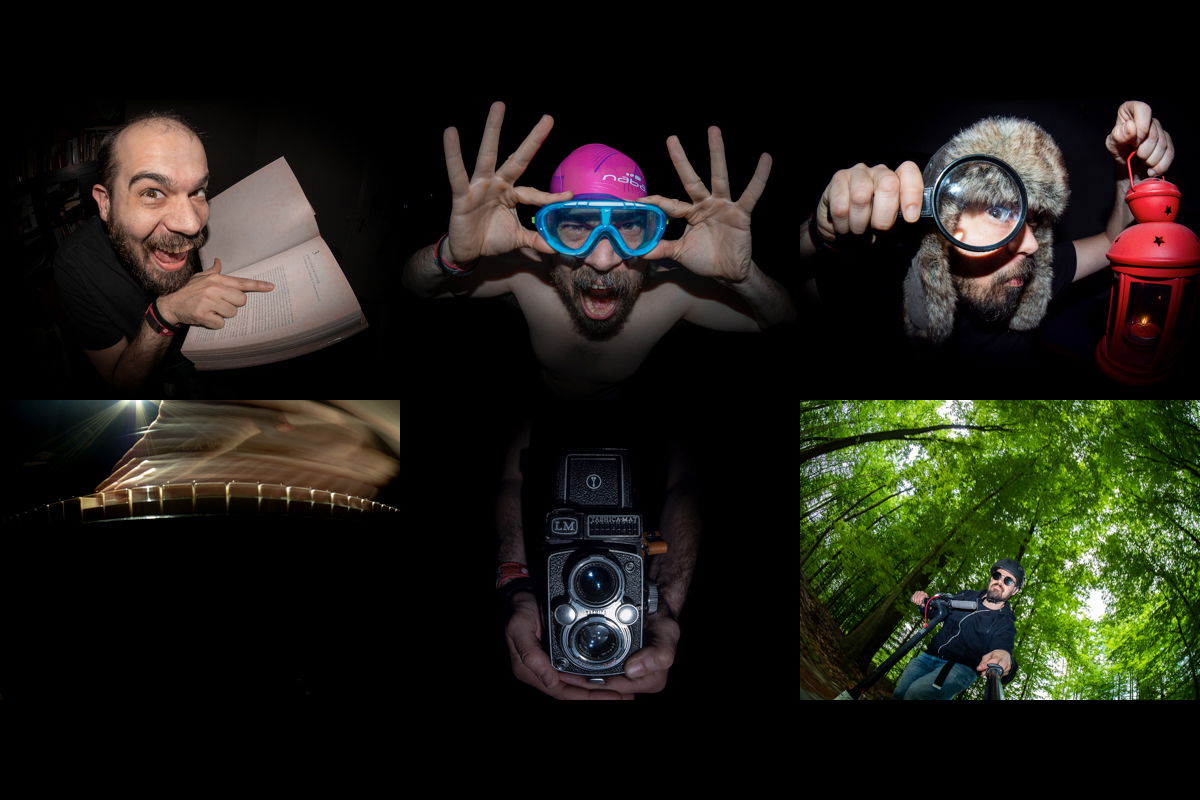
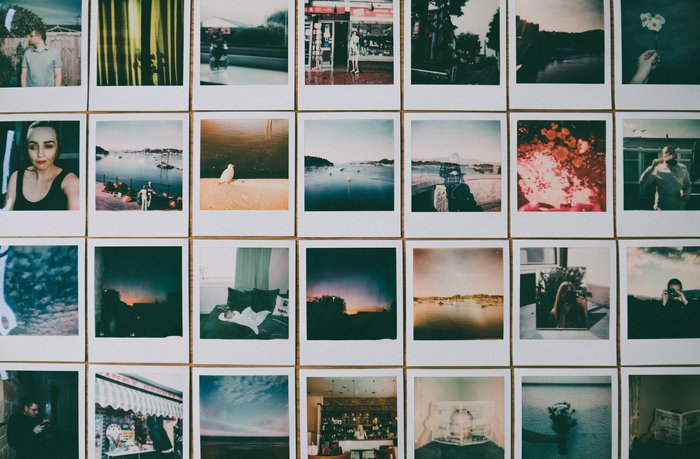
A photo series is a collection of images that are linked together by a common theme or concept.
Photographers love creating photo series because they can tell a story, evoke emotion, and capture the imagination. Focusing on one theme can also help reinvent your photography style and improve your creative skills.
To create an outstanding photo series, you should have at least two or more related images. The pictures can be linked together by using the same theme, model, or editing style.
It’s important to edit your images using the same color schemes, presets, or filters to maintain a consistent look.
When working on a photo series, consider the layout and presentation of your images. Will you showcase them in a grid, side by side, or collage? The presentation can influence how you photograph your series.
Click the link if you’d like to learn more about creating a photo series.
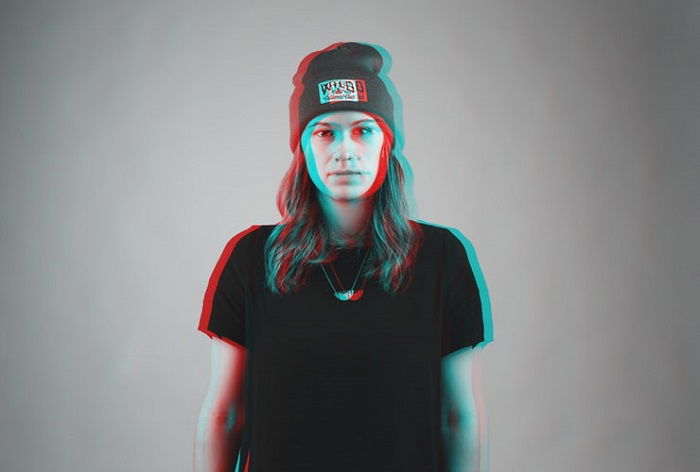
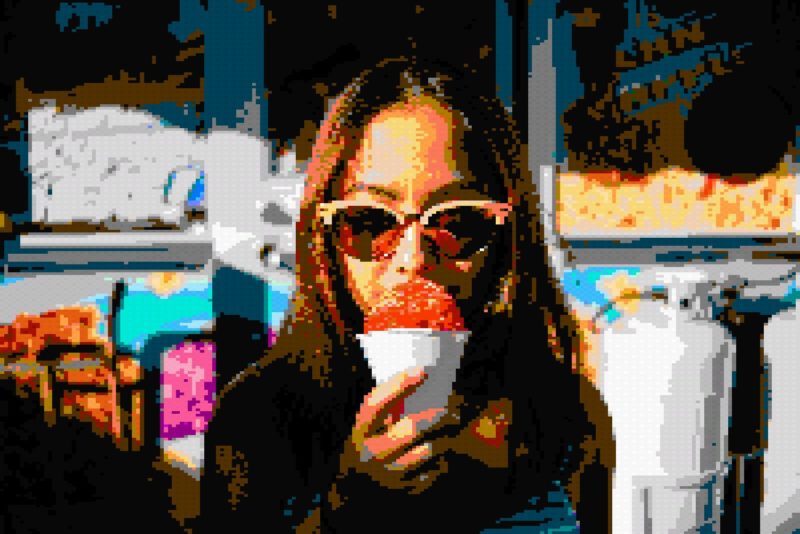
Glitch art is a cool photography trend that creates unusual visual effects. You can make glitch art by corrupting digital data on purpose. This results in distortions, color shifts, and other errors that can look very artistic.
To make the best glitch art, choose a simple photo with a clean background and just a few subjects. Photos with strong shapes and only a few colors tend to work best. You can easily create glitch art using apps on your phone like Onetap Glitch and Glitchr.
If you want more control, try making glitch art with Photoshop. Duplicate your image in layers and use tools like the rectangular marquee to slice and move sections. Uncheck color channels for an RGB shift effect.
You can even glitch photos with surprising methods like audio editors and scanners. The key is to experiment and have fun with the random process.
If you want to dive deeper into creating glitch art, check out our full-length article.
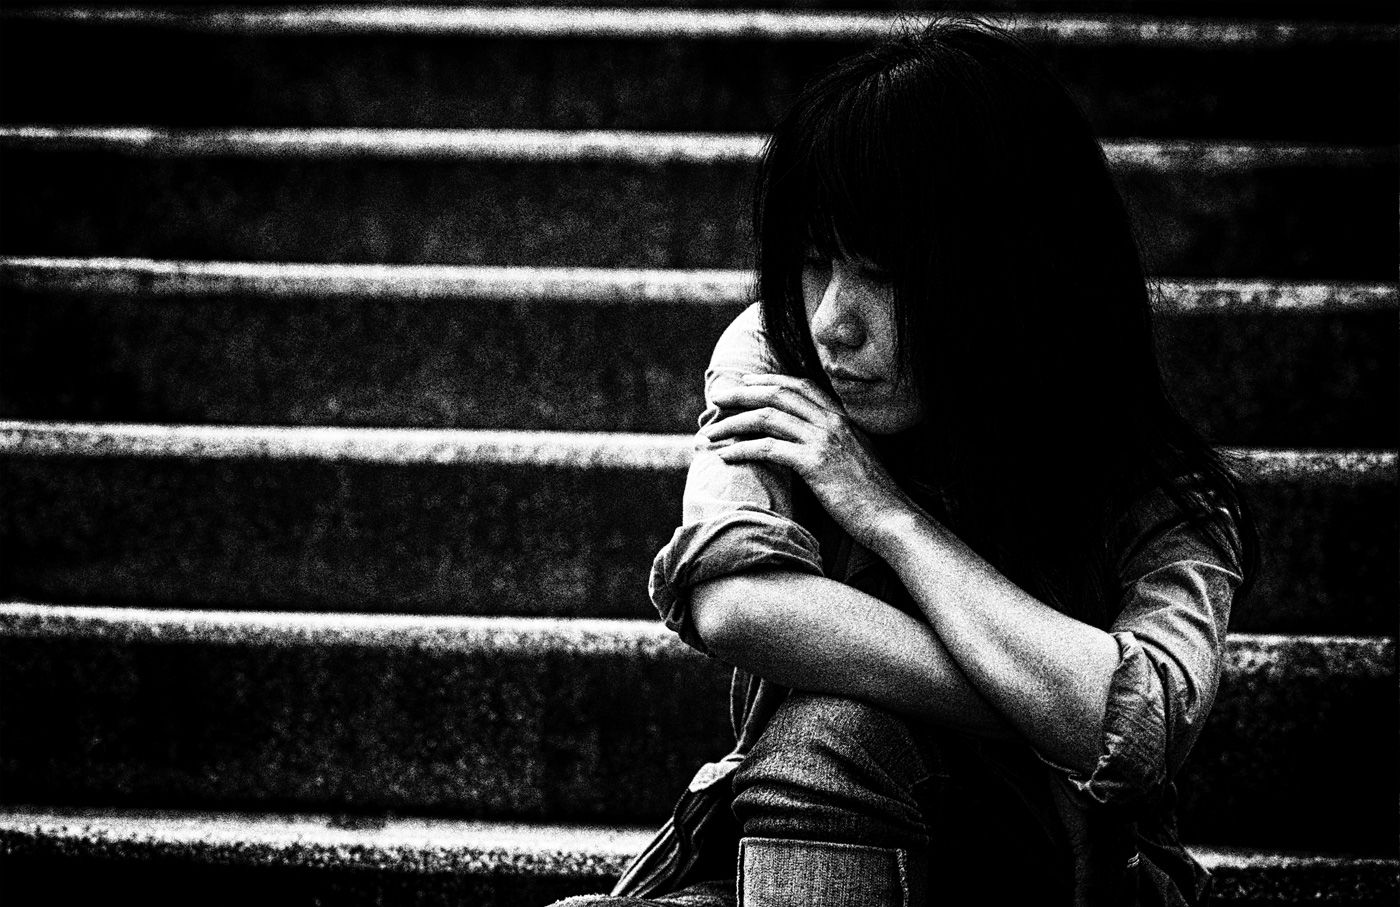
Grunge photography is all about creating edgy, distressed images. To achieve this look, photograph old, broken subjects like rusting machinery or dilapidated buildings. Experiment with different perspectives and lenses to capture a range of shots that tell a story.
Manipulate your camera settings to create more intense exposures. Use spot metering to expose for highlights, leaving dark areas with little detail. You can also use film cameras for an organic, unpredictable look.
In post-processing, adjust contrast and color to extremes. Darken shadows, reduce vibrance, and experiment with black-and-white conversions. Plugins like Nik Silver Efex Pro make it easy to create grungy black-and-white images.
Grunge photography is a great way to add an edgy, emotive feel to your photos.
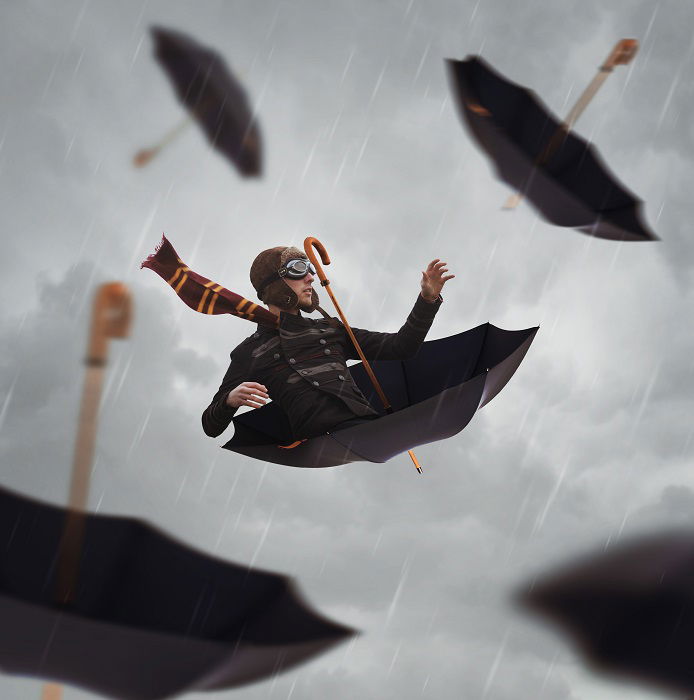
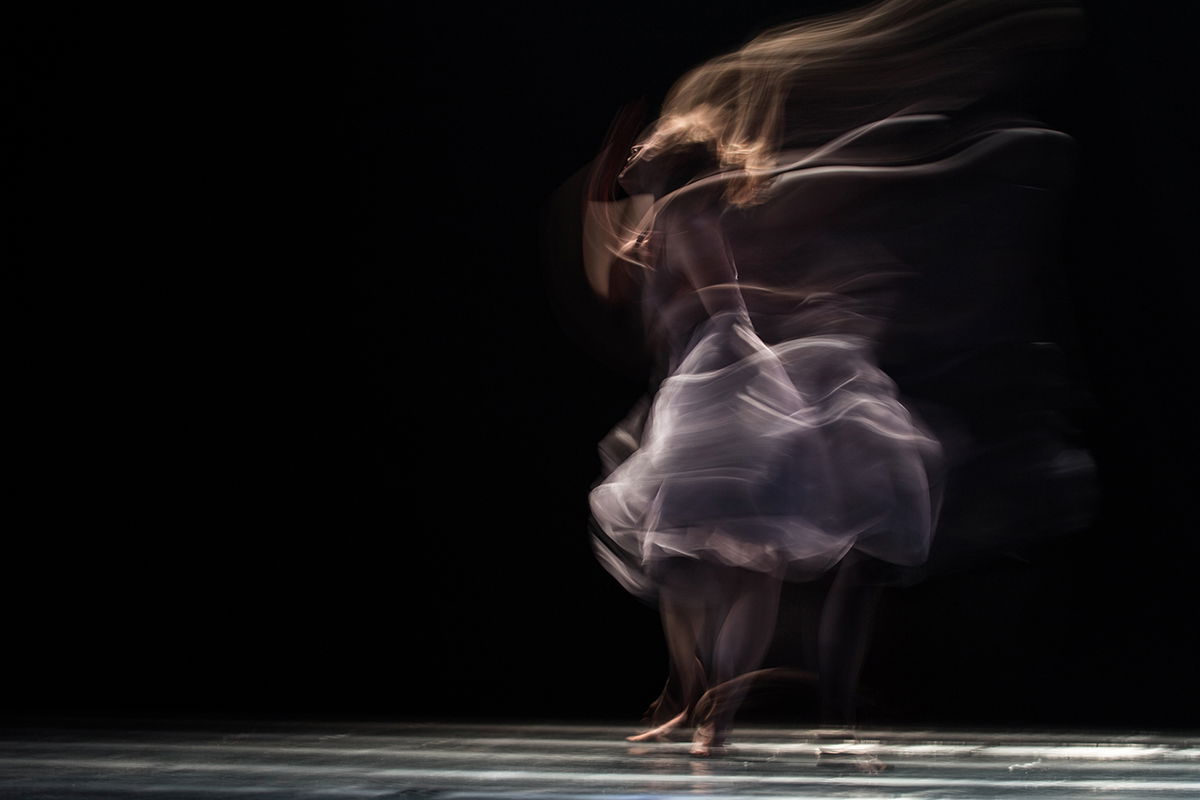
Impressionist photography is a unique genre that encourages breaking the rules. You can use blurred subjects, movements, and crooked lines to express yourself creatively. While it might look complicated, it’s quite easy to learn and a fun way to take photos.
To get started, shoot in Aperture Priority or Shutter Priority mode for the best results. Study your environment for potential subjects, such as a butterfly in a park or a child riding a bike.
Capture the essence of movement using the panning technique, moving your camera along with your subject using a moderately long exposure. Other techniques to try include defocusing to create depth and mystery, mastering the zoom effect for artistic results, and shooting through a foreground to add layers.
With impressionist photography, you’ll find an abundance of inspiration that will change the way you look at photos.
To learn more about impressionist photography, check out our in-depth guide.
Storytelling photography is a powerful way to take your audience on a journey using still images. To tell a compelling story, develop characters using costumes and props that provide visual cues about the subject. Harness symbolism to evoke strong emotions and guide the viewer in the right direction.
Color is another important tool for enhancing your storytelling. Warm colors heighten feelings of enjoyment, while cool tones create a sense of unease or isolation.
Structure your narrative by deciding how much of the story you want to tell and whether you’ll use a series of images or a single frame.
Composition is key to leading the viewer through your story without words. Use wide-angle shots to provide context or tightly framed portraits to focus on characters. Body language and facial expressions also convey valuable information.
If you want to learn more about storytelling photography, our article is the best place to start.

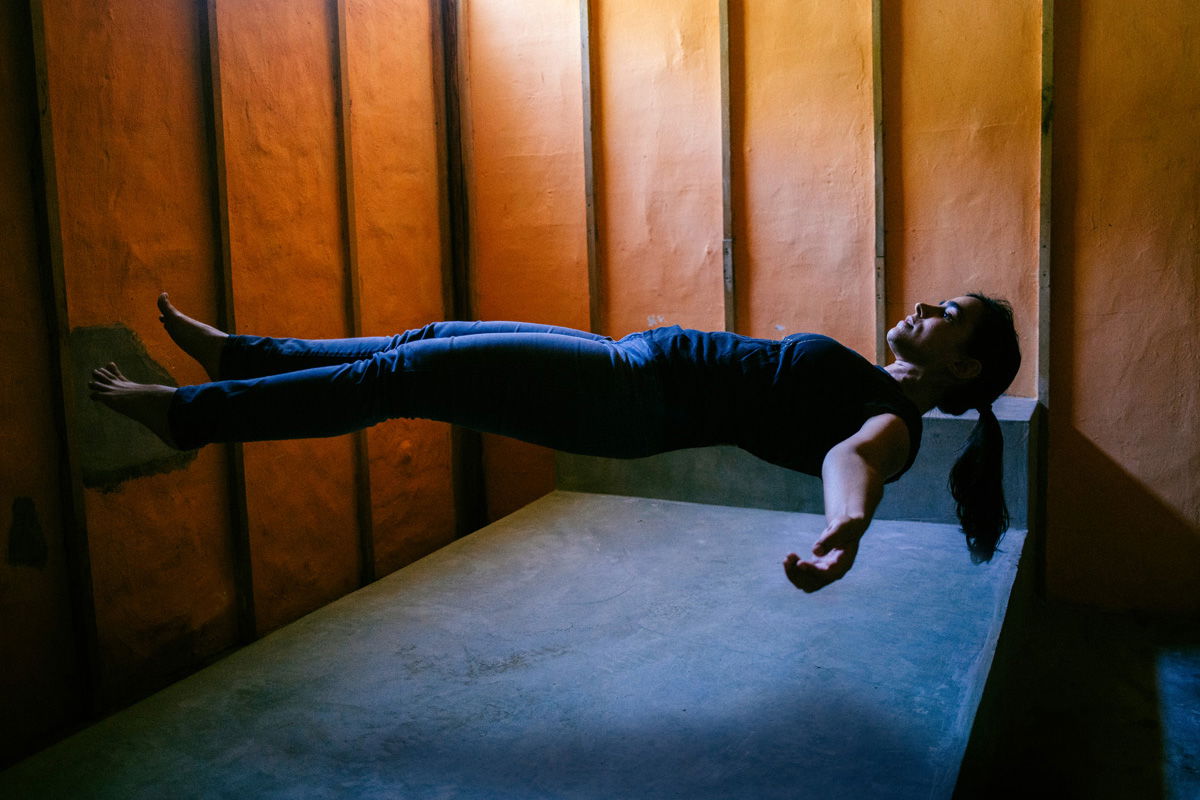
Levitation photography is a fun and surreal technique that’s easy to try. You’ll need a tripod, a stool or chair to support your subject, and editing software like Photoshop.
For best results, use soft light and have your model wear tight-fitting clothes without busy patterns. A low camera angle slightly above your subject works best.
Take two photos: one with your subject lying on the chair or stool as if floating and another of just the background. Combine the images in Photoshop and use layer masking to remove the chair or stool. Add a realistic shadow to complete the floating illusion.
Surreal levitation photography offers endless creative possibilities once you master the basic technique.
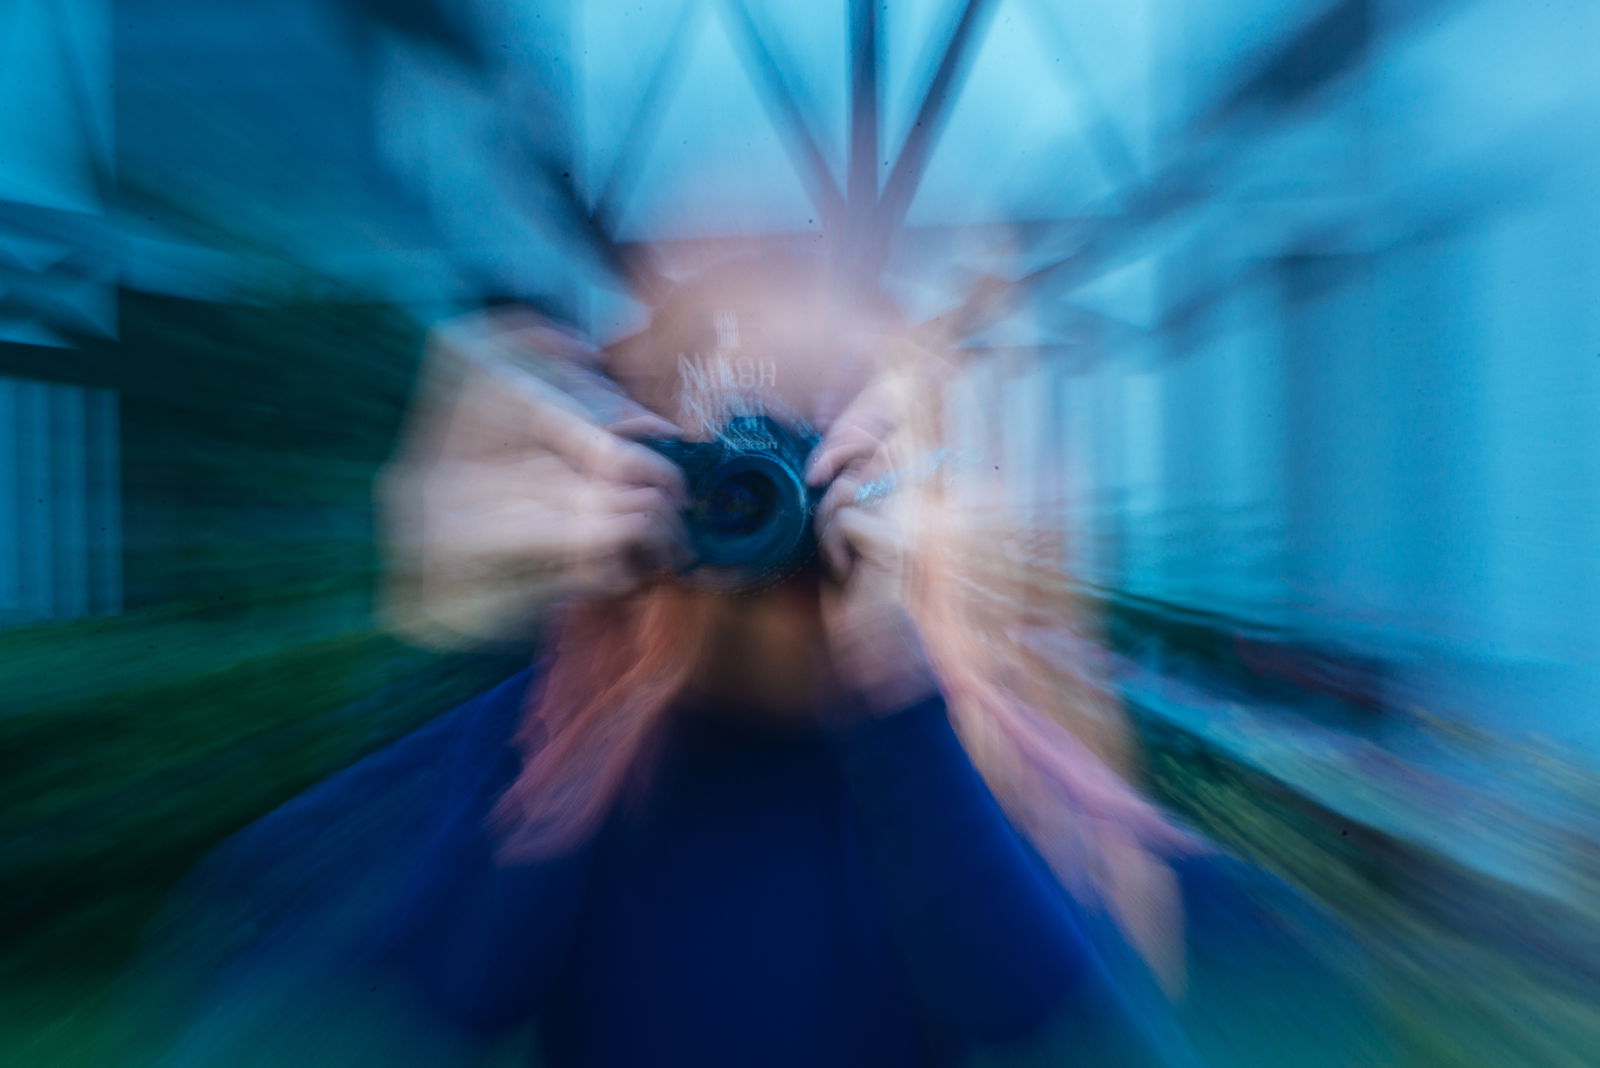
Zooming photography is a fun way to add impact to your photos. By zooming in or out while the shutter is open, you can create a sense of depth and drama.
To get started, use a zoom lens with your camera set to Manual mode. Choose a slow shutter speed between 1-5 seconds and a small aperture like f/16 or f/22 to limit light. Place your subject in the center of the frame for sharp focus.
When you’re ready, press the shutter button and quickly zoom in or out. Zooming in will make the streaks look like they’re moving towards the subject, while zooming out will do the opposite.
It might take some practice, but you can learn everything you need to know about zooming photography in our full article.
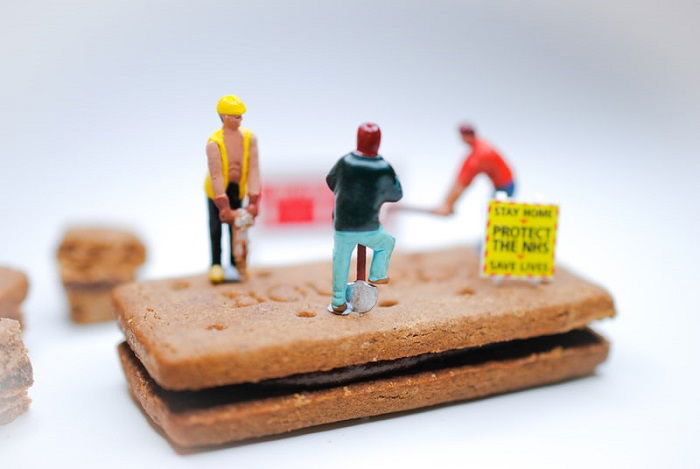
Miniature photography is a fun and creative way to capture tiny scenes with a big imagination. You can use any small figures you have, like LEGO pieces or action figures. A DSLR or mirrorless camera with a macro lens works best, but you can also use a smartphone.
Embrace your inner director and plan your shots in detail. Use manual camera settings and a tripod for the best results. You can set up a simple home studio with lamps for lighting and paper for backdrops.
Get creative by recreating scenes from your favorite films or using real-size props for added perspective. You can even make your own miniature figures and sets using materials like plasticine, paper, and everyday objects.
Take your miniatures outside for a new macro view of the world, or try your hand at stop-frame animation. With miniature photography, the possibilities are endless.
To dive deeper into the world of miniature photography, check out our comprehensive guide.
Refraction photography creates beautiful art using everyday objects. To get started, you’ll need a glass ball, wine glass, or prism. Refractography uses glass objects as a lens for abstract images.
A glass ball will invert the world, similar to a fisheye lens. Marbles are a cheap alternative that are easy to place, but the image won’t be as sharp. Fill a wine glass with water for a steady base and natural prop, but it’s fragile, so be careful.
Water drops also refract light. Use a macro lens to capture drops on glass, CDs, or in nature. Mix water and oil for interesting patterns. A prism splits light, allowing you to redirect it for creative effects or make rainbows.
Refraction photography is a fun way to turn simple objects into works of art. Experiment with different techniques to find what inspires you most.
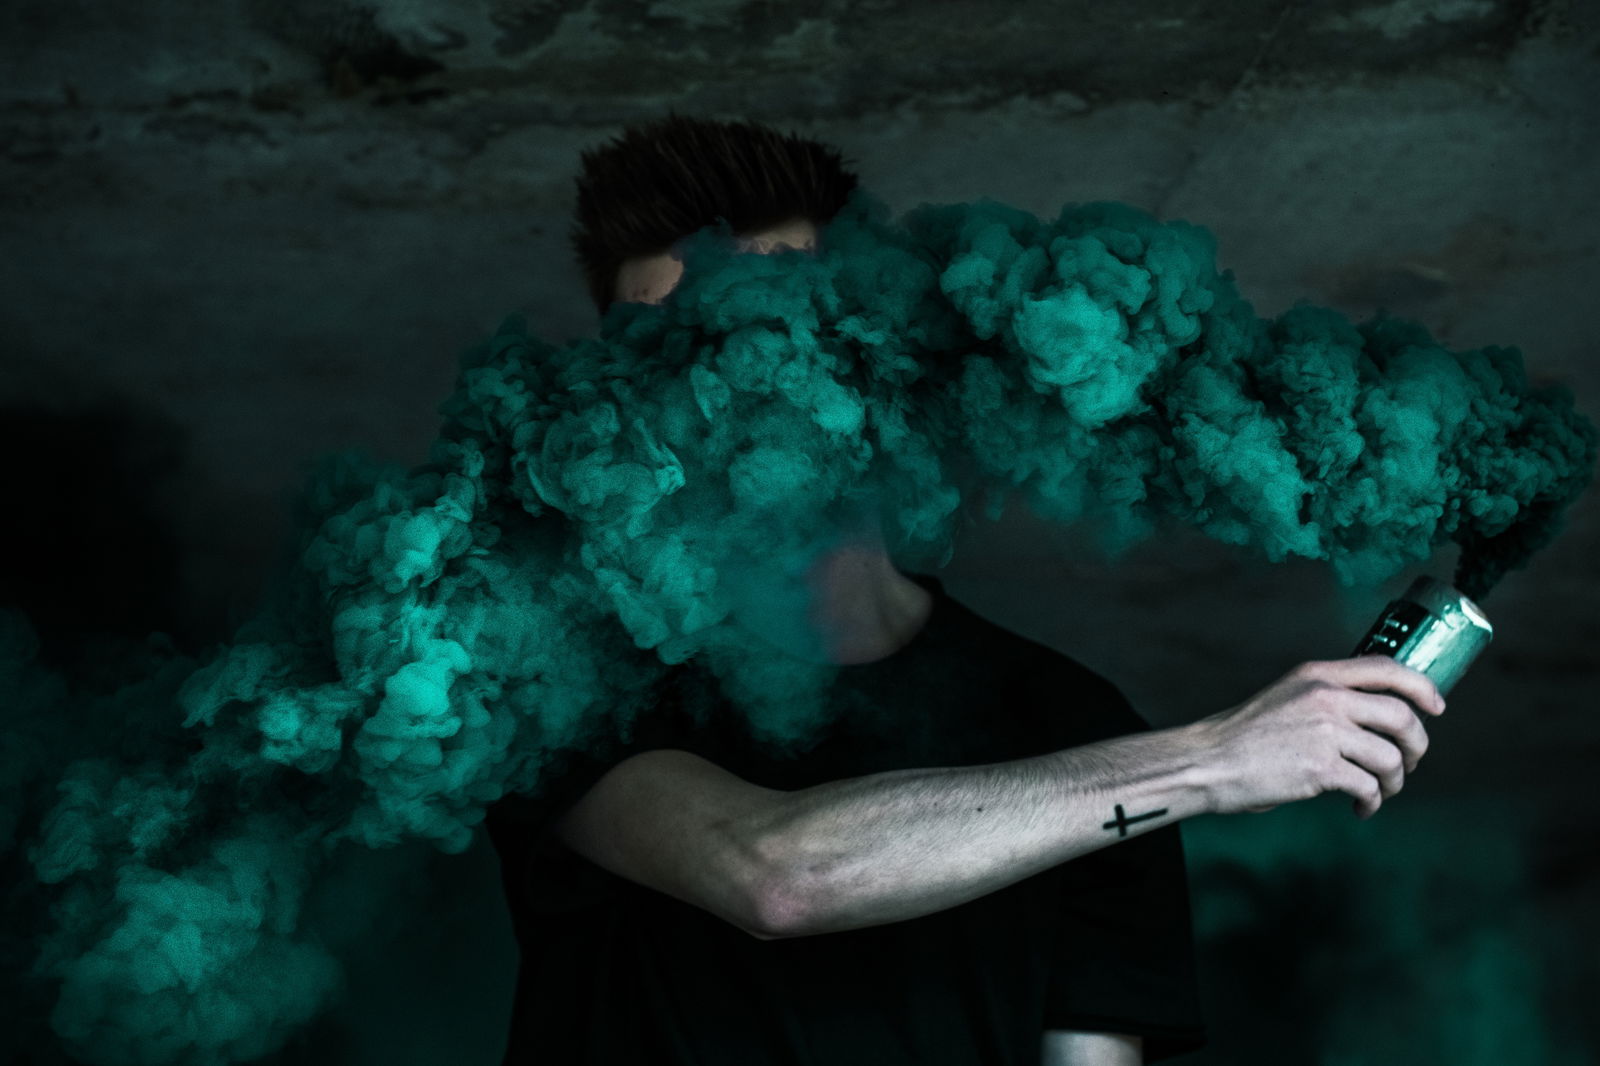
Smoke bomb photography is a fun and creative way to add excitement to your photos. To get started, make sure to handle smoke grenades safely. Avoid using them around children, animals, or flammable objects.
Choose mild weather conditions and pour water over the smoke bombs when you’re done.
There are many creative ideas for smoke bomb photos. You can use a black background for a minimalist effect or create a unique background out of the smoke itself.
Smoke grenades can also be used to create surreal images with magical textures. Try capturing smoke coming out of an object for a conceptual look.
Smoke bomb photography is great for improving your creative photography skills. You can photograph moving smoke to practice action shots or create fascinating faceless portraits. Combine smoke with silhouettes or shoot during the golden hour for dreamy outdoor photos.
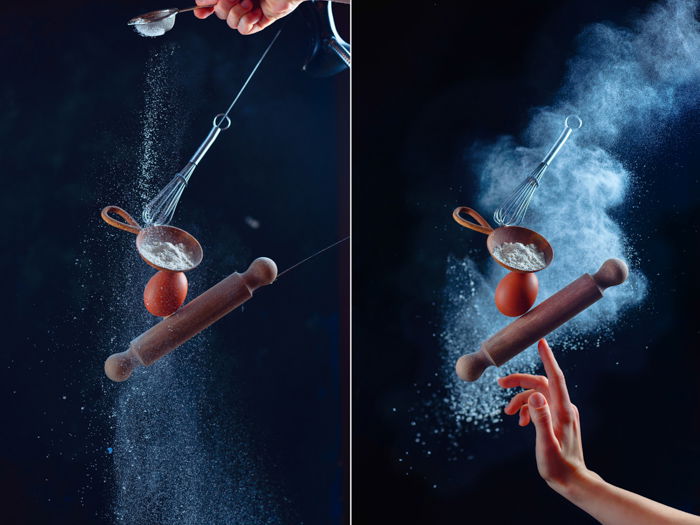
Creating magical flour photoshoots is easy. Start by planning your shoot with a sketch to determine the purpose of the flour in the frame. Gather props like a small balloon pump, paper cone, flour, and still-life components.
Make a DIY flour cloud gun by attaching a paper cone to the balloon pump with masking tape. Secure objects in place with glue and knitting needles to keep everything steady. Arrange a still composition, leaving space for the flour cloud.
Light the scene with two light sources—a key light in a strip softbox and a fill light behind a large diffuser. Take a sequence of photos to merge later in post-processing, starting with a shot of your hand holding up the construction.
Choose the most beautiful cloud and merge the images in Photoshop, removing any visible supports with the Clone Stamp tool.
Flour photoshoots are a simple but versatile way to add a creative touch to your images.