Toy photography has boomed in the last few years, with amateurs and professionals embracing it all over the world. From Star Wars toy photography to pictures of toy cars – it's everywhere.
1. Toy Photography: Camera Settings to Make Your Photos Stand Out
Toy photography often involves close up or extreme close up shots. Here are some things to keep in mind with your camera settings:
Choose a Narrower Aperture for More Details
Essentially, the closer you are to your subject, the less depth of field you'll have to work with. I stick with an aperture between f/5.6 – f/8, but if it's close up, I still get the bokeh effect.
Choose your lens wisely, and consider where you place the subjects. To create a decent depth of field, consider stacking your toy photos, which I discuss at tip number 6.
Use Manual Focus to Be Precise
When I'm photographing small details of toys, my camera's autofocus gets confused. I usually end up switching to manual focus and slowing down my work process.
It’s not easy to check whether auto or manual focus works best for me on that particular day with that particular toy. Sometimes it takes trial and error, and lots of reviewing images on my computer screen.
Lower Your ISO for Maximum Quality
If you're using a tripod (definitely recommended), stick with ISO100. This way, you can optimize the light and reduce noise in the photo.
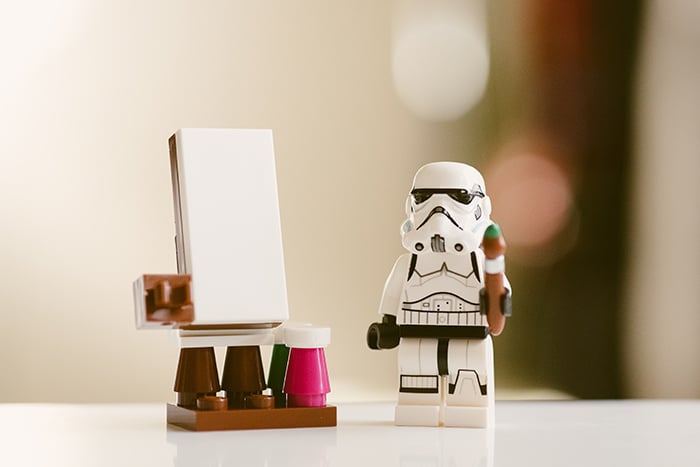
Photo by Daniel Cheung on Unsplash
2. Prepare the Right Gear for Toy Photography
Before you start clicking away at your chosen toys, it's really important to make sure you have the right gear on hand.
Many types of photography work with minimal gear, but when you're dealing with small toys, some equipment makes the process much easier.
Tripod
Toy photography has similar requirements to still life photography, and a tripod is always at the top of my list. You'll also need to use a tripod if you want to try your hand at photo stacking.
Using a tripod means that you don't lug the camera around every time you need to move your toy a fraction.
Shutter Release Cable
Using a shutter release cable is an important step in avoiding camera shake. I find it works much better than holding my breath.
You can also use dedicated camera remote apps depending on the feature and brand of your camera. Most DSLR’s and mirrorless cameras offer built-in WIFI connectivity.
It also enables me to 'take a step back' and assess the entire scene and lighting as I click the shutter.
It's excellent for reducing back pain caused by hunching over the camera's viewfinder.
Table or Raised Platform
For flexibility to take photos of toys from different angles, it's best to have a table to work at. This will help you to get 'eye-level' with the toys, just like when you're photographing humans.
The alternative is crawling around on the floor. It might be good for military training, but not very comfortable for photography.
Backdrops
Have a neutral background on hand that can be used behind and under your toys. You don't have to spend money – it's straightforward to make your own backdrops.
I often use a large white background. This is particularly useful when creating a composite photo in Photoshop.
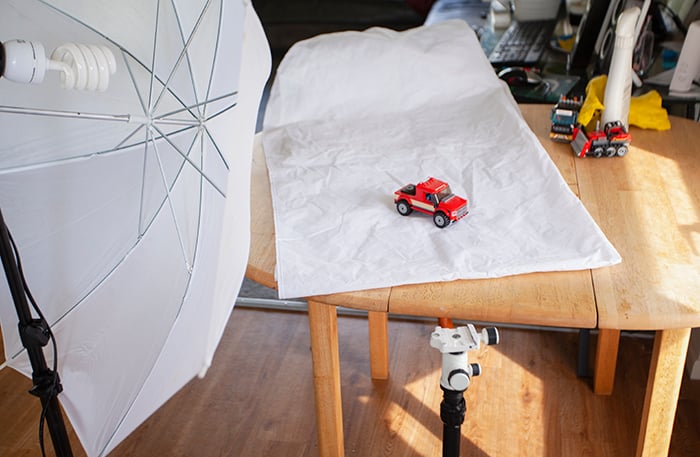
A basic kitchen table set-up. I ended up making the photo without the light and used a reflector instead.
Tools
Toys can be fiddly to photograph. Carry a mini tool kit with small scissors, tweezers, blue tac, and wooden skewers to help with adjustments.
It's much quicker to chop off a few stray threads and move things delicately with a tool than it is to muck around in Photoshop afterwards.
For the same reason, keep a cloth and general-use spray cleaner on hand. With the close-up nature of your photos, every speck of dust will be seen.
Lighting
Setting up the right lighting for your toy photography can take a bit of trial and error, but it's worth the effort. Sometimes I use a lamp and/or a flash, but mostly I prefer to use diffused natural light through a window and a reflector.
Use whatever works with your budget and subject matter, but make sure that the light is even and soft.
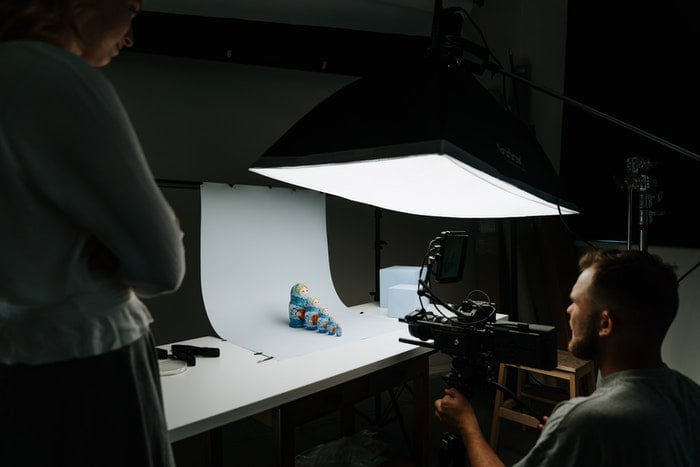
Photo by cottonbro from Pexels
3. Shoot Outdoors to Add an Element of Adventure
For hassle-free toy photography, take your photos outside in natural light. Like most other forms of photography, it's best to avoid open sunlight. You don’t want to underline your toy’s structure in an unpleasant way by photographing in hard light.
A lightly clouded day with soft and even light is ideal.
You might still need a small reflector (or a small square of tin foil), but you can remove any flash or artificial lighting. Explore your environment, and look at how it contributes to the background story of your toy and photograph.
Try some of my suggestions below to introduce adventure to your toys:
- Puddles;
- Pieces of bark or branches;
- Leaves or grass;
- Small gravel stones;
- Concrete;
- A beach;
- Flowers and petals;
- A bus stop.
© Heather Milne
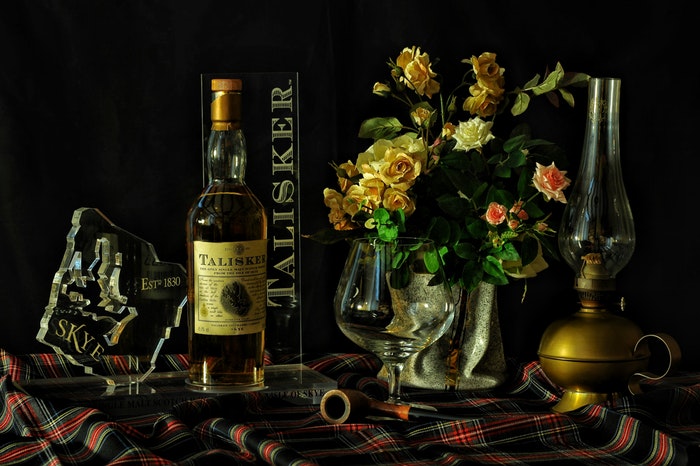
4. Include Emotion to Tell Your Toy's Story
The fun part of toy photography is telling a story.
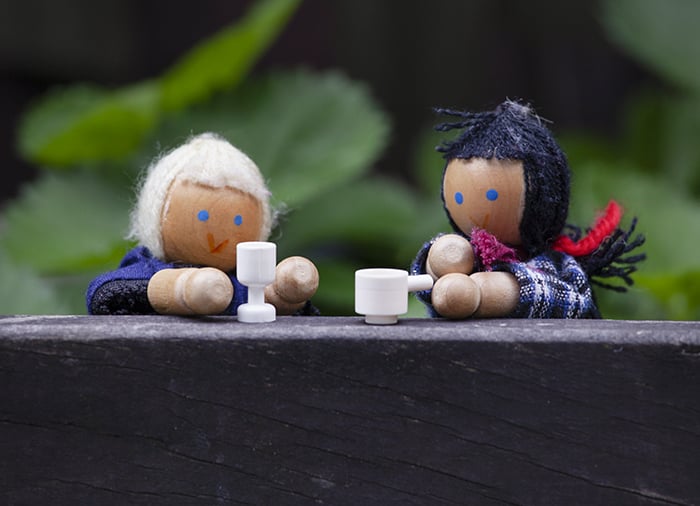
The result of storytelling in your toy photography is twofold. The viewer not only sees your story but can also attach their own emotions and feelings of nostalgia to the toy. It might be a toy truck lost in a forest; dolls stuck high on a window ledge, or farm animals at dinner time.
Include a strong narrative by using (small) props, or a relevant background. Posing is important to convey the story too – try borrowing some posing ideas from human poses.
If you're photographing more than one toy in the scene, consider how they relate to each other, and where their eye lines are. Look at what their 'body language' communicates.
Keep the story simple and clear – less is always more.
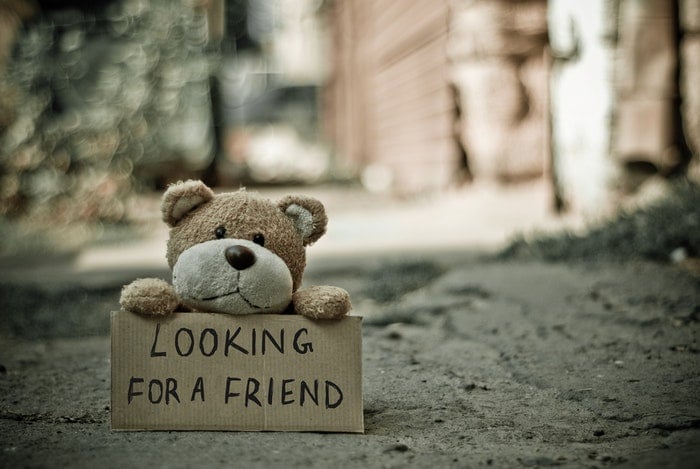
Photo by Marina Shatskih from Pexels
5. Make It a Group Effort and Get Kids Involved
If you have younger friends or family, get them involved in your toy photography.
A collaborative process often provides fresh inspiration, plus you'll be able to borrow their toys. Toy photography is a great way to introduce photography to children.
You can demonstrate some cool gadgetry, include subjects that they love, and produce an awesome piece of art for their wall.
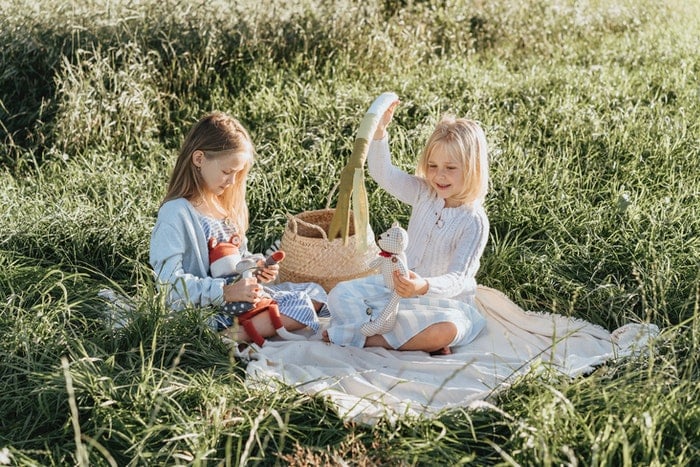
Photo by olia danilevich from Pexels
6. Try Focus Stacking Photographs for Greater Detail
'Focus stacking' means combining photographs of the same subject with different focal points. You can do so in Photoshop.
Each photograph can be set at a different focal point so that when a few of them are combined, more of the image is in focus. Every photo needs to be made from the exact same position. This is where your tripod comes in handy.
You can learn more about this technique in our article here.
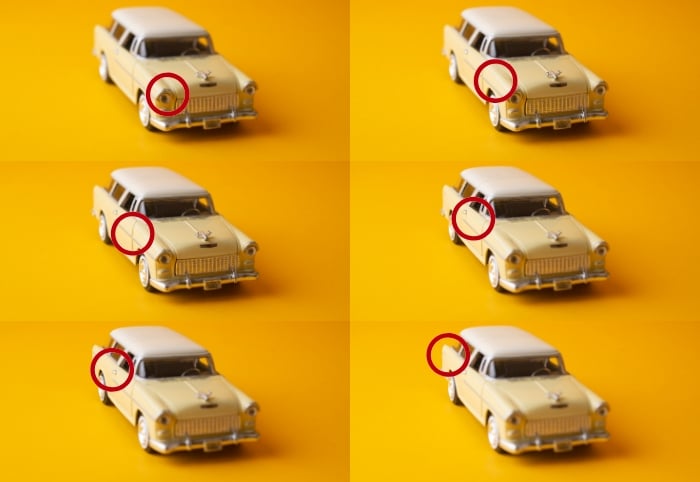
The red circle indicates the current focal plane. (Image: Chad Verzosa).
This technique is particularly useful for toy photography. You'll often be doing close-ups which can result in a shallow depth of field.
Learning the techniques of focus stacking won't only give you super sharp photographs of toys. It will also give you Photoshop skills that come in handy for several other photo projects and subjects.
Here is my final image after some cropping and increasing brightness. Every part of the toy car is sharp. (Image: Chad Verzosa)
7. Change Your Angle to Make Unique Toy Photos
Although you might be set up to photograph at eye level, think outside the square and explore different angles too. Just like portraiture, shooting from up high or down low can add an emotive element to a toy and help tell a story.
Sometimes this means holding the camera at odd angles and looking like a bit of a dork trying to get the right shot. It's always worth it, though.
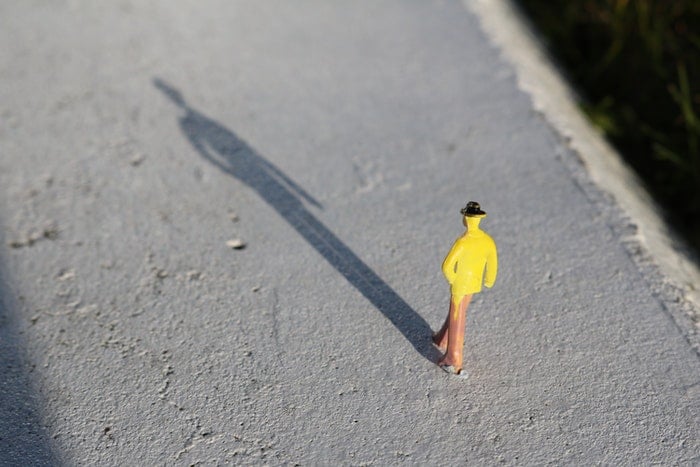
Photo by Lewis Burrows from Pexels
8. Get Inspired by Toy Photographers Online
Just like any genre of photography, there is a tremendous online community of toy photographers who share their works of art.
Mitchel Wu creates incredible scenes in his toy photography, with characters we all know and love.
Kim Leuenberger has a fantastic car theme that weaves through her work. She beautifully showcases toy cars in stunning locations.
There's even a special international toy photography award that celebrates the best of the genre.
9. Use Macro Photography For Creative Toy Photos
Enlarging your favourite toys using macro photography makes a lot of sense. This technique makes the toys appear more life-size and helps us see the toys with fresh eyes.
Macro lenses and accessories are commonplace now, and they're a natural progression from a zoom lens.
When I started with macro photography, I completely underestimated the patience I'd require to get the depth of field perfect. Fortunately, toys will tolerate you practising on them.
There are limitless creative macro photography ideas out there. These can involve toys, household items, and nature.
One of my favourite series of macro toy photography is the work by Akiko Ida and Pierre Javelle. They create incredibly intricate macro worlds of tiny toys with food.
To master macro photography, check out our Macro Magic course!
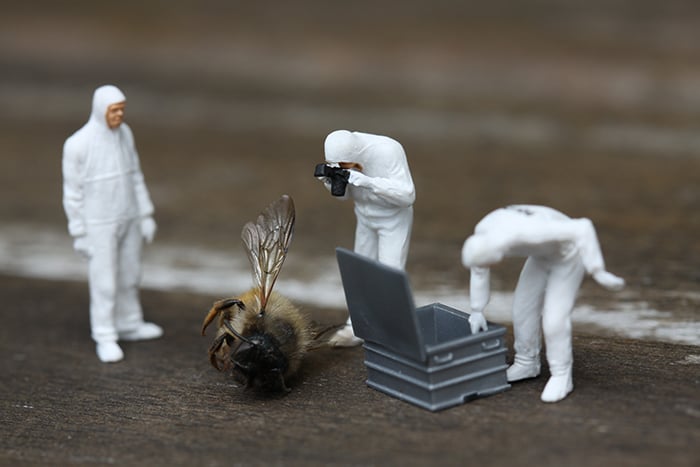
Photo by Thomas Stephan on Unsplash
10. Photography Tips For Different Toys
Although the world of toys is extensive, there are a handful of toys that remain popular with collectors and photographers.
Action Figure Photography Tips
Pictures of action figures provide opportunities for a bit of humour and unique juxtapositions. Many action figures stand easily and are flexible or have good joint movement.
Try posing them around your house in typical or unexpected positions. Show toy soldiers hiding in a pot plant, so they appear as life-size toy soldiers in the 'jungle'. Photograph baddies breaking in through a cat door.
Get your favourite comic hero or action movies hero to do some housework with a paintbrush as a broom.
Grab those Avengers or GI Joe action figures you've got lying about and turn into a digital artist with toy photography.
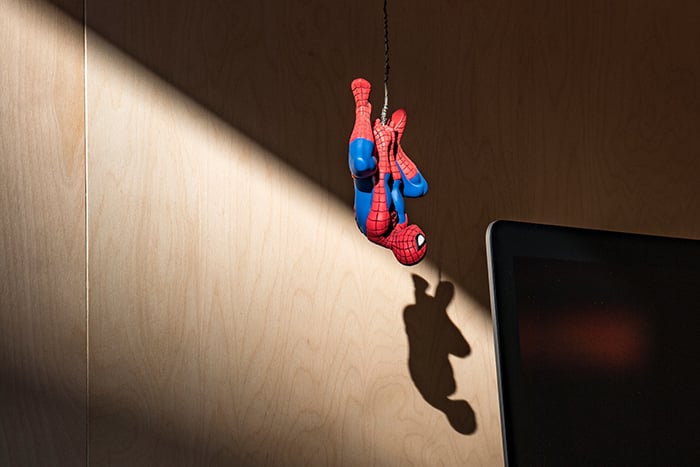
Photo by Jean-Philippe Delberghe on Unsplash
Lego Photography Tips
Unlike many other toys, Lego incorporates diverse facial expressions in their products. The 'clothes' and accessories of Lego mini-figures are photogenic at all angles. And because they're interchangeable, you only need a handful of them to get a wide range of characters.
Mini-figure faces are pretty small though, so you'll need to get close to the Lego people (or have a lens that gets close). Unless you're planning on focus stacking, keep them all a similar distance from your lens to ensure they're all in focus.
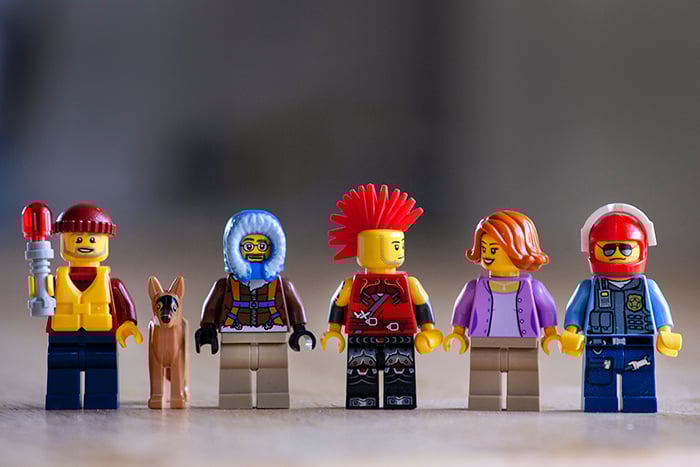
© Heather Milne
Doll Photography Tips
The life-like nature of dolls makes for intriguing photographs. Their facial features, hair, and clothing are easy to relate to, and they evoke all sorts of memories for us.
Practice portraiture lighting techniques and poses with dolls to enhance your human portraiture. With larger dolls, you can take a break from the extreme close-ups, and tell a story that suits the age and style of the doll.
Search thrift stores for old dolls to restyle. Show some flair by experimenting with some paint, scissors, and costumes.
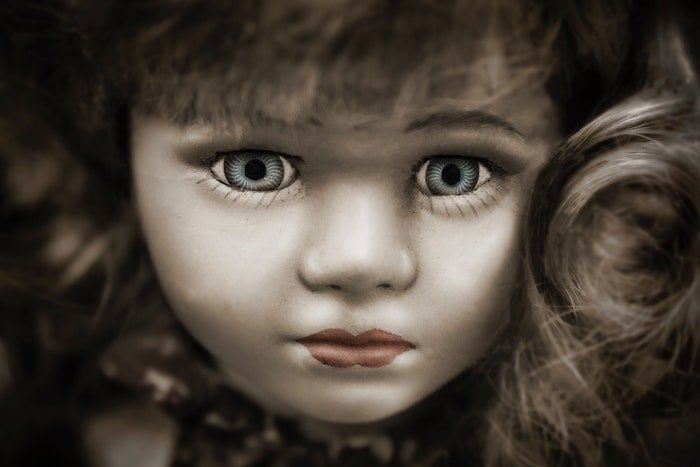
Photo by James Sutton from Pexels
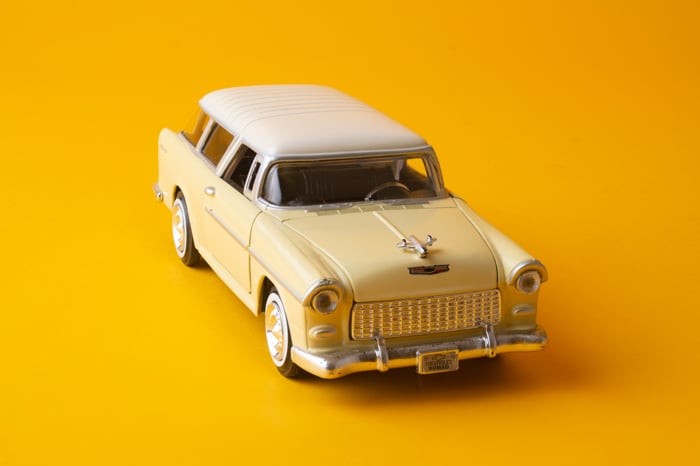
Toy Car Photography Tips
Toy cars are great to photograph. They're stable, have beautiful lines and curves, and have personality – even without facial expressions.
If you want to put them 'on the road', use a very smooth concrete surface so that the scale isn't too unbelievable. Stones might work for a big toy truck or 4×4 vehicle. But they'll look out of context with smaller cars.
You can do some cool things with forced perspective (check out the photos by Michael Paul Smith).
Cars are also straightforward to cut and composite with a different background.
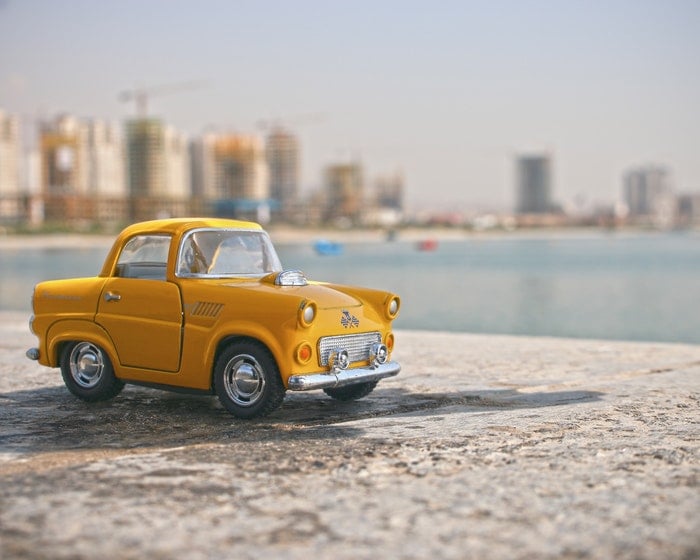
Photo by hosein ashrafosadat from Pexels
Star Wars Toy Photography Tips
This topic might seem very specific, but Star Wars toys make for a popular photography subject. This is no surprise, considering the longevity of Star Wars popularity, the size of the fan base, and the massive nostalgia factor.
Some avid fans keep the scenes in their Star Wars toy photos serious and true to the films.
There's also another, more humorous take on the Star Wars theme, with characters doing out-of-character activities. Think stormtroopers taking a bubble bath.
So it doesn't matter if you haven't even seen one of the films – create your own unique Star Wars story!
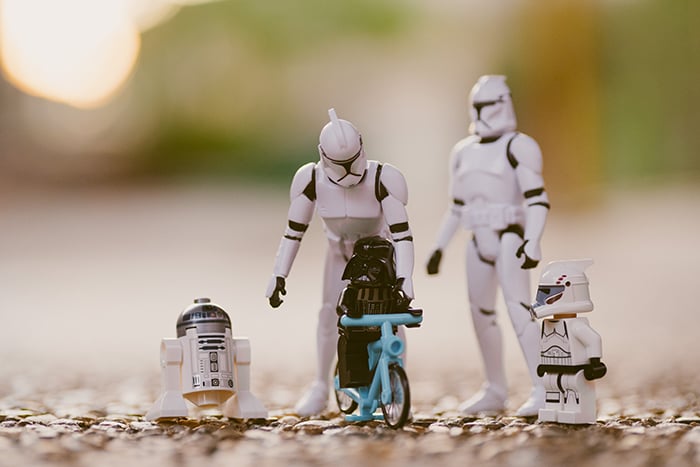
Photo by Daniel Cheung on Unsplash
Conclusion
Photographing toys is a stress-free way to connect with other people and create unique, fun images. It's also a legitimate reason to visit a toy shop and indulge in some toy purchasing!
Let your imagination run wild!
If you love getting creative, then don’t miss out on our Creative Photography Cookbook!