Knowing about exposure stacking is important if you want to create stunning daytime long exposures. Exposure stacking is a technique that allows you to combine multiple exposures into a single image, resulting in dramatically improved image quality.
But mastering exposure stacking requires everything from choosing the best gear to getting the exposure right. Continue reading for everything you need to know about using exposure stacking for daytime long exposures.
The term stacking simply means combining several photos to create a single image. There are several forms of stacking.
The first one is called focus stacking. It combines several pictures with different focus points to create one image that’s sharp from the foreground to the background.
The second type of stacking is for creating a panorama. Instead of laying one image on top of another, it stitches photos together to create a panoramic picture.
Finally, the third form of stacking is for long-exposure photography. This is what we’ll be talking about in this article. It combines your image files to enhance anything from moving clouds to waves in the sea.
Each of the stacking methods we mentioned in this article involves a two-step process. The first part is taking a series of pictures with a tripod.
The second part is combining them in post-production. The ideal editing software for this purpose is Photoshop, which we will use in this tutorial.
When doing long-exposure photography, a lot of problems can easily ruin your shot. The most important thing you need for a long exposure is camera stability, which means you’ll need a tripod.
A lot of things can quickly go wrong with an exposure time of around 4 minutes. You could encounter all sorts of issues, from false light to camera shake. And sometimes, you get issues with vignetting or image noise.
But you can overcome most of the issues by dividing the shot into several shorter exposures. You can stack your files together in Adobe Photoshop to achieve that one perfect shot.
Photo stacking is not a technique for every situation. But sometimes, stacking long exposures is the only way to get a good shot. You must know when you need it and when you don’t.
At night, when the light is low, you can do 2- or 4-minute exposures without using neutral density filters.
But during the day, you’ll often have too much light for long-exposure photography. Even using slow shutter speeds with a 10-stop ND filter might still result in an overexposed shot if it’s too bright.
Using a smaller aperture obviously helps. But using too narrow of an aperture can cause diffraction issues. But this mostly happens when you use an aperture smaller than f/16.
Photo stacking your daytime long-exposure photos ensures you get correctly exposed shots. You’ll find this especially useful if you don’t own a 10-stop neutral density filter.
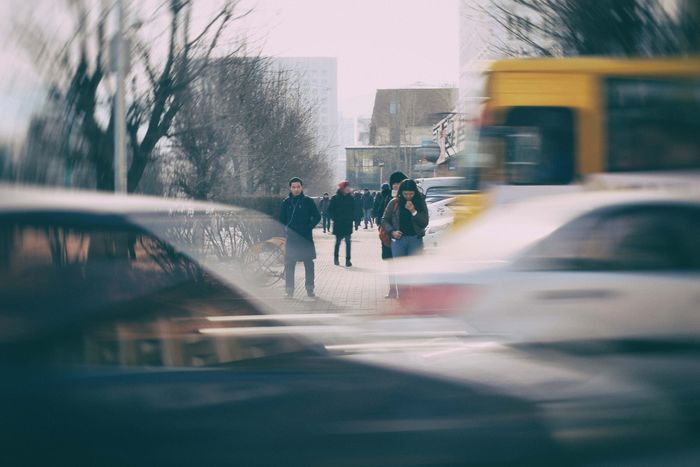
Besides false light, shaking is the most common reason for failed shots in long-exposure photography.
Since your camera shutter stays open for a few minutes, any movement it records will register as light streaks or motion blur. That’s the same reason why clouds in the sky or the waves in the ocean look wispy.
But small vibrations can also cause motion blur in your camera. Even a breeze or a gentle nudge could easily ruin your shots.
It’s best to take the camera strap off your camera while shooting long exposures. It acts as a sail in the wind and causes the tripod to shake.
You should also make sure the ground is sturdy enough to support your tripod. Use a remote trigger or self-timer for hands-free operation. Remember that even touching the shutter button could easily introduce motion blur.
Of course, we also need to factor in all the unforeseen hiccups that can ruin a great long-exposure shot.
Regardless of whether it’s daytime or night, another common mistake is simply forgetting your remote. Without it, you can only safely go up to 30 seconds, which is the longest exposure most cameras allow.
Bulb mode without a remote requires repeatedly pressing the shutter, which is a no-go if you want to avoid camera shake.
You may need to practice taking long-exposure images before you get it completely right. But becoming familiar with the process allows you to avoid mistakes and troubleshoot any issues that may arise.
In this section, we’ll show you how to multiple images and blend the exposures together in Photoshop.
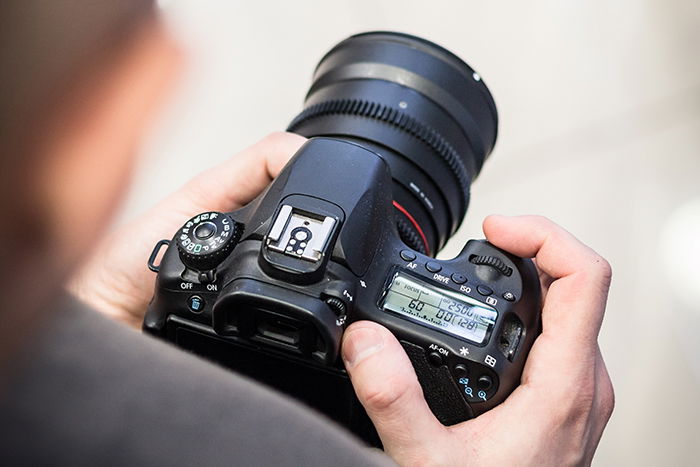
At the location, set up your gear as usual. Make sure your camera settings combine with your ND filter to produce the correct exposure. Your histogram should peak just over the middle to the right when using an exposure time of 30 seconds.
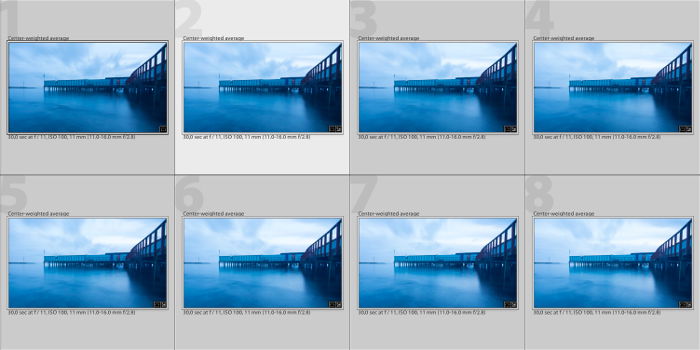
To get the effect of a four-minute shot, aim for eight good shots, each at 30 seconds (8 x 30 seconds = four minutes).
Feel free to take a few test photos to ensure you get the best exposure. Even though you’re stacking pictures, you still want exposures that would work by themselves.
Get some extra exposures just in case some of them are blurry due to camera shake from a sudden wind gust. You can always leave out a particular shot from your sequence in the photo-stacking process.
As you can see, the first part of this process is quite simple. If you’ve done long-exposure photography before, this is the same process.
The part that you’ll need to learn is how to combine all those pictures in Photoshop. Now, let’s go through the process below.
Processing your set of daytime long-exposure shots is easy.
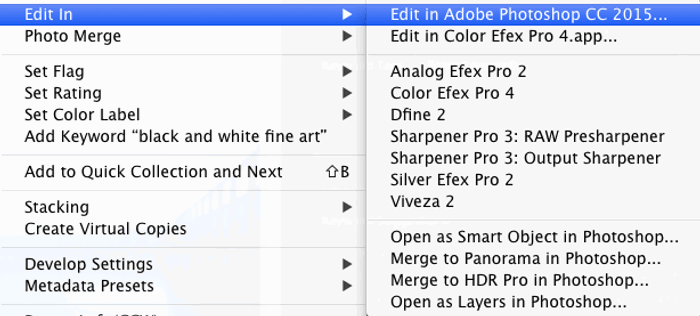
If you open your photos from Lightroom, open up your set of shorter long-exposures as layers in Photoshop. You do this in Lightroom’s grid mode by selecting all the images you want to combine into one exposure.
Right-click and choose Edit In > Edit in Adobe Photoshop.
Don’t select “Open as Layers” in Photoshop since it’s for focus stacking macro photos. This process is different.
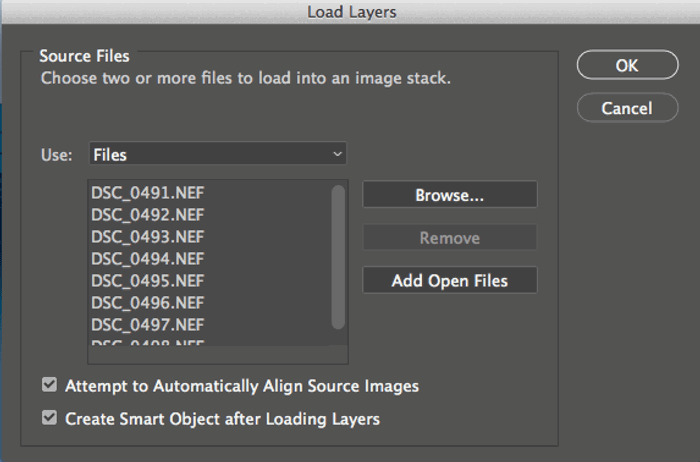
When the images finish loading into Photoshop, go to File > Scripts > Load Files into Stack.
In the dialog box, select “Add Open Files” to make the set of images appear under files to use for stacking.
Remember to check “Attempt to Automatically Align Source Images” and “Create Smart Object after Loading Layers.”
Click OK to begin the blending process. It usually takes some time for Photoshop to create a single smart object from all of the exposures.
Next, go to the Layer menu and select Smart Objects > Stack Mode > Mean. Doing so makes Photoshop automatically blend the images in the stack into a smooth, long exposure. The goal is to make it look like you took everything as a single long-exposure image.
At this point, you don’t need the layer to be a smart object anymore. Keeping it this way would prevent you from using the Brush tool, for example. You can convert it by right-clicking on the layer and choosing “Rasterize Layer.”
Next, process the image as you would any other image. Long exposures taken during the day often have many large white spots with clouds or silky soft water. Applying sharpening to these areas can cause an unwanted grainy look.
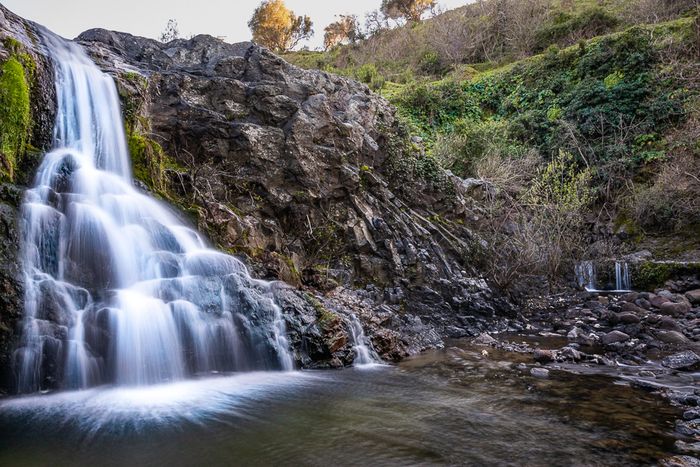
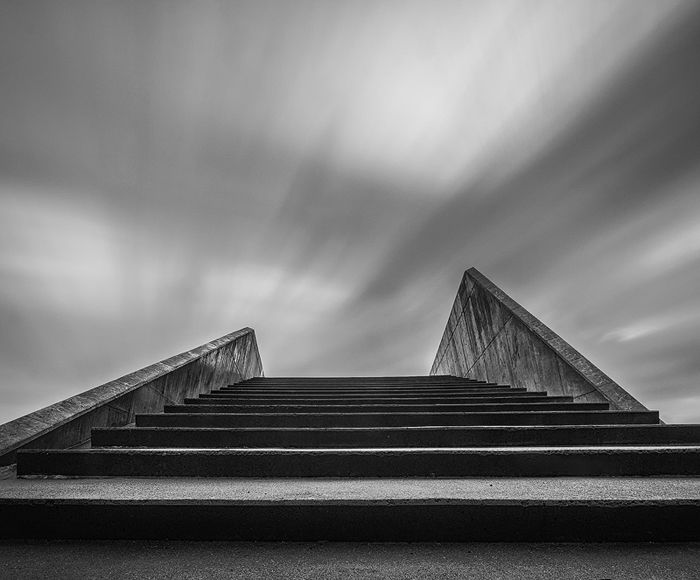
To take this particular shot, I had to put my tripod halfway into the water to get the composition I wanted. But it required a four-minute exposure, and the small waves likely transferred a little shaking from the tripod to the camera. So, a normal long-exposure image would have been blurry.
However, by dividing the shot into eight exposures, I got several exposures that were usable for photo stacking.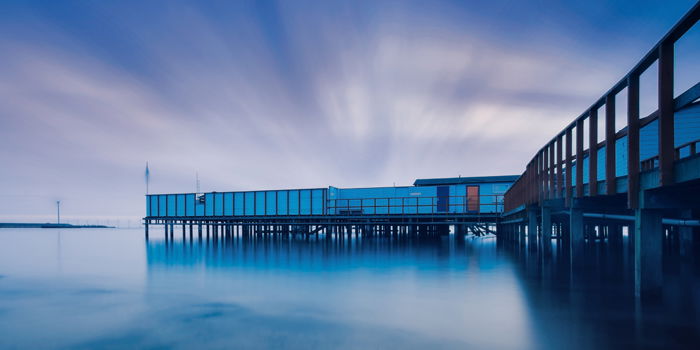
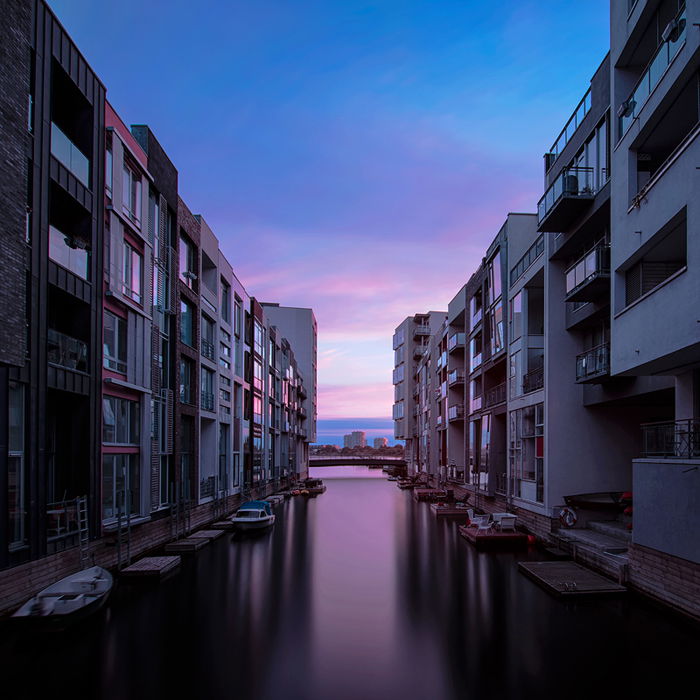
Daytime long-exposure photography can give you some beautiful and creative results. But it requires patience, practice, and knowing when to use it.
Using photo stacking can save you a lot of time and help you get awesome shots that might not be possible otherwise.