7 Fine Art Macro Photography Tips for Creative and Cool Images
Do you want to know how to capture amazing fine art macro photos?
In this article, you'll discover 7 practical tips for improving your fine art images.
1. Shooting in Cloudy Light for the Best Results in Fine Art Macro Photography
The quality of the light can make or break a fine art macro photo. It's important to get it right from the beginning.
Now, what actually works for stunning fine art macro photography?
Midday cloudy light.
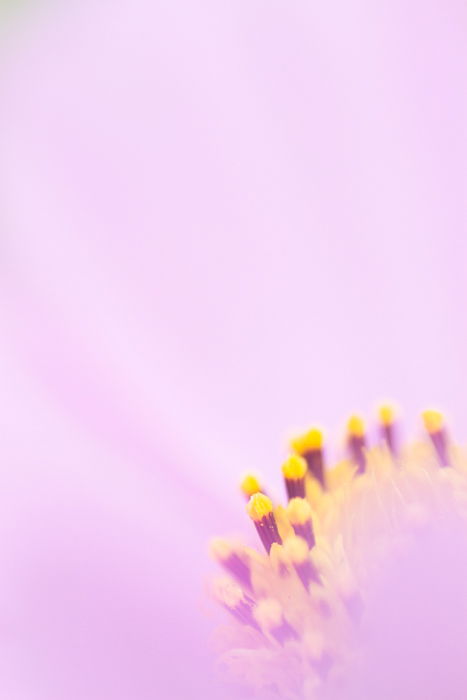
You see, clouds diffuse the harsh noontime sunlight. They make it soft and subtle. That is exactly the kind of light you want for macro photography.
Soft light gives your subject a nice glow. It also brings out colors. If you're working with flowers, soft light will make your photos richer.
Diffused light comes with another bonus. It's not directional.
The light doesn't come from any particular side of the subject. Instead, it hits your subject from all sides. You don't have to worry about choosing between front light, backlight, or sidelight.
Instead, you can shoot from the side of your subject that works best from a compositional perspective.
While midday soft light is great for photography, you should watch out for thinning clouds. If the clouds fail to fully diffuse the light, you'll start to get harsh shadows in your photos. This can ruin your images.
You should also make sure to shoot toward the middle of the day. As the light fades in the evenings, the clouds do double duty. They diffuse it, yes, but they also block it from even reaching your subject in the first place.
In other words, heavy clouds make evening light nearly impossible to work with. It's just too dark.
2. Use a Wide Aperture for Subject-Background Contrast
A big part of capturing stunning fine art macro photos is about the light.
It's also about creating a photo that really pops. After all, you want your viewer to be struck by your image.
And one of the best ways to capture a compelling fine art photo is to create subject-background contrast using a wide aperture.
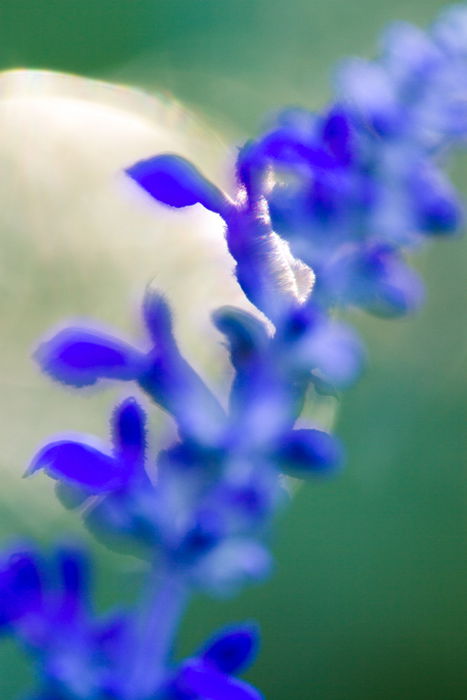
You see, contrast is one of the easiest ways to get your viewer's attention. Contrast stands out and this is something you should take advantage of.
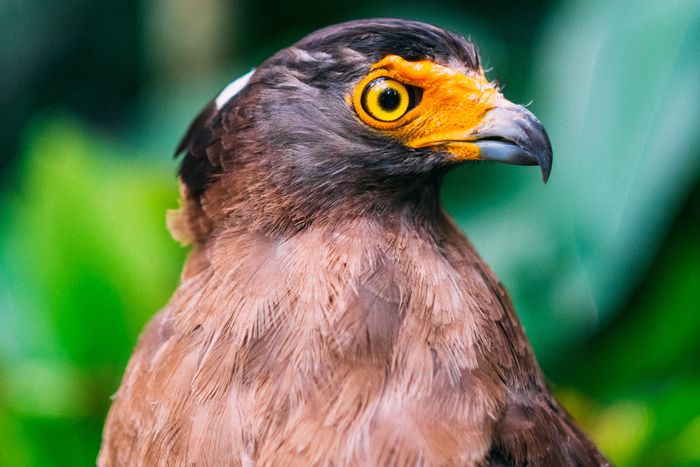
Notice how the subject is extremely sharp, but the background is blurry? That's what you're going for. Because you want to draw every eye.
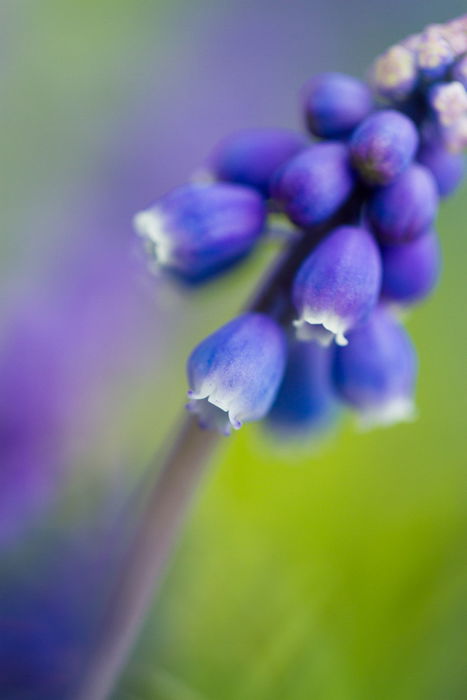
Start by getting in close to your subject. The closer you are, the more intense the background blur will appear.
Then use your camera dials to set a wide aperture, something in the area of f/2.8 to f/4.
For those unfamiliar with the aperture setting, it allows you to change the diaphragm of your lens. A wide aperture and the diaphragm becomes large. A narrow aperture and the diaphragm is made narrow.
The wider the aperture, the stronger the background blur.
And the stronger the background blur, the better the contrast!
3. Look for Lines and Curves to Engage the Viewer
You can't take stunning fine art macro photos of just anything.
Instead, you have to choose your subject carefully. You have to select a subject, a point of interest that engages your viewer.
Something that will lead the viewer carefully through the frame and keep them interested in the overall scene.
In many types of photography, your subject is self-explanatory. If you're doing portrait photography, your subject is the person you're shooting.
But in fine art macro photography, things are a bit flexible.
Macro photography allows you to get close to your subject. Really close.
And the closer you get, the less your subject appears to be a discrete object, and the more it starts to feel like geometric features. In other words, macro subjects become more abstract.
In fact, I suggest you use this abstraction process to find some stunning subjects.
Look through the viewfinder of your camera, and switch your lens to manual focus. Carefully pan over potential subjects.
Instead of looking for beautiful flowers or interesting looking rocks, try to think of them in terms of their geometric components. Look for nice, curving lines, or strong circular shapes.
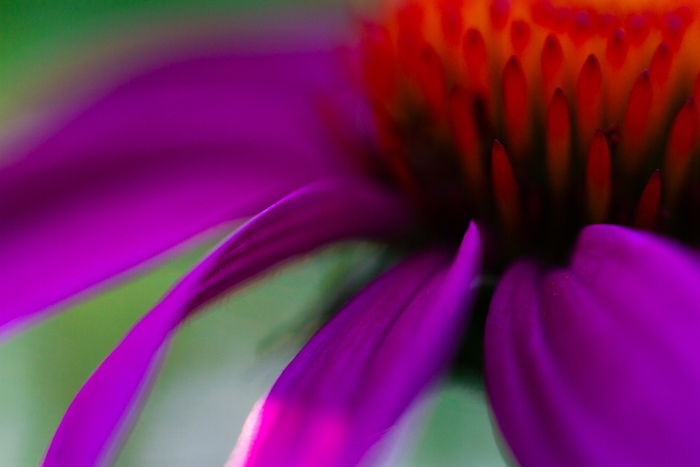
After a bit of practice, you'll start to see macro subjects in terms of these compositional features. And you'll be able to consistently choose the best compositional features to use as your subject!
Lines and curves are especially compelling. They lead the viewer through the frame, keeping them engaged. And, as I emphasized above, this is super important!
Notice how the petal curves make this photo more energetic and dynamic:
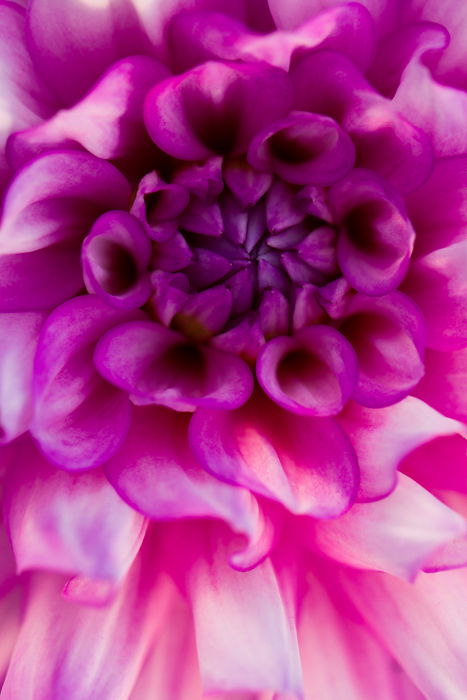
When you find a nice line, curve, or another subject, I recommend you try to fill the frame as much as possible. The farther your subject is from the lens, the smaller the impact it will have.
4. Find Simplicity for the Best Abstract Fine Art Photography
Now that we've been talking about getting ultra-close and thinking in terms of shapes, we're squarely in the territory of abstract fine art photography.
There's one key thing you have to remember about all abstract fine art photos, whether macro or something else.
Simple is best.
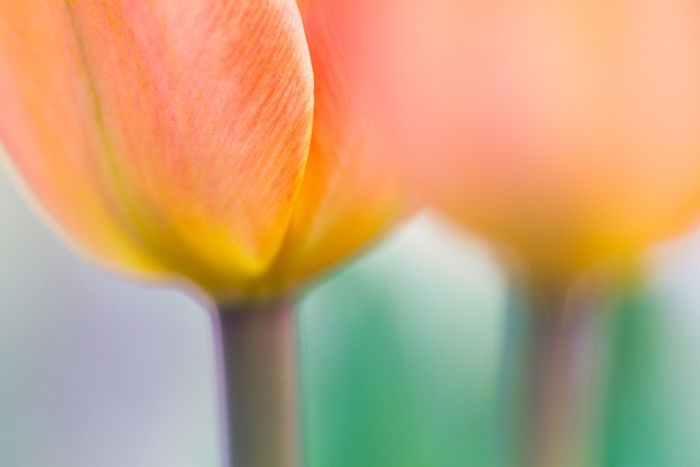
The more complex your abstract photos, the less likely they are to work. But if you can hone in on simplicity, you've got a good chance at a stunning shot.
You can achieve simplicity in a few different ways.
First, you can create compositional simplicity. Compositional simplicity requires a single subject and a non-distracting background. You should aim to use a line or two and a single shape, nothing more.
Then you'll achieve a composition like this.
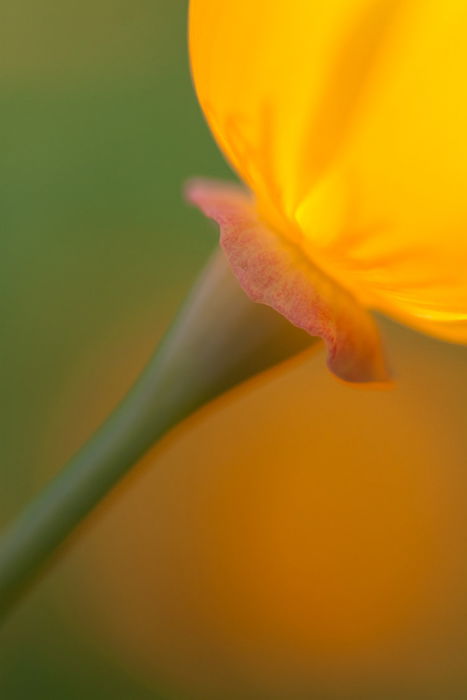
Second, you can create color simplicity.
Color simplicity requires using as few colors as possible. Two colors is a good number. Three can work, but four is pushing it. Because the more colors you include, the more chaotic the photo will appear.
But if you can keep your compositions and your colors simple, then your photos will turn out just fine.
5. Use the Sky to Capture Amazing Minimalist Fine Art Compositions
Minimalism is a photographic technique that includes a small, simple subject on a large, simple background.
Like this:
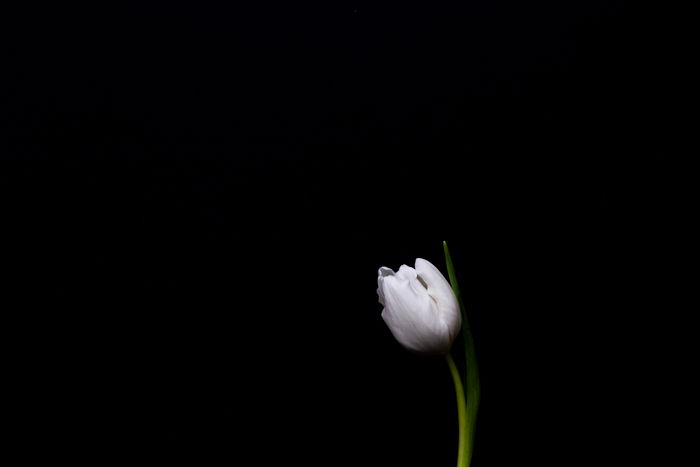
Minimalism uses negative space. This is the emptiness you get in areas with nothing going on. The more minimalistic your photos become, the more abstract they appear.
Which is why fine art macro photos can always benefit from some minimalism.
And while there are all sorts of minimalistic background possibilities, one of the best ways to create minimalism is to use the sky as a background.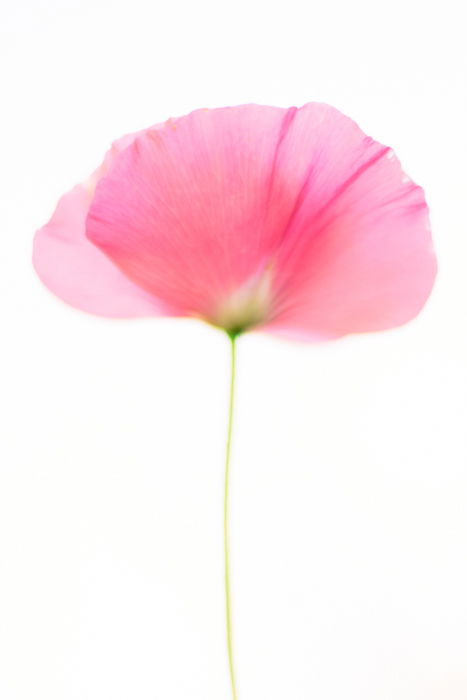
First, find a nice macro subject, something that's simple and lends itself to minimalistic compositions. A single-colored subject works best.
Then get down low to the ground, so that your subject is completely framed by the sky. You want the background to be all clouds, so test different angles and positions around your subject, if needs be.
Your aperture isn't important, but you do want your photo to turn out fairly bright. You want a pure-white background and a subject with some detail. Make sure you expose properly before taking the shot!
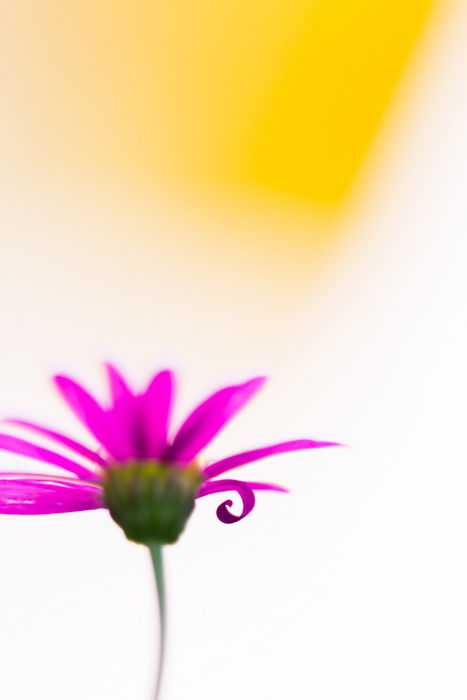
6. Find Sun-Shade Background Combinations for Stunning Bokeh
The best fine art macro photos have beautiful backgrounds.
Because while macro photography tends to emphasize the subject, the background matters, too. After all, it's the background that makes the subject stand out.
In stunning fine art photos, the background doesn't just emphasize the subject it complements it.
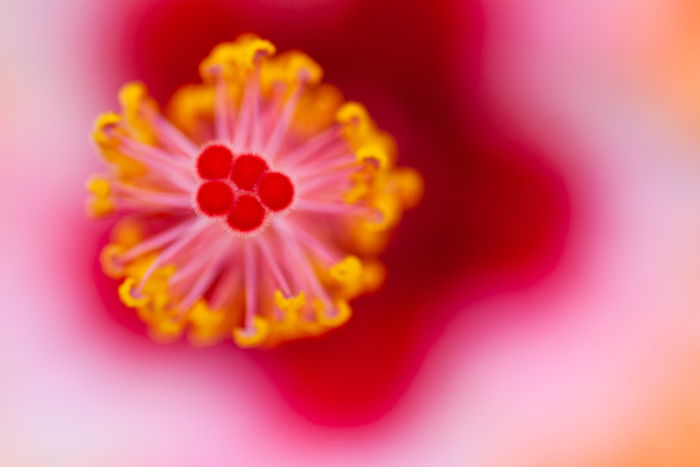
For instance, the background can add a splash of color to the photo, as it does in this photo.
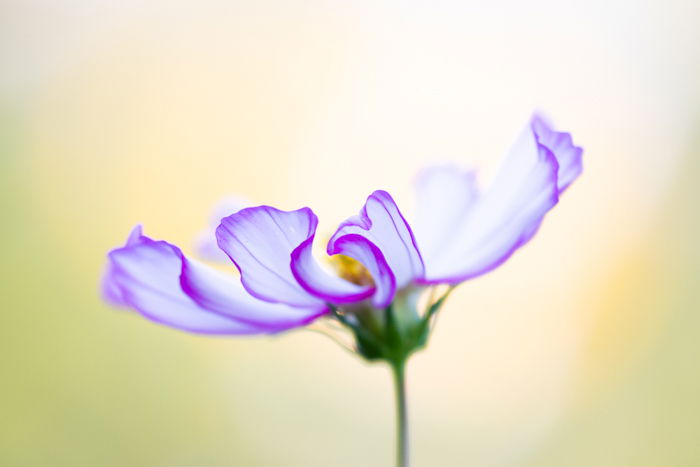
The background doesn't fade away. Instead, it adds to the image. That's what you should try to do in your fine art macro photos.
Use the sun-shade background technique for a beautiful background.
The sun-shade background technique is super simple. However, you will need to shoot on a day that has clear skies, because you want to take advantage of the late afternoon sun.
Go out on a clear evening. The sun should be low in the sky so that it's casting golden light across the scene.
Then find your main subject. Flowers are great for this because they're so colorful, but anything upright will do.
I recommend choosing a subject that's far from the background. The more distant the subject from the background, the stronger the background blur. And for the sun-shade background technique, you need a lot of blur.
It's the reason I also recommend using a wide aperture, preferably f/2.8.
Finally, make sure your subject is in the shade but the background is lit by the golden sun. You should expose for your main subject, ensuring it has plenty of detail. This is what will ensure a wonderful, golden background.
Then take your shot.
You should get something like this.
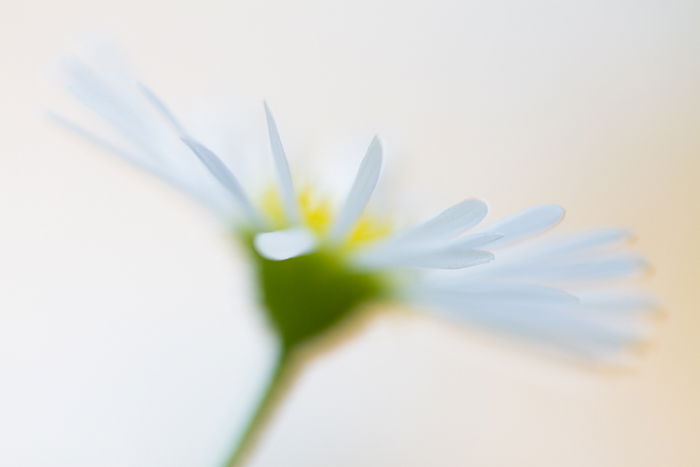
Notice how the sunlit background is transformed into a golden blur that adds to the photo. Neat, right?
7. Use Intentional Camera Movement for Creative Fine Art Photography
Fine art macro photography is all about being creative.
There are a few simple techniques you can use to get unique fine art photos. The kind that really jump out at you.
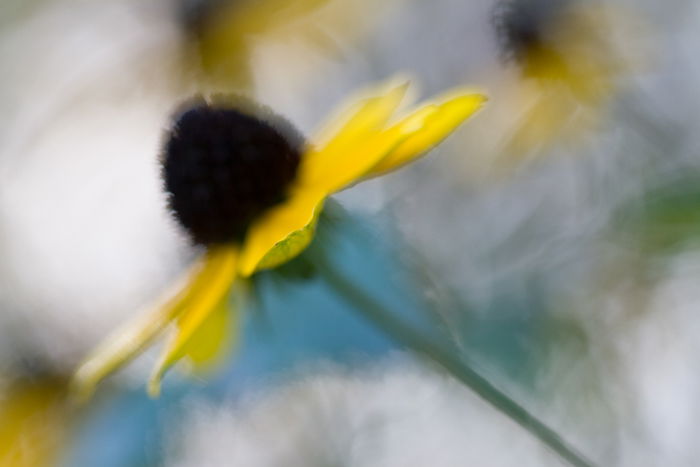
And one of them is intentional camera movement (ICM). This is a technique that you can do with pretty much any lens and pretty much any subject to achieve photos like this:
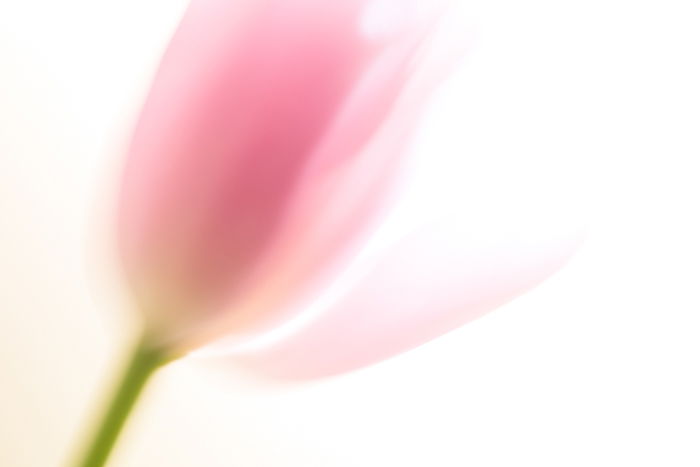
First, find a nice subject. Colorful things work best. It's also important to have significant contrast in the frame. You want your main subject to stand out, even once they've been reduced to an abstract blur.
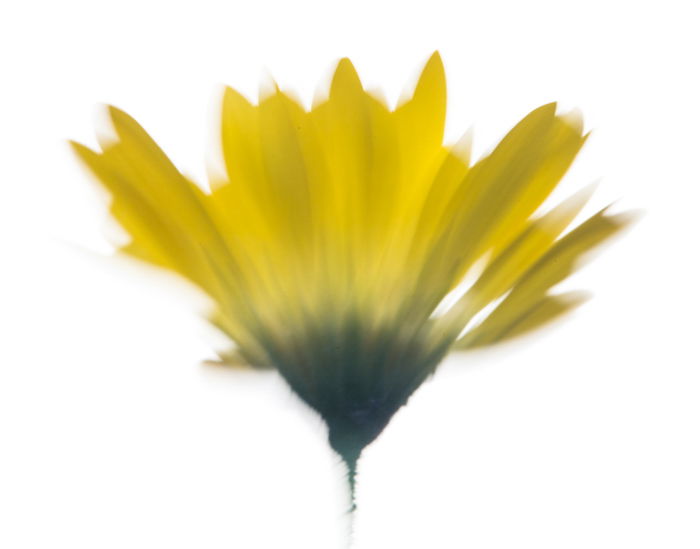
Second, find a nice background. I'd recommend getting down low to use the sky as a backdrop. On cloudy days, the white sky will provide you with a high-key look, which is perfect for intentional camera movement photography.
You're also free to use a black background, though these are harder to find in nature. Try looking for dark patches of trees that sit in the shadow.
Third, adjust the settings on your camera. You want to use a narrow aperture, something in the area of f/8 and beyond.
This will allow you to lengthen your shutter speed to an impressively long 1/10s, 1/2s, or even 1s. And you'll use the lengthy shutter speed to achieve the perfect ICM look.
Finally, press the shutter button while moving your camera in different directions. I recommend moving the camera along your subject in a straight line.
In other words, if your subject is an upright flower, start at the top and move downward.
It often helps to move your camera along lines and curves that your subject already possesses. If you follow these natural features, you'll create a point that the viewer can latch on, one that keeps them grounded in a sea of softness.
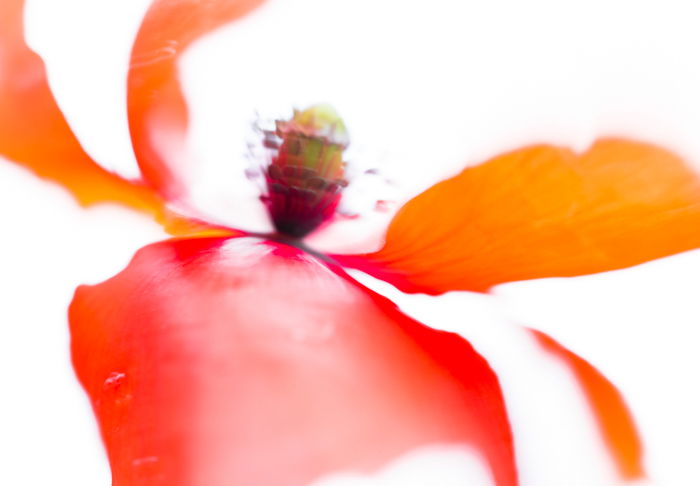
I also recommend you fill the frame with your subject whenever possible. Not so much that you include no background whatsoever, but enough that your ICM subject really stands out against the backdrop.
Note that you should experiment with different shutter speeds and camera movements. There is no one best intentional camera movement technique, and you can achieve unique macro photos just by trying different ideas.
If you're open to experimenting with intentional camera movement, then you'll capture some original, artistic macro photographs no doubt about it.
Conclusion
You now know seven useful tips for capturing amazing fine art macro photos.
And you're well on your way to creating a portfolio of excellent macro images.
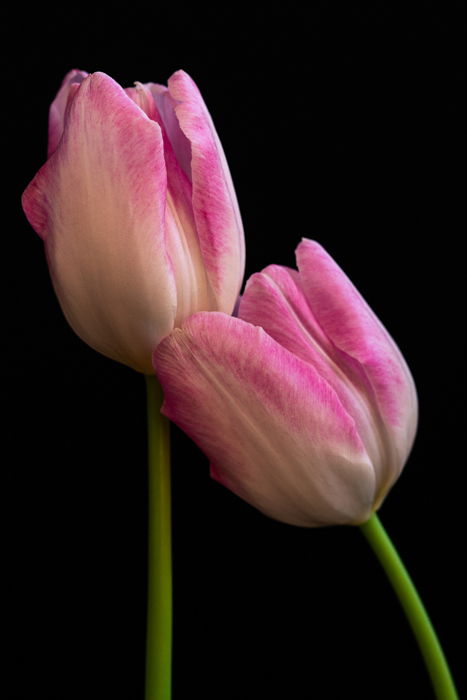
Just remember to think about the light. Think about your camera settings. Think about your composition.
And, above all, experiment! You'll capture some amazing photos, guaranteed.

