Light is the essence of photography. Without light, you cannot make a photograph, no matter how good your camera is. The more we can appreciate light, the better photographers we will be.
There are two kinds of light that are important for photographers. Incident light and reflected light.
We’ll tell you all about using them in this article.
© Kevin Landwer-Johan
What Is Incident Light?
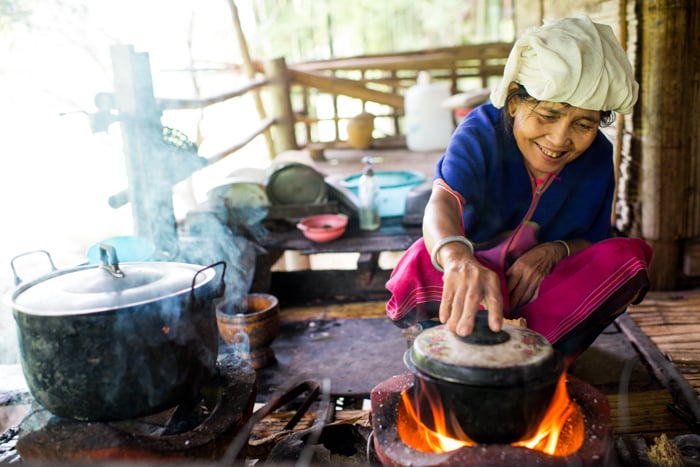
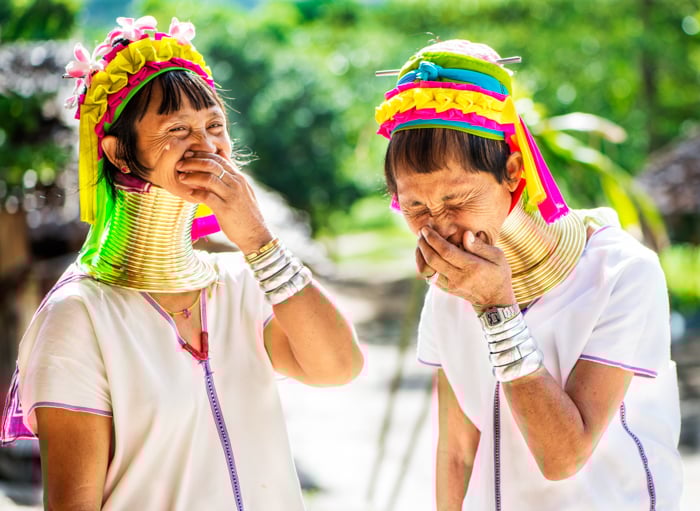
Incident light is the light that falls on a subject. It can be from natural lighting, like the sun, or from an artificial source.
Incident light can also be light that's reflecting off another surface, like a reflector.
© Kevin Landwer-Johan
What Is Reflected Light?
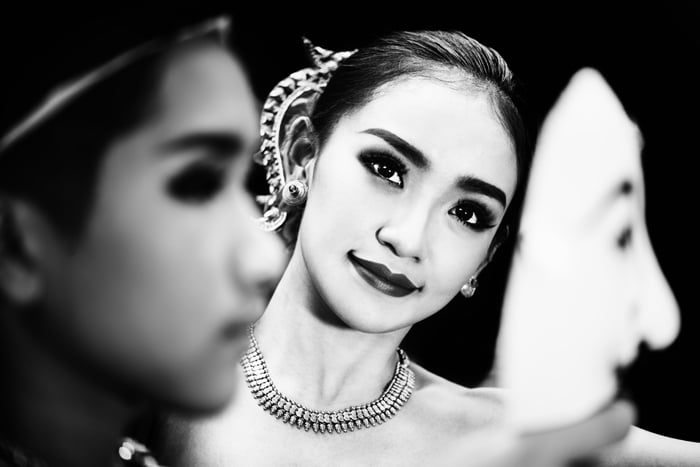
In photography terms, reflected light is light that reflects off the subject. This is most often what the camera records to make a photograph.
Regardless of the light source, light is altered by whatever it reflects off.
© Kevin Landwer-Johan
Reading Incident and Reflected Lighting
To capture well-exposed photos our cameras must be set correctly. When your camera is set to any of the auto or semi-auto modes, it does the work for you.
When you are using manual mode, you must read the exposure meter and adjust the settings yourself.
In some instances the camera, when set on auto, will not make a good exposure. This is often because incident lighting is entering the camera lens.
Digital cameras all have a reflected light meter. These are designed to read the light reflecting off whatever you're pointing your camera at.
Problems arise when you photograph extreme contrast. Or when incidental light enters the camera lens.
When light hits an object it is reflected and transformed in different ways. Color and tone affect the way we see reflected light and the way our cameras read it.
A black object and a white object illuminated the same way will reflect different amounts of light. The black object absorbs far more light than the white object.

© Kevin Landwer-Johan
Shiny surfaces also reflect far more light than dull surfaces. A high gloss black surface will reflect more light than one with a matt finish.
Incident light meters are a separate handheld device. These read the incident light and supply a read out of appropriate camera settings.
They are most used by photographers working with several studio strobes or flashes.
An incident light meter is not affected by how much light is absorbed by any subject. It reads the available light and returns a reading with camera settings to use.
When working with several light sources taking incident reading from each source allows you to balance the light. This affects how it looks reflecting off your subject.
Most photographers never use incident light meters. They can be quite expensive and using one means you have to carry one more piece of equipment.
I used to use one when working in the studio. With digital photography, it's easy to review results instantly. And you can balance the lights from the test photos.

© Kevin Landwer-Johan
Understanding the Measurement of Reflected Light
All cameras are equipped with reflective light meters. It's important to have some understanding of how they work.
Reflected light meters are calibrated to read light as though it is 18% gray. This is also known as middle gray. It is the tone halfway between black and white.
This is the base tone they are designed to work from so your photographs will be correctly exposed.
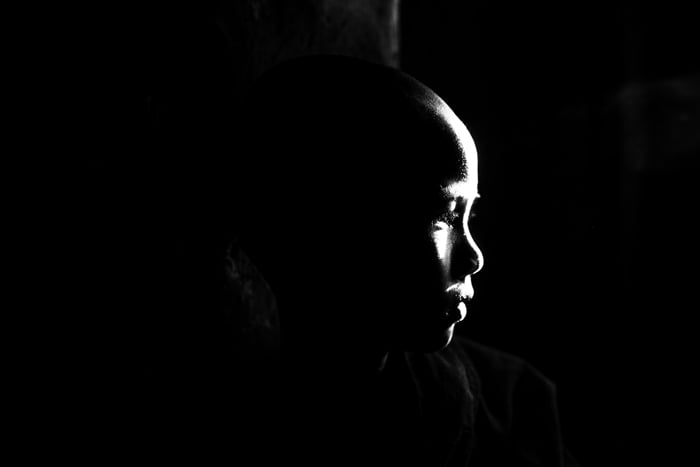
When the lighting conditions are even and contrast is low, it's easy to get a nice even exposure. When there's high contrast, it can be more difficult to capture a well exposed photograph.
This is because our cameras still have a limited dynamic range. Their meters are reading everything as though it's middle gray.
If you photograph a subject that's totally black your photograph will make it look gray.
It's the same if you fill your composition with all white. It will look gray in the resulting photo. Your camera's built in reflected light meter is calibrated. It works on mathematical equations.
To achieve a photo that renders black as black and white as white, you need to override the automatic settings.
© Kevin Landwer-Johan
You could also use an incident light meter. Taking a reading of the light as it comes directly from the source, the surface of your subject will not affect it.
Another way you can get a more favorable meter reading is to point your camera at a mid toned thing. Wet concrete and grass are both about middle gray.
Taking a reading from this kind of surface will give you the same reading as an incident light meter.
When taking an incident light reading or a reflected light reading from a middle gray surface care needs to be taken. It's most important the metering is carried out in the same light conditions that your subject it in.
If your subject is in the shade, this is how the metering should be carried out. If your subject is in the sun, and you are not, you need to move before you take the reading.
Failing to do so will result in poorly exposed photos.
© Kevin Landwer-Johan
Using Reflected Light and Incident Light in Your Photos
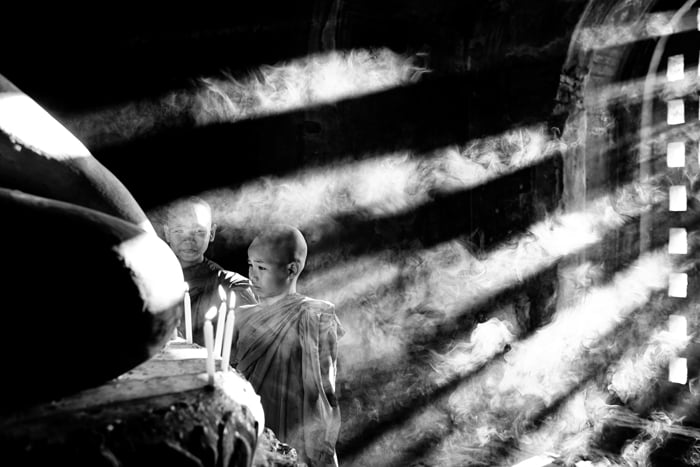
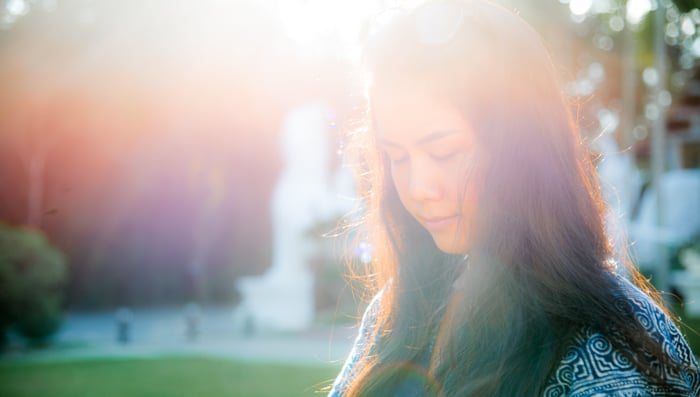
Most of the time the light meter in your camera works well. In instances where you may include incidental light as part of your composition, exposures can be more challenging.
With a strong light source entering your camera lens, the exposure meter will often be thrown off giving you a correct reading.
At times like these, it's necessary to take some photos and experiment with different settings.
Using your histogram and highlight indicators can help you set your exposure well at times like this.
Trying out different camera settings will help you capture some interesting effects. Changing your camera position in relation to the light source will also help.
Using the flare that happens when light enters a lens is challenging but fun with digital cameras.
This was a technique rarely mastered by film photographers. Because it was so difficult to meter for and predict the results.
© Kevin Landwer-Johan
Conclusion
The more you understand the characteristics of light, the better photographer you can become. As you practice you will become used to knowing how to use reflected and incident light. You will use it in your compositions to capture images the way you want them to look.
It is possible to learn to gauge the amount of light without using a reflected or incident light meter. Try it and see. Before you put your camera to your eye, guess the settings you will need. Then check to see how accurate you were.
I learned this from two older photojournalists. They had started working with cameras that had no light meter built-in.
In those days it was not always possible to use a hand-held incident light meter. There was not always time to. They developed this skill because it was quicker.
I still always check my meter, but find my guesses are often not too far off the mark.
You can also use a fill light to balance the light and give you more control over your results.


