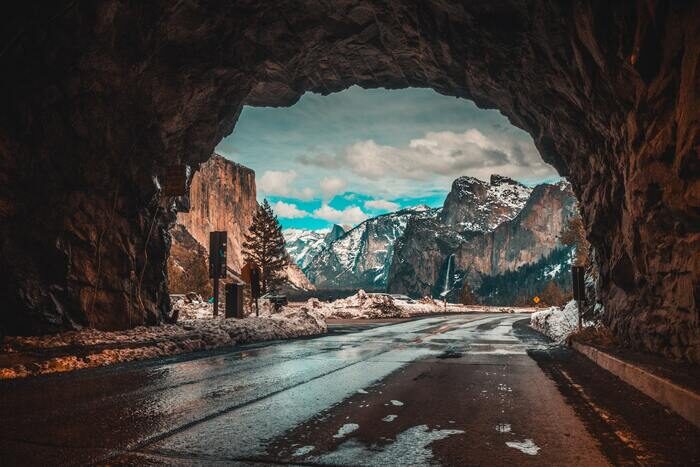
An ND filter, or Neutral Density filter, is an essential long exposure photography filter. This simple piece of glass can help you capture photos that are impossible to create without it. In this article, we’ll explain what an ND filter is, and how to use it to capture stunning long exposure photos.
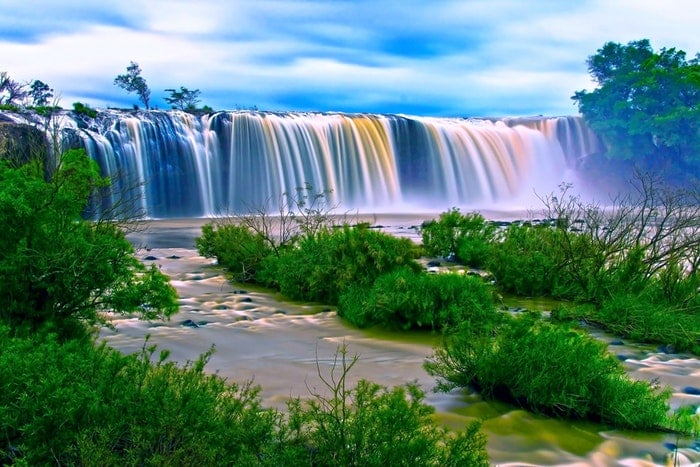
Using a Long Exposure Photography Filter to Capture Rocks in Water During Sunset
In-Camera Tricks for Long Exposure Photography
There are many long exposure photography ideas that you can try in an editing program. These tips will help you avoid that altogether. All you need is a compatible camera or a few special camera adjustments.
Use the Multiple Exposure Tool in Your Camera
Some cameras have a helpful little tool called Multiple Exposure. It can blend several images. You can use it to create beautiful long exposure photos without an ND filter.
Most compatible cameras will let you use no more than 9 images to create a multiple exposure. This can be enough if you’re taking photos on a windy day.
All you have to do is put your camera on a tripod and take several photos of your desired location.
You can take a photo every few seconds, depending on how windy it is. Then, go to Multiple Exposure mode, choose a base image, and select all the photos you’d like to blend together. The camera will do all the work for you.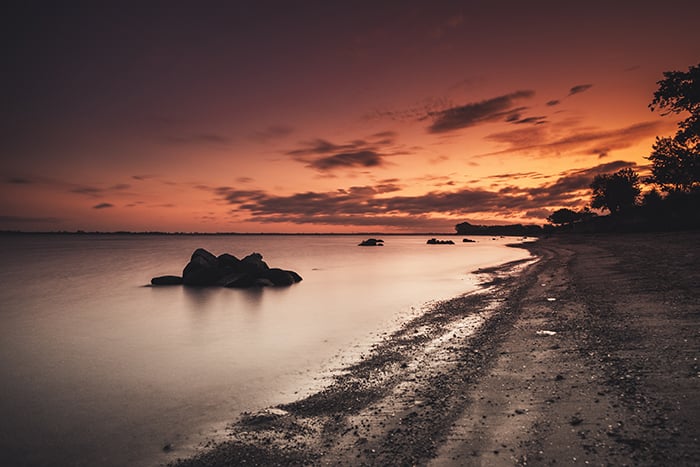
Avoid Brightness and Use a Small Aperture
If your camera doesn’t have Multiple Exposures camera settings, you can take still take long exposures without an ND filter.
The slower your shutter speed, the brighter your image will look. You can compensate for this in two ways:
- Take photos when it’s not too bright or too dark. Shoot at different times of the day. Find a time of day that lets you use a slow shutter speed without overexposing your photos.
- Use a small aperture. You can compensate for all the light by using a very small aperture. The smaller your aperture, the more details you’ll be able to capture in your landscape.
This will limit when and where you take pictures, but it can help you take great photos without any filters or editing.
Use Sunglasses
This might sound very strange, but it’s a hack that might work in your favour! Neutral density filters are the sunglasses of photography, so it’s logical to use an actual pair of sunglasses.
ND filters come in different intensities. You won’t have as much flexibility with a pair of sunglasses. However, they can significantly darken a bright landscape. This can help you take pictures during the day, which isn’t usually possible without the use of an ND Filter.
Some photographers take one lens out of their sunglasses and tape it to their camera lens. You can simply hold your DIY long exposure filter in front of your lens to avoid damaging your equipment.
You can also use tinted glass as an alternative. Tinted glass costs less than $5 and is larger than a pair of sunglasses. This can make it easier for you to take proper long exposure photography in daylight.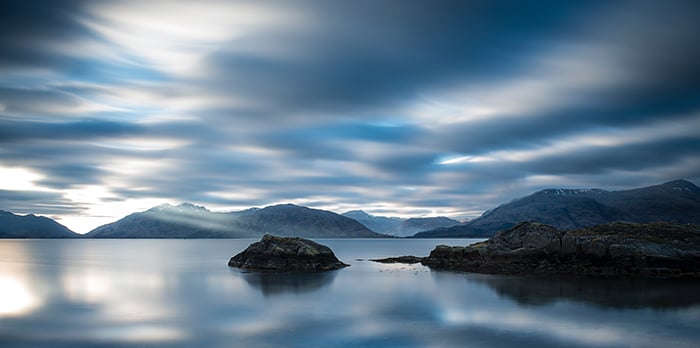
Editing Tricks for Long Exposure Photography
If in-camera tricks aren’t enough, you might need to use a few editing hacks. Most of these require time and patience, but they’ll let you create long exposures.
Make a Time-Lapse
Time-lapse photography involves taking several pictures of the same location. You use these pictures to create a time-lapse video.
This trick is the manual version of Multiple Exposure. Take several pictures of one location. Your exposure should be normal. You can use an intervalometer to take a series of photos, but it’s not necessary. The windier it is, the more movement you’ll see in your final results.
You can use a remote so that you don’t shake your camera and take blurred photos. Again, this is not necessary, but it can enhance your long exposure photography experience.
When you’re done, you can merge all your photos in an editing program. This technique is called stacking. Your final result will be a long exposure image.
Take Three Photos With Different Shutter Speeds
This is a simpler version of the previous trick. You have to take one photo that’s overexposed. As long as your moving subject is well-lit, you don’t need to worry about the other elements in your image.
Your other two photos should have different exposures so you can have more flexibility during the editing process. You can then merge these to create an HDR-like image. This won’t be a seamless merge, so you’ll need to do some editing to make everything look natural.
Create a Fake Long Exposure Effect Using Radial Blur
If you already have a great landscape photo, you can make it look like a long exposure image. You can use Photoshop or a similar editing program.
This will work best with photos that feature clouds and water. Make sure you have a main subject in your image that stands still. This will help you emphasise movements and give viewers something interesting to look at.
In Photoshop, open your image and duplicate your layer. Select the area you want to blur out to create the long exposure effect. You can do this using any selection tool you like.
Next, go to Filter > Blur > Radial Blur. Click on Zoom under Blur Method. Radial Blur doesn’t have a preview feature, so you might need to experiment a bit. Generally, anything under 30 tends to look natural. Click OK.
Your image should look like a long exposure photo now. You can fix any uneven parts by creating a layer mask and brushing over the edges with the Brush tool. Make sure your foreground color is set to black when you do this.
Common Long Exposure Photography Questions
Do You Need Neutal Density Filters for Long Exposures?
No. An ND filter can make your job much easier, but it’s not a necessity. You can use different in camera settings and editing tricks to create beautiful long exposures without using filters.
How Do You Do Long Exposure Without Overexposing?
You can avoid overexposure by using a small aperture. This will darken your landscape and let you use slower shutter speed. If your pictures still look too bright, you should invest in an ND filter for long exposure photography.
How Do You Do Daytime Long Exposure?
To make your job easier, use ND filters. This will let you take decent photos in bright daylight. You can also shoot through tinted glass or a pair of sunglasses.
How Do You Use Long Exposure Intervalometer?
Select a slow shutter speed in your camera. When you’re done, set an interval in your intervalometer. This will depend on how quickly your subject is moving. The slower it is, the longer your interval can be. Your camera will do all the work for you after that.
Photo by Kyle Roxas from Pexels
Conclusion
If you don’t use neutral density filters, you can experiment with different shooting and editing tricks. This can be a great way to improve your editing and photography skills at the same time.
If your camera has a multiple exposure tool, you can take incredible long-exposure photos in minutes. If it doesn’t, you can get creative and use a pair of sunglasses. These tricks can help you make the most of any situation, even when you don’t have all the equipment.
Remember to experiment with different times of the day and different shutter speeds. The more flexible you are, the more impressive your results will be.