How to Shoot a Milk Bath Photoshoot
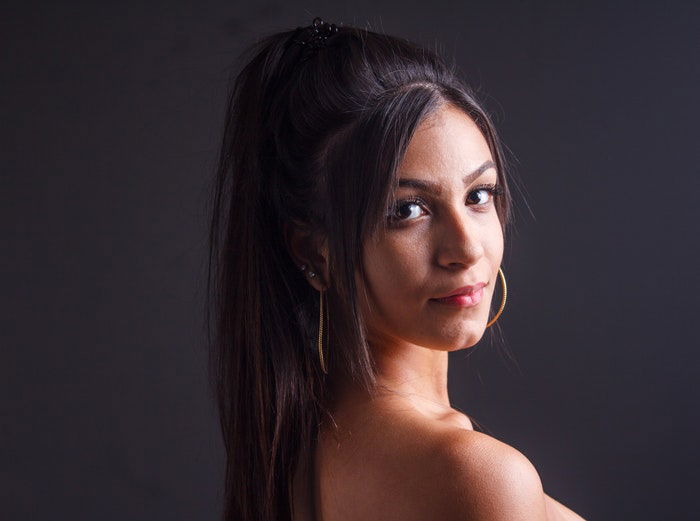
Milk bath photography is a technique in portrait photography. It focuses on natural, minimalist images. It allows you to utilise negative white space so that you can focus on your model’s face and body.
Let’s see how you can create beautiful milk bath photography.
What is Milk Bath Photography?
In a nutshell, milk bath photography is about shooting a model bathing in milk.
Many associate this technique with the famous picture of Whoopi Goldberg peering out from a bath of milk. Annie Leibovitz was the photographer, and her shoot is the origin of this widely beloved concept.
Milk bath photography is perfect for those who like dreamy, atmospheric portraits. With the right props, you can turn your milk bath photos into gorgeous conceptual pictures.
White is associated with softness and purity. This is why milk bath for baby or maternity photography is so popular. You can use a milk bath to emphasise the size of a baby bump. Or just to make your model feel beautiful in her skin.
If you feel particularly adventurous, step into the bathtub for milk bath self-portraits!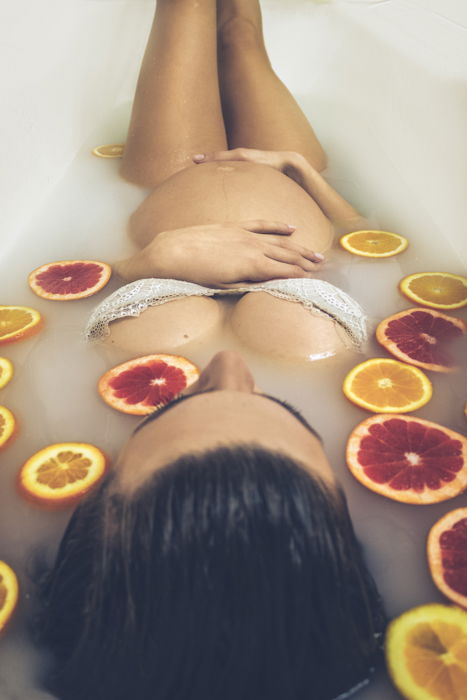
Setting Up Your Milk Bath Photoshoot
Milk. Who’d have guessed?
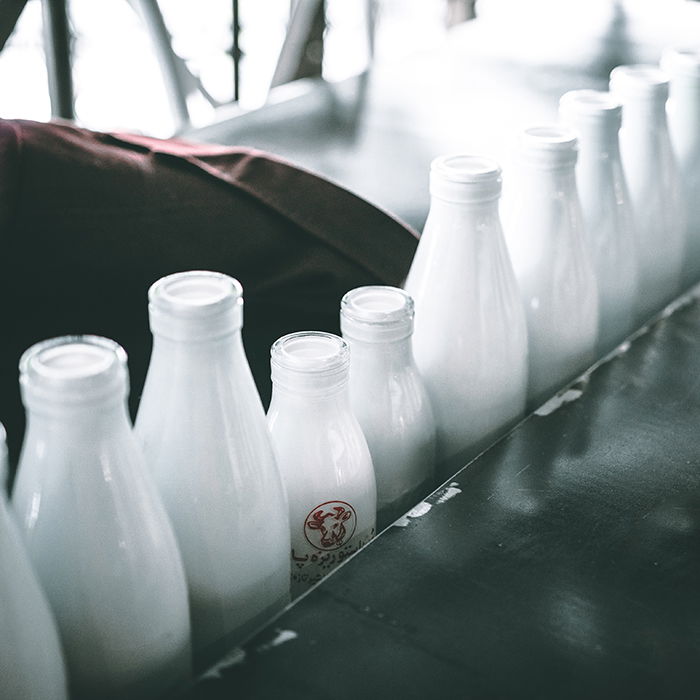
Experienced milk bath photographers use around 3-6 litres of milk per photoshoot. Preparing for this shoot is not too hard on the pocket. The basics are milk, warm water, and a bathtub.
First, fill the tub with warm water and start adding milk to it. For this purpose, whole milk works the best, but you can also use milk powder instead of milk.
If you add less milk, your mixture will be translucent. This means that most of your model’s body will be visible underwater.
If you add more milk, you’ll end up with an opaque mixture. This will cover anything that’s below the milk’s surface.
Undecided on the ratio of your milk-water concoction? Then, don’t use all the milk immediately. Pour it gradually and experiment with various levels of transparency.
Should you choose milk powder, make sure the water is warm enough to dissolve everything. If it’s not, you’ll have to deal with unflattering chunks of powder in your milk bath.
Safety Tips to Keep in Mind
The uniqueness of milk bath photography comes with equally unique challenges. While preparing for a milk bath photoshoot, you’ll see that these aren’t very complex. Here are a few guidelines that will make your milk bath photoshoot feel like a cakewalk.
Access to Warm Water
If you are shooting for over half an hour, this tip is essential to keep your subject warm. Comfort is paramount when it comes to a child or baby photography. If you have a high ratio of milk, make sure that’s warm as well. We recommend having a continuous supply of warm water if possible.
Dry Clothes and Floors
When you brief your model before the shoot, make sure she packs a set of dry clothes and towel for after the shoot. Sounds obvious? Trust me. It’s a detail that can easily slip anyone’s mind. For your part, bring along a floor mat. The floor must never be slippery, so keep a towel ready for wiping it dry. You should also have a clean hand towel to wipe unavoidable droplets of milk-water form your model and the surroundings.
Avoid Flowers With Dirt, Pollen, or Thorns
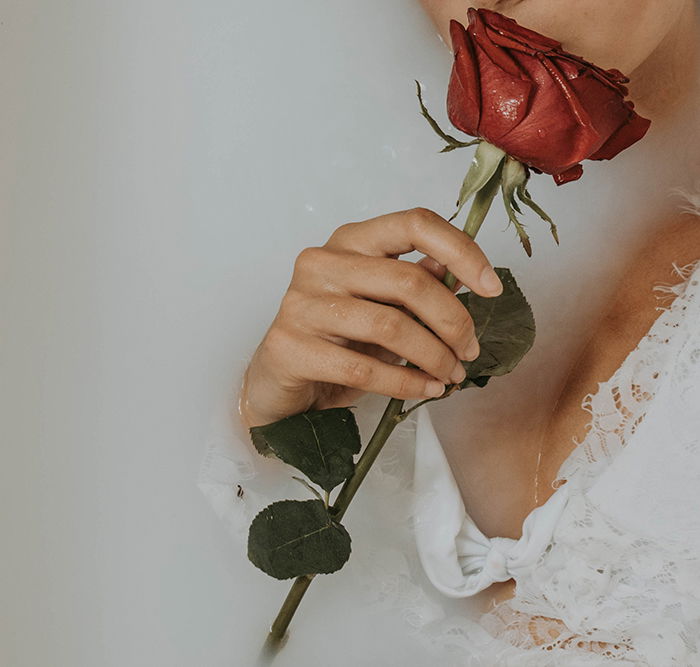
You need an extra ounce of patience when your milk bath photoshoot involves real flowers. If they are not clean or shed too much pollen, your milk bath can turn murky and ruin the shoot. Thorny flowers are a no-go for the obvious reasons. If you must use real flowers, make sure your model is not allergic to any of them. To avoid this problem altogether, you can use high-quality artificial flowers. They are indistinguishable from real flowers and hassle-free.
Best Props for Milk Bath Photography
A milk bath photo session is ethereal, even without props. But if you want a little extra to enhance your subject more, you can get very creative.
Add your props to the bathtub after your model has settled down in it. This will help everything stay afloat.
Clothing & Accessories
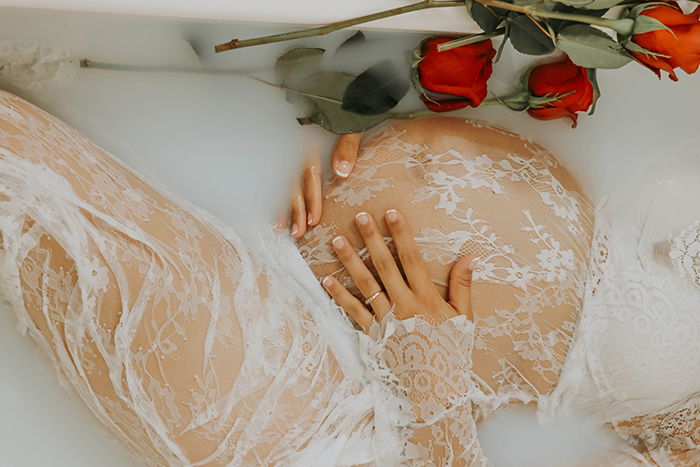
For that diaphanous look, a something see-through dress is perfect. For instance, lace or any sheer fabric adds an air of elegance and gentleness to your photos. If your model wants to wear something more opaque, a simple white dress will also work.
The milk bath will put the spotlight on your model’s body. It’s important that she wears the right accessories and poses as naturally as possible. Simple jewellery, trimmed nails, and instinctive hand placements will complement her baby bump.
If you’re an aspiring fashion photographer, you might consider emphasizing on the clothing. Why not keep ready on a set of outfits that you like?
Instead of using only one outfit during your shoot, you can change the model into different ones and create an inspiring lookbook!
Lighting
For the best lighting effect, place your bathtub next to a large window. Natural light will create soft shadows. These will allow you to experiment with different angles.
Of course, not every bathtub can be picked up and placed anywhere. That’s why some photographers shoot in hotel rooms or use inflatable pools instead.
Avoid standing above your model during your shoot. You can create unflattering reflections in the milk bathtub.
If your location is too dark, use a reflector to remove harsh shadows and add a spark to your model’s eyes.
Using artificial light will make it harder for you to take well-lit portraits. But if you use a softbox or modifiers, you can create as soft of a light as possible.
Also, with artificial lights, change your color temperature. Soften any over-saturation created by the lights.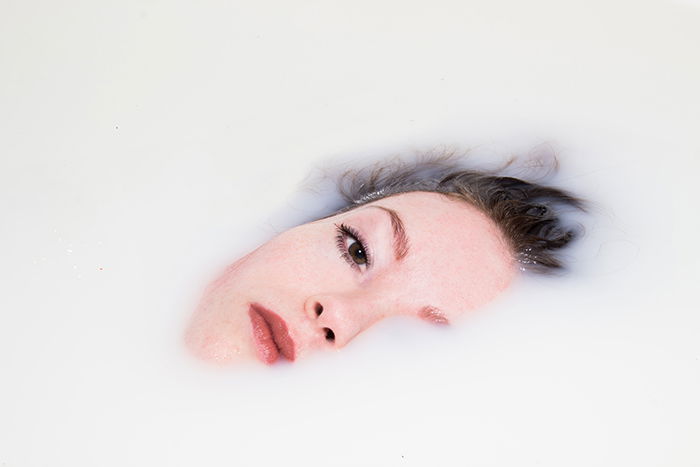
How To Shoot Milk Bath Photographs
Choose The Right Camera Settings
The shallower the depth of field, the more the emphasis on your model. This works well when creating minimalistic portraits. But if you are using props too, you should aim for creating a depth of field that isn’t too shallow. After all, you will want the props to be somewhat sharp as well.
If you’re using natural light to create a soft look, you will need a wide aperture to allow as much light into the camera as possible. With soft artificial light, you might need to narrow the aperture to avoid accidental overexposure.
Unless you are using manual mode, the camera meters the light and sets the correct values by itself. The problem with this is that it is likely to underexpose the image thanks to the bright surface of the milk. To avoid this, you should use exposure compensation and overexpose with one or two stops.
You will also have to shoot in raw so that it’s easy to correct exposure and color temperature in post-processing.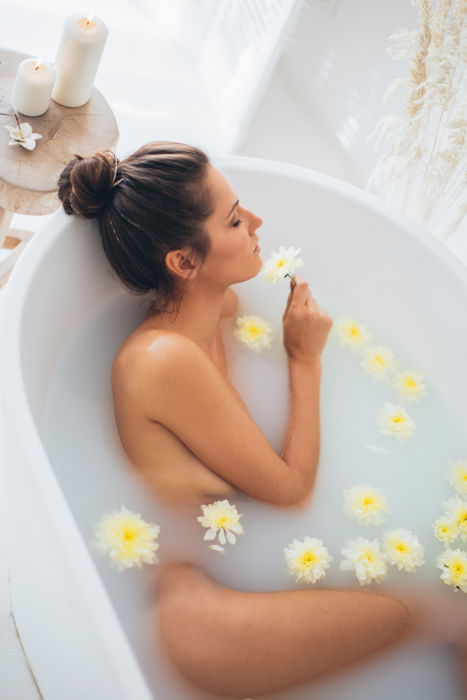
Use the Negative Space as Composition
Milk baths are perfect for emphasising your model’s body similar to traditional boudoir photography. So why not get experimental by fusing elements from both?
A milk bath photoshoot highlights the negative space in your frame. So if you are thinking of a glamourous editorial photoshoot, your buck stops here. You have plenty of flexibility in the shoot and can collaborate with your model to achieve the best results. The focus can be on your model’s makeup, her natural tresses, sultry expressions, and so on.
When it comes to lighting as well, you can experiment with different techniques.
Use Complementary Elements
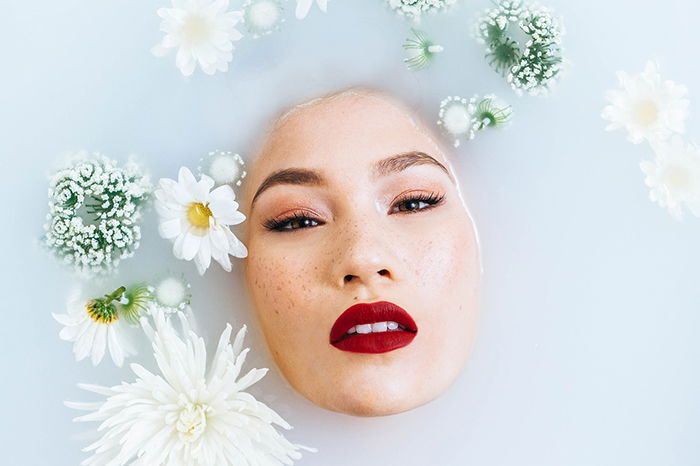
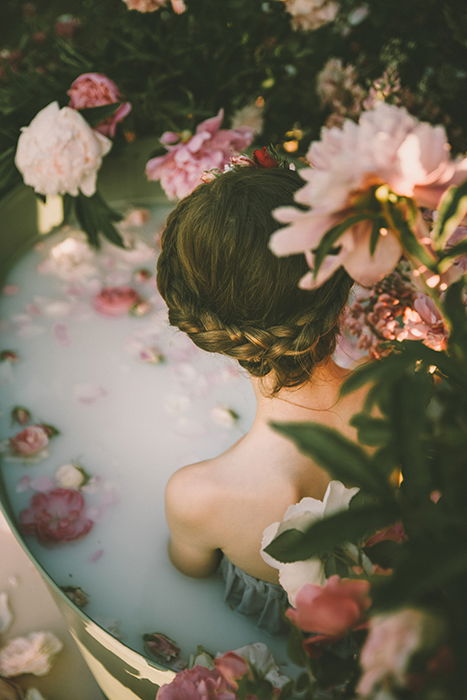
Flowers are a popular choice when it comes to choosing props for a milk bath shoot. It works every time. But it’s not a mandate so don’t confine yourself. For instance, if you’re thinking child-like fantasy, sprinkle some glitter or a use a crown.
You need to be aware of complementary colors when it comes to milk bath photos. Keep things neutral. Pastel colors like lavender and baby pink won’t clash with the whiteness of the milk.
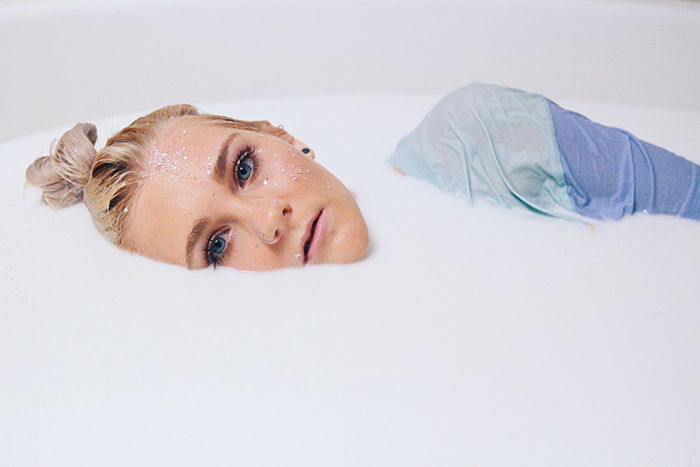
If you’re out of ideas, find inspiration in your model’s features. For example, the model in the picture has blue eyes. Her t-shirt and the glitter make her eyes stand out without clashing with the milk bath. Simple details like this can give your shoot a strong identity.
Focus on the Details
It might be tempting to make the most of all that negative space in milk bath photography. But don’t forget to focus on the details.
Every model is unique and distinctly responds to the milk bath. Be tuned in to your model’s body language, any props that she might be holding, and her clothes.
There's so much more you can do with a milk bath than photographing faces and expressions. Challenge yourself by photographing hairstyles, poses, and details. Avoid including your model's face in your frame. Perhaps surround your milk bath with objects that are surreal and dream-like.
This milk bath photography challenge will inspire you to get out of your comfort zone. And it'll teach you to find more opportunities in portrait photography.
Post-Processing Milk Bath Photography
Distractions are inevitable when you’re working in a small space. Your photos might end up including the unwanted edges of a bathtub, a stray hair, or other tiny details that were invisible through the lens. You can edit these things out using several methods:
Cropping
If your distractions are near the edge of your photograph, you can crop them out. Keep in mind that going overboard with this tool will diminish your image quality.
Cloning
The clone stamp tool is perfect for removing objects of all shapes and sizes.
Content-Aware Tool
Select the area you’d like to fix, right-click, and click on Fill. You’ll find Content-Aware next to Contents. I’ve found that this tool is perfect for fixing minimalist photos like the one above. If your selection is too large or is filled with too many colors, you won’t get the results you want.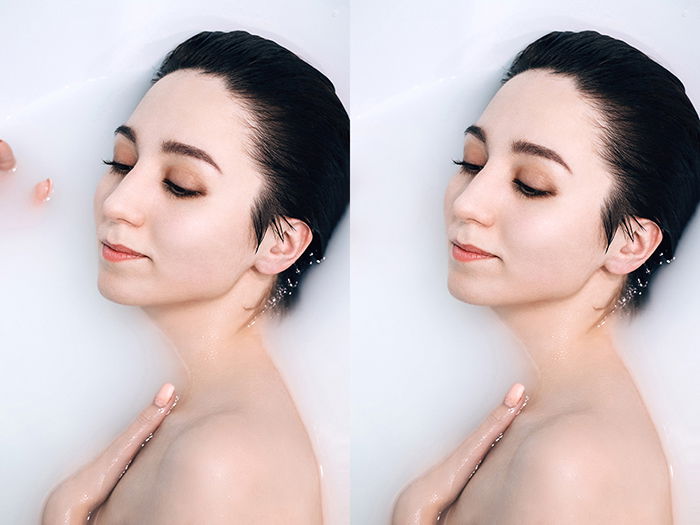
Conclusion
Subtle and sultry, milk bath photography gives photographers plenty to work with. It’s an intimate process, so make sure both you and your model are on the same page during the shoot. You can go wild with the negative space and your model’s raw beauty to create something surreal.
Milk bath photography draws in all kinds of artists. Be it a maternity shoot, family portraits, editorial, conceptual or babies, you’ll love the process. The secret is to use light in conjuring a breathtaking ambience.
It’s no secret that the right lighting can simmer powerful emotions. Whether you want a dreamy pastel look or lean to the fantastical, your lighting emboldens your vision. To achieve this without wasting hours away, check out our Lightroom Presets. They’re practical, comprehensive and speed up your workflow in no time. Not just milk bath, you can apply them to anything you shoot.
