If you’re looking to improve your photography skills, natural light is one area you should focus on. Not only does natural light produce beautiful and flattering images, it’s also free and easy to work with. In this article, we’ll share 13 tips for stunning natural light photography. So whether you’re a beginner or a seasoned pro, read on for the secrets to taking amazing photos with natural light!

13. Natural Light Photography: Try to Shoot in the Morning or Evening
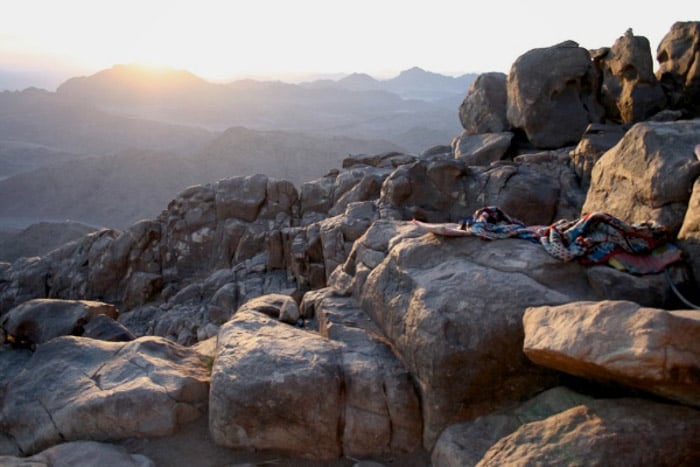
You might have heard before that you shouldn’t be shooting in the middle of the day. Even though the sun is bright, it’s hard to control and has a very harsh appearance. So you might be asking, “How do I find good natural light for photography?” The best source of natural light is either the sunrise or sunset.
Mornings and evenings offer the softest light as the lower sun casts softer shadows.
Morning has the added advantage of being quiet. This allows you to capture a lot of the natural light’s progression along with the sun.
Because the sun is coming in from an angle, you’re left with a lot of shadows.
I’m not much of a morning person. So the majority of my natural light photography occurs in the evening. This is especially true if I’m working during the day.
This time of day is when you get some fantastic sunsets to work with.
If you’ve read my post on photography cliches, you’ll know that I warn beginners against shooting sunsets. Part of the reason for this is that there are much better things to be shooting at that time of day.
When you’ve got a good subject, the soft evening light will flatter their features. This will make for some really cool natural light photography.
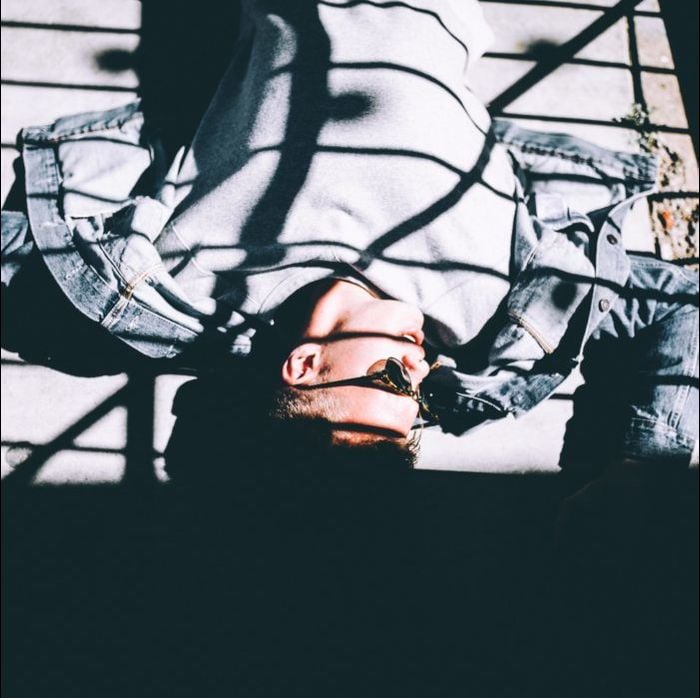
12. Shoot With Hard Light at Noon
While the light in the morning and evening is easier to work with, shooting at midday can also be used effectively. The sunlight at that time of day creates hard light that offers many possibilities to play with harsh shadows.
For example, in the image below, the contrasting shadow adds a strong compositional element that makes the photo much more interesting.
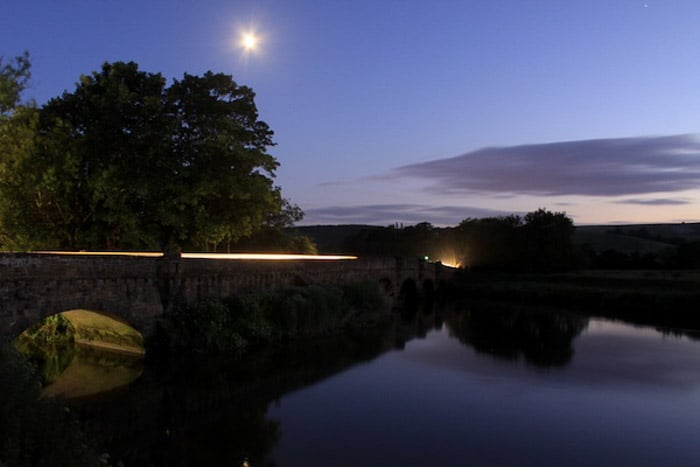
11. Photograph Magical Images at Twilight
Twilight occurs during the transition between the day and night is happening. It is before the sun rises and after it sets.
This time of day has a cool color with diffused lighting. If it is almost night, you will have to rely on some artificial light as well. This picture was taken at the end of the day after the sun had already set.
10. Light Straight on the Subject
So we’ve established the best time to shoot. Now, choose the angle of the light.
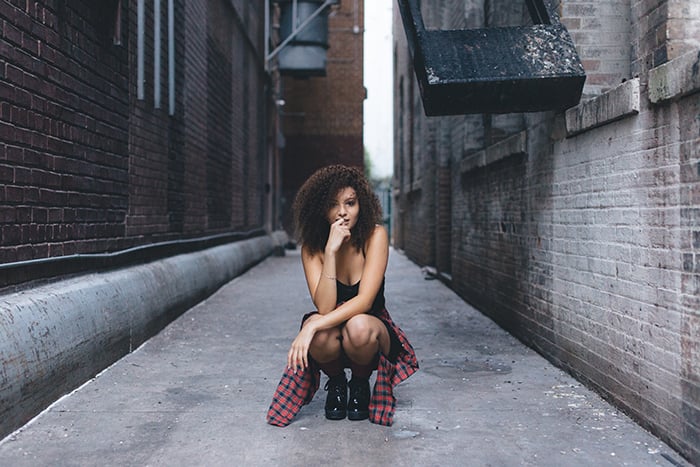
The first and most obvious option in regards to the angle of the light is to have it shine straight onto the subject. This provides very good outdoor photography lighting.
In the photo below, the sun is behind the photographer. You can see how the soft winter light floods over the model’s face, casting a warm glow.
There were no big and nasty shadows on her face either.

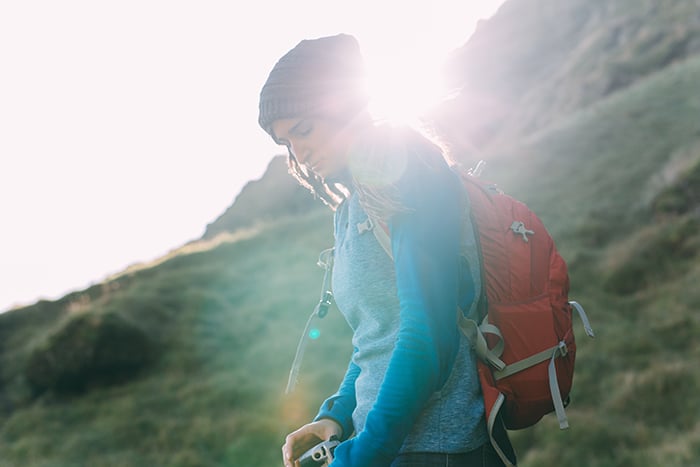
9. Shoot Into the Sun
Shooting into the sun allows you some interesting lens flare. This produces some really cool shots.
The photo will be softer as the shadows are more subtle in the scene. And the flare that floods the photo makes an interesting outdoor portrait.
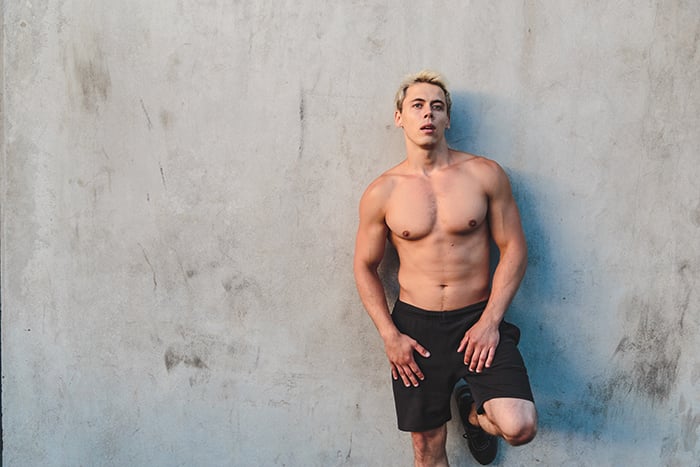
8. Experiment with Side Lighting
Sidelight is particularly effective on flat but slightly curved surfaces, like a model’s stomach. It helps to give natural light photography a soft touch.
Side lighting is the most adaptable but it’s also the easiest to get wrong. You have to be careful about the angle from which it is cast on your subject.
Side lighting can cast ugly shadows across a model’s face. But because it casts shadows, it is often used to highlight contours. It is especially effective when you’re aiming to highlight an athlete’s muscles.
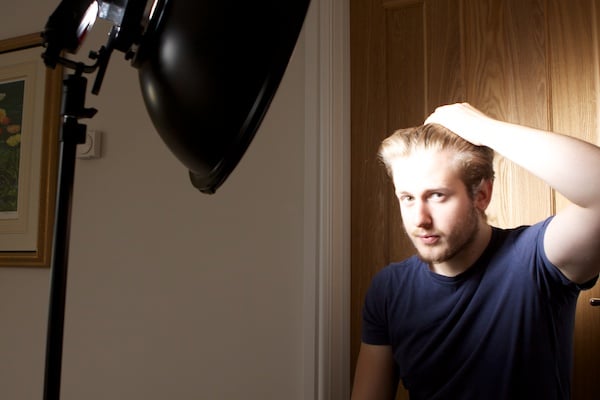
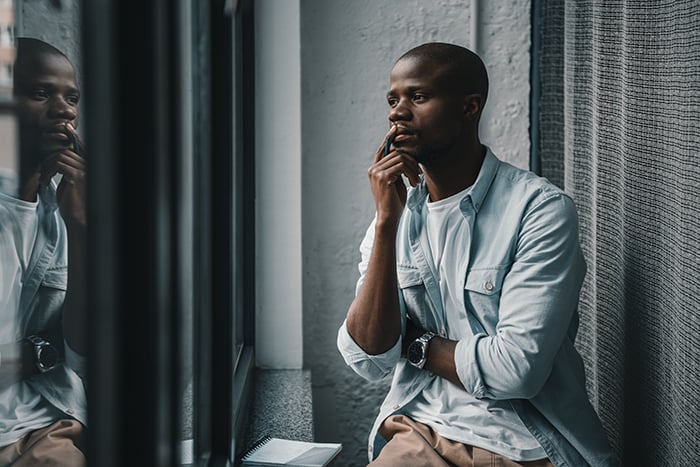
7. Learn to Use Natural Light Indoors
Window lighting is probably my favourite indoor photography lighting. You can use it for anything. Window lighting is a form of side lighting and heavily dependent on the distance from the light source.
Light disperses about the room, spreading the light about, as this distance increases. The closer the subject is to the window, the more the light will wrap around. This is similar to what happens when using softboxes.
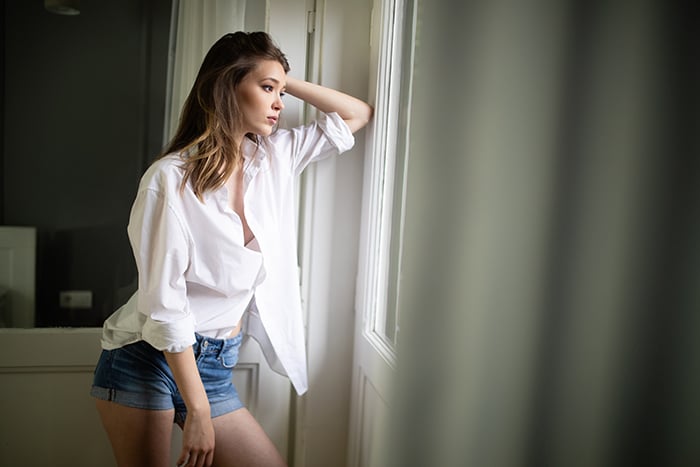
Moving the subject away from the window creates harder shadows and stronger contrast between the two sides of the face.
Natural window light can be the best way to brighten a subject.
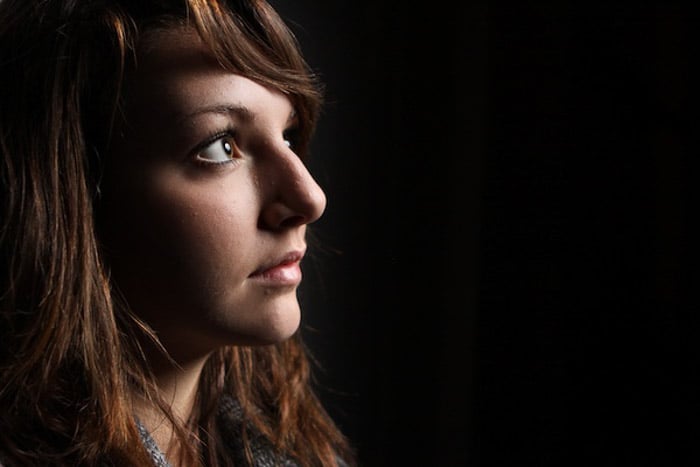
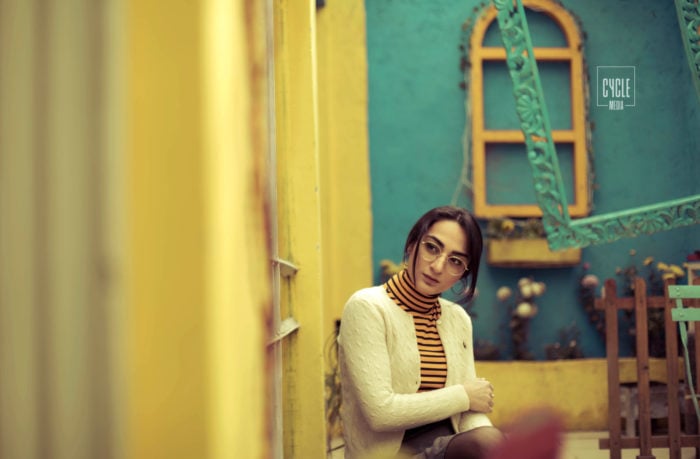
6. Look for Reflected Natural Light
Natural light that is reflected off of surfaces can change an entire photograph. It can be reflected off of walls, the ground, or any other surface.
This reflected light creates a soft glow. When the sky bounces light off the surfaces on the ground, the color of the entire scene starts to change. This is demonstrated in the photo below. The light bouncing off the yellow walls casts a reflection on the girl’s face.
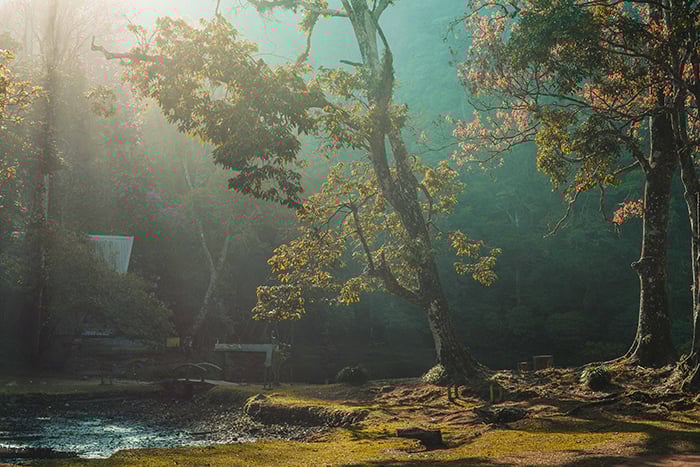
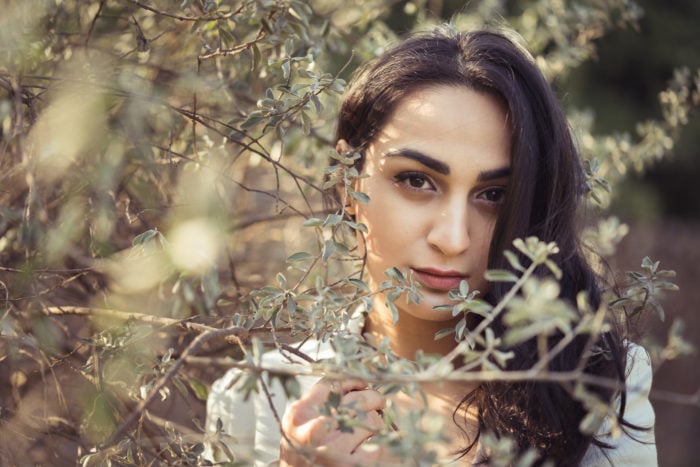
5. Make Your Photos Unique with Dappled Light
Another way to capture beautiful images with natural lighting is to use dappled light.
Dappled light is the result of sunlight that shines through tree leaves to create interesting patterned shadows.
4. Switch Off the Lights
If you are shooting indoors, switch off any lights. Artificial lights don’t mix well with natural lighting. This can have a negative effect on the white balance and create unnatural skin tones. The best way to avoid this is to switch off electric lights.

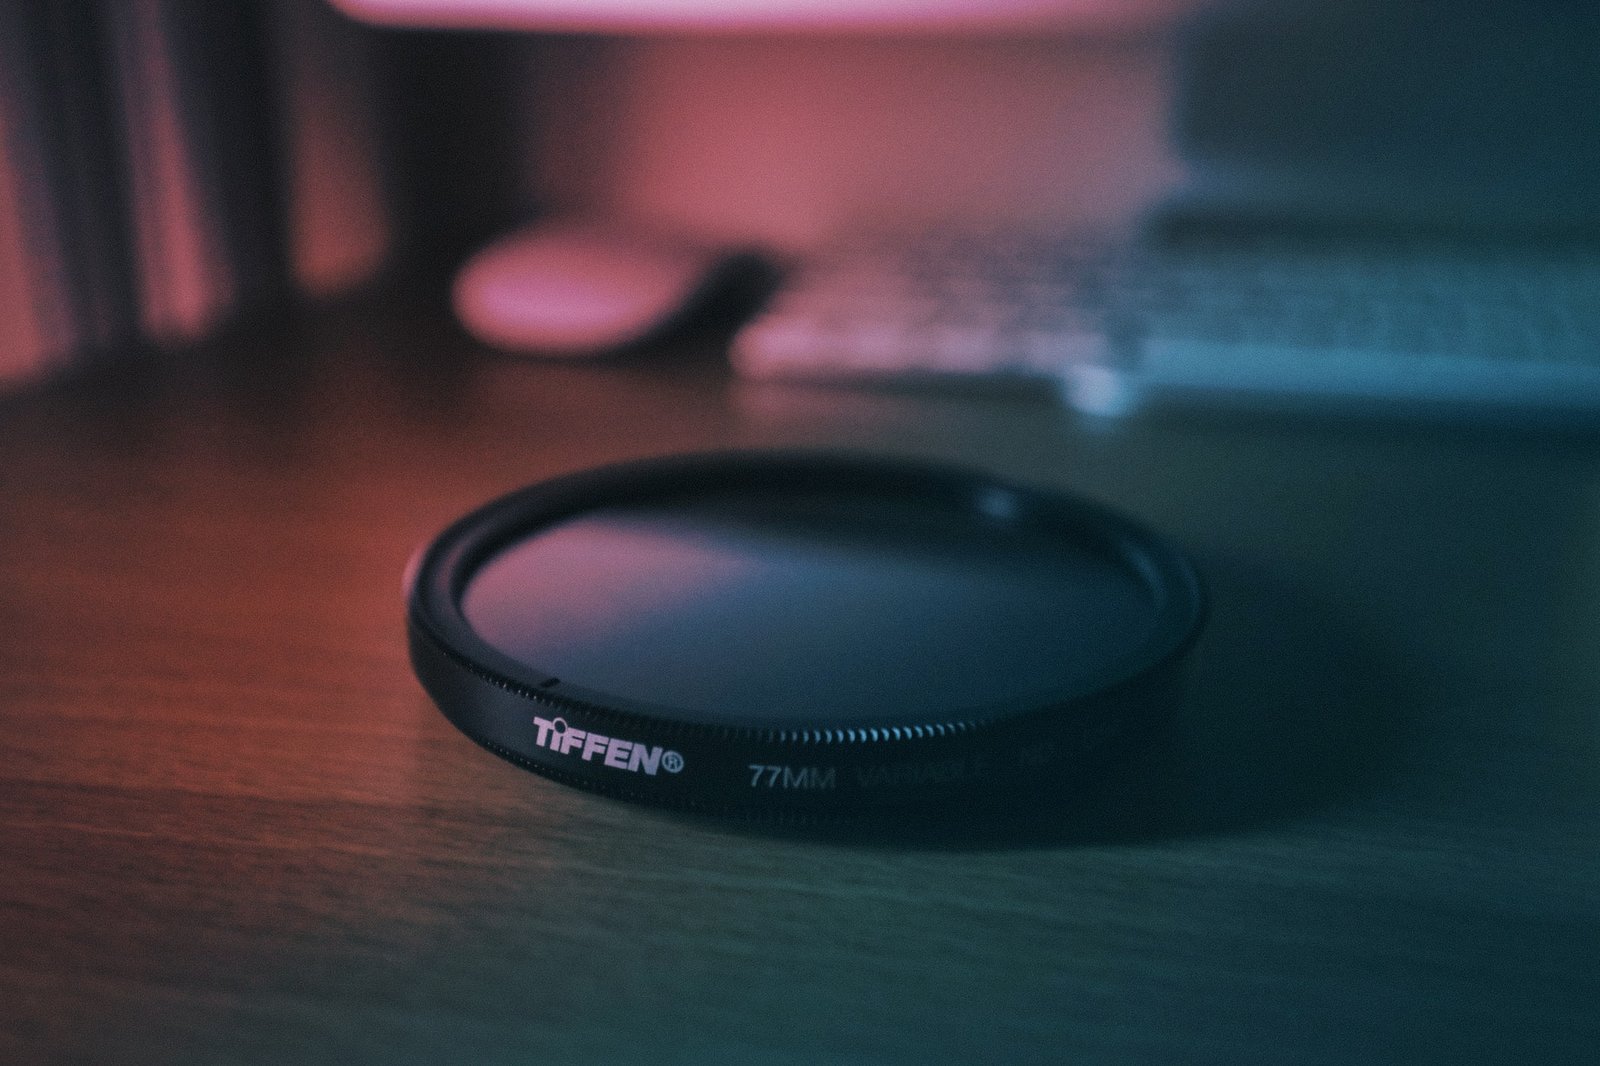
3. Use a Polarising Filter
Sometimes you have to shoot in the middle of the day. While the lighting is hard to work with during this time of day, it would be a shame not to use the time to get some decent photos.
If you know how to handle the lighting, it ceases to be a problem. In this case, you can use a polarising filter. A polarising filter will bring out the color and soften hard light.
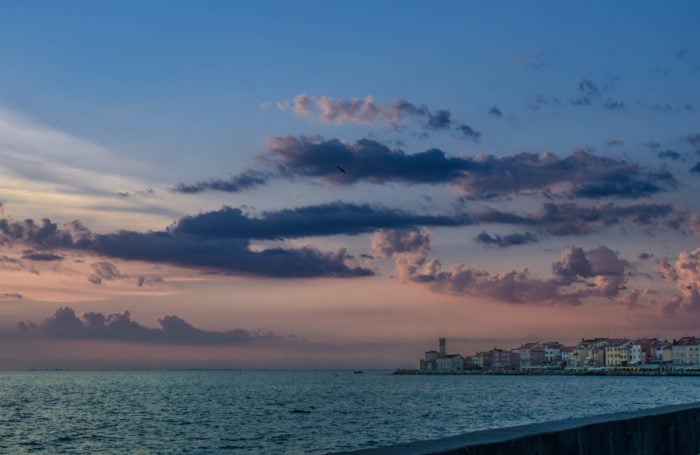
2. Use the Weather to Your Advantage
A common mistake beginners make is thinking that they can’t go out shooting when it’s raining or overcast.
This is a myth. Whether it is sunny or cloudy, there is a chance to photograph every day. You have to take control of the situation and depending on the type of natural lighting available, you can create something amazing. If you are prepared to photograph at any time of the day, cloudy skies are a fabulous source for lighting in photography.
Overcast lighting is much easier to work with and can produce equally interesting photos. For outdoor photography portraits, this is a great tip.
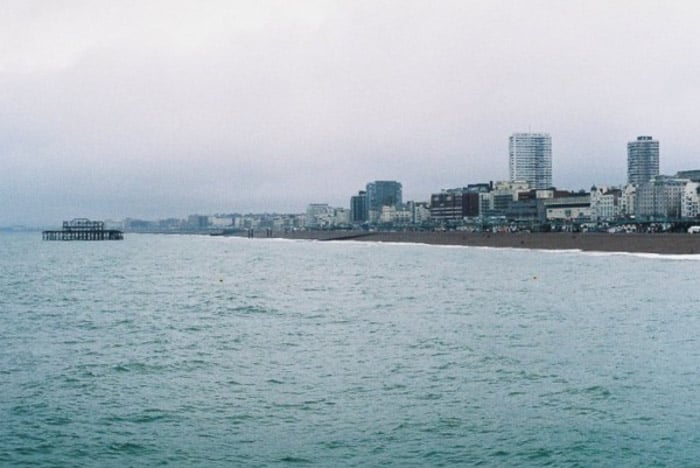
Take the photo below, for example. It evokes feelings such as bleakness and coldness. These are feelings that prove a lot harder to evoke in bright sun. The similarity between the color of the sky and sea on an overcast day gives this photo a lot of its strength.
Always check the before you go out shooting. If there’s going to be rain followed by some bright sunshine, this is a great time to shoot landscapes. Here, shadows cast by the clouds can be captured.
The photo below would have been boring had it not been for the dynamic changes in the green color. These help to emphasise the bumpy nature of the hills ahead.
This is a very basic example of what I’m talking about; have a play for yourself and link us to some of your results.

No matter the weather, photos taken under evening light all start to look very similar. Not only do the brightness and dynamics change but so does the color.
I shot this on a slightly overcast evening, just before the sun went down.

1. Diffuse Natural Light
If you find yourself in unfavourable photography lighting conditions, always try to diffuse the light by whatever means possible.
There are countless ways of doing this but one of my favourites is to photograph in the shade. The leaves reduce the amount of light reaching your subject. But they still provide gaps for some direct sunlight.
You can also use a reflector to diffuse some light or shoot in any shaded area.
Common Natural Light Questions
What Are Some Examples of Natural Light?
In general, natural light comes from sunlight. It also includes ambient light, which is the light available in the environment. For example, this is can be the light from outside that brightens up a room.
How Do You Take a Natural Light Selfie?
Don’t take a photo with harsh lighting. Hold the camera a bit higher than your face level, which will even out the lighting. Stand near a window where there is diffused lighting for the most flattering results. Aim to take your selfie during golden hour, which is the first and last hour of sunlight each day.
Conclusion
Without light, photography is impossible. As a photographer, you have the option of choosing artificial light or natural light as your light source. There are numerous ways of playing with natural lighting. Whether it is the time of day or the angle of the light, different types of light in photography create different results.
Want to learn more about basic photography techniques? Check out our course Photography for Beginners!