Thanksgiving is the perfect holiday to pull out your camera. You get to document the advent of the festive season ahead.
Think beyond shots of the family at the dinner table digging into the turkey. Thanksgiving day offers a variety of creative opportunities for images that go beyond the expected.
Here are 10 tips to make the most of Thanksgiving photography.
Plan Your Thanksgiving Photography Shoot in Advance
We all want our shots to look like they were taken by a pro rather than Uncle Don with his point-and-shoot. This is where planning ahead comes in.
You’ll need to decide on the equipment you’ll use for your Thanksgiving photography shoot. Set up your scenes and think about how you’ll approach post-processing.
It will be most helpful to bring a zoom lens like a 24-105. You’ll take wide-angle shots but also close-ups or detail shots of the food.
Be sure to clean your lenses, double check your camera bag to make sure you’ve brought everything. Bring extra memory cards as a backup.
Most likely you’ll be familiar with the home or location of the Thanksgiving feast. If not, get there early so you can scout it. Take note of how much window light and space you’ll have to shoot, as well as any other details.
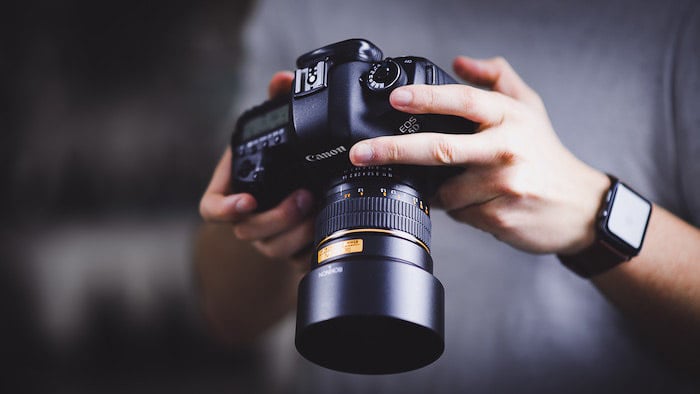
Be Mindful of Posing
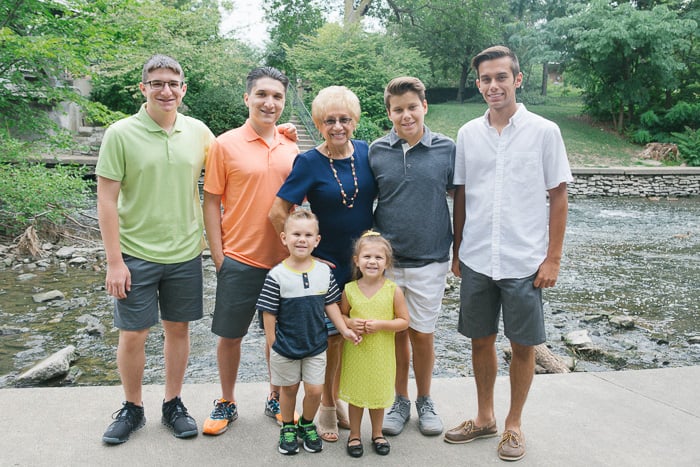
Holidays are the perfect time for group photos. Think outside the box and plan for posed pictures of family that you can treasure for years to come.
Group shots can be challenging. The more people you have in a frame, the more likely that at least one person will have their eyes closed. They won’t be looking at the camera, or be posed awkwardly.
This means you have to direct them. It helps to have a couple of tricks up your sleeve to get beautiful images.
Avoid the grade-school photo look, with everyone lined up together. Create interest by staggering your ‘models’ throughout the frame. Some can be seated. Others can stand, but aim to have each individual at different heights.
Don’t be afraid to take your time. Don’t be afraid to make people wait. You might find that your best shots will come when you don’t rush.
Be sure to shoot at least ten frames (try burst mode). A split second of a difference might mean nailing a shot where everyone is smiling and relaxed, with eyes wide open.
Also, don’t forget to situate yourself in a couple of photos! You need to be there too. Use the timer on your camera and get into the frame.
Pick Your Optimal Settings for Thanksgiving Photography
If you’re shooting with available light, you need to set your camera up to take ideal exposures.
Thanksgiving falls in autumn. The light can be less than ideal depending on where you live.
This means you’ll be working with the challenges of low light while shooting thanksgiving photography.
As you will likely handhold a lot of your shots, you may decide to shoot in Shutter Priority. This will ensure that your shutter speed doesn’t go slower than the amount you need to get sharp photos.
It will determine the correct F-Stop and ISO level. These will ensure that you get the proper exposure, depending on the available light.
If you shoot in manual, go as low in F-stop number as you can. And choose the highest ISO setting that your camera can comfortably tolerate. This will vary from model to model.
If you don’t know what that ISO setting is, do a test beforehand. It doesn’t solve all problems. Keep in mind that you can do a lot in editing software like Lightroom to fix any grain in your images.
For noisy images, a dedicated noise correction plugin like Dfine is excellent. It will selectively reduce the grain in your pictures. To the point where you wouldn’t know your shooting conditions weren’t optimal.
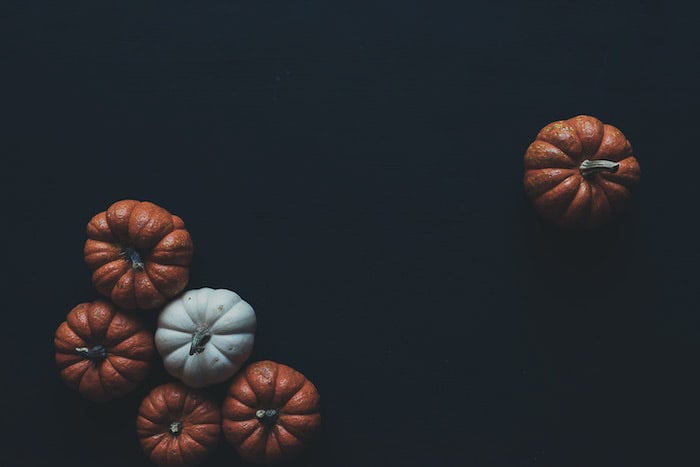
Use a Speedlite to Supplement the Ambient Light
Sometimes a Speedlite, even on camera, can be a helpful tool. It’ll fill in some of the ambient light in the room.
A flash can be distracting in some scenarios. But it can be a good option when everyone focuses on you, such as in posed family shots. Or when no one is paying attention at all, like when you’re taking candid snaps.
Choose an F-stop that will give you the best depth-of-field for groups and small scenes. Remember that depth-of-field is related to the lens you use/the focal length you’re shooting at. 50mm is a good choice.
Whatever you do, avoid using your camera’s pop-up flash. It’s a small and hard light source that will make your images look harsh and ugly.
Set your Speedlight to TTL or equivalent. Your flash will use the camera's metering system to adjust the amount of light.
You can adjust the exposure compensation for the flash ("+/-" button) to make sure that it isn’t too bright.
Your camera and flash assume that perfect exposure should be ‘18% grey’.
This means that dark colors will appear lighter, and whites will appear greyish or muddy. It sees dark colors and thinks the picture is too dark.
Take a few practice shots to ensure the exposure is correct and make any adjustments. If the background looks too dark, adjust the shutter speed or ISO.
Use Different Angles and Focal Lengths
Sometimes we tend to get stuck in a rut when we shoot. We photograph our subjects from the same angle or always shooting with a wide frame.
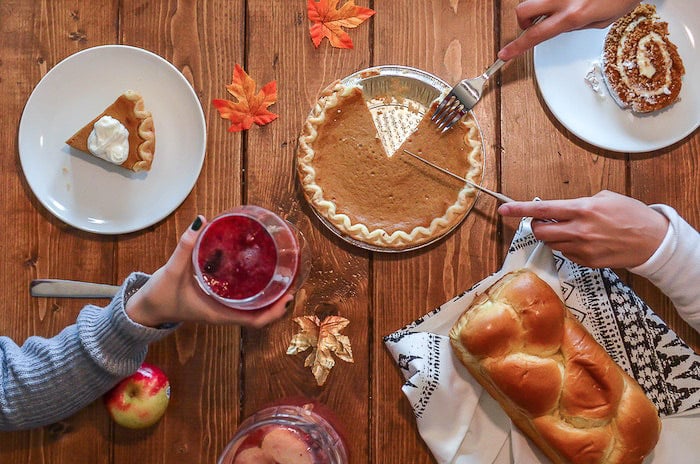
Although shooting food on an angle tends to make it look like it’s sliding down the image, it can work for a tablescape, as seen below.
Think about what will make sense in terms of wider angle shots. Some things will look better photographed up close, like food or detail shots.
Alter your vantage point for more variety and flexibility in how you can approach your subjects.
If you can get high enough above the dinner table, try to shoot the popular bird’s eye view of the dishes on the Thanksgiving table.
Focus on the Details
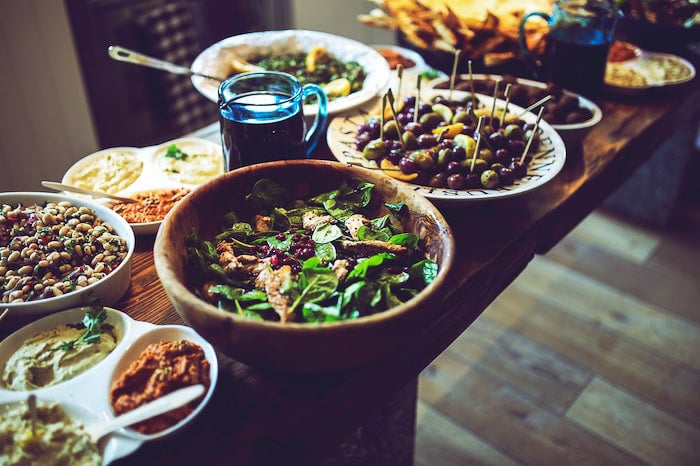
Don’t forget to focus on the details.
This can mean autumnal wreaths and flower arrangements, close-ups of the food, or the wine glasses set on the table.
Having detail shots will balance out wider scenes. It’ll give variety to your collection of images as a whole, which will create a more powerful visual story.
Try Shooting Black and White
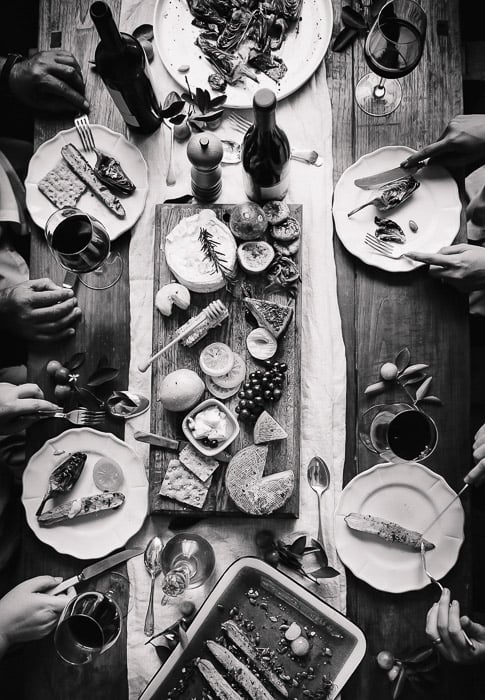 Black and white gives a documentary feel to your Thanksgiving photography images, perfect for those candid photos or detail shots. An excellent option for a series of Thanksgiving photos is to shoot in black & white. Or to convert your image to black & white while editing.
Be sure to boost the texture and contrast when retouching your black and white Thanksgiving images. Avoid over-sharpening them.
Take Candid Shots and Behind-the-Scenes
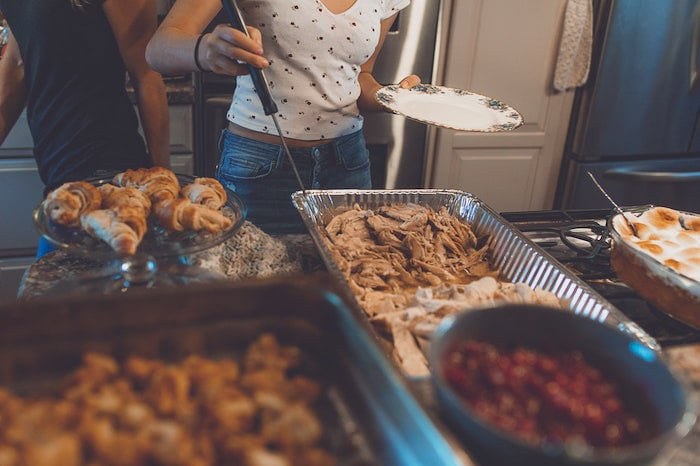
Sometimes the best shots are the ones that capture a candid moment and behind-the-scenes. Think of the goings-on in the kitchen or the host bringing the turkey to the table.
Posed shots can get a bit repetitive and boring. Make sure to document everyone enjoying the festivities without taking notice of your camera. Don’t forget to get shots of the carving of the turkey!
Watch for Distractions
One of the reasons professional photoshoots can take so long is because a great deal of attention is paid to remove distractions.
It’s usually the little things that can make or break a photo. Check the frame for anything or anyone that takes attention away from your main subject.
Make sure everything in the photo is there to support the main idea. Move objects, adjust your angle or crop.
This can mean moving around the elements within a table setting or moving dirty dishes out of the frame in a shot of Grandma making the stuffing.
Focus on the Human Element
The tips in this article are really about making your Thanksgiving photography shoot a lifestyle one.
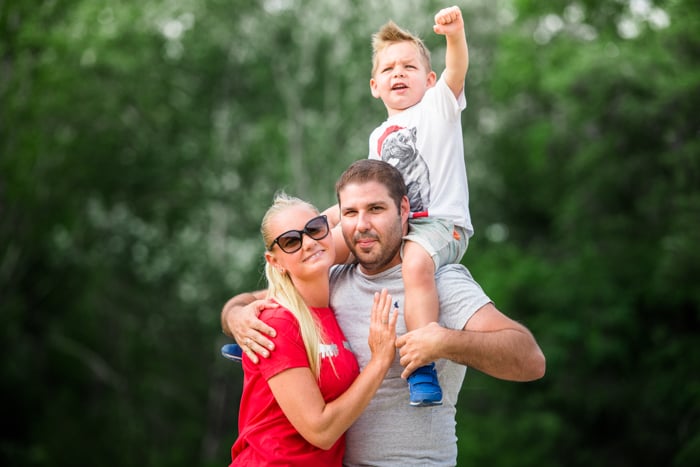
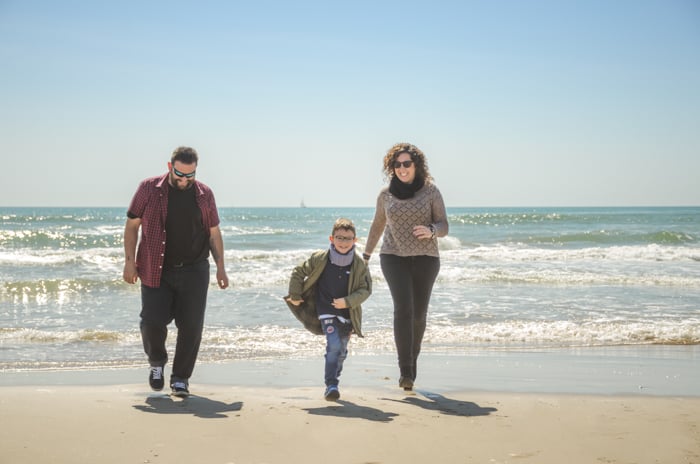
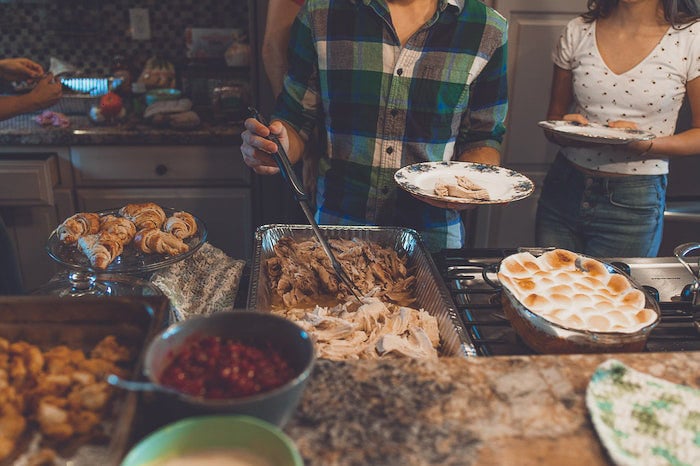
After all, holidays are about people and celebrating special occasions with those you love. You don’t eat Thanksgiving dinner alone. Don’t forget to take lots of pictures with a human element.
This means not only shots of your family members but also their hands as they serve themselves Thanksgiving dinner or are carving that juicy turkey.
Images of people celebrating holidays are popular and sought after on stock sites such as Stocksy and Shutterstock.
Submitting your Thanksgiving images to stock sites can help you make some extra money for your efforts.
If the images contain recognizable people, you’ll have to get your family members to sign a model release. This way, they allow their likeness to appear in pictures licensed to third-parties.
Conclusion
These tips give you a new way to look at your next Thanksgiving holiday. Use this inspiration to document the holidays with a photographer’s eye.
Shoot lots of pictures and take the time to go through them with a thoughtful eye. Put your Thanksgiving photos together to make a visual story.
Printing them in a photo book can make a great gift and will be cherished by your family members for years to come.
Why not check our articles on taking lifestyle portraits or spring photography ideas next!
