Ever wondered how those beautiful travel photographs in magazines came to be? They are usually the result of dedication, persistence and hard work.
But before this, they are the result of endless hours of planning and research. This usually culminates in what is known as a travel photography shot list.
Whatever genre of photography you pursue, you won’t find many photographers who don’t work off a shot list. But what is a travel photography shot list and how can it help you improve your travel images?
A photography shot list is like a brief for the photographer to ensure that they capture the photos they need. This might only be a couple of photos for something like an advertising shoot. Or the shot list could be much lengthier for a wedding or an article.
Sometimes the shot list is provided by the client, in that they ask for certain photos. For example, if an advertising agency wants a photo of a product, they may write exactly the shots they want to get from the photographer. At other times the shot list is created by the photographer following a written brief by the client.
Either way, arguably the biggest benefit of a shot list is for travel photography.

© Dreamstime
A travel photography shot list ensures you cover off everything you need to on a trip. It’s easy to get carried away with the main tourist sights at a location and miss the little things. But it’s those little things that can ensure your collection of travel photos from a location has variety.
It also ensures that you have to think about each scenario before you even leave for the trip. That translates to you being able to manage your time more effectively. It is easy to try and pack in too many things when you are looking to photograph a destination only to find when you are there that you don’t have the time.
A good shot list ensures that you will know exactly where you will be and when and can flag any potential issues.
© Kav Dadfar
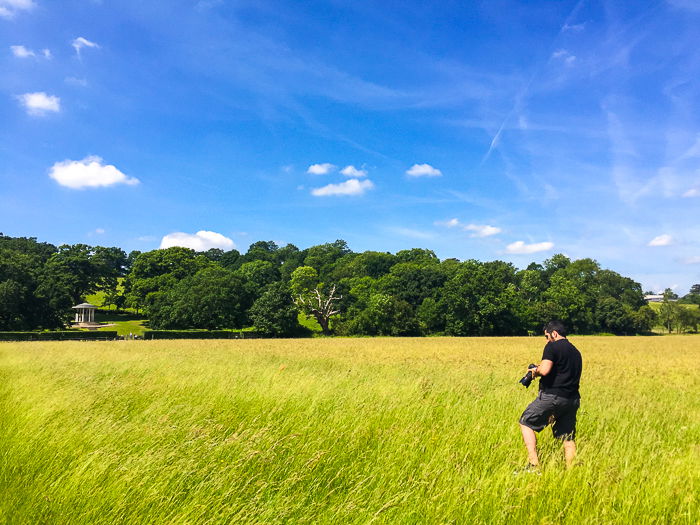
An important thing to always remember about a shot list is that it is not set in stone. Sometimes you will have to adjust and change your shot list on location. It might be that the original view you had planned is now blocked. Or it could be that the overcast sky isn’t going to make your shot look great.
These and more are things that will mean steering away from your shot list. So the key is that whilst you plan and try to keep your shot list as detailed as possible, also be willing to tweak and change things if necessary.
The first step in any travel photography shot list is to research the location thoroughly. Think of it that you need to be the “most informed tourist in town”. Your research should cover things like the famous sights, experiences and also its history. You should try to uncover hidden gems like unusual places, traditions or festivals.
Or is there something unique about that destination? Think of London black taxis or tuk-tuks in Thailand. Anything that will enhance a visitor’s experience should be your list.
That’s not all, you should also look at the geography of the place and work out things like sunrise and sunset times. You need to be aware of the direction of the light and how that will impact your shots. However small the details might be, they could be useful to you.

© Dreamstime
Once you have put together a list of potential photos, it’s time to research what already exists. The purpose of this isn’t for you to copy these images but instead see if you can do better. Can you come up with something different or unique to what already exists?
But also use them as inspiration and to motivate you to capture something better. Go on to any stock shot website and type in where you are planning to go and you will see thousands of photos. Go through them and analyse what works and looks good and what doesn’t.
By the end of this exercise, you should have a better idea of how you want to photograph your destination.

© Dreamstime
There are no hard and fast rules when it comes to a shot list. You can write it in a notebook and tick things off as you go along. Or you can create something in Word or a spreadsheet document. Whatever you choose, make sure you are clear about what you are photographing and when.
This is why a simple spreadsheet might be the best solution. Start by typing the days along the top and the hours of the day along the left. Then begin to populate your list based on the best time to photograph things.
For example, try to set your cityscape shots around sunrise or sunset where you are more likely to encounter dramatic skies. Or try to avoid photographing outdoors in the midday sun. The harsh light will wash things out and make the image look flat. Instead, head to a covered market or a museum.
Whilst plotting your shots into your shot list template, make sure you are also factoring in things like travel times between locations. It will be incredibly tiring and frustrating if you are constantly having to trek across town to your next location. Try to group your shots around a cluster of locations to minimize wasted time traveling.
You will be getting up early and going to bed late. Don’t forget to add in some rest times to avoid burning yourself out. I try to get some rest between midday and 2pm when the light is harshest.

© Kav Dadfar
What your final shot list will look like will depend on where you are going. For example, if you are traveling somewhere for a festival then this will feature on your shot list.
Different places will have different things that you should capture.
It will be your job to find those and make sure they are included in your shot list. Below is a list of possible things to consider adding to your shot list for any destination.
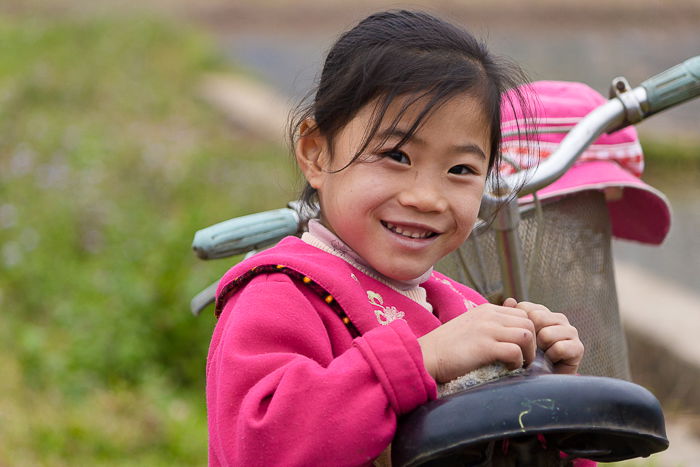
An example of a portrait. © Kav Dadfar
One of the most unique features of any destination is its people. This is something that you should aim to include for any destination. There are two ways that you can capture people. There is the obvious “portrait” photographs which are head and shoulder shots with the emphasis on the person’s face and eyes.
The second is “environmental portraits” which capture the person and their surrounding. These will be wider angle shots that might capture what the person is doing. Try to get a mix of portraits and environmental portraits to give your photos variety.
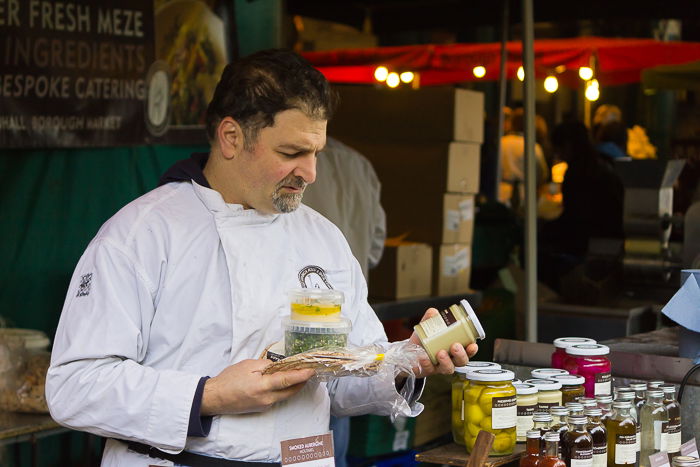
An example of an environmental portrait. © Kav Dadfar
Travel icons, tourist sights, whatever you want to call them, should always feature on any travel photography shot list. Yes they have been photographed millions of times and yes they are busy, but they are tourist sights for a reason.
Do your research on them when you are planning your trip to see if there is a unique way that you can capture them. If not, at least try to capture them in the best light possible.
© Kav Dadfar
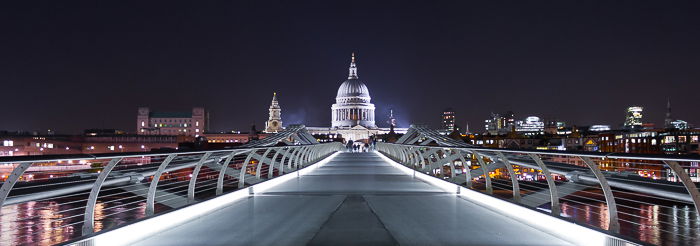
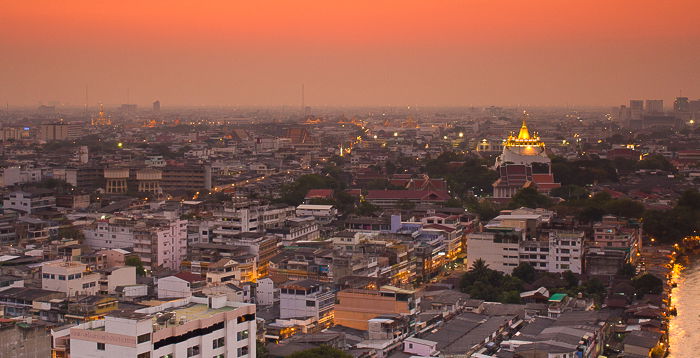
You won’t have to travel far to come across a big cityscape hanging on a wall somewhere. A beautifully lit and composed cityscape can look stunning. These shots should be one of the main ones that you try to capture around sunrise, sunset or the blue hour.
Most cities will have natural lookout points that give a view of the city so finding the right location shouldn’t be difficult.
© Kav Dadfar
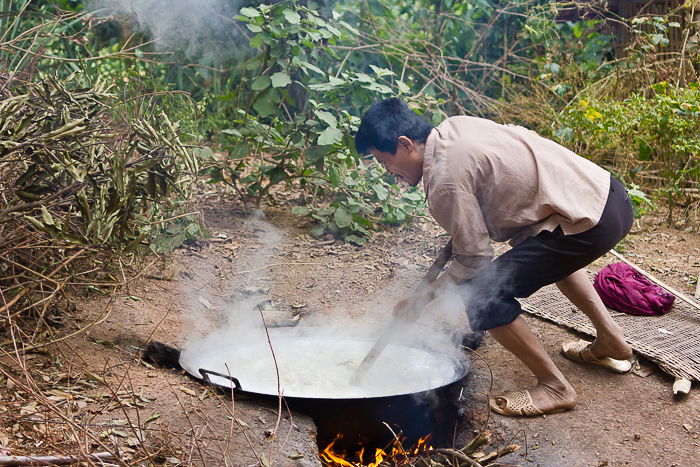
Travel photography should transport the viewer on a journey to that location. To do this well you need to show the viewer things that sometimes tourists miss. Little moments in people’s daily life can look stunning and captivate the viewer. This could be as simple as someone getting on a bus, or a market vendor making a sale.
The key to capturing these shots is to always have your eyes open and be ready as these are fleeting moments.
© Kav Dadfar
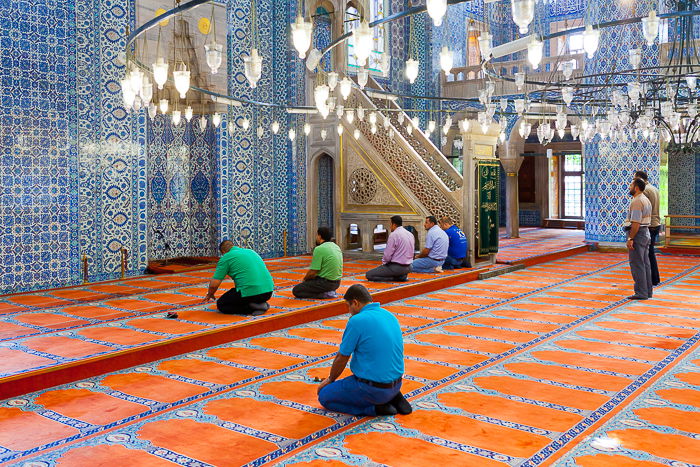
Religion has been a big part of human existence for thousands of years. As such it is integral to travel photography and is something you should try capture in any destination. But it’s important to remember that religious places are sacred and you need to understand and observe the local customs and traditions.
If you are going to be photographing inside religious buildings, turn your flash off, try to stay quiet and out of the way. Keep in mind that some people won’t like having their photo taken when praying. As long as you are respectful and follow the rules you shouldn’t have any problems.
© Kav Dadfar
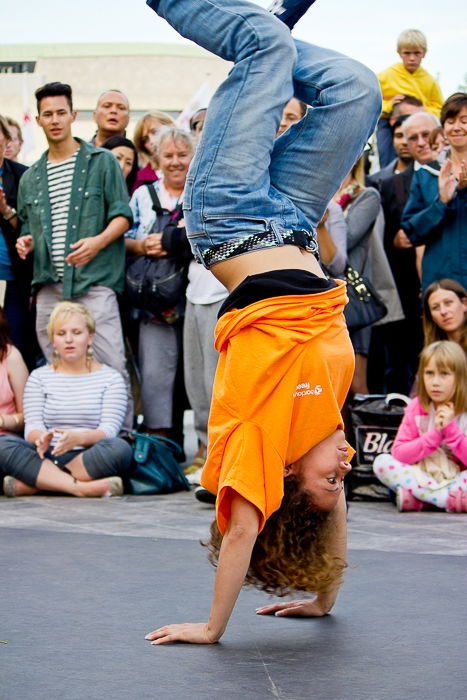
Sometimes nothing inspires travel more than festivals or events. The explosion of color, dance, music, food and even traditions can mean extraordinary photo opportunities. If you are heading to a location where there will be a festival, make sure you do your research.
Plan on where you can be to capture the best photos as it will inevitably be busy. Don’t forget to take plenty of memory cards as the last thing you’ll want, is to run out of space midway through.
© Kav Dadfar
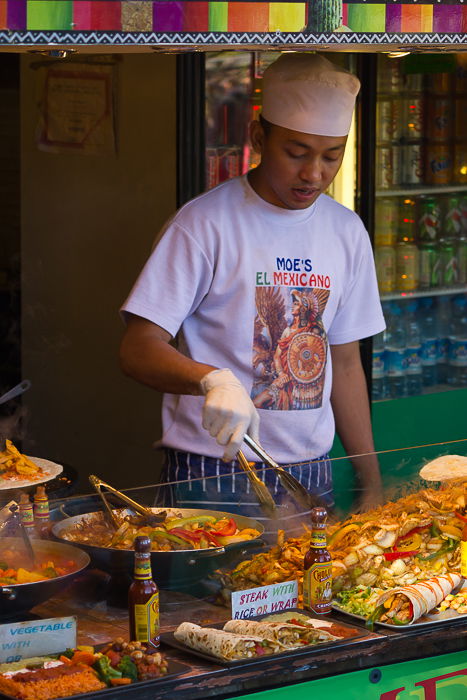
Food is a huge part of the experience of traveling. So it is one of the “must-have” photos in your collection from a destination. Usually, every region will have its own speciality. You should aim to capture as much of it as possible. Try to capture food outside using natural light (cloudy or overcast days are best as you will get an even light across your dish).
If you have to photograph indoors, turn your flash off as it will only ruin the ambience of the place and wash your photos out. Raise your ISO instead of using your flash but only do so as much as you need to. The higher your ISO the more noise will appear in your photos. This will have a negative impact on the sharpness.
Don’t forget to also try and take photos of the preparation of food as well. This is also part of the experience.
© Kav Dadfar
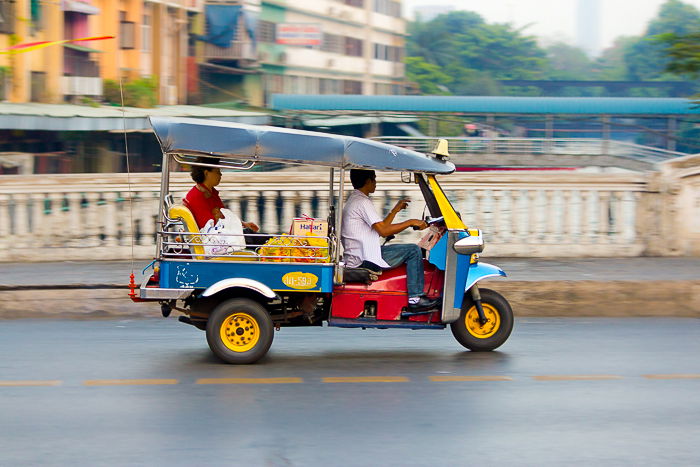
In every part of the world, people have to get around. In some places, it’s with cars, taxis, buses or even bicycles. Other places it might be trams or even a horse and cart. Some modes of transport are unique to that part of the world.
Always be on the lookout for these types of shots that can usually tell an intriguing story about that location.
© Kav Dadfar
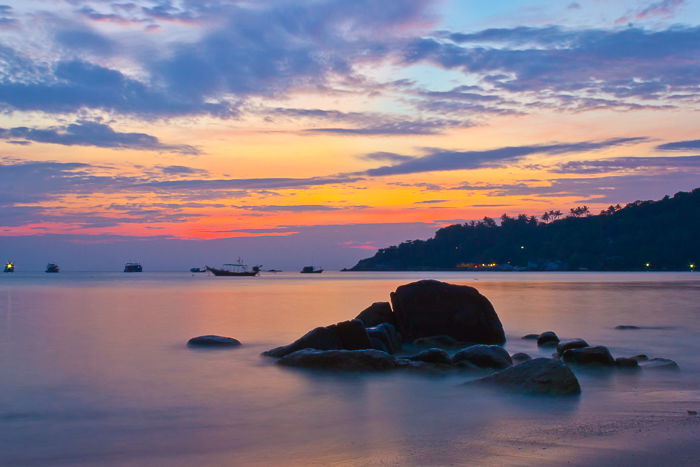
The ultimate sunrise or sunset shot? Travel photographers will plan their shoots so that they spend sunrise or sunset photographing either cityscapes or landscapes. These are usually the “wow” shots that you will see on covers of magazines or as double-page spreads.
You will only have a few attempts at capturing these scenarios (as you will only have a limited number of sunrise and sunsets) so make sure you make the most of them. Plan it well, research the conditions and direction of light, scout your location and arrive in plenty of time.
This will give you the best possible chance of capturing a stunning landscape shot.
© Kav Dadfar
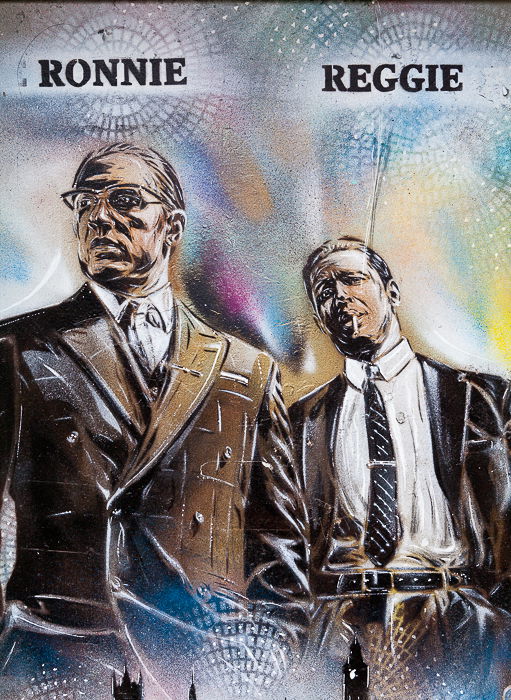
Whilst the “wow” shots get the attention, close-ups can mean the difference between a collection that looks repetitive and one that flows as a travel piece. These types of photos are often referred to as “fillers” by designers. This is because they can be reduced in size and placed in places that may need a small image.
Flick through any magazine article and you will see a few of these dotted around throughout the piece. What you capture will ultimately come down to how observant you are. Always be on the lookout for these small details that might otherwise be missed.
© Kav Dadfar
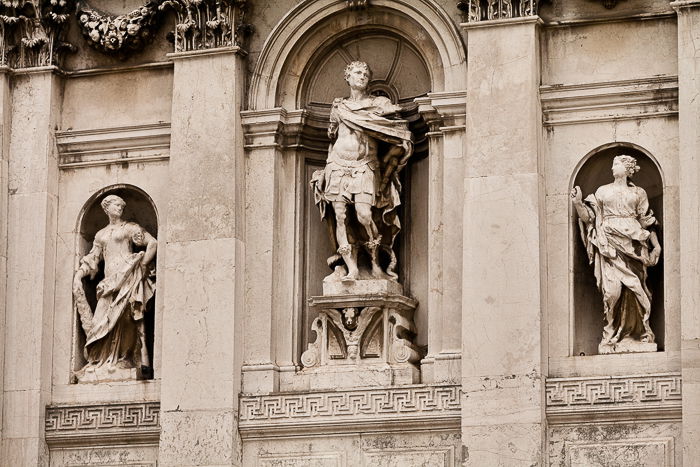
Whether it’s old or new, Gothic or Classical, every place has its own unique style. In most big cities you will find a whole mix of old and new and it is something that is worth looking for and capturing.
Remember that architecture doesn’t have to mean capturing the entire building, it could just be a small section or even a unique view.
© Kav Dadfar
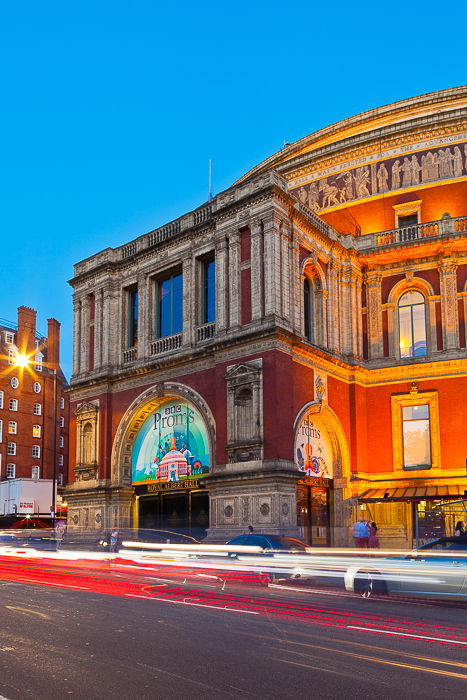
From the blue hour onward, cities seem to transform as night sets in. Lights come on to illuminate the city and sometimes make even the most mundane scene look beautiful. It also gives you photography opportunities like capturing things like light trails. These types of long exposure shots show a whole different side of a city.
The one piece of equipment that you must have with you is a tripod. No matter how steady you think you can hold a camera, you will not be able to capture photos at long exposure times. Night-time shots can show a destination in a different way. So it’s always worthwhile factoring in a few for any trip.
© Kav Dadfar
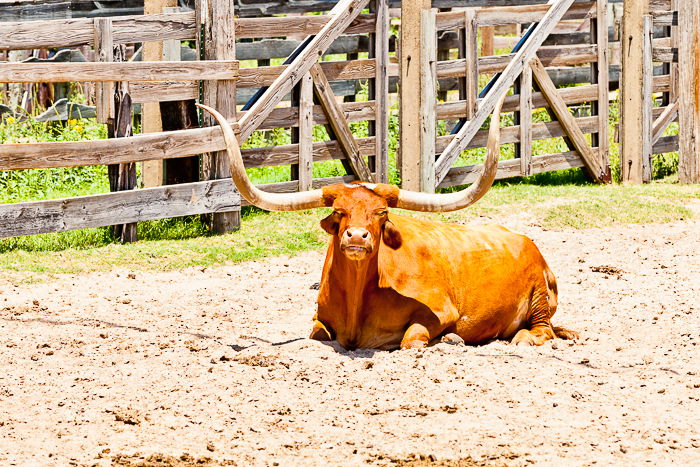
One of the big challenges for a travel photographer is that they have to be able to capture a wide variety of subjects well. Sometimes this means photographing wildlife. This could be anything from domestic wildlife such as farm animals to animals in a zoo.
These shouldn’t cause too many photographic challenges as you will be pretty close to them and will have plenty of time to capture the shot. Make sure you are using a fast enough shutter speed to freeze the action and focus carefully.
But photographing wildlife in its natural habitat is a much more challenging scenario. If you are planning a trip like a safari it would be advisable to learn more about wildlife photography as a specialised topic. Don’t despair if you can’t capture every single shot perfectly as good wildlife photography takes years of practice.
© Kav Dadfar