Today, we will show you how to make a watermark in Photoshop in five minutes. We will go through two Photoshop techniques that give you a range of options to display your branding as a watermark. These options range from subtle to intrusive. That way, you have complete control of how your images are received.
How To Make A Watermark In Photoshop: What Exactly Is A Watermark?
Watermarking is an essential part of digital photography. If you have spent valuable time, effort, and money on achieving beautiful images, then you want to protect them adequately in the digital sphere. Watermarking is one of the simplest ways to display the ownership of your photographs.
Physically, a watermark is a mark on a piece of paper. It is made with different thicknesses of paper or materials that reveal a design when held up to the light. A watermark is often disguised in the document and only seen in certain conditions.
Watermarks are a sign of legitimacy. The most common place you will find them is on banknotes. These watermarks are hard to replicate. So, you can quickly check if the banknotes you have are authentic or not.
In the digital sphere, it is a bit more complicated. Watermarks in digital photography appear as opaque text or a logo over the image. You find these placed subtly in the corner of the image or in the middle, completely interrupting the photograph.
Applying a watermark to your photographs asserts your ownership. It’s almost like a signature. If a person or a company were to steal your image with your watermark, you could claim misuse of your work and possible compensation.

Watermark on a euro banknote
What Are the Advantages of Watermarks?
1. To Protect and Prevent Theft of Your Images
Security is the prime reason for putting watermarks on your images. Photographers want to show off their best pictures without people stealing them. For the same reason, you may notice some photographers upload their photos with the image quality stripped back.
By using a watermark, you can upload high-resolution files with added security. It helps deter others from stealing your images.
Let’s say you are a school photographer or an events photographer. If you send your images to your clients without a watermark, they can save or screenshot your pictures and print them themselves. In this case, ruining the image with a watermark can help ensure this will not happen.
2. To Promote Your Business and Brand
In a job like events photography, watermarks are used as promotion. It doesn’t guarantee sales. But if your images circulate on social media, your business name and information will be easy to find. Therefore, it expands the reach of your business.
Watermark all your images if you have great branding or want to make your name widely recognised! Repetition is a great technique to get people to remember your branding.
Also, if all your images have the same logo or design, people exposed to your photography will recognise it and come to expect the same standard and style of pictures related to your branding.

What Are the Disadvantage of Watermarks?
1. Watermarks Can Ruin an Image
Photographers can be picky about how their images look. They often don’t want to compromise any part of the quality of the picture.
However subtle a watermark can be, a photograph is not viewed the same way with text or a brand logo on top of it. It can be distracting or take away from the photo’s composition.
2. Watermarks Can Be Edited Out
If your watermark is placed subtly in the corner of the photograph, people can easily crop it out and use the picture as they please. It is a bit harder with a logo or text watermark in the center of the image. But people are skilful with the Spot Removal Brush tool in Lightroom and Photoshop.

How to Make a Watermark In Photoshop
Before getting into the editing process, you must decide how invasive you want your watermark to be. This is entirely up to your personal preference. But bolder approaches may be needed in some cases.
Any photography involving portraits is an excellent example of a photograph that may require a more invasive watermark. This tutorial will show you two ways of adding a simple watermark in Photoshop to your images.
If you don’t have a logo, use the Text tool in Photoshop to create a simple one.
How to Add a Simple Logo Watermark in Photoshop
Step 1: Prepare Your Logo
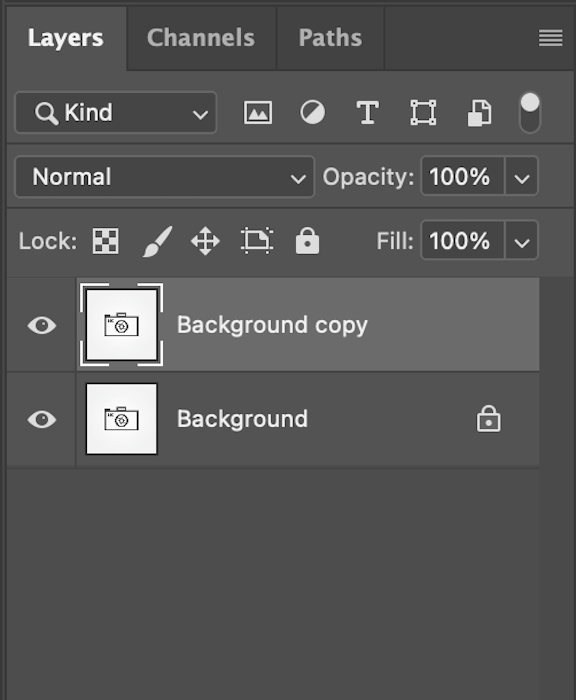
First, open your logo image in Photoshop. If your logo features text only, don’t worry. You can still follow the same process.

Then make a duplicate copy of your background layer.
Next, grab the Magic Wand tool from the left-hand toolbar. 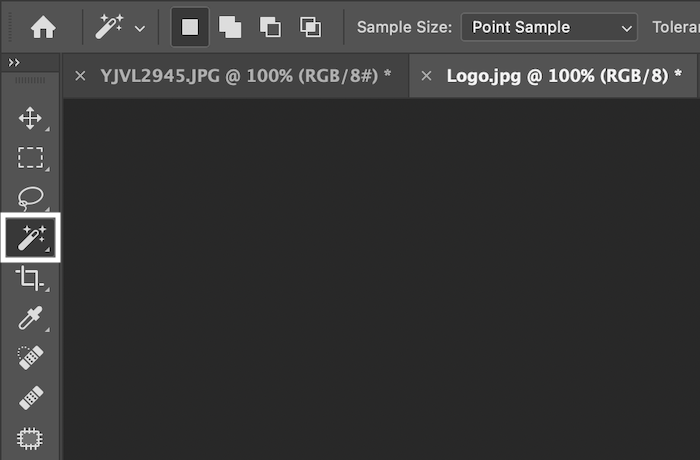
Use the Magic Wand tool to select the white parts of the logo that we want to be transparent.

Use Shift+Click to add selections of any parts inside the logo. When editing text and images, highlight the negative space in the font or graphics. Make sure you get every loop and hole.

When these selections have the ‘marching ants’ around them, press Backspace/Delete. If you hide your bottom layer in the Layers panel, your logo should look similar to this.

Step 2: Apply Your Logo Watermark
Let’s open up the photograph you want to put the watermark on. Next, drag your top watermark layer onto your photo.

This is what it will look like when you have dropped the logo layer (before). Use the Transformation tool (Ctrl/Command+T) to resize your logo layer (after). As this photograph is a portrait, I will cover my entire subject.


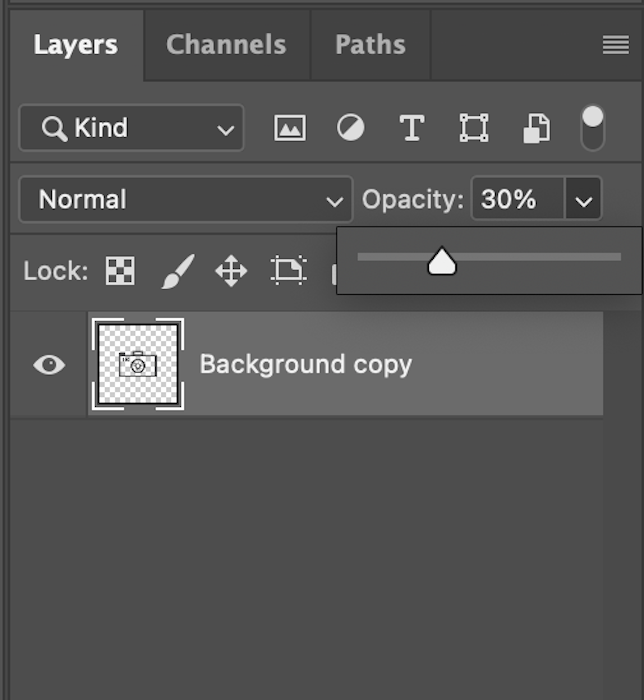
In the Layers panel, go to opacity and reduce it. I changed it to 30%. Adjust opacity to your personal preference.
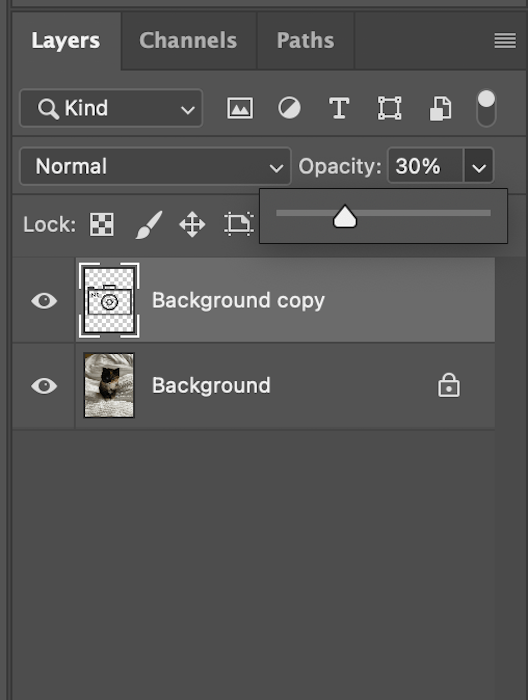
This is what my final image looks like (before). If you want to have the logo layer out of the way of the subject, resize the watermark layer (after).


Step 3: Save Your Transparent Logo
If you are happy with how your logo looks, be sure to delete the original background layer and save your file. This will make your process a whole lot easier in the future.
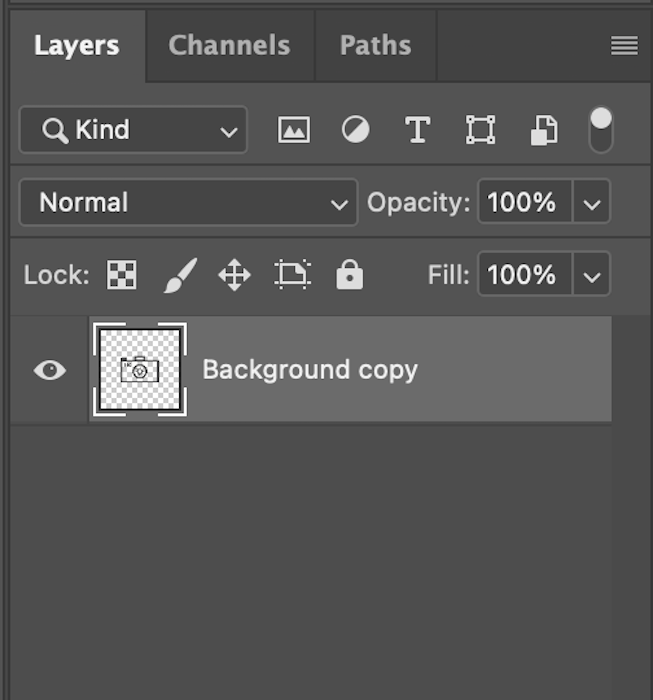
You can only save transparent backgrounds in PNG or a GIF format!

How to Create a Brush Preset to Apply Watermarks in Photoshop
If you are applying watermarks to many images and placing them in different spots, you might want to consider making a custom watermark brush.
A custom watermark brush means you can quickly select the Brush tool and stamp each photo when you finish editing it.
Step 1: Define a Brush Preset
First, you need to complete Step 1 in the ‘How to Add a Simple Logo Watermark’ method. Your logo should have a transparent background and look like this.
Make sure the original background image layer is deleted. Now, reduce the opacity of this layer to 30%.
This is what your image should look like.

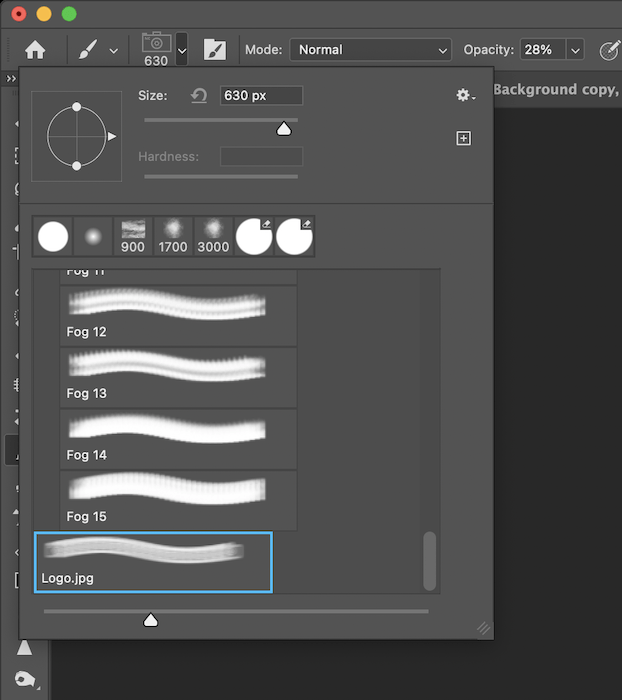
In Photoshop’s top menu, go to Edit > Define Brush Preset. Here, name your new brush.

Step 2: Apply the Watermark
Now, go to your photograph.

Select the Brush Tool from the left-hand toolbar.

Scroll down until you find the watermark brush you created in the Brush Preset picker drop-down box.
Finally, click wherever you want your logo image to be. You can apply this as many times to as many photos you want. Now that your logo watermark is saved as a brush preset in Photoshop, you never have to do this process again!

Conclusion
From these simple steps, you can see it takes a small amount of time to make a watermark in Photoshop. The most important aspect is finding the balance between making your watermark visible and ruining the image. This can be a fine line to navigate.
We hope this tutorial has made it easy to learn how to make a watermark in Photoshop. Creating a watermark in Photoshop can be done quickly. Adding these to your images can help deter anyone who wants to steal your beautiful photos! And if you’re looking for an even simpler way of adding a watermark to your images, check out our review of the best watermark apps!
Try out our Profit from Portraits e-book to find your niche and price your products and services!