When it comes to black and white photography, the editing process can make or break the photo
Luckily, with Lightroom, you have a lot of control over how your photos look. In this tutorial, we’ll show you how to edit black and white photos in Lightroom for maximum impact.
Using Black and White Photos in Lightroom: Comparing Monochrome vs Black-and-White
You may sometimes hear black-and-white photography referred to as ‘monochrome’. Although the terms are often used interchangeably, there is a difference.
Monochrome means ‘one color‘, and it can be any single color in various lightness levels. Meanwhile, B&W photography always refers to shades of grey.
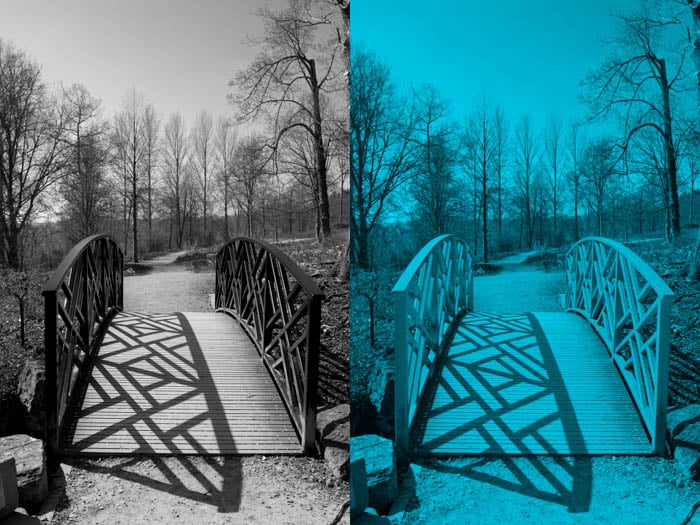
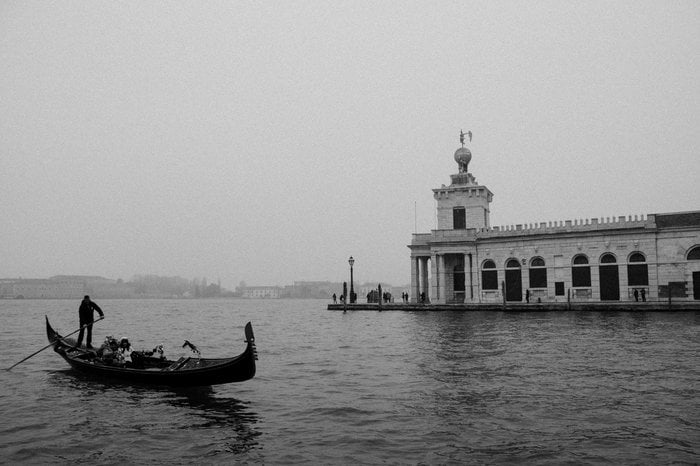
Left: A black-and-white image contains no color so each pixel is a shade of grey. Right: A monochrome image contains just one hue at different brightness levels
Capture the Scene With B&W in Mind
Black and white photography can be considered in two phases. Taking the photo and then post-processing it. This tutorial is about post-processing color images into black and white images.
But a few notes on photo capture and camera settings are worth discussing first.
Start taking a photo with the intention of creating B&W photography. You will think about your subjects in a different way. This will affect both your choice of subject and composition.
If you’ve not taken many black-and-white images before, it can be difficult to visualise a B&W scene at first. This visualisation is much easier if you set up your camera for monochrome.

Use the Monochrome Setting to Visualise Black and White Scenes
When you take any photo, your camera captures the scene in full color. Then it compresses the information into a JPEG. The way raw data is processed to make that JPEG image is determined by many user-defined settings.
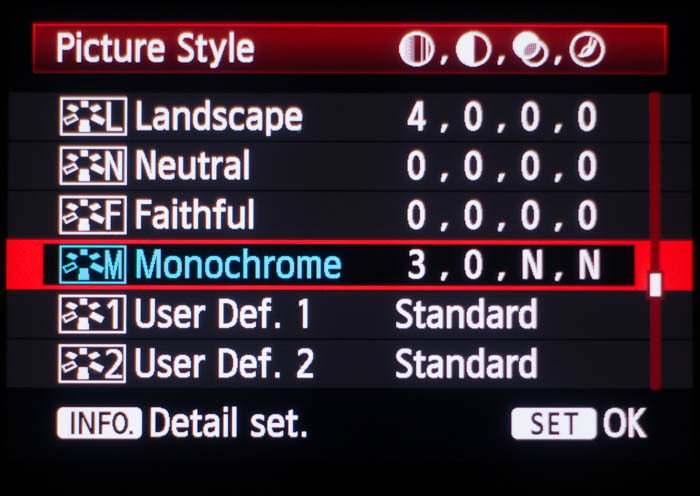
This setting controls how colors are processed. One option you can select is Monochrome, as shown in this Canon Picture Style menu (called Picture Control in Nikon and Picture Profile in Sony cameras).
The Monochrome option can enable novice photographers to shoot in monochrome. This trains your eyes to visualise black and white scenes better.
If your camera is set to only shoot JPEG images, don’t use this option. Your camera will show you the monochrome photo on its screen. And store only a monochrome image on its memory card. This leads to losing all color data that the raw file keeps.
If you can set your camera to shoot RAW, do it. You can take advantage of the monochrome picture style without losing the original color.
Post-Processing for Black and White Images
We talk about ‘converting to black-and-white’. But remember that Adobe Lightroom is a non-destructive editor. You will see the effects of your editing on the color master photo. A true B&W photo won’t be created unless you export your work as a TIFF or JPEG file.
Until then, you can switch between seeing the color or black-and-white versions at any time. When you are in the develop module, simply hit the ‘V’ keyboard shortcut.
To show a black-and-white photo on-screen, Lightroom takes the red, green and blue values for each pixel and calculates a new single value. This is applied to all three to force the pixel to a shade of grey.
There is no single ‘right’ way to calculate this. There are many different conversion algorithms in use. B&W conversions can give different tonal values for the same color in different applications.
You don’t need to spend a huge amount of time perfecting a color image before diving into black-and-white.
You’ll discover that sometimes the settings you select in B&W look horrible in color. Learn to think in B&W while you edit, knowing that all the adjustments are non-destructive.
Basic Desaturation vs Black and White Mix
If you set the saturation slider on the Basic panel all the way to -100%, you’ll get a black and white conversion of sorts. The result will often lack contrast. And you might not even notice the subject anymore.
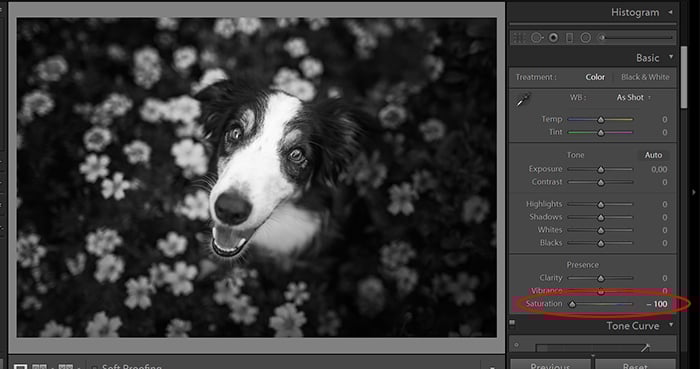
You can get a much better result if instead of setting the saturation slider to -100%, you click the ‘B&W’ button or hit the ‘V’ keyboard shortcut.

Lightroom will show you a black-and-white image that’s very similar to the one you’d get by simple desaturation alone. In other words, it may not look impressive at first. This is where tweaking the colors will come in.
Tweaking Color Contributions
To take control of the contribution of different colors to the final result, open the ‘HSL / Color / B & W’ panel in the Develop module and then click on the ‘B & W’ tab.
This will display a panel of sliders that control how bright the greyscale image renders each underlying color.
As you move a slider to the right, that color will contribute more to the brightness of any pixel featuring it. Sliding to the left will reduce its contribution.
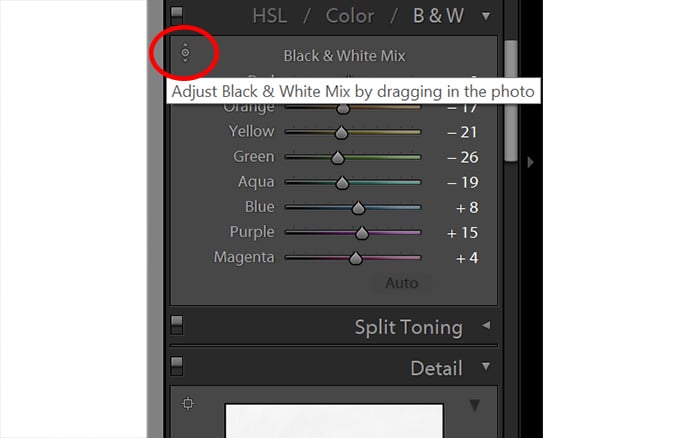
Most colors in the original image won’t fall exactly on just one of these sliders. A much better way is to use the Targeted Adjustment Tool circled above. Using this tool, click and drag over a color whose influence you want to increase (by dragging up) or decrease (by dragging down). This will alter one or multiple sliders at once as you drag.
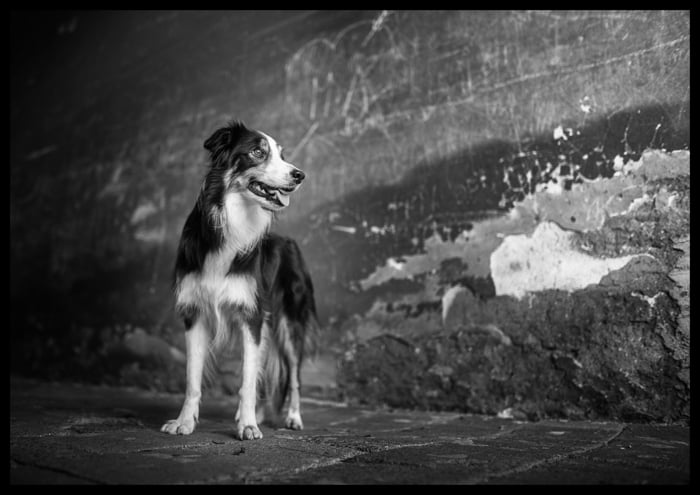
In this case, I clicked on the dog dragging up, followed by clicking on the grass and flowers down. This enhanced the contrast between the dog and the background.
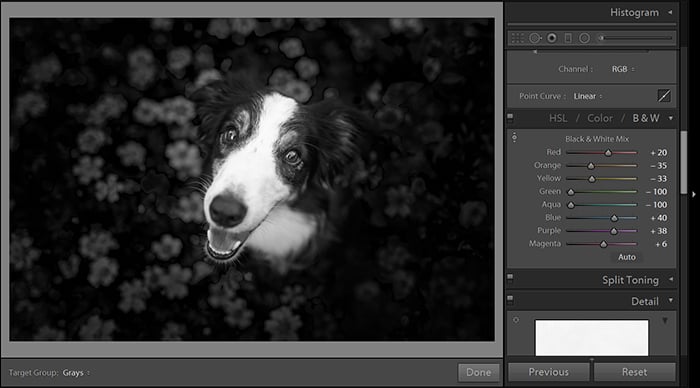
For most B&W work, the aim is to produce an image that has a full range of tones, good contrast and fine details. Black-and-white photos often look best when the darkest pixels are truly black. And it often pays off to adjust the whites, the contrast, and clarity after tweaking the colors.
Applying Borders
You can enhance black-and-white photos with a strong black or white border. In Lightroom, the Effects panel doesn’t have a ‘border’ slider. At this point, you can continue your edit in Photoshop to add any kind of edge. But if you want to use Lightroom only, and you want a solid border, here’s how to do it.
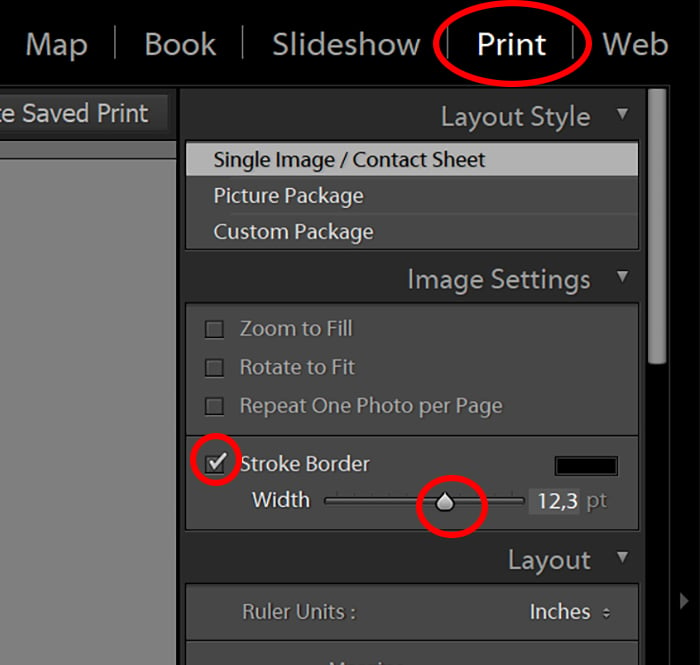
First, make sure you finish all the other adjustments you want to make. Then select the photo in the filmstrip and switch to the Print module.
Open the Image Settings panel and tick the box marked ‘Stroke Border’. Slide the Width slider and click on the small swatch just above and to the right of this slider to select a border color.
Open the ‘Print Job’ panel and change the ‘Print to’ option from ‘Printer’ to ‘JPEG File’. Set the JPEG Quality slider to 100 and then click the ‘Print to File…’ button to select a destination for your image.
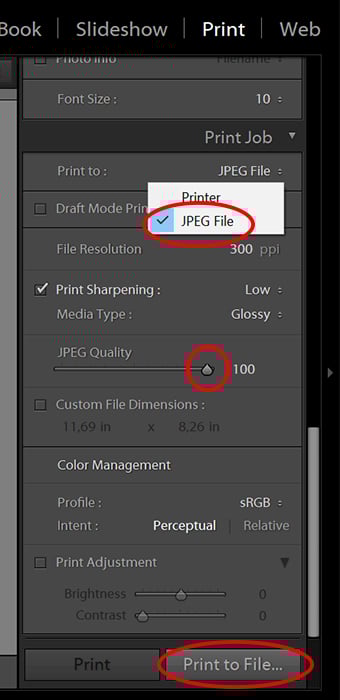
Lightroom will make the JPEG image and save it to your chosen destination. But it won’t automatically add it to your catalog. If you want to be able to find it again easily, don’t forget to re-import it.
Fastest Way of Editing B&W Images In Lightroom
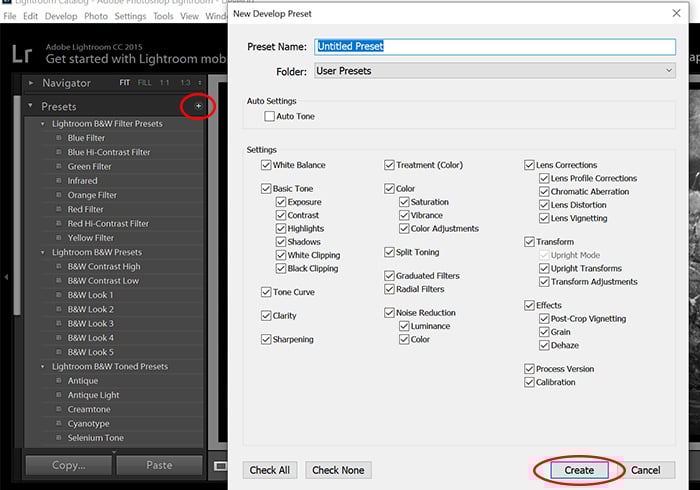
You might have already heard of Lightroom Presets. They are basically a saved set of settings that you can apply to your images with one click.
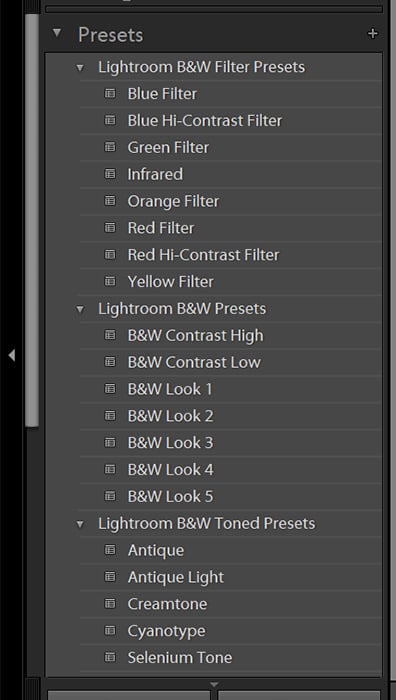
In Lightroom, some black and white presets are automatically available. They are mainly for adding contrast, clarity, and changing different color luminosities. You can find them on the left sidebar under the Presets menu.
However, if you are aiming for a more unique look, you can create your own presets. It is also possible to install free or purchased presets from other photographers and apply them to your pictures.
Presets are great tools for making your workflow faster and more effective. They also add a universal look to your photos, while creating an atmosphere. So don’t be afraid to try various presets and save the ones that suit your style the most.
Conclusion
Editing in Lightroom might seem tricky at first. But with practice and an experimenting attitude, you can improve your skills in no time.
Don’t have Lightroom? Check out our guide on editing B&W in Photoshop, or our best alternatives to Lightroom.
For all you need to know about editing in Lightroom, try our Effortless Editing course!