If you’re looking to add a touch of nostalgia or old-school cool to your photos, then film light leaks are the perfect way to do it. They can give your images an interesting and unique look that digital photos just can’t achieve.
In this tutorial, we’ll show you how to create beautiful film light leaks in your photos using Adobe Photoshop. So if you’re ready to take your photography skills up a notch, keep reading!
Using Film Light Leaks to Enhance Your Photography
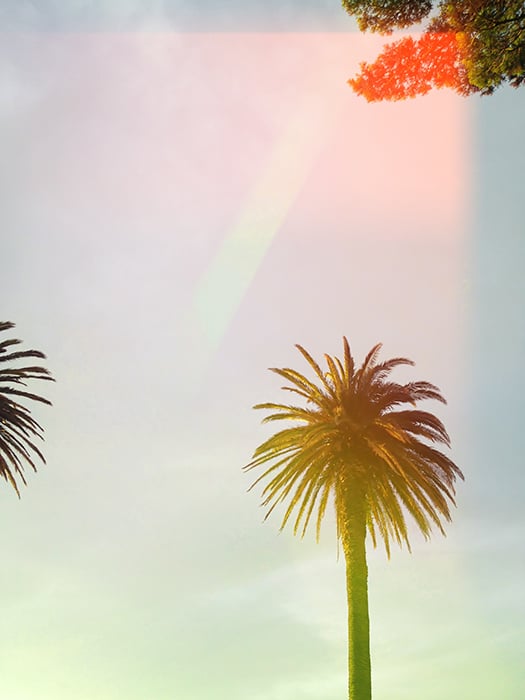
Many film photographers don’t like light leaks because they can ruin photos. If used correctly, however, they can enhance your analog photos.
Light leaks are unpredictable. Even if you’re a professional, you won’t know how your photos will turn out until you develop them. This can help you embrace candid photography and be more open to failure.
Light leaks are also visually appealing. You can enhance a simple photo with a burst of red, orange, or yellow.
You can use light leak techniques in digital photography to create nostalgic photos. In this article, you’ll discover a few manual light leak tricks that you can use in any genre. These can improve even the simplest pictures.
How to Create Beautiful Light Leaks in Film Photography
Use Older Film Cameras for Higher Chances of Creating Stunning Light Leaks
Old film cameras tend to produce old-looking images. This can increase your chances of achieving stunning light leaks. However, if you’re worried about the quality of your photos, you might want to create light leaks manually.
Not every film camera can produce light leaks. Technique plays an important role here. But some cameras are less susceptible to light exposure than others.
Buy a cheap disposable camera. This can be a simple toy camera or something a little more advanced. If it has defects or holes, you might find it easier to create more light leaks in your images.
If you want more control over your images, buy an analog camera with an interchangeable lens. This will help you play around with different apertures and light leak techniques. (More on this later.)
Create Light Leaks by Rewinding Your Film Roll
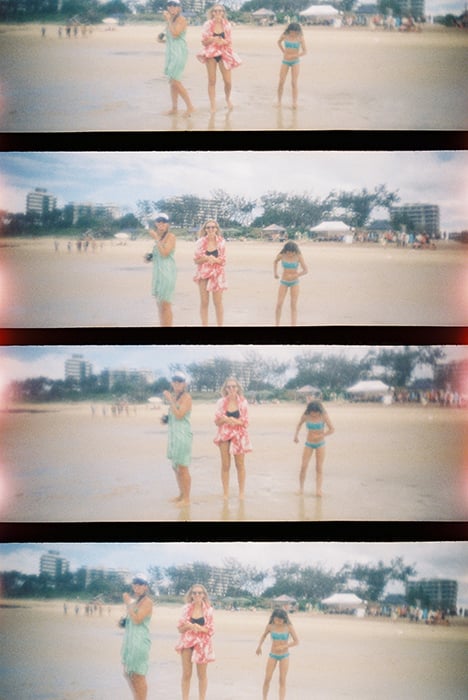
When you’re done taking your photos, rewind your roll and open the back of your camera. Make sure you do this quickly so that your photos don’t end up overexposed. Even a quick light exposure will create stunning light leaks.
It’s likely that you’ll lose a few photos in the process. You might have to try this a few times to get your desired light leak effect.
Intensify Your Light Leaks With Contrast to Make Them Stand out More
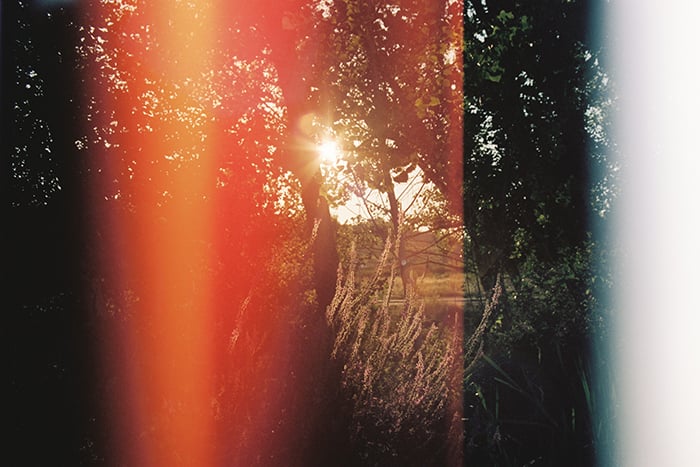
If your light leaks aren’t strong enough, you can intensify them manually in an editing program.
Scan your photos and open them in Photoshop. Select the light leak using the Lasso tool. Click on the adjustment layer icon at the bottom of the layers section and select Selective Color.
Light leaks tend to be red, orange, or yellow. All of these colors are available in Selective Color. You can change the hue and saturation of your light leak without making it look unnatural.
Experiment With Different Cameras and Angles to Get the Perfect Light Leaks
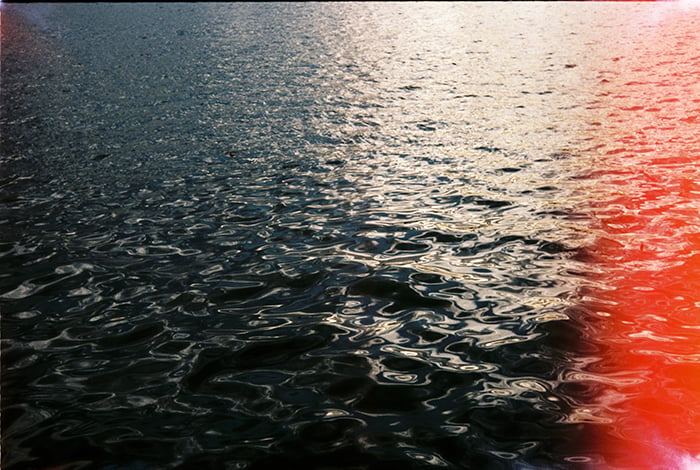
Invest in a few different cameras and lenses. The cheaper the camera, the better! Use different film rolls. Experiment with different kinds of aperture and focus.
This is the most efficient way to get beautiful light leaks. Try to stick to one technique per photoshoot. This will help you find the best approach for your taste.
For example, use a very large aperture for one photoshoot. For your second photoshoot, switch things up. You can use a very small aperture or focus on another technical setting on your camera.
Take note of what you do and notice if this affects the light leaks in your images.
Create Fake Light Leaks Using Blurred Objects
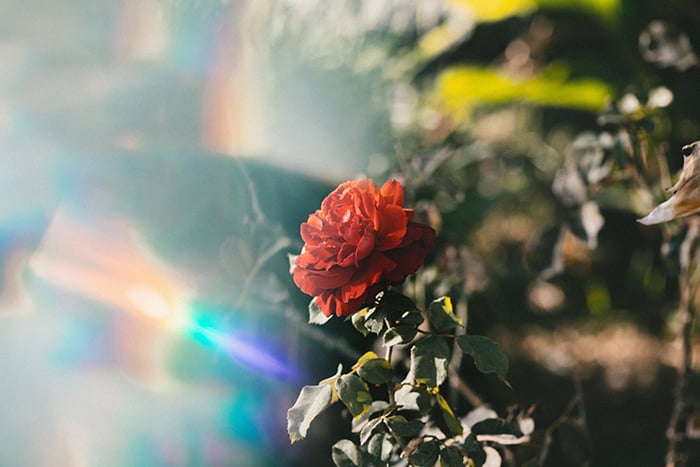
You can also use prisms and light to create a distorted light leak effect. Or try the freelensing technique by slightly detaching your lens from the camera. While your results won’t look completely authentic, the effect could make for some very cool pictures!
Light leaks are aesthetically pleasing to many photographers. This might explain why they’re so popular in digital photography. You can use digital photography techniques to create stunning light leaks of your own.
The key is to create blurred foregrounds that resemble light leaks. You need to use bright objects that are red, yellow, or orange. Your aperture needs to be large so that the foreground can look as blurred as a light leak.
You can use lighters, your finger, or a vibrant piece of cloth.
Make sure you don’t cover your lens completely, especially when you use fire. Hold the object in front of your lens so that it looks like it’s coming from the side. You can use the images in this article as a reference.
How to Prevent Light Leaks Using Cheap Tools
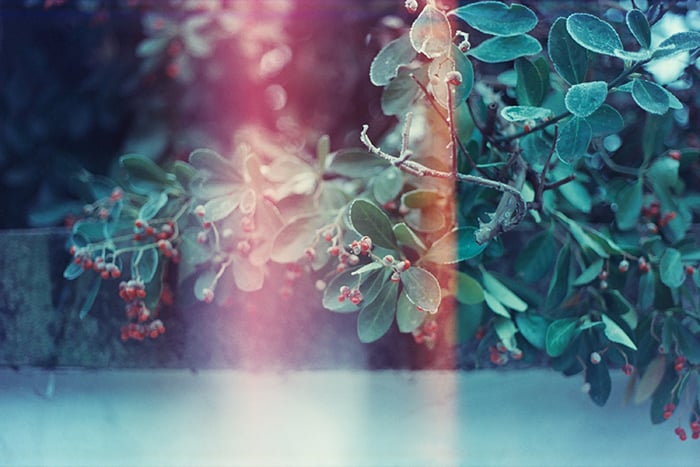
You might not like the way your film camera produces light leaks. You might prefer to create fake light leaks using flames and blurred foregrounds. In this case, you’ll want to prevent any light from hitting your film roll.
It’s likely that the light seal in your film camera is broken. You can replace it with a professional light seal. These are usually very affordable.
You can also use a DIY approach. You’ll need screwdrivers, yarn, cotton swabs, an empty film canister, alcohol, and superglue.
Common Light Leak Questions
What Causes Film Light Leaks?
Light leaks happen when a roll of film is exposed to light. This can happen if there isn’t enough light protection in your camera. Or if you suddenly open the back of your camera after taking a few pictures. Light leaks tend to be orange or red because of this exposure.
How Do Movies Leak from Light?
Modern films use special resources to create light leaks. These light leaks often come in the form of overlays. In videos, light leaks are often used as transitions.
In films, they’re sometimes used to re-create the analog effect. This results in a nostalgic and atmospheric feeling in the movie.
How Do You Do Light Leaks in Photoshop?
All you need is a light leak overlay. Make sure the overlay is a high-quality image with a simple composition. Most light leaks come with easily removable black backgrounds.
Drag the overlay to your image and change the layer mode to Screen. Then adjust the opacity as you see fit.
Conclusion
Light leaks can be a great addition to your film photography portfolio.
Remember to experiment with as many light leak techniques as possible. The more you do this, the closer you’ll get to the perfect light leaks for your photography style.
