How to Use Your Camera’s Live View (Camera Modes)
Your camera’s live view mode is a great way to take photos with more control and accuracy. With it, you can see what the photo will look like before you take it, which can help you get better results.
To use live view mode, simply switch to it from the regular viewing mode. The camera will then show a preview of the photo that will be taken. You can zoom in and out, adjust the focus, and change other settings to get the perfect shot.
Live view mode is especially useful for taking photos of small objects or details, since you can get a closer view and make sure everything is in focus. Give it a try next time you’re shooting something up close!
What Is Camera’s Live View?
Live View is a function that is available on most DSLR cameras these days.
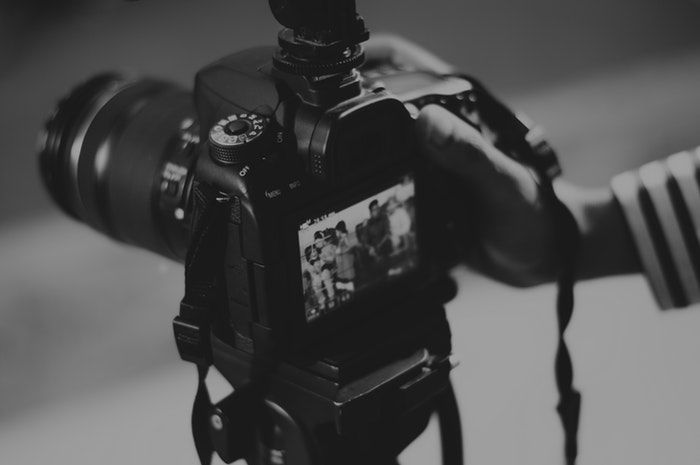
Technically speaking, the Live View function lifts the mirror out of the way and opens the shutter. Light can then pass through to the sensor and be displayed on the camera’s LCD screen in real-time.
Liew View gives you a preview of how your image will look by displaying it on the LCD screen before you’ve pressed the shutter. This allows you to make various adjustments to your image throughout the shooting process.
It can make your workflow more efficient. You won’t have to take a picture to preview it after every adjustment.
When Should I Use Live View?
Live View mode is great, but it’s not perfect in every single situation. It’s most useful when you want to work on your composition. This means it’s perfect for still life photography.
Food and product photographers, for example, use Live View a lot. It’s incredibly helpful to be able to move various elements around on your set and seeing how it influences the composition.
With still life photography, everything has to be perfectly placed, or it becomes noticeable. Even a fraction of an inch can often impact the final result. This is where Live View comes in handy.
However, Live View is also beneficial in other situations. You can use it to find the best composition in Landscape photography and produce macro images that are tack sharp.
What Are the Advantages of Using Live View?
Exposure
One of the biggest learning curves in photography is getting your exposure right.
Your LCD screen doesn’t always give you total accuracy in displaying your exposure. To know if your image is correctly exposed, you need to know how to read a histogram.
The histogram is a graph that graphically maps out the tones in your image mathematically. It shows you where the tones fall and if you’re blowing out your highlights or clipping your shadows. For a properly exposed image, both your highlights and shadows need to fall within an acceptable range.
You can view your histogram while in Live View, as well as your EXIF data and composition grids. This will help you make adjustments as you shoot.
Even if your image looks bright on the back of your LCD screen, your histogram will tell you if your camera settings are actually correct.
Sharper Images
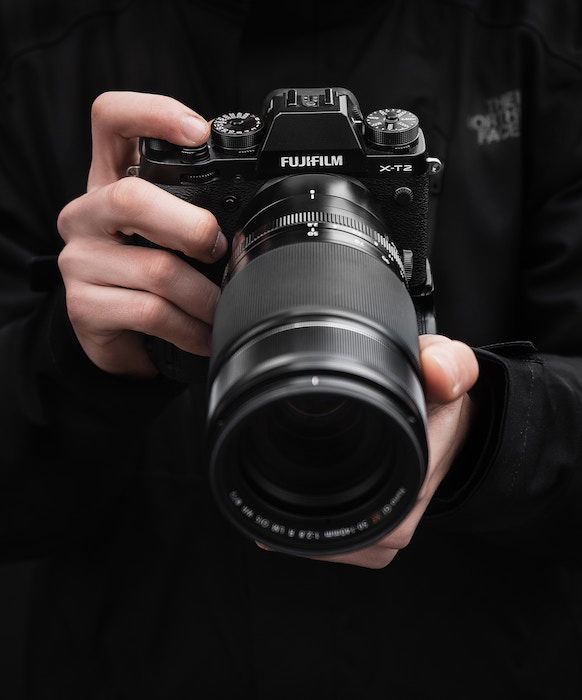
Live View will help you take sharper images.
One of the problems with automatic focusing is that the area of the scene where you want to focus may not fall near one of your focus points. Cheaper cameras don’t have as many focus points as more expensive models.
If your subject is not close to a focus point, you might not get a sharp enough image even if you’re focusing and recomposing
You can see if your image is sharp by enabling Live View and using the Zoom function. You can switch to Manual Focus and get a tack sharp image by using Live View and Zoom together.
Live View can offer 5X to 10X times magnification, which is also really useful for macro shots. By using Live View and Zoom, you can get sharp images of small subjects like insects, and with the desired depth-of-field.
Depth-of-Field Preview
When you press your shutter button, you don’t always know how your depth-of-field is going to look in your picture.
Some cameras have a depth-of-field preview button that will allow you to see what your image will look like by stopping down to the aperture you’ve set.
But you can also do this with Live View.
When you focus on your subject in Live View, it gives you the ability to see the depth-of-field more accurately than you would by looking through the optical viewfinder. This is incredibly useful in macro photography when the depth-of-field can be very thin.
Using Live View can help you make sure your depth-of-field is not too shallow and looks like you want it to.
On some cameras with a touch screen, you can tap on the screen to focus your image like you can on a mobile phone. This feature makes Live View extra useful.
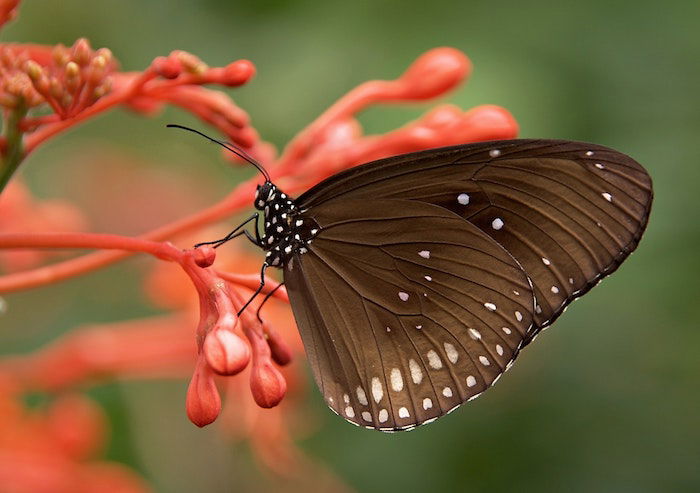
Live View is useful for previewing depth-of-field in macro photography
Grid View and Level View
While Live View is activated, you have the option to use Live View or Level View.
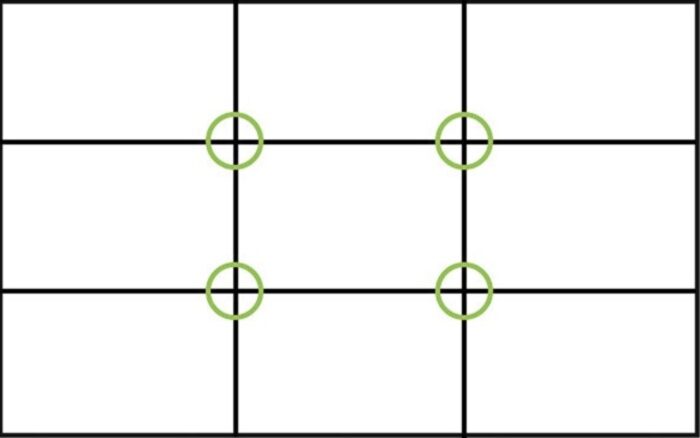
Grid View is available on most (if not all) camera models. It divides your screen into nine equal sections, like a tic-tac-toe board. This allows you to compose your scene using the principle of Rule-of-Thirds. In this guiding principle, images are stronger when the focal point, or main area of interest, falls where these nine lines intersect.
Level View is also referred to as Spirit View, and it’s not available on all cameras. It acts as a spirit level and shows you if your image is straight.
Grid View and Level View are particularly useful in some genres of photography, like product or landscape photography.
What Are the Disadvantages of Using Live View?
There are not a lot of disadvantages to using Live View with your camera, but there are a couple. DSLR’s come with tons of functions and settings these days, but not every single one is going be to be useful in every situation — no one function is perfect.
Noise
One of the main disadvantages of using Live View depends on the camera you have. On cheaper models, Live View might not display your scene optimally. The LCD screen quality is not high enough. There can be a lot of noise on the screen that will distract you from what you’re seeing.
Live View is a function that needs light to work. This means that it works as long as you have enough light hitting a sensor. As soon as you start losing light due to the time of day, it gets harder to see what’s on your screen. When you don’t have enough light, Live View becomes almost useless.
Moving Objects
The biggest advantages to using Live View are the ability to tweak your exposure and fine-tune your focus and depth-of-field.
In scenarios where you have moving objects, this is not useful. Scenes that include moving cars or people or sports photography are some examples.
Live View Drains the Battery
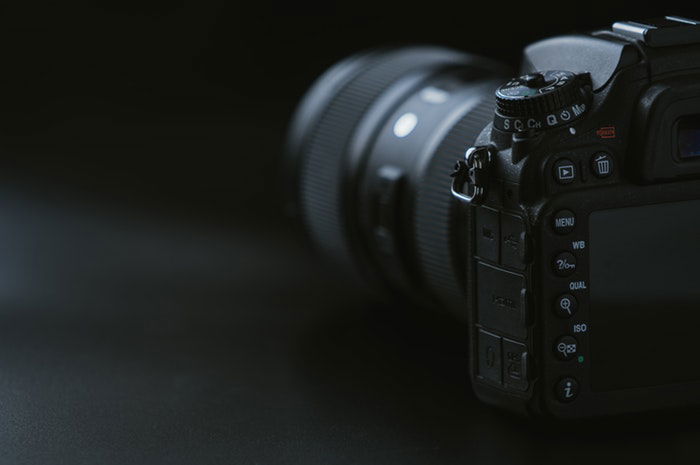
Another negative consequence is that Live View eats up the power of your battery very quickly. This means that you have to have several extra batteries on hand.
If you find that you enjoy Live View and use it a lot, don’t forget to have a surplus of rechargeable batteries ready. And turn your camera off when you’re not using it. This little habit will go a long way in preserving the life of your battery.
Common Live View Questions
What Is the Live View on a Camera?
Live View is a function on many DSLR cameras that allows you to see what your image will look like in real-time by displaying a preview on the back of your LCD screen.
What Is Live View on a Canon Camera?
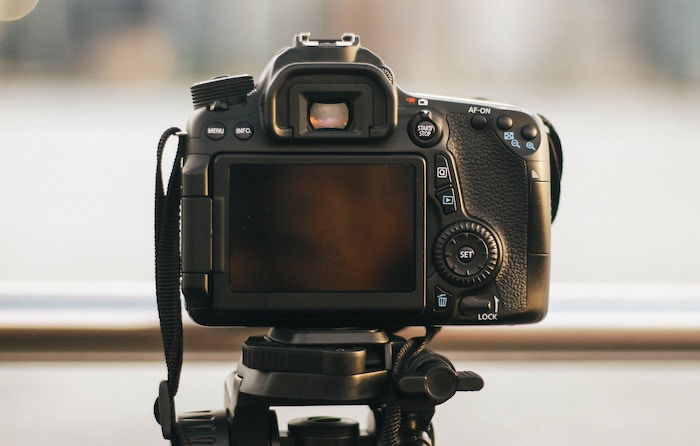
Liew View can be accessed through a button located on the back or top of the camera, or through the menu on most Canon models. This mode can help you by displaying a preview of what your image on your LCD screen.
How Do I Use Live View?
Every camera manufacturer sets up its various modes differently. Live view can usually be accessed through the menu, or via a button on the back or top of the camera itself.
How Do I Turn on My Canon Live View?
Check the instruction manual for your specific DSLR camera to find the location of the Live View function. Most Canon cameras have a Live View button somewhere on the camera body to help you access it quickly, rather than necessitating that you shuffle through the menu.
Conclusion
A lot of photographers forego the Live View mode on their cameras because they’re just used to using the optical viewfinder.
However, the Live View function can be handy in a lot of situations. If you’ve been struggling to get your exposure right or to compose a scene to make it look like you want it, try this useful function on your DSLR. You might find that it helps you quickly improve your photography. It just might become your best friend.
