A photo series is a group of photographs connected by a theme, subject, visual approach, or story. The connection matters more than the number of pictures: a pair of portraits can form a series, just as a project photographed over several years can.
You don’t need a chronological storyline to make one. You could compare doorways in your neighborhood, follow your pet as it grows, or photograph the same view in changing light. Below, we explain how to make the images work together and share 13 photo series ideas you can try.
What Is a Photo Series?
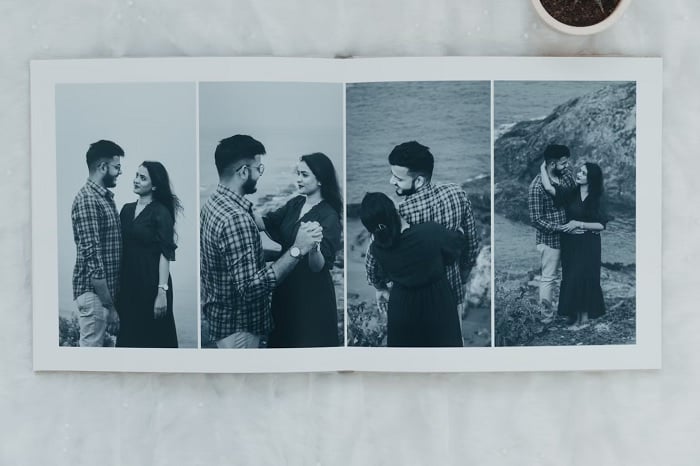
A photo series brings connected photographs together so viewers can see a relationship between them. That relationship might be a recurring object, a shared place, a technique, or a sequence of events.
For a narrative series, the order can show what happened first and what followed. For a thematic series, the images can explore different sides of the same idea without a beginning, middle, and end.
For example, Bernd and Hilla Becher’s Water Towers groups photographs of different towers in a grid. The repeated framing lets viewers compare the structures. The connection comes from their similarities and differences, rather than a chronological story.
A photo essay can also follow a narrative or explore a theme, so the terms overlap. Essays often develop a subject or point of view across several images; photojournalism is one use of this approach. You don’t have to make a documentary essay to create a photo series.
There’s no fixed image count. Start with enough photographs to make the connection clear, then remove those that repeat something you’ve already shown. Present them as a set, whether on a wall, across book pages, in an online gallery, or in a collage.
The collage below shows how a simple object can tie a series together. Dora Jokkel photographed a flower in different places around Europe. The locations change, but the recurring flower gives viewers something to follow.
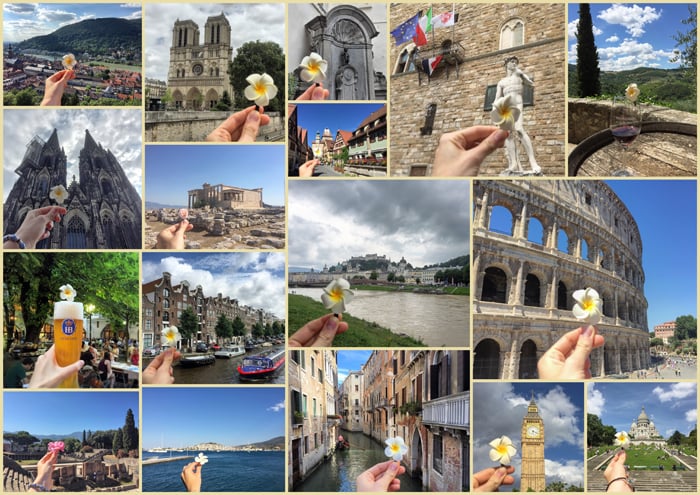
Capturing the flower around Europe. Photo by Dora Jokkel
How to Work on a Photo Series
Choose a project you can explain in one sentence. “The same tree in four seasons” gives you a clearer shooting task than “nature.” Then decide what should stay consistent and what you want to change.
- Choose the connection. Pick a subject, question, or visual element that each photograph will contribute to. If you want to tell stories, plan the key moments; if you want a comparison, plan what each image should reveal.
- Set a manageable scope. Try one afternoon, one street, or a small set of portraits before committing to a year-long project.
- Shoot for the set. Leave room for discoveries, but check whether each new photograph belongs. A detail may add something that another wide view does not.
- Select and sequence. Look at the pictures together. Remove near-duplicates and try different orders. Use chronology when it helps, or arrange by color, shape, contrast, or mood.
- Edit and present deliberately. Similar color and contrast can help images feel connected. Presets can be a starting point, but adjust each photograph rather than forcing the same settings onto every scene. A collage, grid, or sequence of separate prints can suit different projects.
Matching every image is optional. A deliberate change in style can be part of the idea; the viewer should still be able to understand the connection.
You can also collaborate on double-exposure portraits, combining your pictures with a collaborator’s textures. Agree on how to use each other’s images. For inspiration, look through the projects of famous photographers and notice what connects their pictures.
13 Photo Series Ideas to Inspire You
Choose an idea that fits the time, subjects, and equipment you already have. Each project below gives you a way to connect the photographs, so you can start shooting with a clear purpose.
1. Tell One Story with Two Photos
Start simple with two photographs. A diptych presents a pair together, either as separate images side by side or as one of your collages.
Try photographing a table before and after a meal, or pairing a portrait with an object that matters to the person. For a comparison, photograph two doors with the same framing but different colors. Ask what the second photograph adds to the first.
You can create a diptych photo series inspired by…
Elements in nature
People’s faces
Contrasting colors in fashion
Unusual architecture designs
Positive and negative emotions
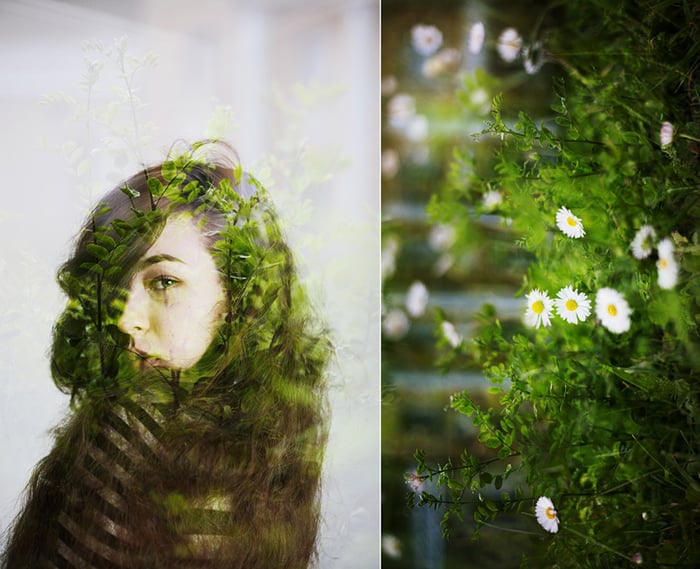
If the photos in your diptych don’t complement each other, don’t delete your composition immediately. Try to create a double exposure, rotate your photos, or play around with textures.
2. Explore Duality with Double Exposure
Double exposure combines two exposures in one image. On film, this means exposing the same frame twice. With digital photography, some cameras have a multiple-exposure mode; you can also create the effect in photo editing software that supports layers and blending.
For a series, make several double-exposure images around the same idea. One combined image is a single photograph, rather than a series by itself.
You could pair portraits with places that are important to each person, or overlay plants with buildings to explore nature and the built environment. Choose a repeatable approach to framing and blending, then vary the subjects. Both source images should contribute to the idea, even if one is more prominent.
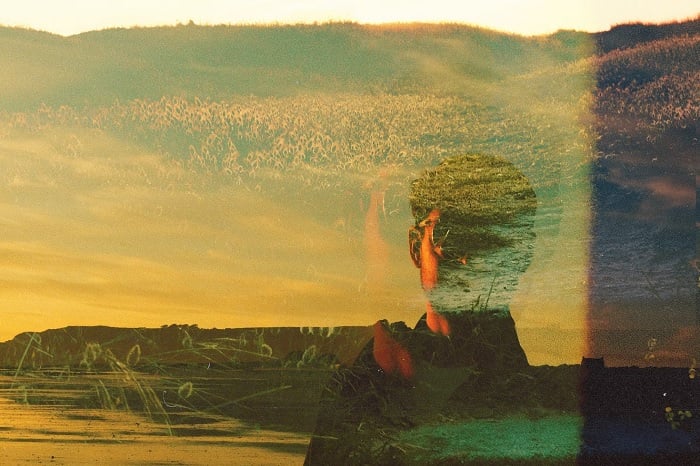
Double Exposure by Luke Moss
3. Capture the Same Location
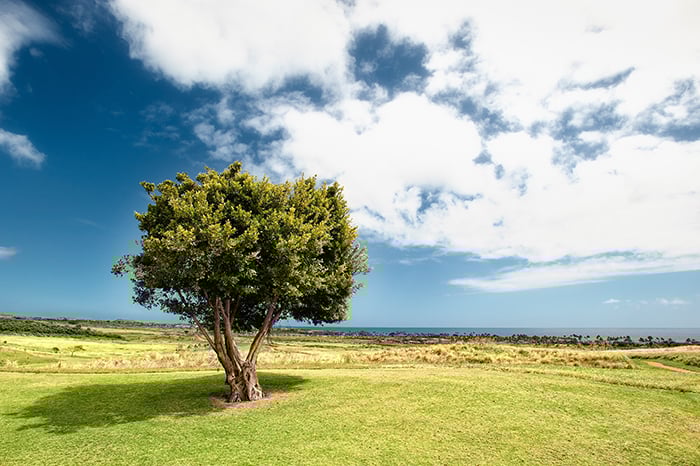
Photograph the same location at different times. Start with a view you can easily revisit: a tree outside your window, a town square, or a stretch of shoreline.
For a one-day project, compare morning, midday, and evening light. For a longer project, return each month to show changes in weather, foliage, or activity. A longer timespan is useful when it reveals a change you want to show; it doesn’t automatically make the series better.
Record your camera position, height, focal length, and framing so you can repeat the view. A fixed viewpoint helps the viewer notice what changes within the scene. Choose exposure settings for the light on each visit rather than keeping unsuitable settings just for consistency.
If you shoot a regular sequence of frames, you can also use them to make a time-lapse video.
4. Use Portraits for Character Studies
Portrait photography gives you two useful starting points: photograph one person in several situations, or photograph several people with a connection.
For one subject, show how their surroundings change: at home, at work, and in a favorite place. For a group, try members of a sports team, residents of one street, or people who share a craft. Ask each person the same question and use their answer to guide a portrait or short caption.
You might keep the crop and background similar so viewers compare expressions. Or show different surroundings to reveal more about each person. Choose the approach that serves the project.
Nicholas Nixon’s The Brown Sisters provides an example of a repeated group portrait: the sisters agreed to an annual photograph and kept the same left-to-right order. You can also study other portrait photographers for different ways to connect a set.
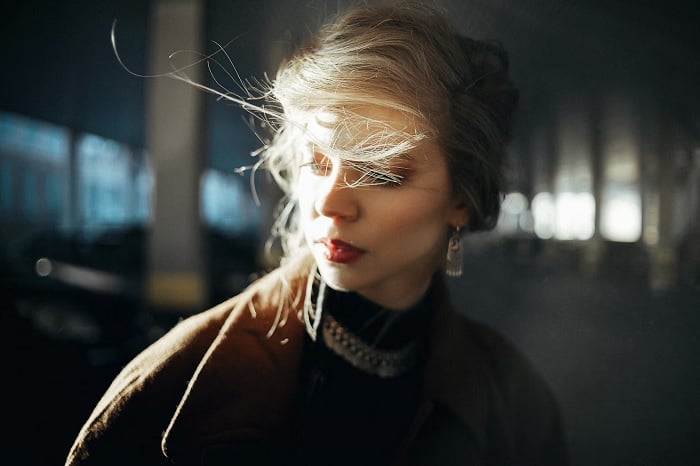
© Andrey Zvyagintsev
5. Use Self-Portraits for a Personal Series
Don’t worry if you can’t find anyone to pose for you. You can be your own model and create a photo series using self-portraits.
Choose one aspect of yourself to explore. Photograph the roles you take on during a day, create a small cast of fictional characters, or return to the same pose as your surroundings change.
For a short project, make three portraits in the same room using different clothes, gestures, or props. Keep enough of the setting consistent for viewers to notice the changes. Look at the work of self-portrait photographers for ideas beyond a daily selfie.
A tripod and a self-timer or compatible remote let you set the frame before stepping into it. Place an object where you’ll stand to help set focus, then check the first image before continuing.
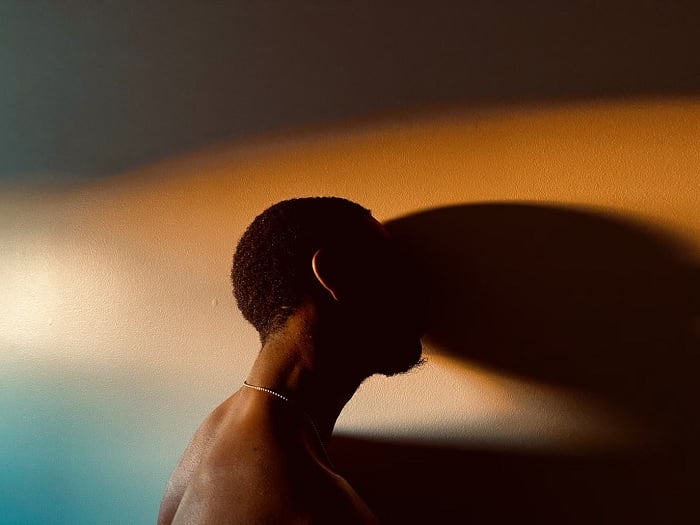
© Manuel the Lensman
6. Document Stages of Your Pet’s Life
Create a photo series around your pet’s growth or routines. Return to the same place every few weeks, such as a favorite chair, or photograph the same activity as your pet gets older.
I started doing this when I got my cat and was amazed by how fun and inspiring the process was!
Keep dates with the photographs so you can put them in order later. Include a wider picture of the surroundings as well as details, such as a paw beside a familiar toy. The repeated object can make changes in size easier to see.
You can use the same approach with children, another family member, or a plant. If you prefer a shorter project, photograph your pet’s routine over one day.

If you like taking self-portraits, document the relationship between yourself and your pet every few weeks.
7. Discover Some Local History
Choose one local place with a past you can investigate: an old factory, a railway station, a market, or a street whose use has changed.
Build the series around a question, such as “What remains of this area’s industrial past?” Photograph the site as it is now, then look for details that help answer it: signs, tools, building materials, or traces of earlier uses.
Speak with residents or local historians and check their accounts against archive or museum records where possible. Captions can explain details that the photograph alone cannot show. If you include historical pictures, identify their source and arrange permission to use them.
The photographs below show an old industrial building in Manresa. A similar project could move from a view of the whole building to details of its windows, machinery, or surroundings.
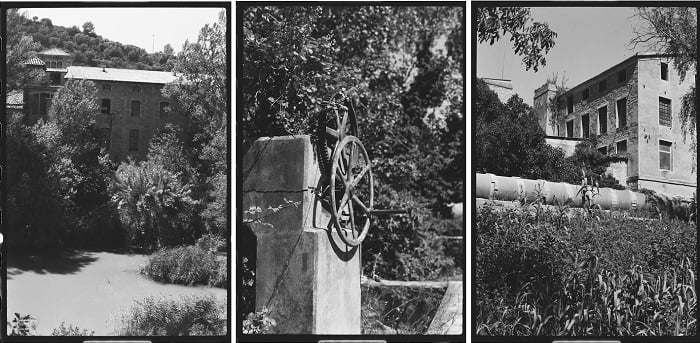
Shot on Adox CHS 100 © Kit Bryan-Smith
8. Do a Macro Photography Study
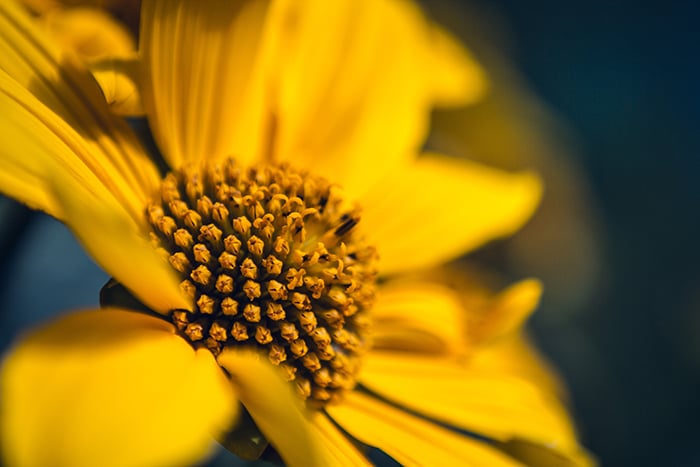
Macro photography lets you make a series from small details. Choose a specific subject, such as the flowers in one garden, textures on fallen leaves, or the worn surfaces of household objects.
Try photographing the same kind of detail in each image: the center of a flower, the edge of a leaf, or the markings on a seed. Similar framing makes it easier to compare shapes and textures.
A macro lens is useful for close-up work. Use the equipment you have to test the idea first, and check that the details you want to show are in focus.
Select the images for what they reveal together. A set of different leaf surfaces gives viewers more to compare than several almost identical shots of one leaf.
9. Try Out Conceptual Photography
Conceptual photography starts with an idea you want to express. For a series, choose one theme and give it several visual forms.
For example, you could explore “waiting” through a packed suitcase beside a door, an empty chair, and a person watching a clock. A repeated prop or color can connect the scenes, while each picture adds a different meaning.
You can build the scenes with props or use techniques in our guide to editing photos in Photoshop. Decide whether the effect helps express the idea before adding it.
If you need some inspiration, check out these photographers:
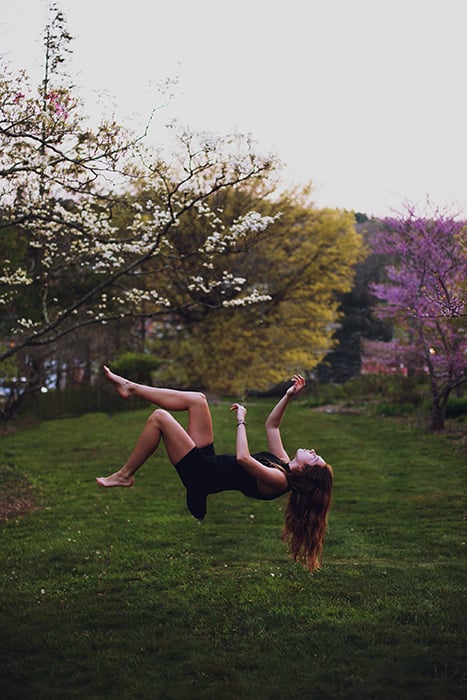
Levitation is a popular technique that can be a great starting point for aspiring conceptual photographers.
10. Go Retro with Analog Photography
Use one roll of film as the boundary for a project. Give the roll a subject before you start: one walk, one room, or one day with a friend.
The number of photographs available depends on your film and camera format. Check your roll rather than assuming every film gives you 24 or 36 pictures. You also need to develop the film before you can review the photographs.
After development, look at the images together and choose those that support your idea. You can display the whole roll if that is the project, but sharing a roll alone doesn’t make unrelated images feel connected.
Try different film stocks across separate projects if you want to compare their appearance. You can work with 35mm film cameras or medium format; neither format is a requirement for a successful series.
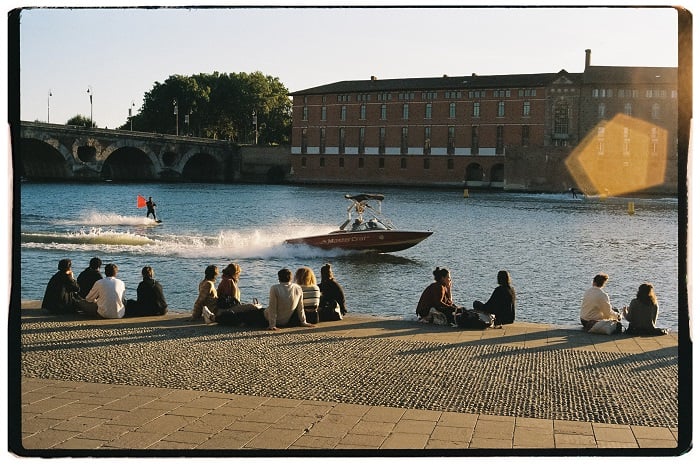
Shot on Lomography Color Negative 400 film © Kit Bryan-Smith
11. Build a Series with Instant Photography
An instant camera gives you physical photographs without sending a roll to a lab. Use those prints to build a set as you go: one portrait of each person at a gathering, a detail from each room in your home, or the same view on different days.
Polaroid and Fujifilm Instax are two options, but their film formats and development times differ. The image is not fully developed as soon as it leaves the camera. Follow the instructions for your film and let it develop before judging the result.
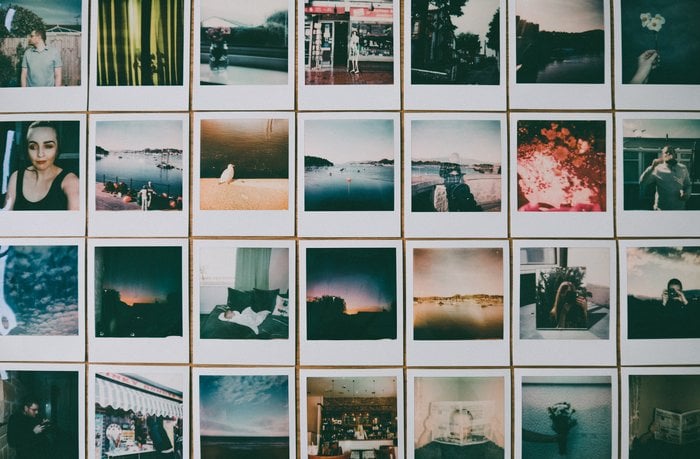
Choose a connection beyond the print border. For example, ask everyone to pose holding an object they use daily, or photograph only details with the same color. Once the prints have developed, arrange them together and try different sequences.
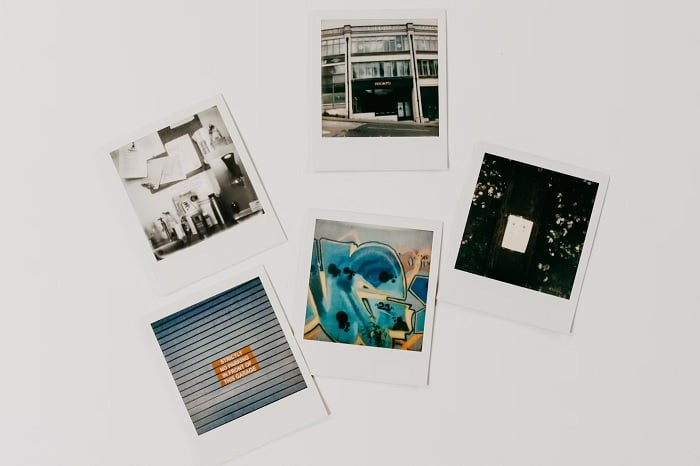
© Nik
12. Watch People at Work
Photograph a person making, practicing, or completing something. A craftsperson’s workshop or a team’s training session can give you a clear subject and a range of pictures.
For a potter, you could show the workspace, hands shaping clay, tools, and the finished piece. For an athlete, photograph preparation, a repeated drill, and a quiet moment after training. Agree on access with the people involved before the session.
Include wide views, portraits, and details when they add different information. If the project follows a process, use the sequence to show its stages. If you’re studying the person’s working environment, arrange the images around that theme instead.
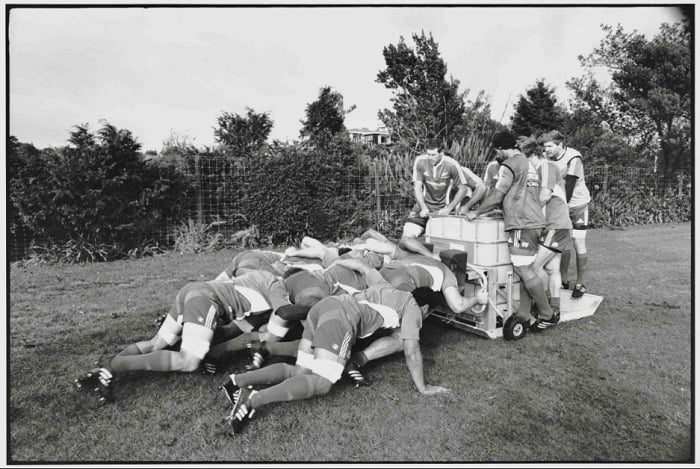
13. Go Somewhere New
Take a day trip to a place you haven’t photographed before. Give yourself a small assignment so you return with a connected set: shopfronts on one street, life beside a river, or traces of a town’s past.
Start with a view that establishes the place, then look for details that support your chosen theme. The photographs from Ripoll below show how several views can build a study of one town.
When you review the trip, choose pictures that work together rather than every memorable sight. If an image doesn’t fit, keep it for another project. You can arrange the final set by the route you took or by recurring shapes and subjects.
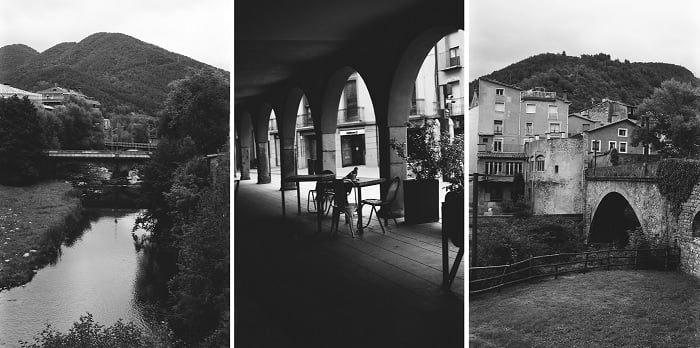
Ripoll, Catalunya on Rollei Retro 400S © Kit Bryan-Smith
Conclusion
A photo series gives you a reason to look beyond one strong image. Start with a subject you can revisit or a simple connection you can photograph today.
Make a small set, view the images together, and ask what each one adds. Your series can tell a story, compare subjects, or explore a technique. The aim is to make the connection clear while giving each photograph a purpose.