Creating a photo book is a great way to show off your favorite photos and memories. Not only that, but it's also a fun project that you can do with friends or family. In this article, we’ll show you how to create your own photo book.

How to Create Your Own Photo Book: Why Should You Make One?
There’s a massive amount of galleries available online. Investing in a photo book might seem like a waste of money.
But photo books are superior to virtual galleries in many ways:
- They’re extremely customizable. Unlike a photo album, you can customize your photo book any way you like. You can add text, create frames around your photos, and organize your collection of images. If you’re efficient, you can create a photo book within an hour or two.
- They’re affordable. Printing hundreds of photos and buying a good album is costly. Many photo book services offer books that cost as little as $10.
- They make fantastic gifts. Photo books are great for friends and family members who want to store their memories in one reliable place.
- They’re perfect for sharing with clients. Some photographers prefer to share their portfolios in books. This helps prevent a variety of Internet-related issues. And it makes you look more professional.
While photo albums will preserve your photos for years to come, they won’t let you customize them in creative ways.
If You Need Extra Help, Use an App or Hire a Designer
Not everyone has enough time, resources, or ideas to create a great photo book.
If you don’t want to spend hours in front of your laptop, you can use your phone instead. Many photo book services offer apps that are just as helpful as their desktop versions.
Photobook: Albums and Prints is an example of this.
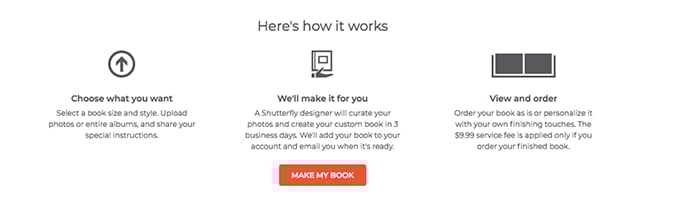
Some websites, like Shutterfly, have designers who will create your photo book within 3 business days for $9.99. All you have to do is upload your photos.
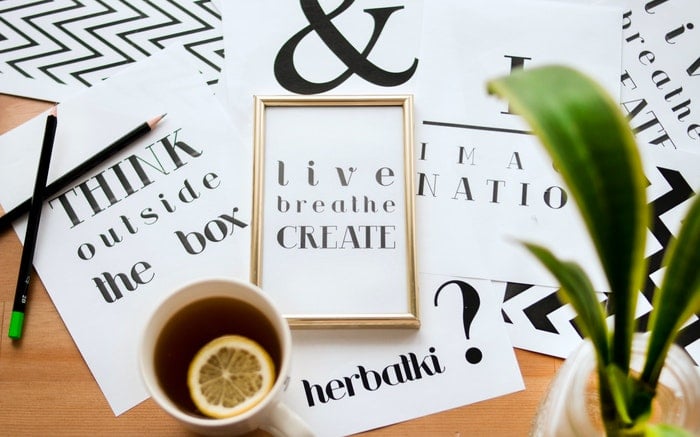
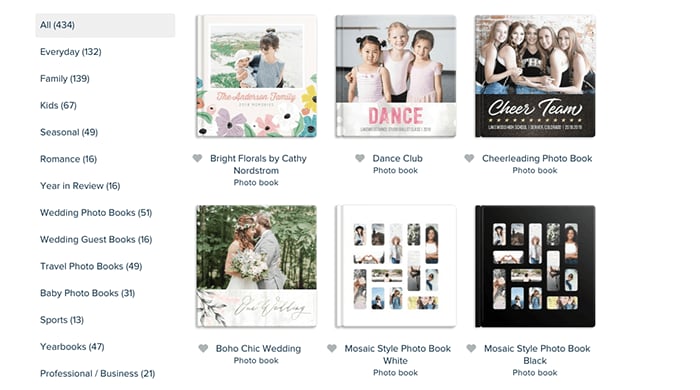
Choose a Theme That Speaks to You
If your photo book has a specific theme, it will look more appealing and interesting. You can create one theme for your entire book or pick different themes for every 10 pages.
It’s important for the themes to be meaningful. A photo book full of random photos isn’t nearly as interesting as one that tells a story.
Here are a few theme ideas if you don’t know where to start:
- Dedicate every 5-10 pages to a specific family member and their hobbies.
- Highlight photos taken over a specific period of time (i.e. pregnancy, children growing up, etc.)
- Use general themes like love, friendship, and adventure.
The best photo books have creative and meaningful themes. If you want to be extra artistic, you can include only b&w, minimalistic, or nature-related photos in your book. There are thousands of possibilities for you to show off your design and composition skills.
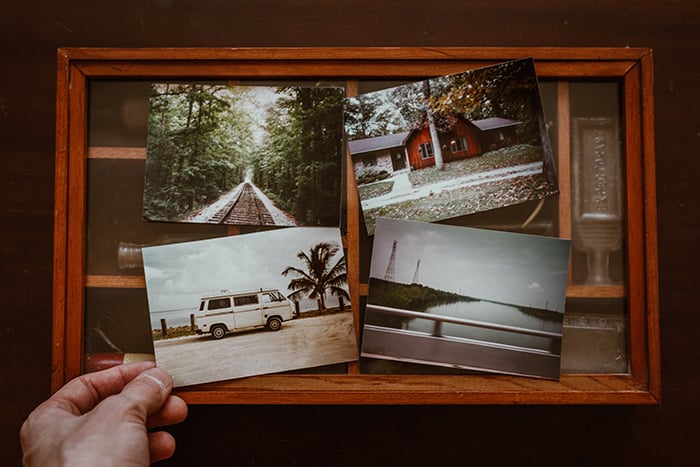
Choose Your Best Photos Only
Once you have a theme in mind, you can start selecting your favorite photos.
Try to avoid having too many photos of the same kind. Use photos with different angles, lighting, and poses. This will make your photo book as diverse as possible.
Keep in mind that for a standard photo book, you can choose around 100 photos.
If you don’t know where to start, you can upload all of your photos to a program like Lightroom. Then you can rate your photos using the numbering system.
This way, you’ll be able to get through hundreds of photos and figure out which ones you like best.
To give your photos even more meaning, add text. Funny stories, quotes, and memories will all help you make the best photo book possible.
Avoid These Kinds of Photos to Ensure That Your Photo Book Looks Great
Not every photo will look amazing in your photo book.
When printed, most photos look a little darker than they do on the screen. Prioritize bright photos over darker ones. You can also brighten your dark photos in an editing program.
Overly grainy photos might also look unappealing when printed on a page.
Similarly, too much sharpness may ruin your image.
When choosing the resolution of your photos, try to keep them as large as possible. Most websites have a maximum and minimum size limit.
The closer you are to the maximum limit, the better your photos will look in your book.
For full-page photos to look great, make sure your photos are of the highest quality possible. This will ensure that you get sent the best photo book you could imagine!
Edit Your Photos to Make Them Look Professional
Most photo book services offer simple editing tools. These may slightly enhance your photos. But they won’t make them stand out.
To ensure that all of your photos look as professional as possible, edit them in your preferred editing program before you upload them anywhere.
Watch out for exposure, contrast, grain, and sharpness. Avoid making your photos too saturated. Most printers have certain color limitations.
You don’t need to spend on hours on your photos to make them look professional. As long as you give them a touch of your own style, be it by brightening them or using a custom preset, they’ll look great in your book.
Store Your Photos in a Separate Folder for Easy Access
Once you edit and upload your photos, you might need to make some corrections. If you’re working with a designer, they might need you to fix a certain color. Or you might have to change the resolution of your images.
To avoid losing your photos, store them in a special folder. This way, you’ll be able to use and edit them whenever you wish.
Choose a Layout That Enhances Your Creative Vision
Now you’re ready to make a photo book with the best photos.
Every photo book website offers a variety of layouts. The one you select will come with custom banners, frames, and spreads.
You can drag your photos to your custom layouts, change their size, and change their position. This is a creative process that can help you express yourself whichever way you like!
There are over 95 themes on Mixbook, which is one of the many photo book companies you can choose from.
Conclusion
Photo books are easy to make, fun to play with, and affordable.
You can use them to add joy to someone’s life, show off your photography skills, or express yourself in a refreshing way.