10 Flash Photography Tips and Cool Techniques
The speedlight (a.k.a. speedlite) is one of the simplest, but most versatile pieces of equipment in photography. It might seem daunting at first, but once you grasp the basics, it’s the perfect tool to step up your lighting game.
So get that flash off your camera and take a look at some creative ways it can help you tell an exciting story.
What is a Speedlight?
A speedlight (or speedlite) is a type of compact camera flash. It produces a powerful burst of light to illuminate your subject.
Canon calls their camera flash Speedlite, while Nikon calls theirs Speedlight. But in essence, both these names refer to the same type of equipment.
You can also use a speedlight to freeze motion using high-speed sync.
High-Speed sync is a technical term that allows a flash to work with fast shutter speeds. And that’s the exact reason why it can freeze motion.
Remember that not every camera flash has high-speed sync. You can only use some of them with fixed shutter speed. So make sure that the option you choose has this feature.
10. Use Your Speedlight as Your Main Light Source
When I was researching lighting options, I had to keep in mind how they were going to affect my on-location shoots. Backdrops for food photography are heavy enough. Everything else should be as lightweight and mobile as possible.
Sure, speedlights do not provide as much light as studio lighting strobes. But you can easily carry them to a variety of locations.
For the most part, the light output from a speedlight is enough for food photography. After all, I often only shoot small plates as opposed to dealing with large sets such as in fashion shoots.
Moreover, a speedlight uses its own source of power. You don’t have to ask for access to sockets. And with the right modifier, a Speedlight can look like natural light.
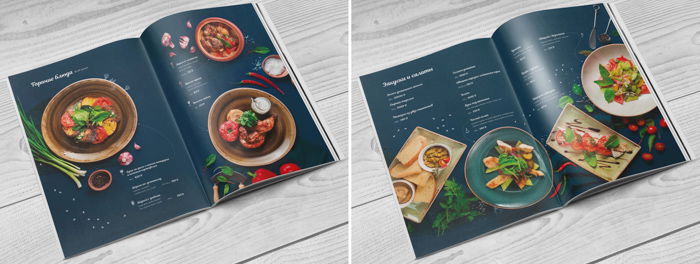
Most of the time, I put my Speedlight behind a large diffuser to get a big soft light source, which works like a window.
If you don’t have a diffuser, soften your light with a piece of white translucent fabric (like a thin sheet) or a big sheet of tracing paper. Or you can also bounce the light from the white wall.
Just remember, the larger the light source, the softer the light.
Of course, we know that a camera flash is small. But using a diffuser makes its light output larger.
9. Illuminate Your Subject at Night
Your Speedlight can be a lifesaver if there’s very little or no available ambient light.
You can use your flash to lift the shadows and reveal details on your subject if they are backlit. It’s especially useful if your main point of interest has their back against a sunset sky.
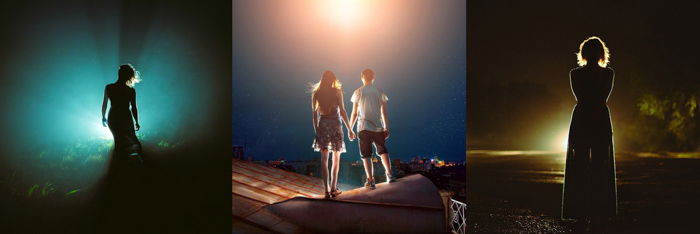
If you want to create a silhouette, speedlighting can help with that, too. To create a glowing outline of your subject, all you have to do is place your camera flash behind it.
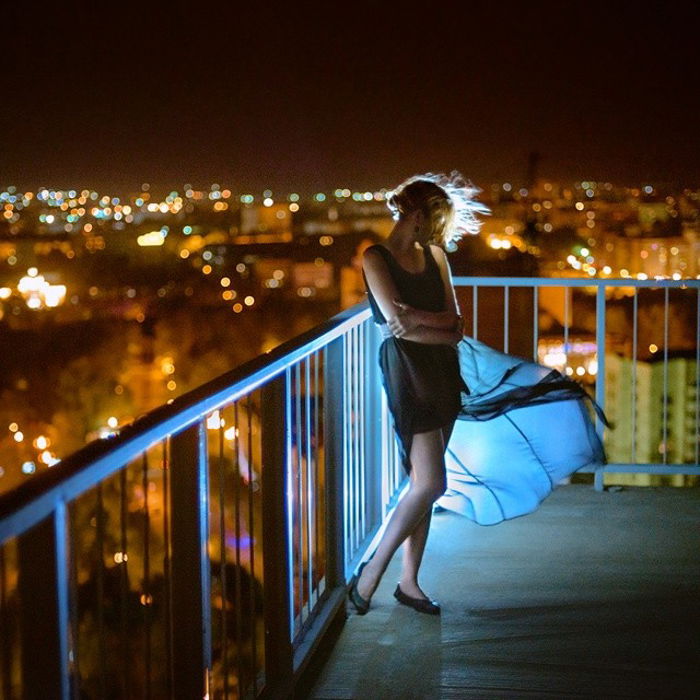
Speed lighting is a great way to create a fascinating night or dusk portraits. In this image by Vasiliy Us, you can see how Marina is standing right in front of a Speedlight. By using a warm gel filter on the flash, he made it look like a regular street light.
In fog, the light from the flash may result in gorgeous shining rays. Don’t be afraid to leave your model in shadows, creating a beautiful glowing silhouette.
8. Use Hard Light to Create Strong Shadows
Speedlights are small. They produce a hard light with dark and pronounced shadows. You can take advantage of this harshness and high contrast.
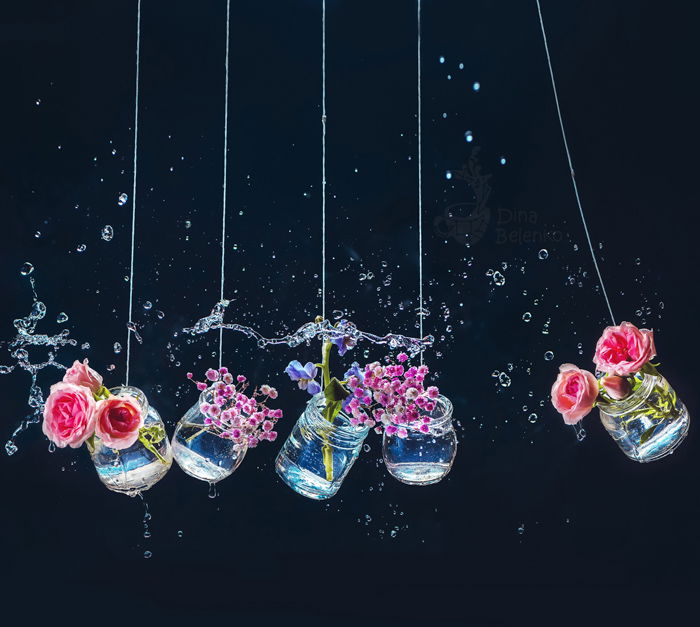
Not every subject looks good with very dark shadows and very bright highlights. But crystals and flowers in glass jars surely do!
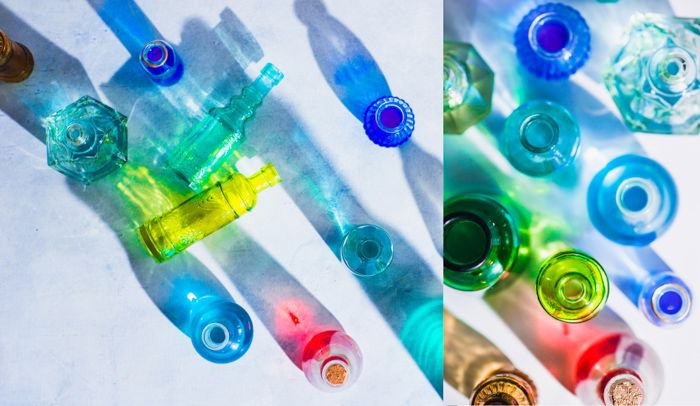
I’m going to talk in detail about still life examples, but if you’re more into portrait photography, using a Speedlight on a grey overcast day. Then you can add some contrast and direction to the lighting and make your subject pop.

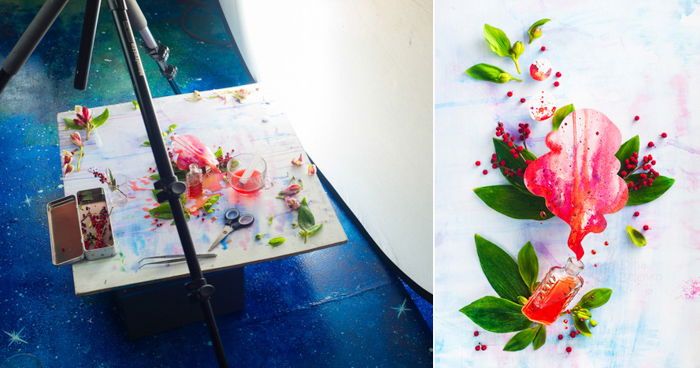
For this shot, I used a Speedlight inside a small strip box, from which I removed a diffusing cloth.
Doing so allowed me to achieve a hard light and, consequently, brighter highlights from glass jars.
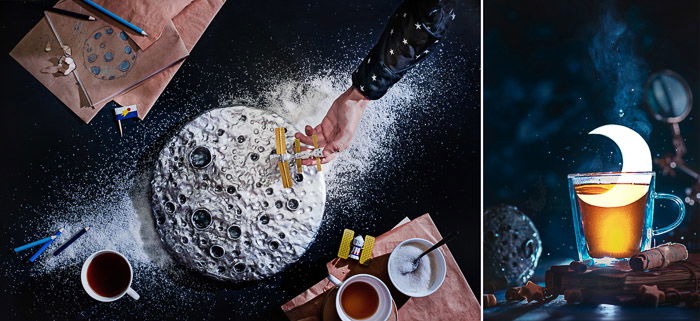
Hard light may be useful when you want to go for an outer space feeling. Take a look at photos from Moon. No atmosphere means no soft light, so the shadows should be very distinct.
I used that to invoke thoughts about outer space in this shot from my Endless Book series.
Using speedlights to get hard light with sharp contrast also useful for revealing texture and making things pop. Look at this pineapple by Eduard Zhukov.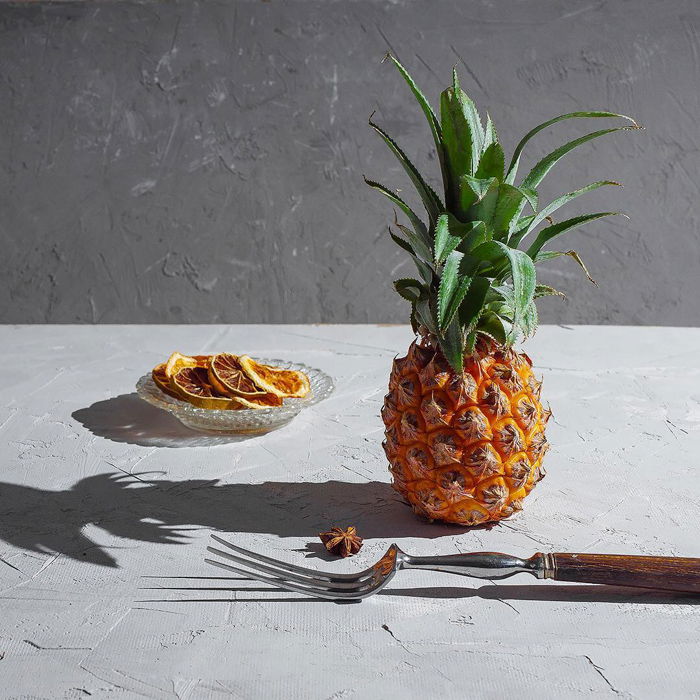
Seeing these sharp shadows instantly makes me want to touch it.
Another thing you can do is to shoot high contrast objects on vibrant backgrounds and create patterns with a slight nod to pop-art aesthetics.
I especially like this example by Eduard Zhukov, because it combines strong texture and vibrant colors.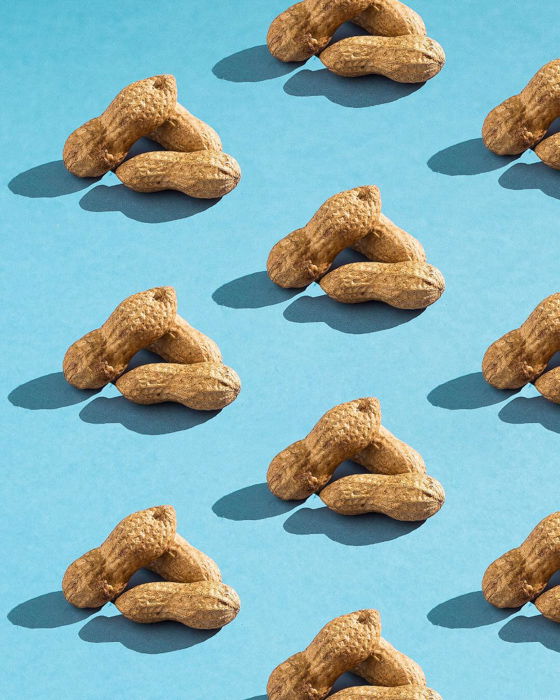
7. Experiment With Backlight
Speedlights are powerful enough to create a blindingly white background, which is excellent for a variety of shots.
First of all, it’s perfect for glass and other transparent objects. Just place your Speedlight behind any kind of diffusing material (white cloth or layout paper). When you trigger the light, you’ll see how your tea of jars with water and flowers become shiny!
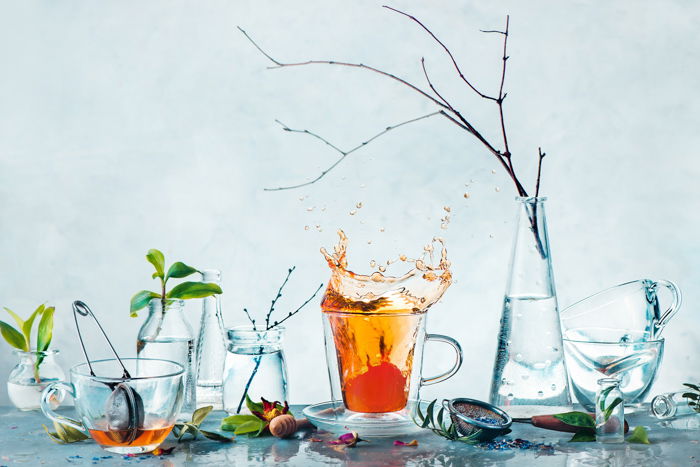
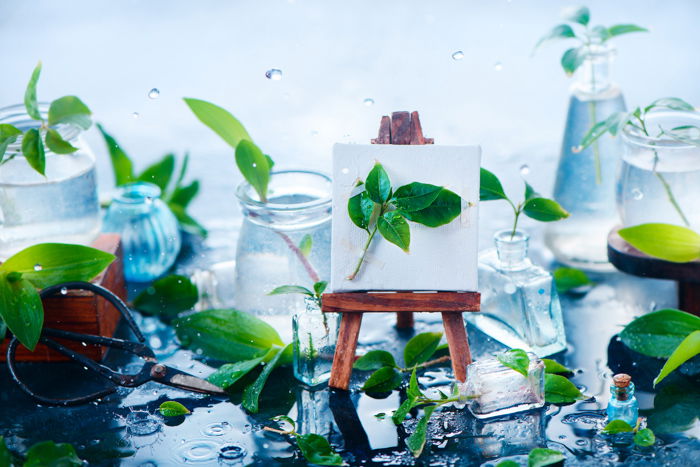
If you place the diffusion panel as I did with the photo below, you can shoot fantastic compositions with rain.
Water droplets glow in this type of lighting. I recreated the mood of April showers or deep autumn by pouring water through the kitchen strainer.
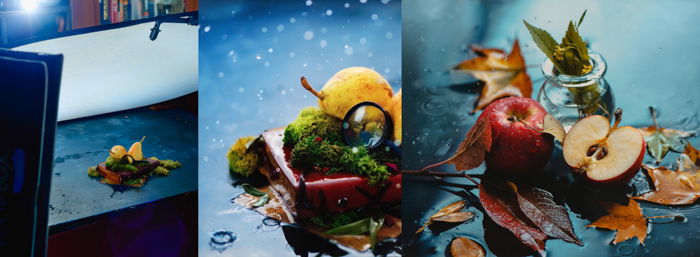
If you increase the power of your speedlights to at least ½, they can give enough light to break through the foliage.
It means that you can create an excellent composition with ‘sunlight’ coming through summer leaves.
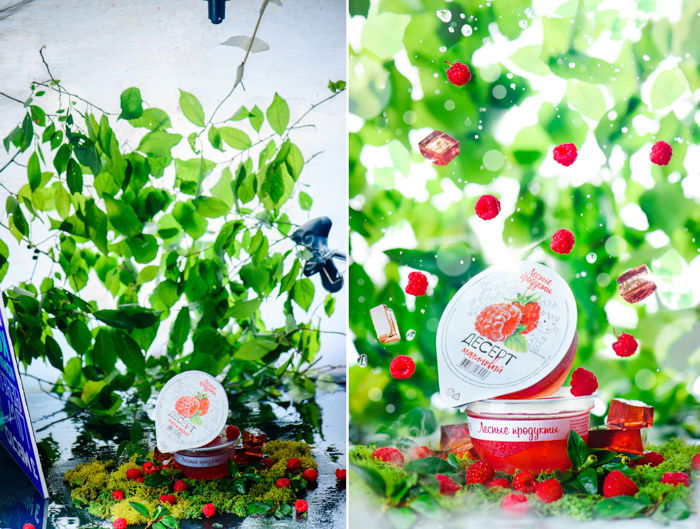
Gather some tree branches with green leaves. Attach them with a transparent adhesive tape to your diffuser covering the entire surface.
Place the camera flash behind the leaves and add a reflector to lift the shadows. It looks great for any tabletop photography where you need to show something as natural or organic.
6. Create Your Own Moon to Shoot Exquisite Portraits
If creating a background of white light was easy enough, you can step it up a bit. Create your own Moon to photograph your model as a fairy tale princess.
All you need to do is to take a large (I’m talking A0 large) sheet of black paper and cut a circle out of it. After that, fix this paper on a diffuser at the height of your model’s head and shoulders.
Place the Speedlight behind your Moon. Voila!
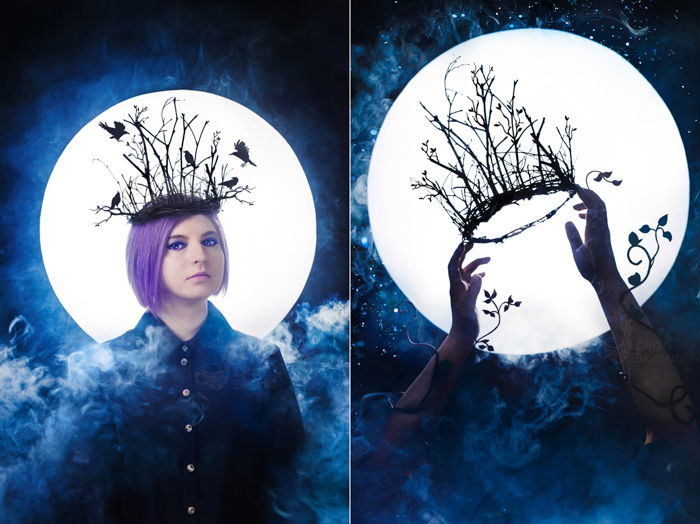
When shooting images like these, it may be helpful to have some additional props like a twig crown or a witch make-up.
But nude photography as black silhouettes against a shining moon also works perfectly.
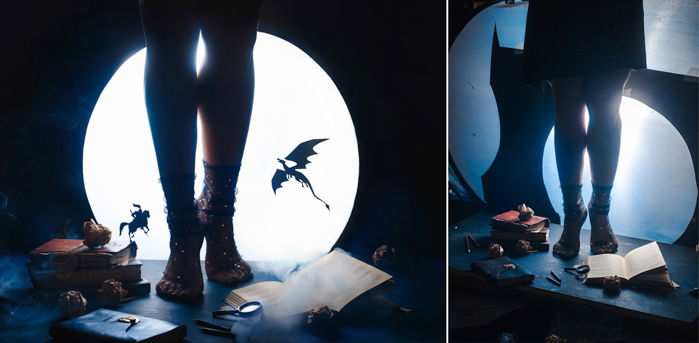
You can cut out other shapes too! Cast a Patronus Charm and think about animal guardians! Or imagine castles and towers made of light!
The trick is the same, but you need to cut a different shape out of paper and think about suitable props. Doing this technique would help you to tell your story better.
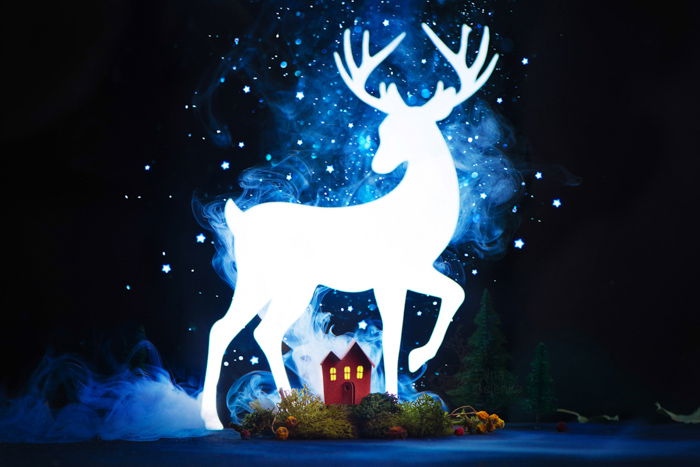
5. Make Objects Glow From the Inside
The best thing about speedlights is their small size. It means you can put them into something like a box and make it glow from the inside.
Step into the vast magical world of shiny objects!
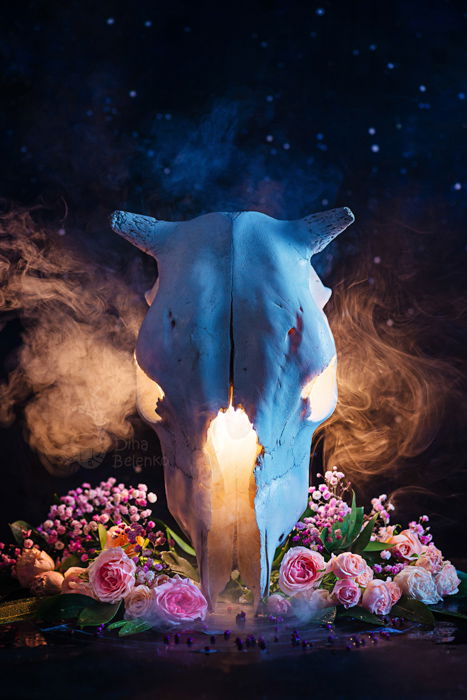
The first time I used this trick was to make a cow skull glow. I simply put my Speedlight inside a skull and made some smoke so that the light would be more visible.
I was surprised by the easy way I got such a good result and kept experimenting.
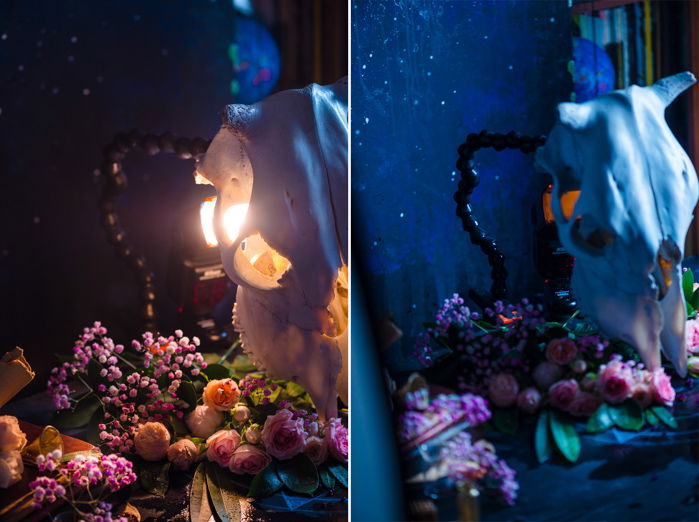
It turns out that placing a Speedlight behind of patch of flowers is a great idea too!
The Glowing flowers looked downright magical. And the camera flash was so small that I didn’t even have to retouch its visible parts in post-processing.
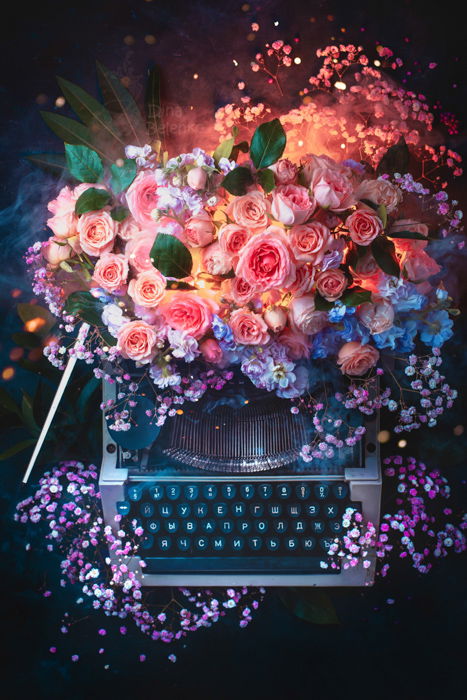
Why not create a box full of stars or a glowing magician’s hat? Place the Speedlight inside, add some smoke with aroma sticks or a hand steamer, and take a sequence of shots.
Adding a colored gel is also a right touch.
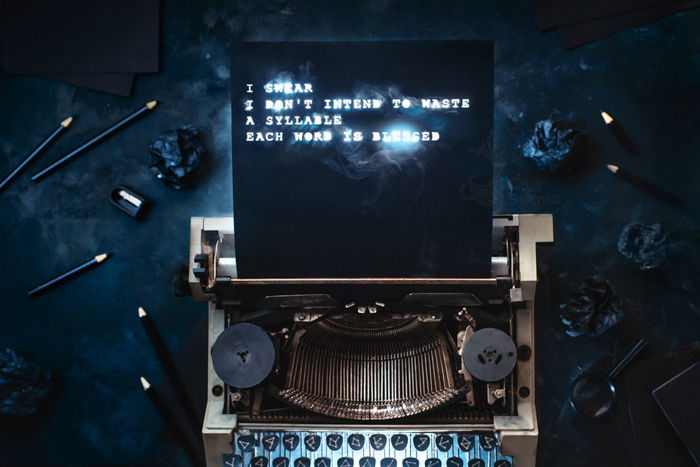
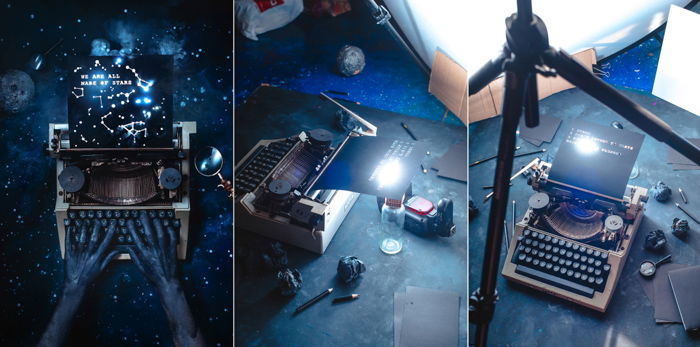
If you want to make it a bit more intricate, try making glowing ornaments, constellations, or letters.
For this shot, I cut a quote from one of the lyrics from my favourite songs out of black paper. I then put a Speedlight on the floor right behind the paper and took a shot.
The simplicity and versatility of this trick are honestly stunning.

4. Capture Rising Steam (or Smoke)
You can control your Speedlight with the cheapest means possible. That’s why it’s excellent for creating a spot of direct light and capturing steam rising from a hot cup of coffee. Or, say, smoke coming from a burning candle.
The first thing you need is a light modifier. It can be a narrow strip box, a proper snoot, or something you made yourself.
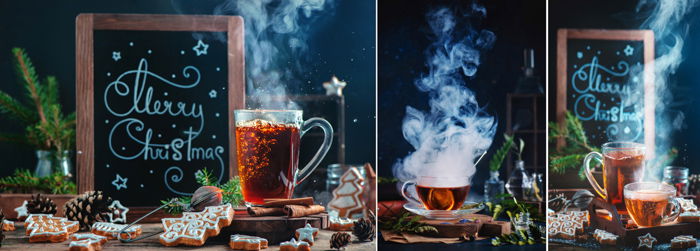
If you want your light modifier not to cost you a penny, take a box of chips in the shape of a tube and cut the bottom. You can then put your Speedlight inside, and you got yourself a snoot.
The next step is to place the Speedlight slightly behind of source of smoke or steam. The backlight makes steam not only visible but practically shiny.
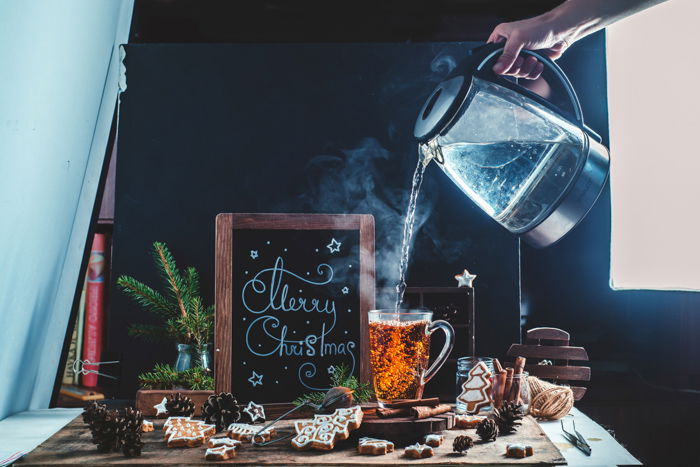
Set your camera on continuous mode and pour some hot water into a cup. Now take a sequence of shots with rising clouds of steam.
Keep the kettle a bit higher than usual so that it won’t get in the frame. Be careful with hot water and watch for the safety of any electronic equipment.
3. Tell Your Story With Silhouettes
Got your pretty steam picture? Good! Now add a narrative. Use the same trick to create the light spot with a Speedlight making a snoot out of chips tube. But now, take a glass jar instead of a coffee cup.
Think about a story along the lines of ‘trapped in a can’ and pick your silhouette — a haunted mansion, a monster, a carnivorous plant, anything that comes to mind.
Cut it out of thick dark paper, place inside the jar.
Next, fill the jar with smoke and take a shot. Check out our tutorial for detailed instructions.
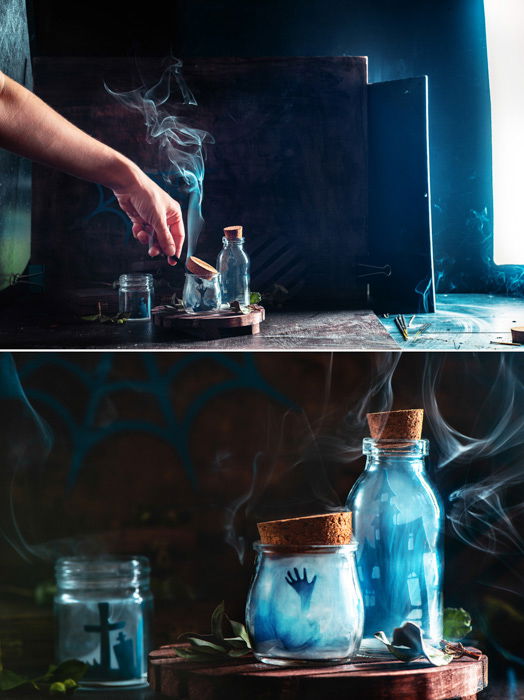
It’s a straightforward way to tell a lot of stories, not only for Halloween still life photos but for any creative project.
Using speedlights makes it even simpler and more affordable.
2. Play With Creatures of Light
You can set compact speedlights on a very low power, which is excellent when you want to light up one thing, but don’t want much light bouncing around.
That fact makes speedlights perfect for magical, still life photos with creatures made of pure light!
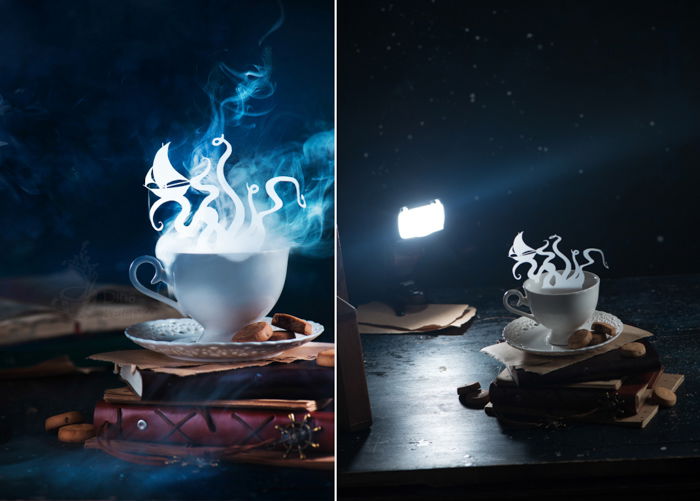
To do that, you need to sketch with the creature of light: unicorn, butterfly, dragon, fairy, anything you like.
Draw its silhouette and cut it out of transparent tracing paper. Fix it in place with wire and arrange the rest of your still life around it.
Place a Speedlight in a way that it lights up only this magical figure.
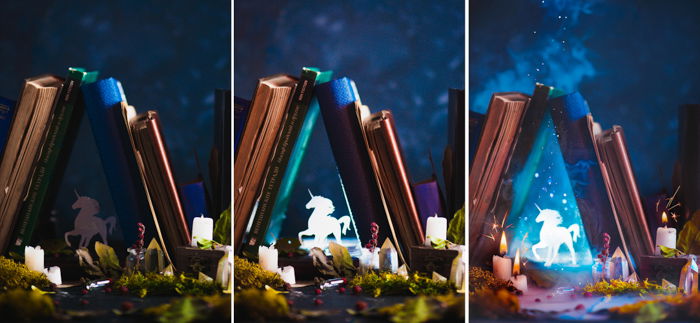
For example, for a shot with the unicorn, I taped the unicorn silhouette to a small wire and fixed it in the middle the books. Then I placed my Speedlight right behind my unicorn.
Since I covered the set with a stack of books, you can only see the light from the Speedlight.
I also added some smoke to cover the edges of my paper figure and make the spreading of light more visible.
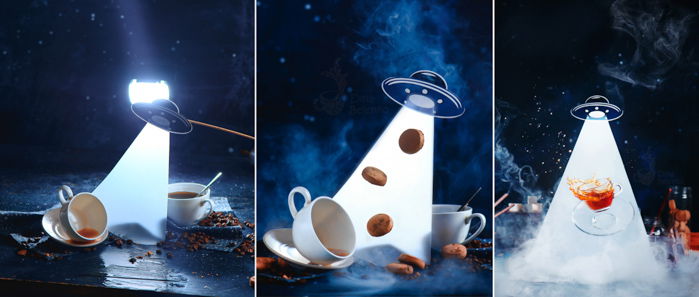
1. Freeze a Splash in Motion!
And last but not least, use speedlights to freeze motion! Namely, to capture splashes of water, coffee, hot chocolate, or anything you prefer.
Surprisingly, relatively cheap speedlights are better for high-speed photography than studio strobes. They have less power but produce a shorter impulse, and that’s precisely what we need!
It means that the length of time that the light source emits light for a single burst is short.
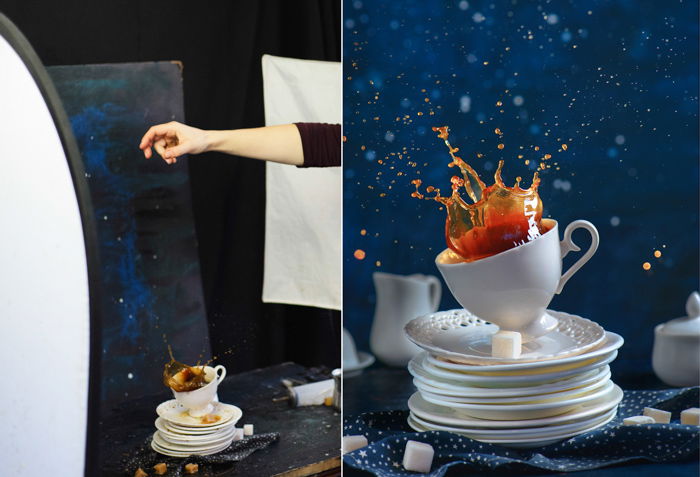
When your light source is on, it lights the scene only for a short time, say, 1/4000 of a second or shorter. And your camera records only the motion it sees for this 1/4000 sec.
The scene would be ‘visible’ to your camera sensor only for a short time. As a result, you can freeze the motion with all the sharpness!
I use two SB-910 speedlights. They are affordable and easy to use. They also provide the quick bursts I need for freezing motion.
The critical thing to remember is to keep power settings reduced to 1/32 or 1/64 of full power.
As power gets lower, the duration gets shorter and has a better ability to freeze motion.
Using low power results in low light. But that’s why I have two speedlights, not one.
If you have only one light source, you can compensate for that by opening the aperture and increasing ISO.

Check your manual, find a line about the fastest flash duration, and see at which power you can get this impulse. Say, Einstein E640 can give you 1/10,000 sec at 1/16 power and continues down to around 1/13,500 sec.
My Nikon SB-910 gives the same 1/10,000 sec at 1/16 output but is less powerful (so I have to keep my aperture a bit more open).
Find the power setting where the speed of your light source is over at least 1/4000 sec. That would be more than enough for a start.
Conclusion
Speedlight photography is where a ‘doing a lot with very little’ attitude justifies itself.
Take advantage of an affordable and simple tool to make some astonishing photos! Experiment with sharp shadows, right spots of light, silhouettes, and splashes.
For more extraordinary still life tips, check out our Creative Photography Cookbook!
