Photography trends can give you a fresh starting point, but they work best when you turn them into a specific picture. In 2026, there is useful evidence for a focus on human connection and local stories in commercial creative work, alongside AI tools that assist editing and subject recognition.
Adobe’s 2026 Creative Trends forecast, released in December 2025, highlights emotional connection, sensory imagery, playful experimentation and local culture. That is a creative-industry forecast, not a ranking of the most popular photography styles or proof of what will go viral on Instagram.
The 17 ideas below combine that context with established techniques and documented product features. Each gives you a way to experiment. For outdoor photographs to share on Instagram, start with a local story, a natural portrait or a simple landscape composition. Make a small, coherent set rather than trying every look at once.

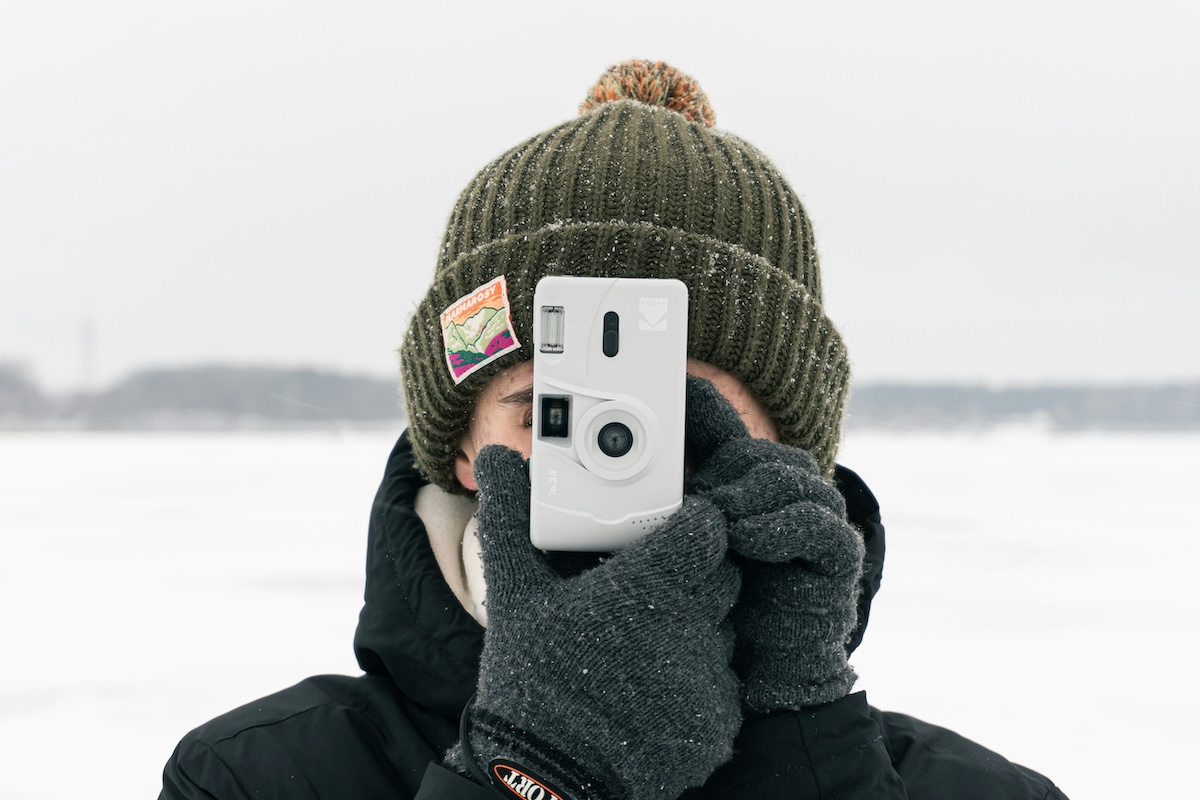
Shot with a Canon EOS 6D Mark II. 70mm, f/5, 1/125 s, ISO 400. Kari Bjorn Photography
Photography Trends in 2026: What to Try
Start with the idea that suits your subject and the gear you have. For a commercial stock brief, also see a separate post about stock photography trends. The list is not ordered by popularity.
1. AI-Assisted Photography and Editing
There are three different uses of AI in photography: helping a camera recognize a subject, assisting edits to a captured photograph, and generating an image. They do different jobs, so choose the tool for the result you want.
You see AI in elite cameras. For example, the Sony a7R V has subject-recognition autofocus. Sony’s help guide describes recognition of human eyes, heads and bodies, with selectable targets that include animals, birds and vehicles. Recognition can still fail; check that the camera has focused on the intended subject.
AI photo editing software offers another route. Luminar Neo includes GenSwap, which can replace or insert objects from a text prompt, as Skylum’s guide explains. Programs like PhotoAI can generate portraits. A generated portrait is different from a camera photograph of a real moment.
Try it: make two versions of one image: a basic exposure and color edit, then an AI-assisted creative version. Inspect edges, hands, reflections and fine details. Keep the original, and describe generated or replaced content when you share the creative version.

2. Smartphone Photography
A phone is a useful camera for a daily photo project because it is easy to carry and share from. You do not need to claim that it replaces every dedicated camera to make good work with it.
There are powerful phone cameras, but the light, viewpoint and timing still matter. Start with the main camera, clean the lens and move closer when it is safe to do so. Check the result before relying on a heavily enlarged crop.
Try it: photograph one outdoor walk as a short story: a wide view of the place, a person or action, and a close detail. Keep the light and colors consistent. If you plan to share the set on Instagram, also compose a portrait version and preview the crop in the app before posting.
Use AI-powered camera apps when their features solve a specific problem. Compare the result with your phone’s regular camera rather than assuming an extra app improves every picture.
Check out iPhone Photography School’s course for a leg up in smartphone photography.

3. Experimental Film Stocks
Film is a way to choose a color palette and working pace before you shoot. A different stock can change the look of a familiar location, but an existing film is not automatically a new 2026 trend.
Lomography offers experimental color-shifting films, including purple and turquoise options. Its LomoChrome guide distinguishes these from conventional color-negative films. Check the instructions for the exact stock and tell your lab what you have used.
Adox is another name to explore. The Adox Color Mission 200 announcement describes an ISO 200 color film tied to a research project. The photograph below is an existing example made with that film, not evidence of a new launch or current stock availability.
Try it: use one roll for a tightly defined subject, such as colorful shopfronts or a garden. Record the film, exposure settings and light so you can learn from the scans.

Adox Color Mission 200 | © Kit Bryan-Smith
4. Cinema Film for Still Cameras
Cinema-derived film offers another look for still photographs. The important distinction is the exact film and processing it needs, rather than whether the name on the box belongs to a large or small company.
The original packaging photograph below shows examples from Mr. Negative and Cinemot. It does not establish who manufactured each emulsion or which products are available today.
CineStill explains in its film FAQ that its color films can use C-41 processing. Do not assume every cinema-derived film can go into the same machine: films with remjet backing need appropriate handling and processing. Ask your lab about the specific roll before you shoot it.
Try it: photograph a small evening scene with practical lights. Use the film’s stated exposure index and note the light sources. Compare the color and bright highlights with a daylight scene from the same roll.

Mr. Negative Bat Country and 500T. Cinemot Lisboa 1999
5. Local Environmental Stories
Environmental change is a meaningful documentary subject. You can build a project close to home: a changing riverbank, coastal erosion, an urban heat response or a community repairing storm damage. These are suggested subjects, not evidence that climate photography is a newly established genre or a guaranteed source of paid work.
For examples from professionals capturing climate breakdown, study how a sequence connects a place with the people affected. For your own sequence, show the location, the people involved and a detail that explains the change. Revisit the same viewpoint when you can. Record the date, place and circumstances accurately.
Try it: document one local issue over several visits. Pair pictures with verified context, such as a local monitoring report or an interview with the person shown. A flood photograph alone does not establish the cause of that event. Keep yourself out of hazardous areas and do not stage scenes presented as documentary evidence.

© Kelly Sikkema
6. Sustainability in Subjects and Practice
Sustainability can be a subject for a photograph and a practical choice in how you work. Repair workshops, shared transport, recycling processes and renewable-energy sites can all provide specific stories. Photograph what the people or equipment actually do rather than relying on a vague “green” label.
When buying photography gear, start with the equipment you already have. Consider repair, renting for an occasional job or buying a suitable used item. A high price alone does not prove that a product lasts longer or has a lower environmental impact.
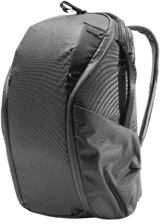
If you compare camera bag brands like Thule and Peak Design, look at the exact model’s materials, repair options and warranty. Read specific environmental statements in context rather than treating a whole brand as a sustainability leader.
Try it: make a three-picture story at a local repair business, with permission: the damaged object, the work and the finished result.
7. Storytelling Through Self-Portraits
A self-portrait can show more than what you look like. A location, a familiar object or a repeated gesture can express a personal story. Excellent self-portrait photographers tell compelling stories through deliberate choices about setting, light and composition.
For documentary-like images, photograph yourself doing something that matters to you in a real setting. For a more imaginative version, plan the concept and props before setting up your camera.
Try it: make three frames about one routine: a wide view of the space, a portrait within it, and a detail of an object you use. Use a timer or remote release and check focus on your chosen position.
You can also tell a personal story through still-life and landscape photography. A meaningful object or place can carry the idea without putting your face in every frame.
Two artists we have collaborated with provide fantastic tips for self-portraits. Check out our Fantastic Photo Adventures course and Creative Portrait Concepts eBook. They offer excellent advice for compelling, artistic self-portraiture.

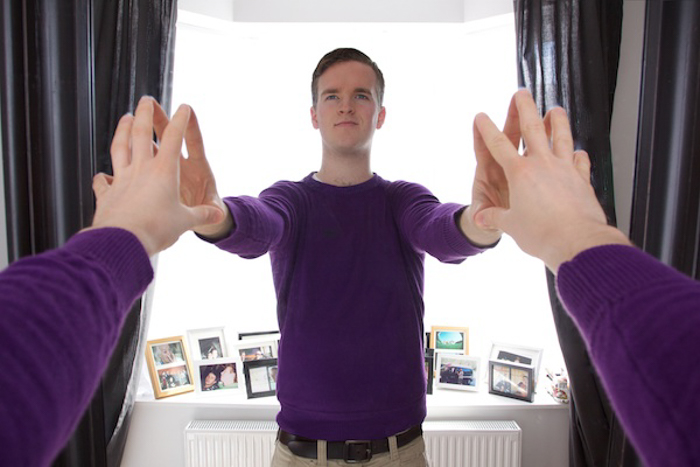
Creative self-portraiture. © Anya Anti (left) © Joel Robison (right)
8. Portraits Beyond Stereotypes
Portraits become more specific when you give the person room to express their identity. Rather than assuming a pose, style or role from a category, discuss how they want to be shown and what matters in the picture.
Use personal narratives and perspectives to shape the setting, gesture and objects. Clothing, a workspace or an activity can offer more context than a generic backdrop. Ask before including private details in a published caption.
Try it: invite someone to choose a place and an object for their portrait. Make one still pose and one frame while they interact with the object. Use colorful tones and shades when they support the story; black-and-white can also work.
This is an approach to thoughtful portraiture, not a claim that all photographers are moving in one direction or that a single image proves a cultural trend.

Shot with a Canon EOS 60D. 70mm, f/3.2, 1/500 s, ISO 250. Grace Weltch (Unsplash)
9. Drone Photography
Aerial views can make patterns visible: the curve of a shoreline, a field boundary or the relationship between a building and its surroundings. Drone photography is an established option for those views, rather than a new style simply because a calendar year has changed.
Plan the photograph before flying. Choose a subject, a viewpoint and a light direction. A clear shape or human-scale reference can make an aerial picture easier to read than a view full of small, unrelated details.
Try it: where flying is permitted, photograph one scene looking down and another at an angle. Compare which view explains the place better. Check the relevant aviation authority and site restrictions before each flight; the FAA’s drone guidance is a starting point for the United States.
You may use a filter for bright scenes when you need a longer exposure, but an ND filter is not required for every still photograph in sunlight.

Shot with a DJI Mavic 3. 12.3mm, f/4, 1/320 s, ISO 100. NEOM
10. Cinematic Photography
This style applies the artistry of filmmaking to still images. A cinematic photograph suggests a scene through lighting, color, setting and gesture. A wide crop can help, but it is not a requirement and black bars alone do not create a story.
Choose a mood before you edit. For example, a person waiting beside a lit doorway can suggest anticipation. Side lighting and a darker background can direct attention without an elaborate set.
Try it: make a small sequence that feels like an opening scene: an establishing view, a portrait and a detail. Keep the color treatment consistent. For outdoor work, look for a light source already in the scene rather than forcing every picture into the same orange-and-blue grade.
You can extract images from video through Adobe Photoshop, but check frame resolution and motion blur. A frame captured for video may not have the detail or shutter speed you want for a still photograph.

Shot with a Sony a7 IV. 24mm, f/4, 1/100 s, ISO 400. Thierry Biland (Unsplash)
11. Detailed, Hyperreal-Looking Images
A hyperreal-looking photograph uses controlled detail, light and editing to make textures feel unusually vivid. Treat it as a creative style, not a guarantee that the camera records more than the human eye can perceive.
High-resolution cameras, such as the GFX100 II, are one option. Good focus, a steady camera and suitable lighting matter before extra pixels. Small web images do not always need the highest-resolution file.
The use of controlled lighting can reveal texture. Move a light to the side of a textured object and watch how its shadows change. Check shiny surfaces for distracting reflections.
Try it: photograph a leaf, a piece of fruit or a handmade object. Keep the background simple and make several versions with different light angles. Inspect the final edit at full size so sharpening does not create halos or brittle-looking texture.

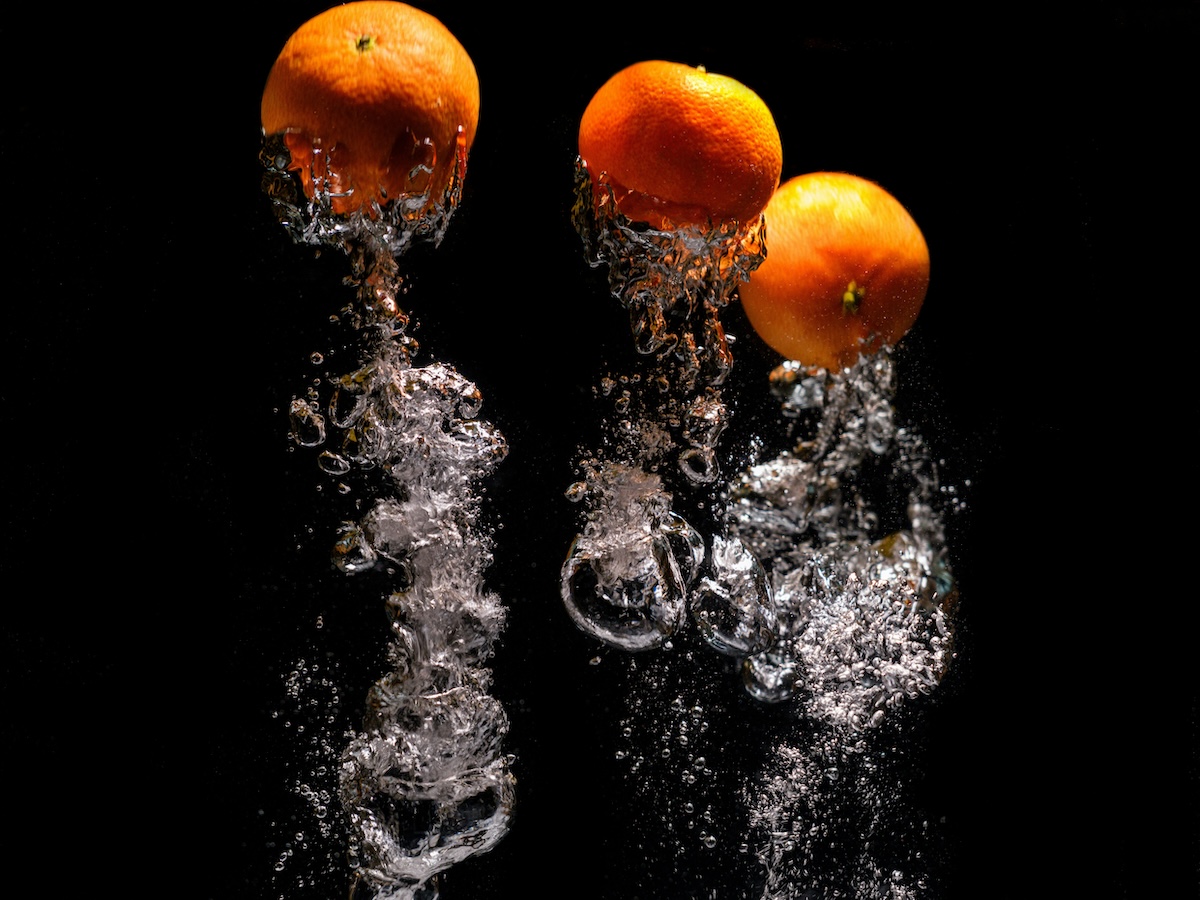
Shot with a Canon EOS 5D Mark IV. 120mm, f/6.3, 1/200 s, ISO 100. © Lambada (iStock)
12. Natural Looks and Candid Moments
Natural-looking photographs keep attention on the person or moment. That can mean restrained retouching, visible skin texture and expressions that develop during an activity. It does not require zero editing, perfect skin or a particular type of light.
Soft, natural lighting is a useful starting point, such as open shade outdoors or light beside a window. Artificial light can also produce a natural-looking result when it suits the scene.
Candid moments and spontaneous expressions are valued when they help tell the story. This fits Adobe’s 2026 forecast emphasis on human connection, but the forecast does not prove that every client now wants unretouched pictures.
Try it: photograph a friend during a walk or familiar task. Make small exposure and white-balance corrections, then compare with a more heavily edited version. Choose the treatment that keeps the expression and context clear.

Shot with a Sony a7 III. 50mm, f/3.5, 1/1000 s, ISO 1000. Fi Dogs (Unsplash)
13. Minimalist Compositions
Minimalism is an established way to simplify a photograph. Use a clear subject, a clean background and enough empty space to make the relationship between them deliberate. A simple picture can use muted colors or a strong color contrast.
This applies to shooting minimalist portraits, architecture and bare landscapes. Before pressing the shutter, check the edges for objects that weaken the composition. Change your viewpoint or wait for a distraction to leave the frame.
Try it: photograph one tree, person or building against a plain background. Make three versions with different amounts of negative space. Compare where your eye goes first. Keep the strongest version, rather than removing detail simply to make the image emptier.
For more tips, check out our Urban Minimalism Smartphone eBook!

Shot with a Nikon D750. 25mm, f/6.3, 1/640 s, ISO 200. Juane Vee (Unsplash)
14. Retro Aesthetics and Vintage Photography
A vintage look can come from film, older equipment, styling or a digital edit. These routes are different: adding grain to a digital file does not recreate every property of a particular film stock.
You can use analog cameras, or start with a digital photograph and choose a restrained treatment. For practical vintage photography ideas, choose a subject, styling and color treatment that fit the period you want to suggest. Think about the period or mood you want: the clothes, location and color palette should work together. Avoid applying heavy fading and grain to every image without checking the subject.
Try it: photograph a familiar street or room with one period-inspired detail. Make a clean edit first, then a version with modest grain and adjusted colors. Compare the result at the size you will share it.
The example below shows a vintage aesthetic made with a digital camera. It illustrates a creative option, not evidence of growing demand for a particular retro style.

Vintage aesthetic. Shot with a Nikon Z5. 37mm, f/5.3, 1/100 s, ISO 100. Harshit Solanki (Unsplash)
15. Instant Photography
Instant photography gives you a physical print as part of the picture-making process. Brands like Polaroid and Fujifilm’s Instax offer different cameras and film formats, so check compatibility before choosing a pack.
The print takes time to develop. Fujifilm specifies about 90 seconds for the Instax SQ1, depending on temperature; that timing should not be applied to every instant film.
Explore the artistic possibilities of arranging finished prints into a small visual story.
Try it: make a small portrait series or a guest-book project at a gathering. Check the camera’s focus distance and flash range first, and give people a clear place to stand. Plan which prints you want to keep and which you will give away.
With instant photos, you work with a physical result. They are a creative alternative, not proof that instant cameras are replacing digital photography or that wedding demand will rise this year.

A white Fujifilm Instax SQ1 instant camera. Liam Charmer (Unsplash)
16. 360 Photography
“360 photography” can describe two different outputs. In 360 product photography, a sequence shows an object from different angles. In a spherical panorama, the viewer looks around a scene from a fixed viewpoint. Rotating a product and capturing a room need different setups.
For a room or landscape, use a 360 camera or overlapping photographs that can be stitched into a panorama. Keep exposure consistent and watch for moving subjects and stitching errors. A normal wide panorama does not necessarily cover the whole sphere.
You can create tiny planet images in Photoshop as a creative transformation. You do not need to invest in Photoshop or an expensive 360-degree camera for every panorama project. A tripod, such as the Vanguard Alta Pro 2+ 263AB, can support a camera while you shoot overlapping frames; a dedicated panoramic head gives more control over alignment.
Try it: start with a static outdoor scene and a short row of overlapping images. Check the joins before attempting a full room or a spherical view.

A spherical 360-panoramic view of a forested autumn landscape. Bernd Dittrich (Unsplash)
17. Light Cameras for Everyday Photography
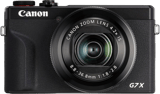
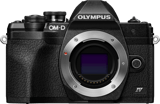
A lighter camera can make regular photography easier if it fits the way you work. Compare the complete camera-and-lens kit, rather than assuming every mirrorless setup is smaller or better than every DSLR or phone.
For an interchangeable-lens example, the EOS R8 weighs about 461 g with battery and card, according to Canon’s specifications. That figure excludes a lens.
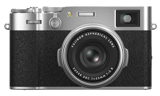
The Fujifilm X100VI is a fixed-lens compact, rather than an interchangeable-lens mirrorless camera. Fujifilm lists a 40.2 MP APS-C sensor and a fixed 23mm f/2 lens, with in-body image stabilization. These are product features, not evidence that everyone needs to upgrade.
Try it: take the camera you already own on a walk with one lens. Note what feels limiting: weight, focal length, focus or low-light performance. Use that experience when comparing mirrorless cameras that are lighter and more compact.
Choose One Photography Idea and Make a Small Project
Use trends as a brief, then make the result specific to your subject. For an outdoor story to share on Instagram, combine a wide view, a person or action, and a detail. Preview the crops, keep the edit consistent and write a caption that gives useful context.
AI assistance, film, natural portraits and cinematic color can each serve a different purpose. Choose one approach, make a small set and review what it adds to the pictures. A documented forecast can inspire the project; it cannot promise popularity, client demand or income.