If you love photography and the ocean, you should definitely try marine life photography. While it may seem intimidating, with a little knowledge and preparation you can capture some stunning photos of the ocean’s inhabitants. Here are seven tips to help you get started.
Under the surface of the water is incredible life, vibrant colors that can bring you into a world removed from the noise.
Photographing this world is an incredible experience. It’ll help you improve your technical photography skill. But it’ll also make you appreciate the world we swim in.
Some artists create stories surrounding the current topics of the environment. They do this in order to help raise awareness of these concerns.
Christine Ren teamed up with Brett Stanley to tackle trawling on the ocean floors.
Starting with a storyboard created by Joe Hoddinott, the team spent time in the Bahamas to photograph a powerful concept.
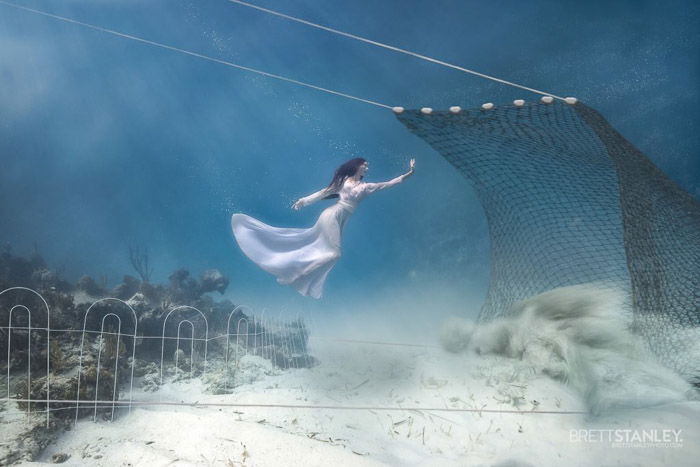
Photography by Brett Stanley

Story Board by Joe Hoddinott
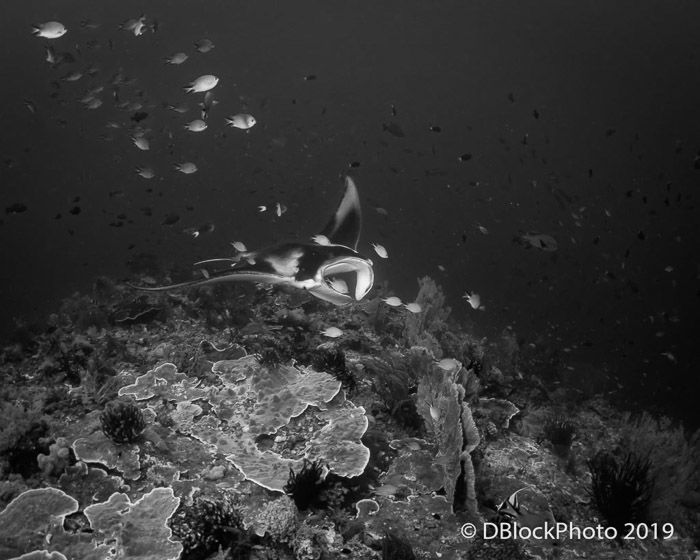
Photographer Dave Block travels for his work and recently started shooting below the surface.
Block suggests creating a routine for yourself for O-ring maintenance. This is crucial as one slightly pinched O-ring will cause flooding in your housing.
Tasks like this can be done in a quiet place free from distractions, where you check/clean/lube your O-rings at the beginning of your dive day.
Patience is key to shooting marine life. Rushing a shot may lead to you missing out on an amazing possibility. It can also endanger your life.
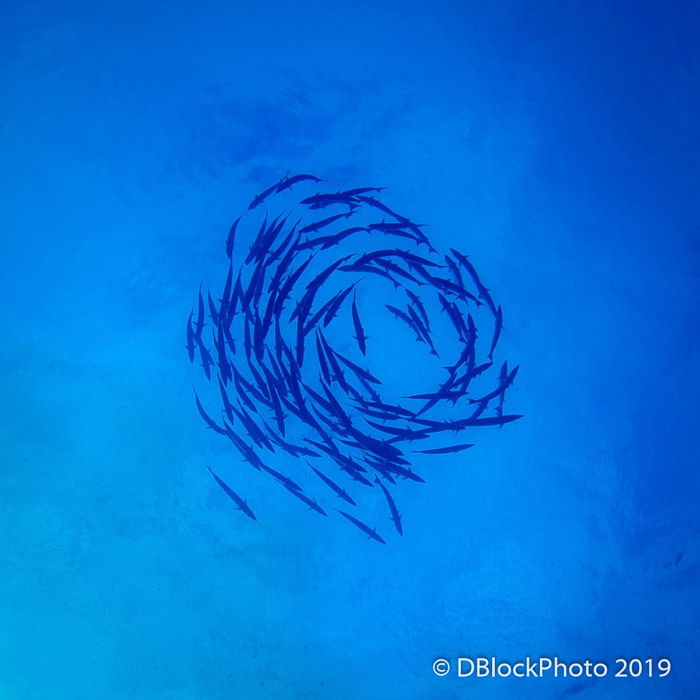
Image by Dave Block
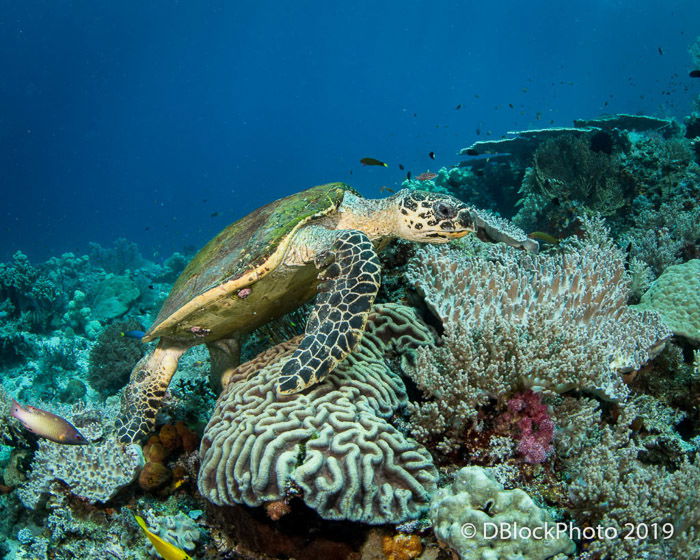
Image by Dave Block
Planning an underwater photo shoot should always start with safety. Shooting in this environment, whether a pool or open waters, can be dangerous for both you and your models.
Some important tips to keep in mind are outlined below.
Photographer Sarah Teveldal offers a great visual for the types of safety precautions she takes during her dives.
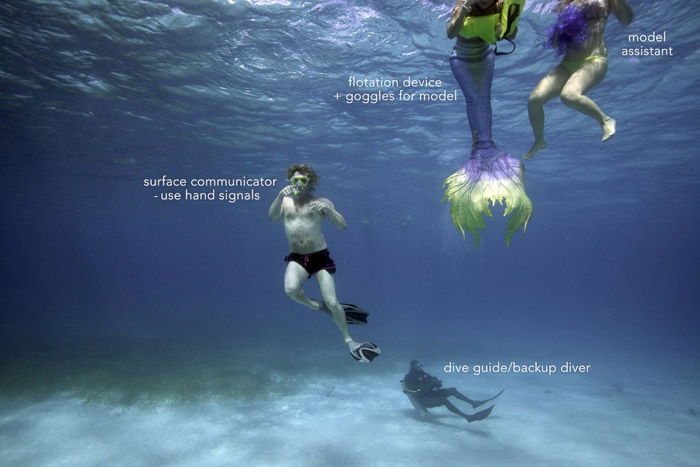
Image by Sarah Teveldal
Ocean photography can be harsh on you as the photographer. The currents can move you around, scraping and pushing you against the ocean floors.
Having a wetsuit, or dive skin will help reduce the damage on your body.
Have suitable housing for your camera and know that housing well.
If you are not familiar with your gear above the water it will be a disaster under the water. You’ll have minimal time to get the shot.
Research the housing that works best for you, and then learn it inside and out. If you are prepared prior to your ocean session you will be more comfortable when an issue arises.
Bring a GoPro or similar to attach to your camera. Getting behind the scenes footage is great for your website.
While getting lost at sea is uncommon on these shoots, currents can be dangerous. SMB (Surface Marker Buoy) and dive lines are important. They’ll help the diver find the boat after the shoot.
Most dives for ocean photography are done on shipwrecks. Attaching the dive line will help you find your way back.
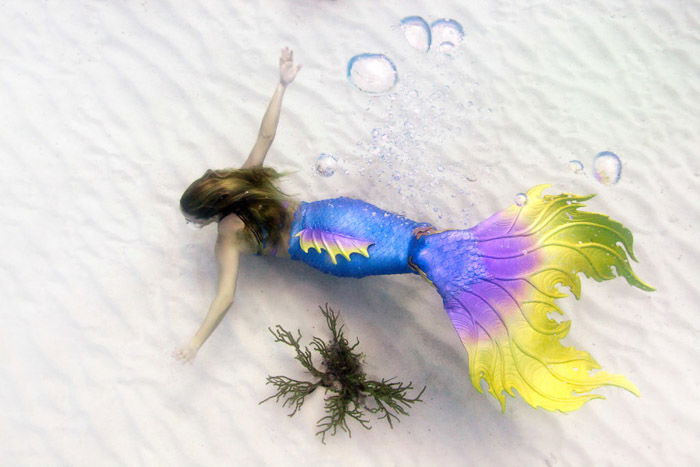
Image by Sarah Teveldal
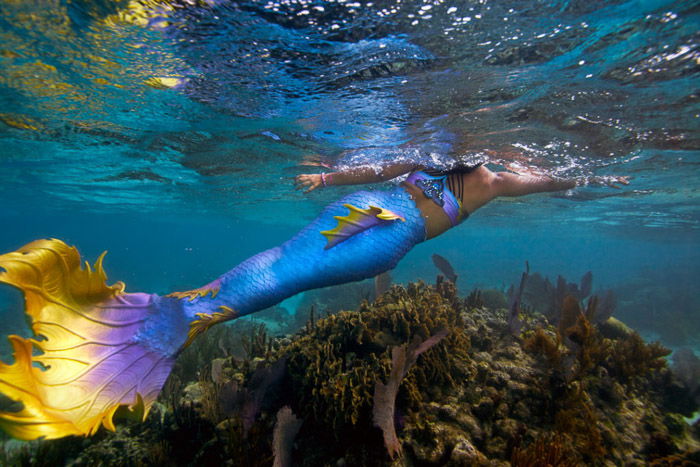
Image by Sarah Teveldal
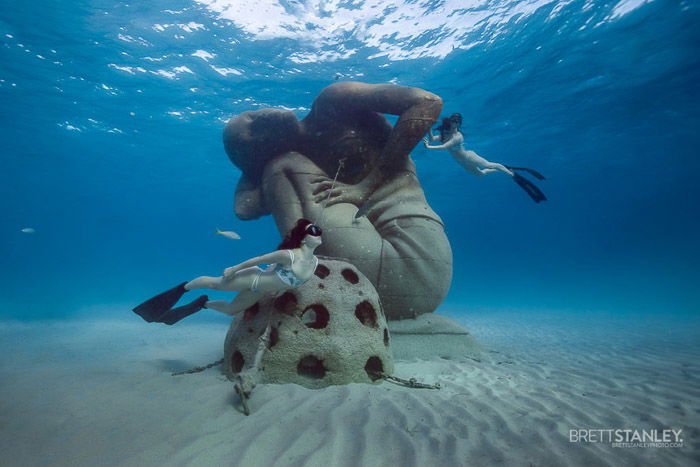
Image by Brett Stanley
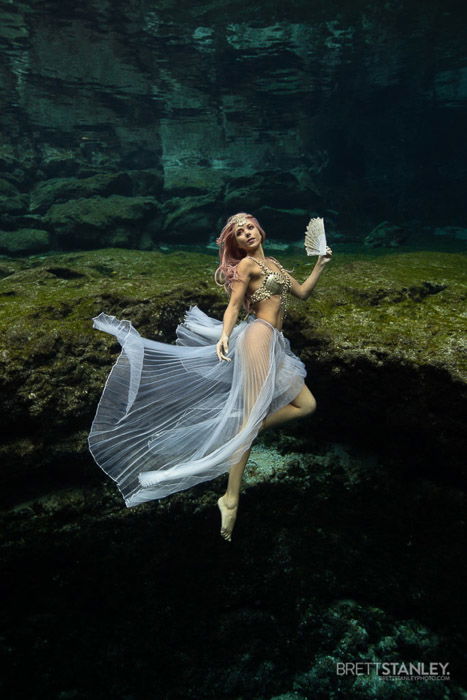
Image by Brett Stanley
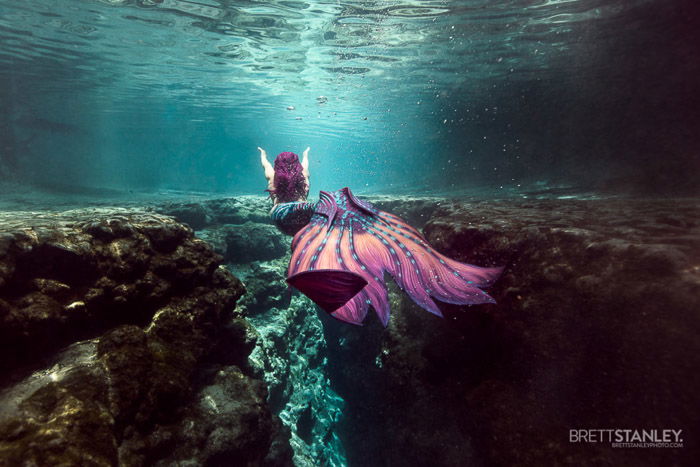
Image by Brett Stanley
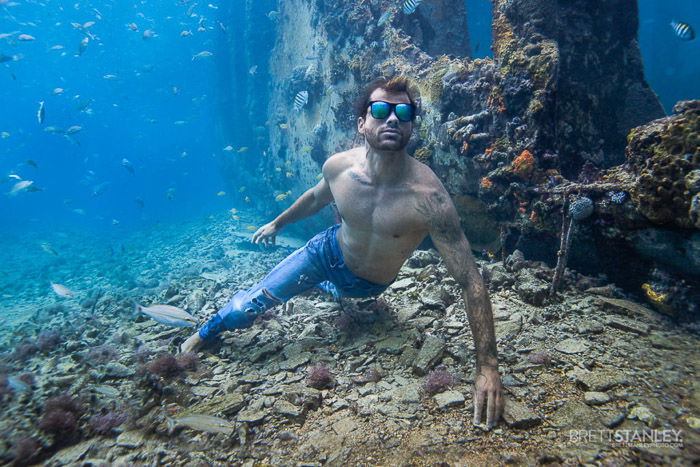
Image by Brett Stanley
If shooting in the ocean is not a possibility but a pool concept is not what you desire, freshwater springs are a great alternative.
Visibility for your client or model is sometimes easier than ocean photography. It does not require a boat but can be limiting if there are swimmers in the area.
Boudoir clients love this location as they can work above and below the surface for great shots.
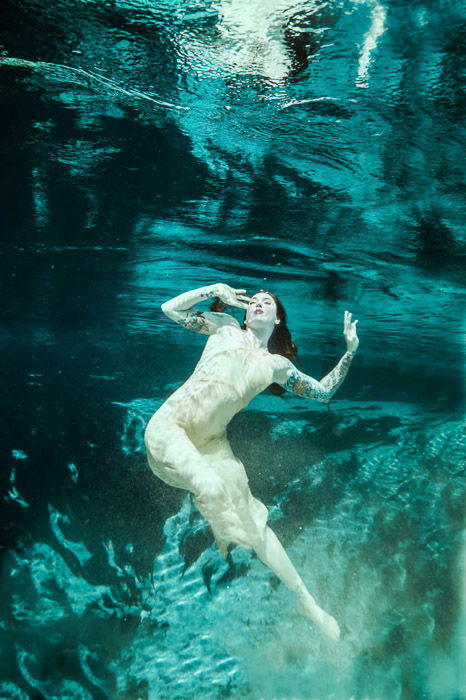
Image by Jennifer Tallerico JT Aqua
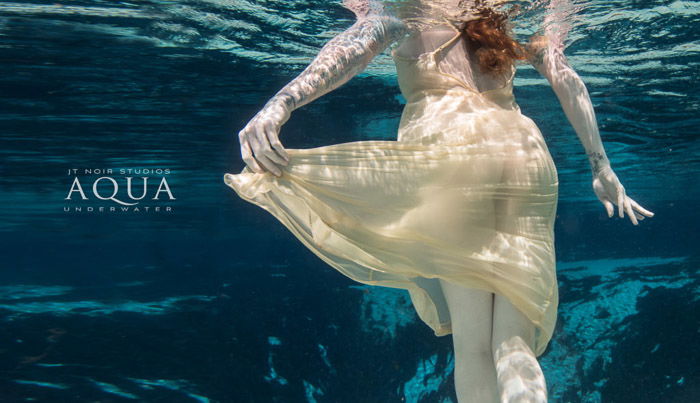
Image by Jennifer Tallerico JT Aqua
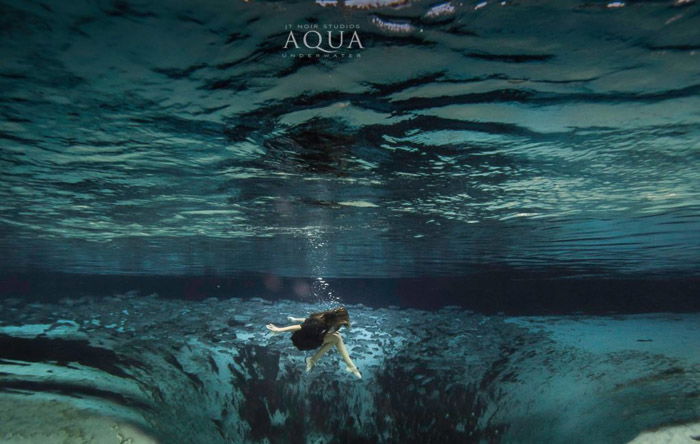
Image by Jennifer Tallerico JT Aqua
In any genre of underwater photography, whether springs, oceans or another, always remember you are in their world.
Be mindful to sea life, coral, and all other aspects of the water. There is no shot worth destroying nature under the surface.
Make sure models are never posed touching or harming the wildlife. Our job as underwater photographers is to bring respect to the world we photograph in.
You can also edit your underwater images after taking them.
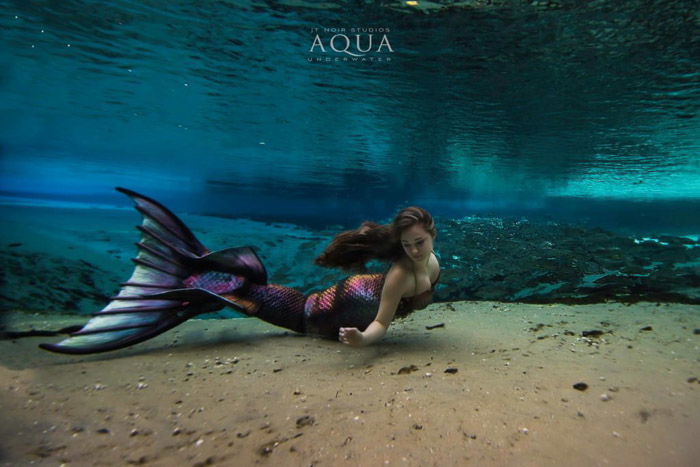
Image by Jennifer Tallerico JT Aqua