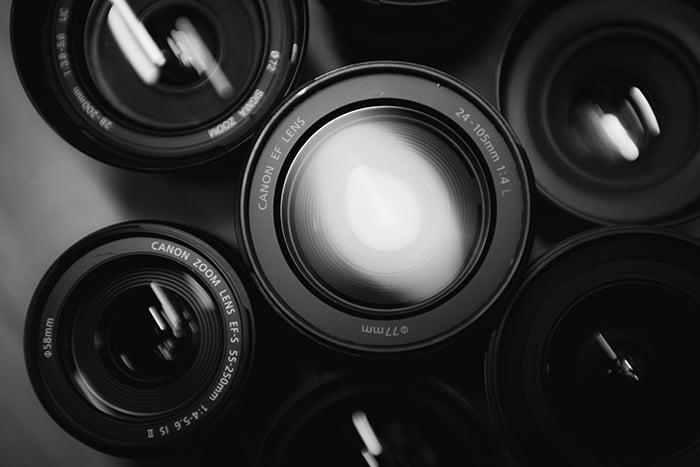
After finally saving up enough cash, you head out and buy that new lens you've been eyeing. You then obviously shoot with it obsessively for days. But when you look at the images on your computer, your enthusiasm dims. Straight lines aren't straight, and there's even some vignetting on the edges.
Lens distortion is as much a part of photography as taxes are a part of everyday life. Annoying, but something that you have to accept if you want to take pictures. Every lens suffers from lens distortion. High-end lenses will have less distortion than cheap lenses. But because of the physics of light, no lens can produce a perfect, distortion-free image.
The good news is that, if you understand lens distortion, you can make it less distracting. In this guide, you will learn what lens distortion is and how you can fix it in most photo editing programs.
Understanding Lens Distortion: How Lenses Work and Why It Happens
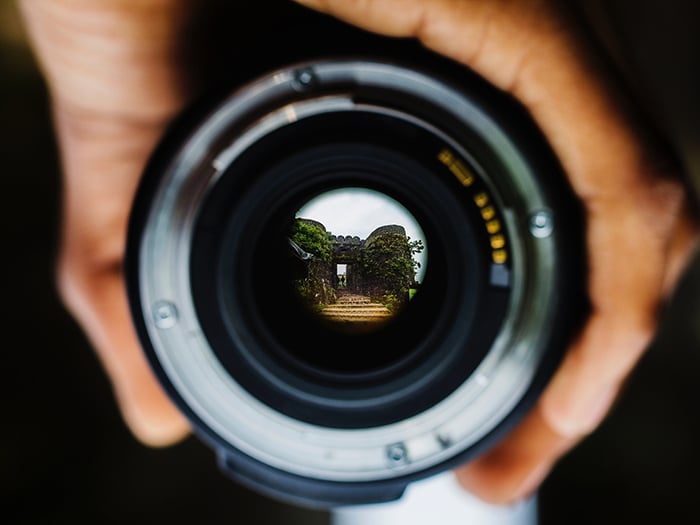
The best way to understand lens distortion is to first grasp the gist of how lenses actually work. The glass lens (or in most cases, a series of glass lenses inside a single camera lens) works by bending the light. This action projects an image onto the camera sensor or a piece of film.
To capture a wide field of view, that glass needs to have a more extreme curve to project onto the camera sensor. Glass from wide-angle lenses have much more spherical glass than a telephoto lens.
The curved shape allows the lens to capture a wide view of the scene. But the curve also means the objects at the edge of the image are a different distance from the lens than those at the center. That difference means the objects at the edge of the frame aren't enlarged as much as the objects in the center. Magnify a line at the edges and not in the center, and that line appears to curve at the edges.
The type of distortion caused by that extreme curve of a wide-angle lens is called barrel distortion. With this distortion, straight lines will remain straight towards the center but curve out at the edges of the image. This gives lines a circular, barrel-like shape.
Telephoto lenses have the opposite problem, referred to as pincushion distortion. The magnification of the lens is greatest at the center, so the edges of the photo can appear to bend in, rather than out.
Both barrel distortion and pincushion distortion is due to the curved shape of the lens. Researchers are experimenting with ways to make flat lenses to get rid of that distortion. Flat, distortion-free lenses may be possible in the future. But the technology has a long way to go before we'll see a flat interchangeable lens for a mirrorless or DSLR.
On most lenses, distortion is minimal. But the more extreme the focal length, the more extreme the distortion photography. A fisheye lens is a speciality lens that's so wide, the barrel distortion makes the image look almost circular. The longer the focal length, the greater the odds you'll see pincushion distortion.
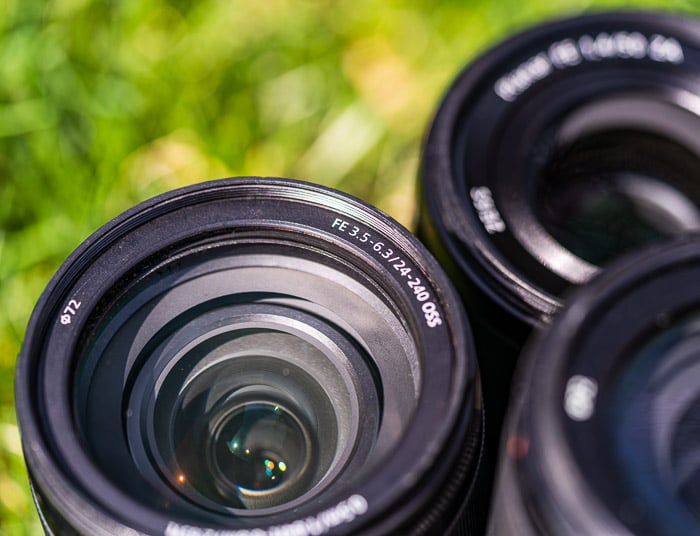
Camera lenses are made from more than one glass piece. This helps fight some of those distorted effects. It also improves other types of distortion like chromatic aberration. That's why a $900 35mm lens will (most of the time) have less distortion than a $200 lens.

Other Types of Lens Distortion
Barrel distortion, pincushion distortion and perspective distortion are some of the most obvious lens problems.
But the way lenses work can create other problems too. Vignetting is when the edges of the image are darker than the center. This effect is often subtle until you take a photo of something light-coloured. However, you can remove this in post-processing with lens correction tools.
Chromatic aberration is a type of optical distortion that's most obvious in the high contrast areas of the photo. It is often undetectable until viewing an image at 100%. Chromatic aberration is colored fringing along the edges, often purple or green. Adobe Lightroom has an option which will remove some of that aberration.
The physics of light and lens construction will create other phenomena too. When shooting with the aperture stopped down, points of light will often starburst. This flare happens when light hits the lens and creates colored circles, streaks, or a lack of contrast. This can often be corrected with a lens hood, or even used to your advantage as an artistic effect.

Image by Hunter Moranville
How to Avoid or Fix Lens Distortion
Understanding lens distortion can help avoid distortion wrecking your images.
First, always keep in mind that the objects at the center of the image have the least amount of distortion. It is true that centring every subject to minimise distortion will create boring, repetitive images. But you may want to center some images to keep distortion at bay.
Second, consider optical distortion when choosing your focal length. Often, getting that wide view or exaggerated distances are important. But if minimizing barrel distortion is more important, choose a standard focal length like 50mm.
Lens companies have yet to create that perfect distortion-free lens. But most distortions can be easily removed in post-processing. By using data about the lens itself, stored in the photo's metadata, photo editors can reverse the distortion. In Adobe Lightroom, the option is a simple checkbox under the Lens Corrections panel that says "Enable Profile Corrections."
Adobe Camera RAW has a similar option before opening a RAW photo inside Photoshop. Inside Photoshop, lens correction options are available by going to Filters > Lens Corrections.
Many other photo editing programs have similar editing options.

Common Lens Distortion Questions
Why Do Wide-Angle Lenses Distort?
Wide-angle lenses often show some of the most obvious distortion, called barrel distortion. But it's a common misconception that wide-angle lenses have the least amount of distortion. Telephoto lenses suffer from a different type of distortion called pincushion distortion. Wide-angle lenses can also cause perspective distortion. This can exaggerate the sizes of objects and is caused by the focal length and not the lens itself.
What Causes Barrel Distortion?
Barrel distortion is created by the curved shape of the lens. Because the lens is curved, the center of the photo is magnified slightly more than the edges. That makes straight lines appear to curve around the edge of the image. The wider the lens, the more extreme the optical distortion. This is due to the physical shape of the glass required to capture that wide angle.
What Is Lens Distortion Correction?
A lens will always create the same type of lens distortions. Using software can often reverse that effect. Lens correction in Lightroom and Photoshop applies an algorithm based on the specific lens model. It corrects the optical distortions created by the optics of that lens. Note, however, that this is different from perspective distortion.
How Do You Use Lens Corrections in Photoshop?
Adobe Lightroom has a simple checkmark to apply lens corrections. Photoshop is a bit more obscure. On a RAW file, you can apply automatic lens corrections using Adobe Camera RAW. This program converts a RAW file for Photoshop, using the lens correction tab. Inside Photoshop itself, go to Filter > Lens Correction.

Image by Artharva Dharmadhikari
Conclusion
Camera distortion is an unavoidable part of taking pictures. High-end lenses can make lens distortion indiscernible, but the way a lens works makes a zero distortion lens impossible (at least for now).
By understanding lens distortion and working with photography editing programs, you can reduce the look of lens distortion. All viewers will see when they look at the photograph is the art, not the imperfections.


