Product photography might seem simple, but there are lots of things that go into taking the perfect shot. A good product photo has to capture the viewer’s attention and motivate them to buy the product. And doing that successfully means pushing your creativity to new levels.
Taking photos of products might look simple, but these product photography tips will still improve your skills!

- Learn to capture photos that significantly boost sales.
- Discover styling secrets that make your images scroll-stopping.
- Gain professional editing tips for perfecting your photos.
The 12 Best Product Photography Tips
Here are our top tips for creating compelling product photographs that sell!
1. Pick the Right Aperture
It's important to use the right aperture for your image when photographing products. There are two common types of product photography—lifestyle and studio. For product lifestyle shots, the widest aperture is usually best. It ensures the product is the center of attention, and everything else blends into a creamy bokeh.
Make sure that you shoot far enough away from the product. This will help create a shallow depth of field to separate the product from the background. The key is to draw your audience to the product and not the extra elements in the image.
But studio lighting is different. You can use light to separate the subject from the studio wall. Make sure to use a shutter speed that syncs with your flash speed. If the shutter speed is faster than your flash speed, your flash won’t illuminate the whole photo.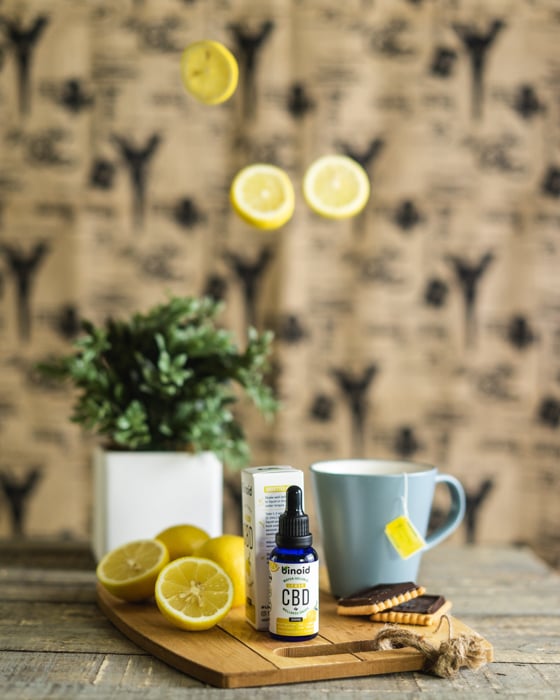
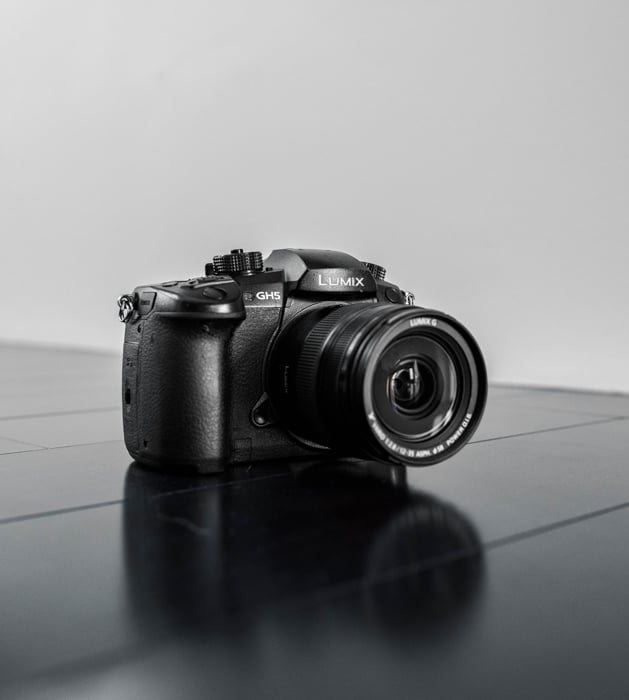
2. Use a Telephoto Lens
You want to make sure your product isn't distorted in any way. Wide-angle lenses can ruin the product’s proportions in an image. In product photography, your images should accurately represent the product at hand. Otherwise, you can run into problems with your customers.
Shorter telephoto lenses have a perspective that closely matches the human eye. They don't cause any form of misrepresentation or alteration in the subject. The best focal length for product photos is 100mm, but you can use any focal length between 85 and 145mm.
3. How to Light Product Photos
The key to product studio lighting is making sure the product is separated from the background and is evenly lit. You should also pay attention to using soft light in product photography.
Light modifiers, like softboxes and reflectors, can help you achieve this studio and natural lighting. Otherwise, harsh shadows can overcast the elements of your product.
You always want to diffuse your studio lighting. This ensures evenly spread lighting across and around your product instead of casting overexposed hot spots in an image.
Shadows and hot spots are unflattering and can be a pain to retouch. You will also have an easier time finding the right white balance if you are using soft light.
4. Get Inspired by Other Photographers
Take inspiration from images that grab your attention. Study the pictures and notice elements that make the photos outstanding. These can be a certain background, an interesting lighting angle, or a unique way of editing.
When taking your own photos, try to include some of these elements in your own work. But be careful, as taking inspiration doesn’t mean copying someone else’s style. Instead, experiment with different elements to create a unique style and improve as a photographer.
5. Use a Piece of Paper to Get Rid of the Horizon Line
Sometimes you’ll see a product photo and wonder why there aren’t any sharp lines in the background. This is done intentionally to create a seamless background—literally! Luckily, it’s pretty easy to do.
Take a larger piece of paper and tape it to your wall and floor. Make sure not to bend it. You want a curved piece of paper, not a creased one, to achieve a seamless look. This is necessary, especially for eCommerce photography, where you must have a product on a .
6. Experiment With Styling
Even when photographing something inanimate, you should play around with your photography. This is the moment to experiment with styling because it’s easier than posing people.
Try using different accessories and backgrounds that fit the idea of the product. For instance, you can shoot a flat-lay product photo. This allows you to add stylistic touches that highlight the main product. But remember to keep your focus on the main subject!

7. Come Up With New Ideas to Sell the Product
Most marketers will tell you the key to selling a product is selling the idea of the product. You need to tie the product to an appealing lifestyle, showcase how much more convenient life can be with the product, or prove how significant the product is to a specific interest.
The product’s story will sell it better than anything!
As photographers, we are tasked with creating the story, the ambiance, and the world in which the product lives. As such, try to capture as much of a story in your shot as possible. This is where your creativity and vision will shine.

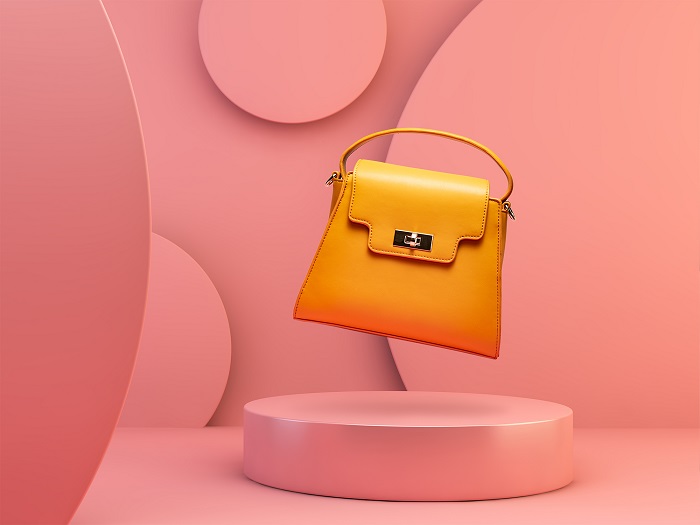
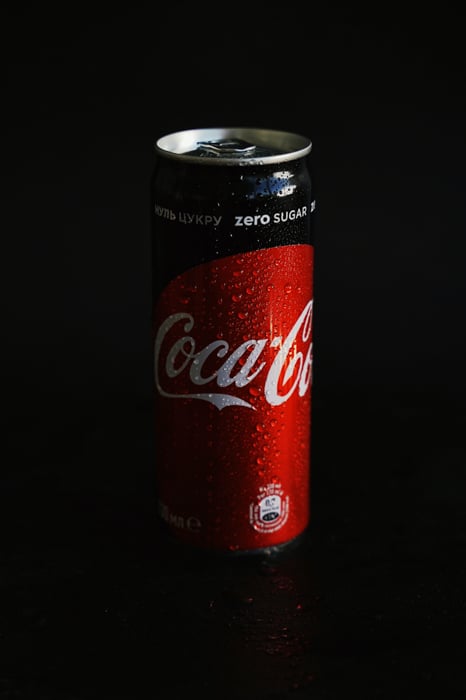
8. Don't Clutter the Set
Avoid making your image too busy and distracting by including too many elements. Remember, your goal is to sell the product.
Keep the background simple, with one or two solid colors or subtle patterns. Ensure you don’t have anything in the photo that isn’t relevant or doesn’t add any value. Try to keep the product the center of attention, whether it be through composition or clever lighting.
For studio shots, you should restrict the number of items to only the product and one or two props. For lifestyle product photography, we recommend focusing only on the model. Avoid any distractions in the background. This is a good time to practice minimalist photography.

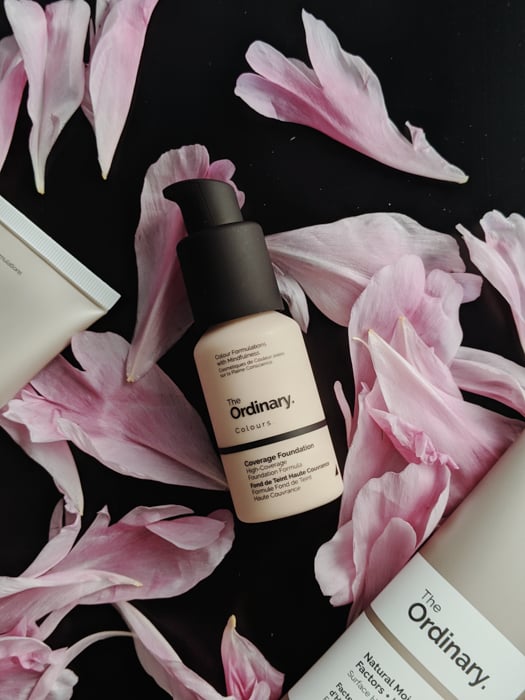
9. Make Sure Your Colors Have Natural Tones
Keeping the colors true to life is just as important as making sure your product dimensions aren’t warped. This is fundamental for product photography that centers on color, such as clothing.
If your photograph alters the colors, it can cause a big issue when selling the product. It can lead to dissatisfaction from both the business and the customer.
Imagine ordering light blue denim jeans because you liked the color online, but what you received was entirely different. To avoid this, you can ask the client to send you color samples or Pantone values for the exact color they want.
You can edit the colors to match the real-life product in post. After exporting the image, check the photograph on various devices. See how the color changes on different screens. You can also avoid distorted colors if you regularly calibrate your monitor.
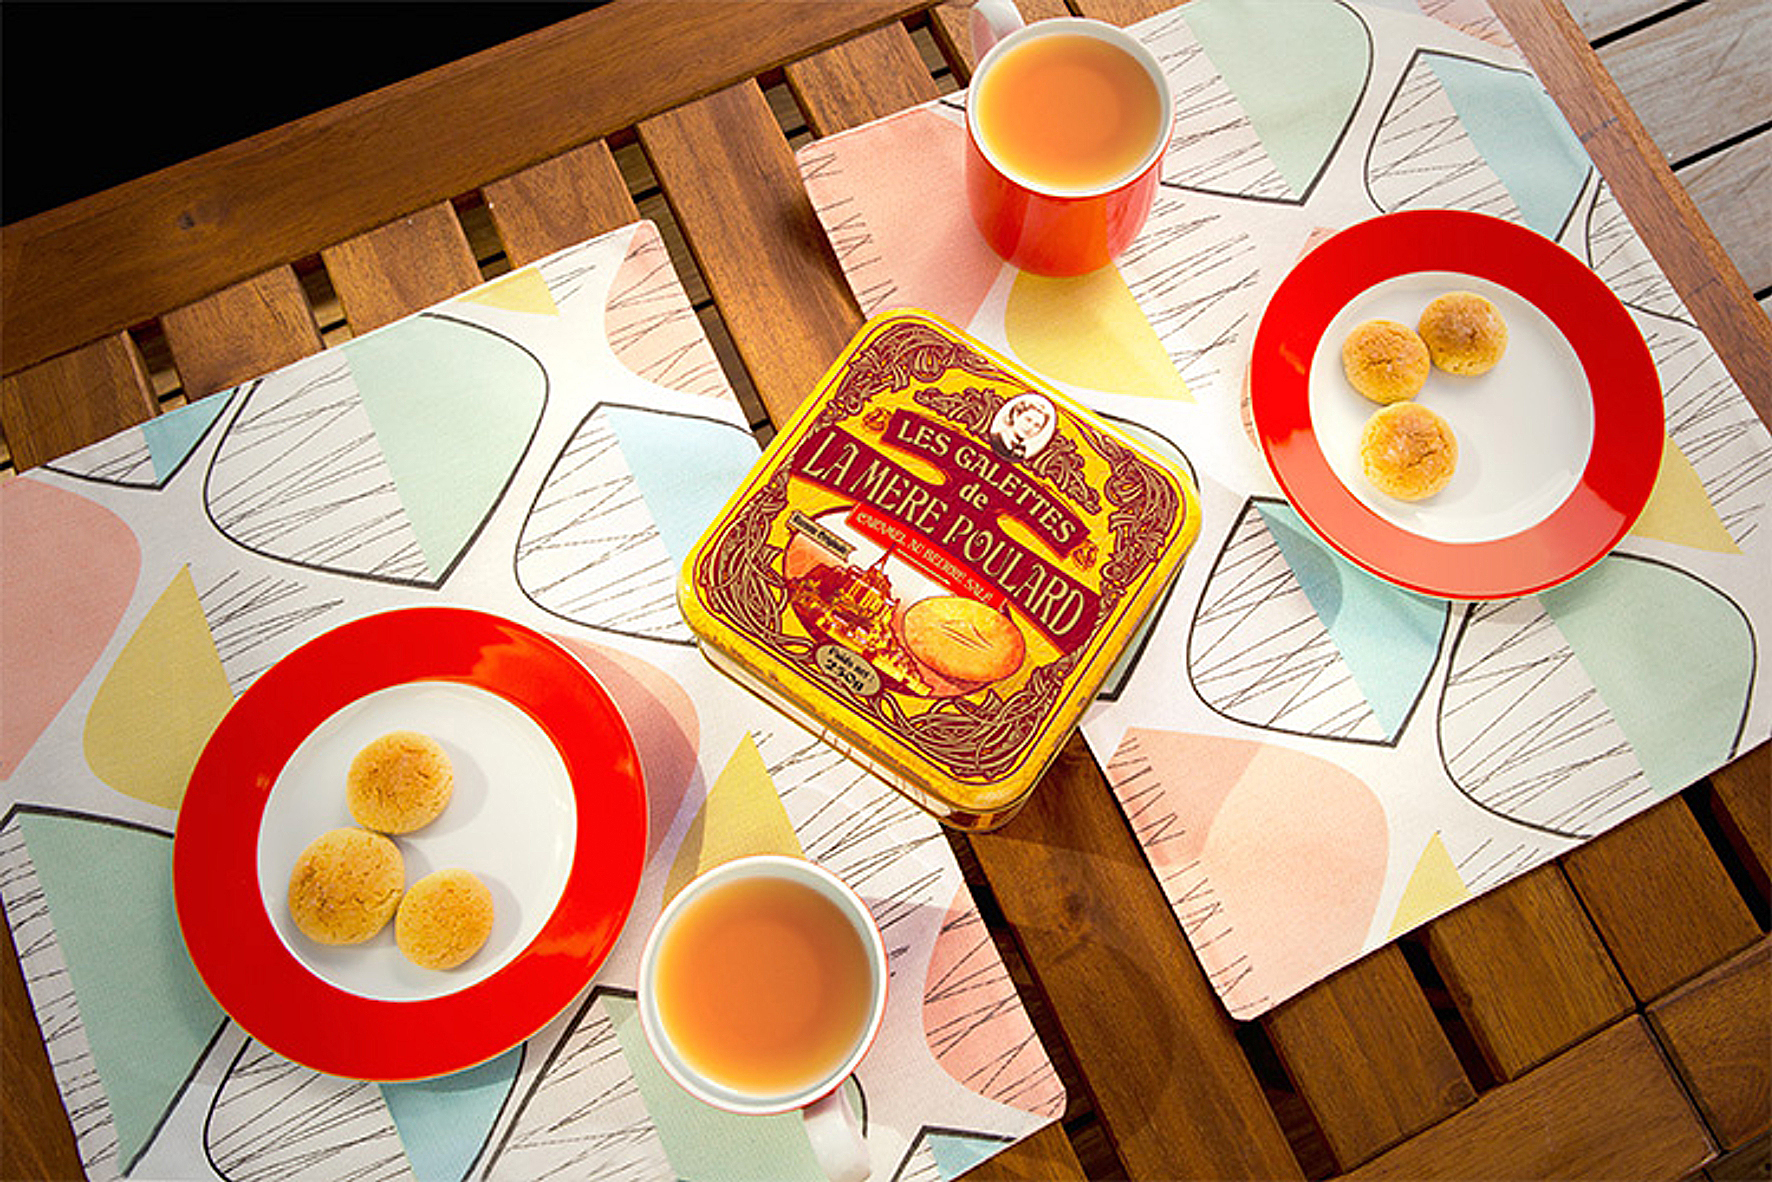
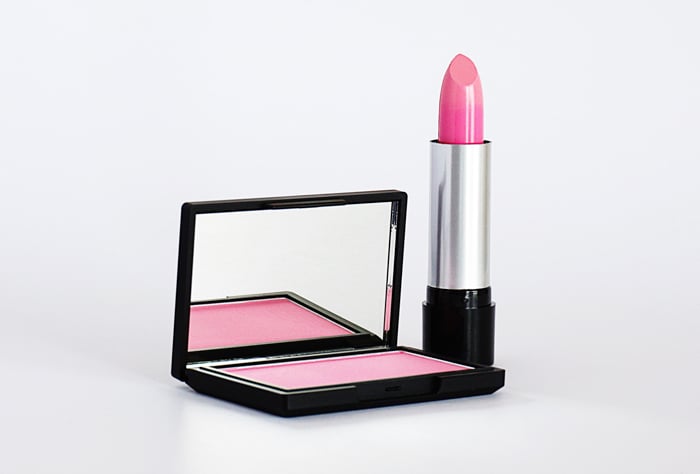
10. Use Color Theory to Affect Your Viewers
For lifestyle product shots, color theory is key to attracting the right customers. This is the study of how colors affect human psychology. In other words, how certain colors or color combinations bring out a specific idea, emotion, or characteristic in a person.
Studying and understanding color theory can help you create more visually appealing photographs. You’ll be able to take advantage of colors to influence how your viewers react to a photo.
In product photography, color can help attract the customer.
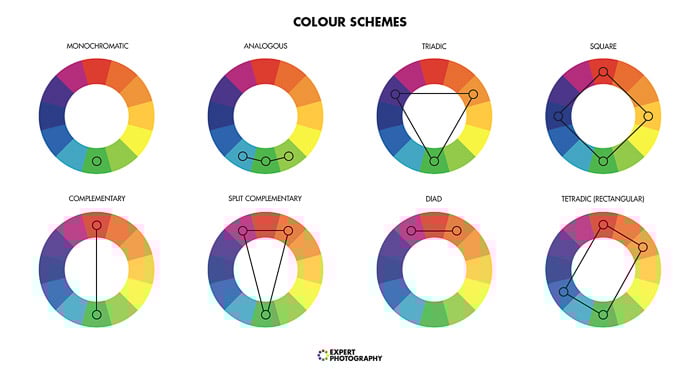
If you pull up a color wheel, you can use four types of color combinations in your product photography.
Complementary
With the complementary approach, pick colors opposite each other. This creates a dramatic and dynamic color palette with lots of contrast in your image.
Split Complementary
This is like the complimentary look but is a bit easier to achieve. After picking the main pair colors, use two adjacent colors to the main pair.
Triadic
This approach uses three colors evenly spaced around the color wheel. It makes for very vibrant color combinations that tend to be eye-catching and flashy.
Analogous
The analogous approach uses colors right next to each other. Using colors so close together on the color wheel creates a sense of comfort and nature.

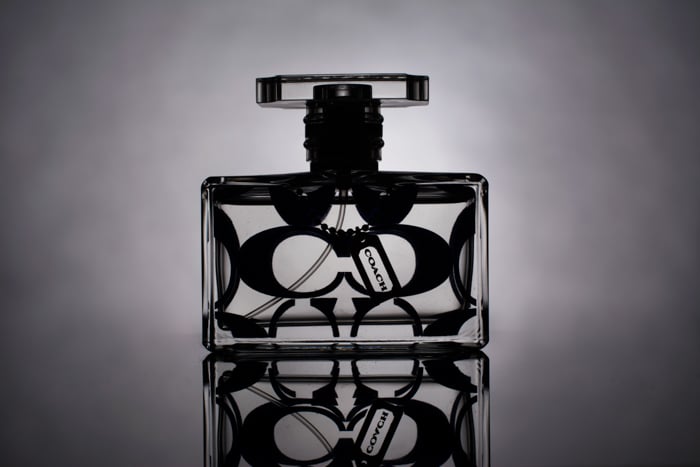
11. Avoid Accidental Reflections
You don't want a weird reflection on your product! This is one of the most common mistakes new product photographers make.
Pay attention to how your lighting, or even you or your camera, reflects in the product. Either make use of the reflection and include it in the image or remove the reflection altogether.
The best way to exclude a reflection is to shift your position until it’s no longer in the frame. You can also remove it during post-processing. For example, if you are shooting reflective products, you can place a black foam board to avoid a reflection on the mirrored surface.

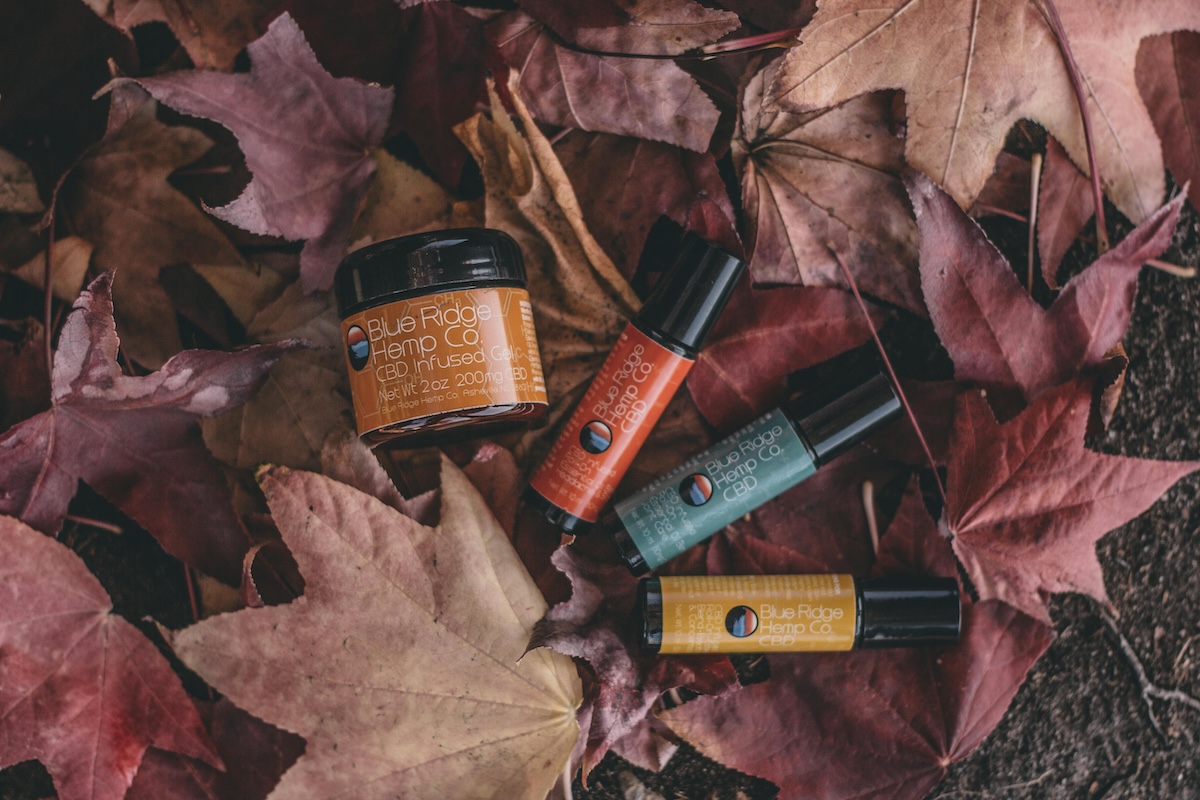
12. Try Different Locations
Studio shots and lifestyle shots are the most common in product photography. But you can also find photographers who like to think outside the box.
One of these outside-the-box locations is nature. This can be a forest, a beach, or even your own garden. Some products do well with nature as a background, especially if the colors match the tones of nature. Nature also evokes powerful emotions in people, which is good for catching the audience’s attention.
Another outside-the-box location is the comfort of your own home! Some products, like household items, do excellent in a home environment. They sell the idea of comfort and make the viewer think about whether they need the product in their own home.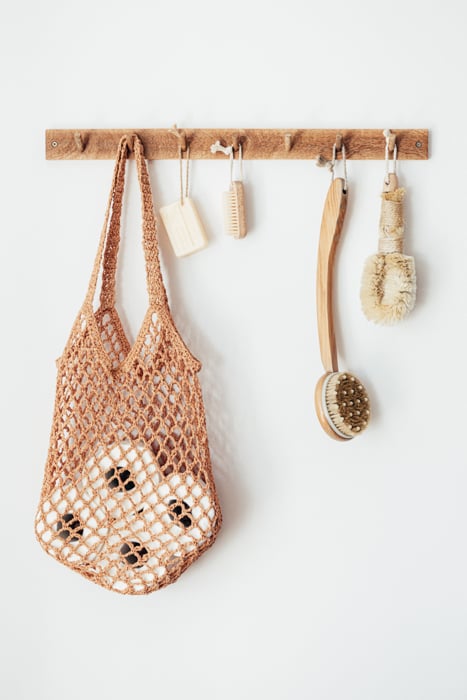
Conclusion—Product Photography for Beginners
Product photography is a niche that uses specific techniques to make the products look as attractive as possible. And because you want the viewer to focus on the product, that means you have to pay attention to everything else!
But with the right lighting, background, and placement, your products will stand out from the competitors!
- Learn to capture photos that significantly boost sales.
- Discover styling secrets that make your images scroll-stopping.
- Gain professional editing tips for perfecting your photos.