Coming from a Mediterranean country, the beach has always been a big part of my life. Sea, sand, sun, and sky make for great beach photography.
But there are lots of things to consider when learning beach photography. Read our top 12 tips for
Have a look at these 12 beach photography tips I have collected for you, and give it a go!
Top Tips for Beach Photography
Beach photos can be stunning. But to take truly mesmerizing photos, you’ll need to know how to get the most out of your scene. Read on to see our top tips for taking your beach photography to the next level.
1. Avoid Crowds
Being alone at the beach is a dream that many (not just beach photographers) share. However, having the beach all to yourself is not so common. Here’s what to do to avoid the crowds.
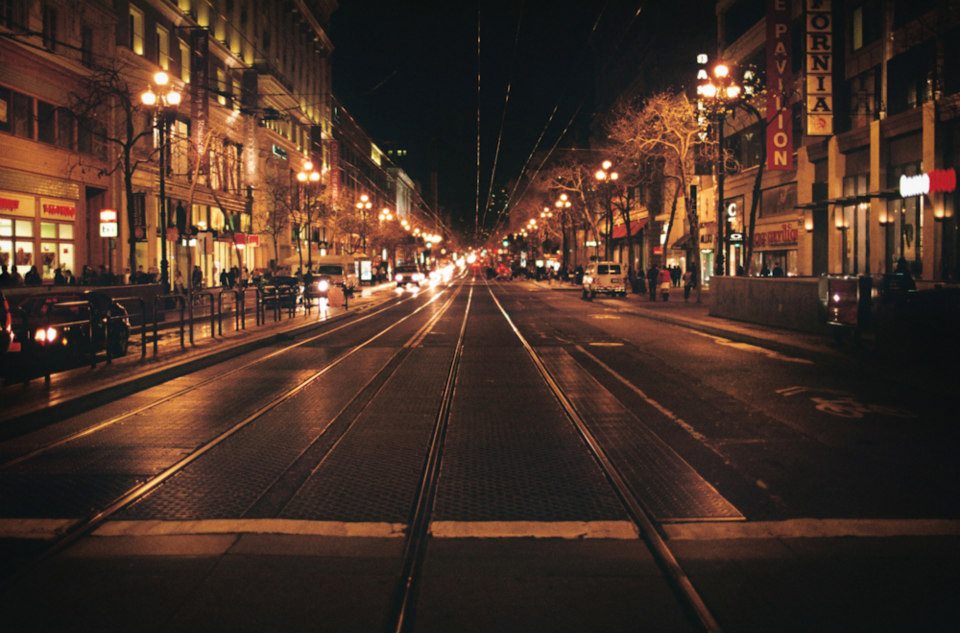
The first thing is to find out what the busiest hours at the beach are and avoid them. In the area where I live, people usually go to the beach mid-morning. Sunrise and midday are less crowded. I prefer the sunrise because of the golden light.
Remember that if you take beach photography during midday hours, you’ll have hard light and undesirable shadows, especially on people’s faces. Not to mention it’s the hottest part of the day.
 You could also avoid crowds by going to less popular beaches. This means you might need to travel a bit farther away. You’ll want to avoid parking areas and other facilities (such as bars and restaurants) that attract crowds of people.
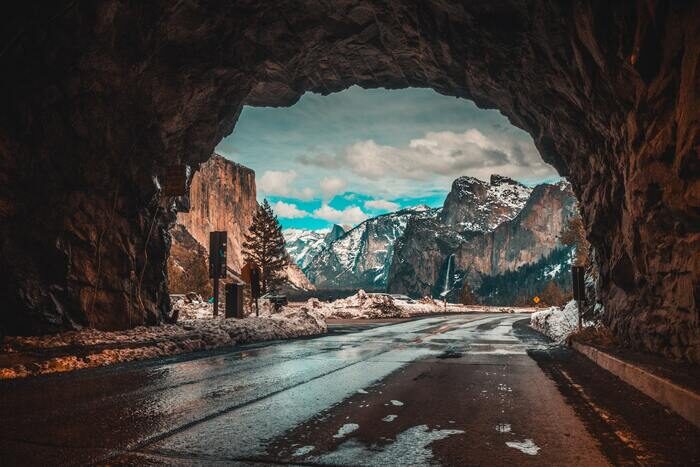
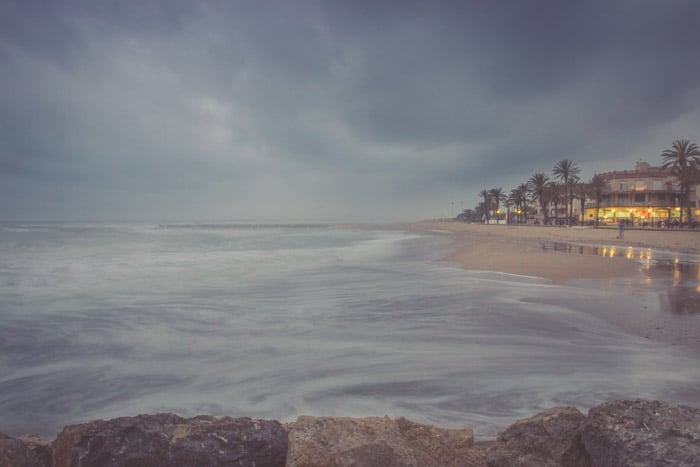
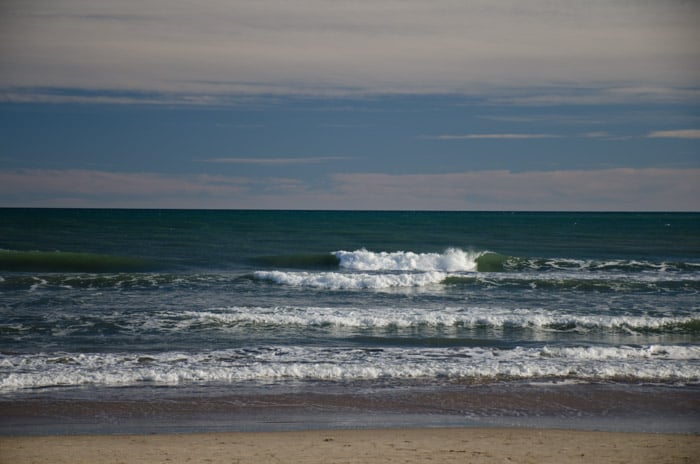
 One of the best beach photography tips is to shoot during the off season. In winter, beaches have a different beauty and vibe than in the summer.
Heavy clouds, storms, and currents can paint both the sea and sky in beautiful colors.
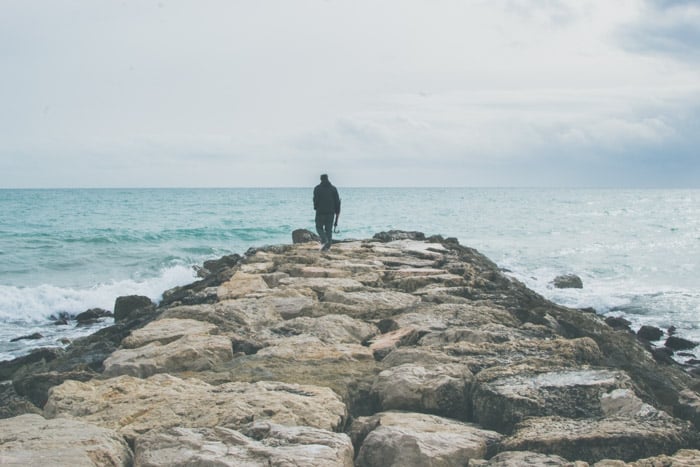
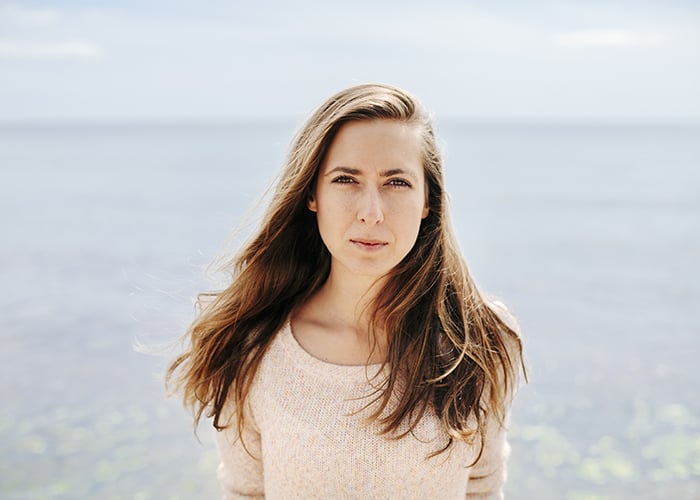
2. Include People in Your Beach Photography
I am not the biggest fan of crowded pictures of the beach. But I think including some people in the frame is a good idea.
Look for interesting people. I try to take photos where the people aren’t recognized to respect their privacy.
Most of them will be in bathing suits. And they won’t like the idea of having their photo taken, let alone shared on social media.
You can take photos from behind, from a distance, of a part of the body, or of silhouettes of people swimming or surfing. There are a lot of possibilities!
If you still want to take a recognizable portrait of a beautiful stranger as part of your beach photography, go for it. But ask them if they’re okay with being photographed before you snap any photos.
In terms of beach photography tips, this is very important. You don’t want a problem with photographing people who could become upset.
3. Use Golden Hour for Beach Photography
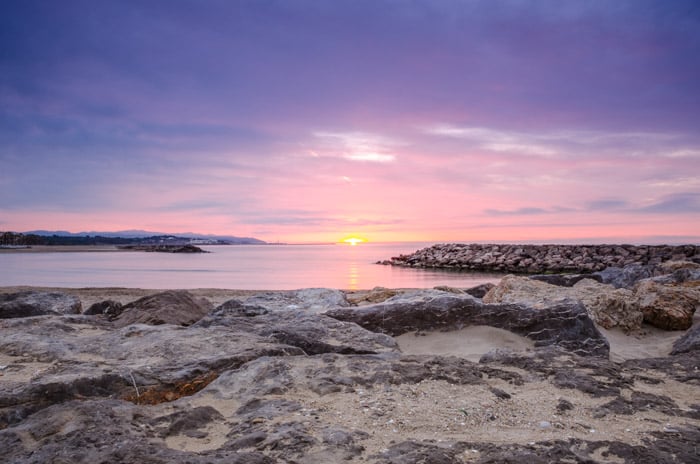
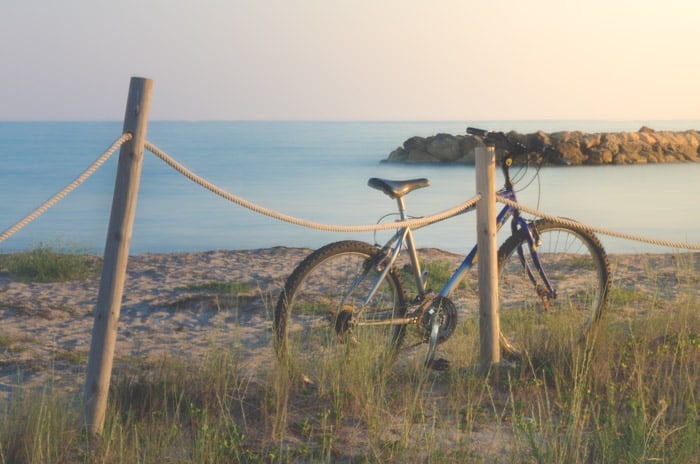
The gold tints of the golden hour fit the beach environment well. The golden hour happens right after sunrise and right before sunset.
You will recognize it by its typical yellow-orange light that gives it a magical appearance.
 You will also have long shadows that add texture to the sand. If you want to do backlight photography, golden hour is also a great time for that.
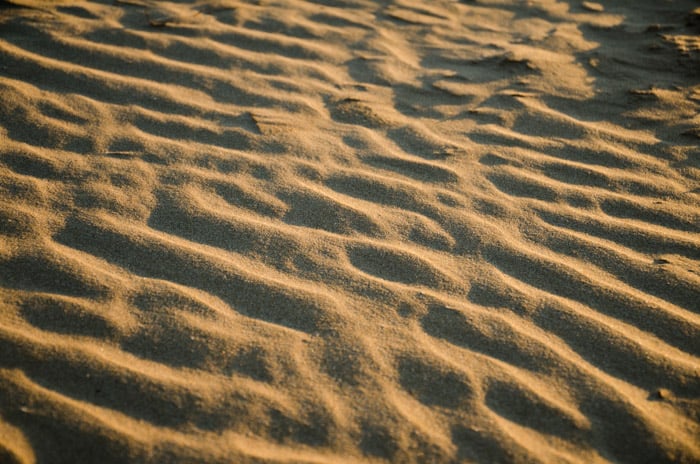
4. Take Photos of Details for Unique Beach Images
Beaches mean beautiful landscapes and wide-angle shots. But don’t forget to look under your nose. Change from wide-angle to close-ups.
This perspective shift will allow you to take totally different photos. Make sure to look for interesting stones, shells, footprints, sandcastles, and anything else that’s washed up on shore.
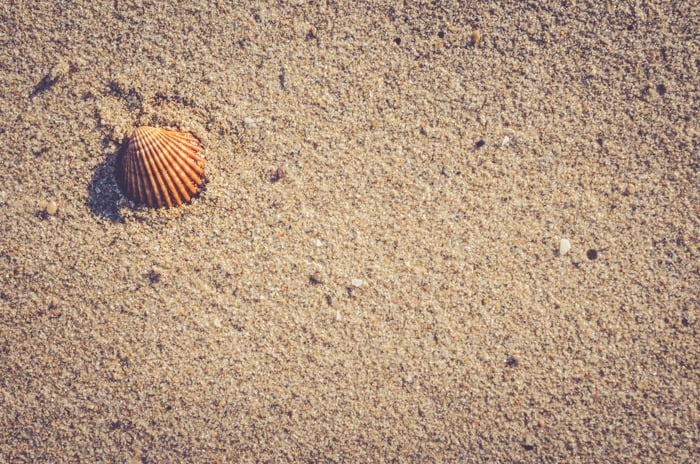 You can also try to emphasize textures. Play with depth of field to get give your photo a bokeh effect (blurry background).

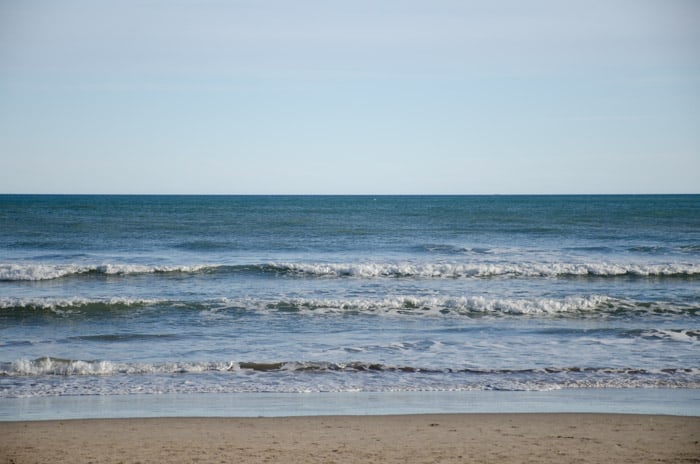
5. Play With Shutter Speeds
Play with your shutter speed to get different effects, especially when shooting the water. Using short shutter speeds, you can freeze the waves. This effect is great for photos of waves crashing and splashing against rocks.
 On the other hand, you can try long exposures for a soft silky effect in the water. For long-exposure photography, you will need a tripod to avoid camera shake. Neutral density filters will help you to avoid overexposing the image.

6. Keep Your Tripod Stable
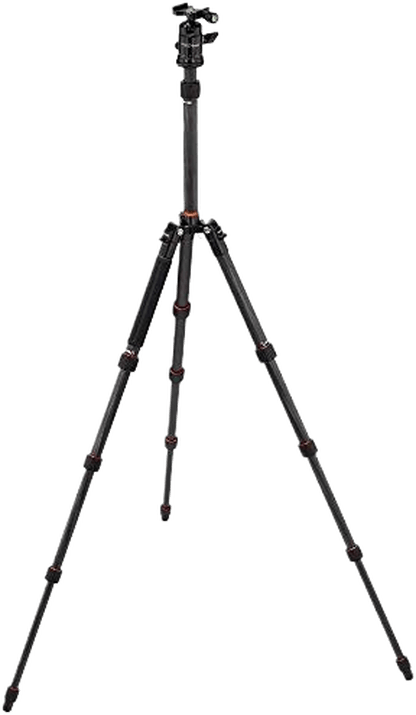
Something that will improve your beach photography is knowing how to stabilize your tripod. Setting a tripod is usually quite a simple task. But setting it on sandy ground and having it stay put in the sea breeze is not so easy.
Tripods have a very high center of gravity and tiny tips to stand on. This means they are prone to falling over if the wind is too strong.
Bring an empty bag and fill it with sand. Close the bag and hang it from the tripod. The extra weight will make your tripod more stable.
Many tripod brands offer spikes or feet that give you more grip on certain surfaces. Using spikes on the bottom of your tripod is a good idea for shooting in the sand.
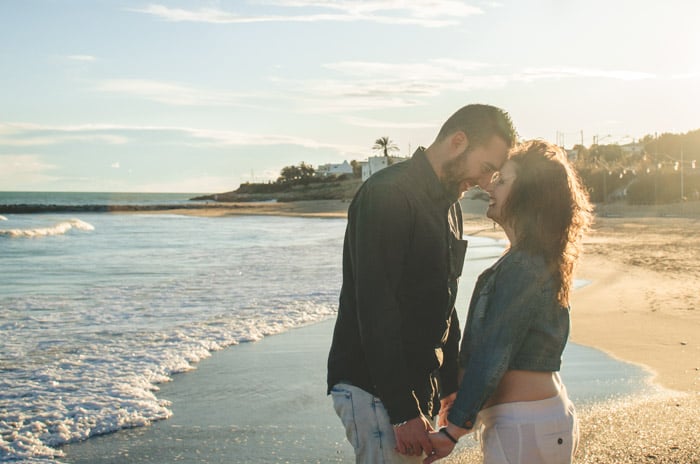
7. Try Family Beach Photography
The beach is a perfect background for any type of portrait. We usually associate the beach with summer and good times.
I find that the beach is a great location for family photography. Kids love running and playing in the sand. You will have the chance to take a lot of photos of happy kids!
Adults also tend to get more playful at the beach than, for example, in a more urban environment or a photography studio.
It’s much more likely to get them to hug, kiss, run, and play on the shoreline. If the weather is good, you can take photos playing or walking in the water.
If you stay in shallow water, you can also go in a little (protect your camera from splashes!) and take photos from this perspective. This is one of the best family beach photography tips possible.
We have a cool article on outfits for family beach photos if you’re interested in this type of photography.

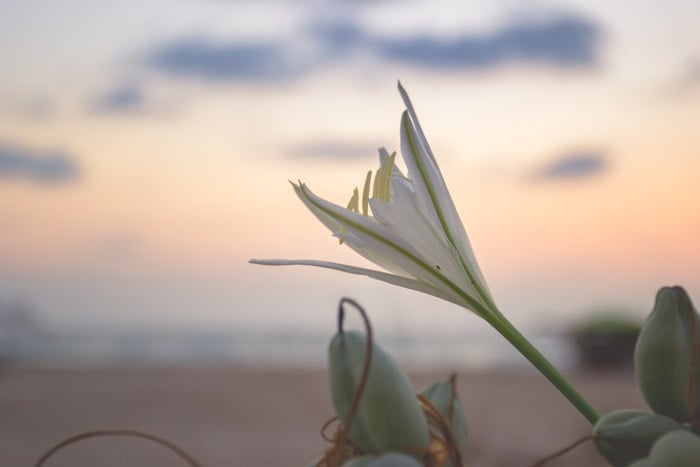
8. Include Flowers
The vegetation that grows at beaches is quite special. It is adapted to harsh environments with heat, salt, and wind. Maybe they are not the biggest specimens, but they are beautiful.
When you are at the beach, look for areas with vegetation to see if you can find flowers. They are usually seasonal, so if you want to catch them, you will need to consider this and do some research.
You can do a photo shoot from the flower’s height and take a medium shot or even a close-up. I like to include enough of the surroundings to show that the flower is on the beach. I use a narrow depth of field to make the background a little blurry so that it does not dominate the photo.
 If you are taking photos of flowers in the middle of the day, the hard light might cause a lot of hard shadows. You can avoid it by creating a bit of shadow for the flower.
Anything works—a parasol, using a piece of cloth, or even using your body (or somebody else’s) to create a shadow that falls exactly on the flower and its surroundings.
It’s really practical to have a small foldable light diffuser in your camera backpack for these occasions.
9. Use a Flash
You might be wondering, “A flash? At the beach?” And the answer is yes!
Using a flash is a great tip for taking beach pictures or portraits at sunrise or sunset. There are two reasons why. That’s when light is softer, and it acts as a fill light to avoid a lot of shadows in the face.
This happens especially when the sun is high in the sky, and the light falls almost vertically. The eyebrows and nose of your model will create unflattering shadows on their face.
For open spaces like the beach, I’d recommend an external flash. They are more powerful. In addition, external flashes can usually rotate, allowing you to bounce the light.
When using a flash, you need to avoid pointing it straight at your model. It can be too bright and unflattering. Instead, you want to direct the flash at a surface that will reflect the light at your model. A classic is to bounce the flash from a ceiling or a wall.
At the beach, bouncing the flash can be quite difficult because you don’t have a lot of available surfaces. In that case, you can use a flash diffuser.
There are many types of diffusers, from small to quite big. The big ones are a bit hard to use when it is windy. You will lose stability because of the shaking produced by the wind hitting the diffuser. Having a small diffuser that you can use on windy days is a good idea.
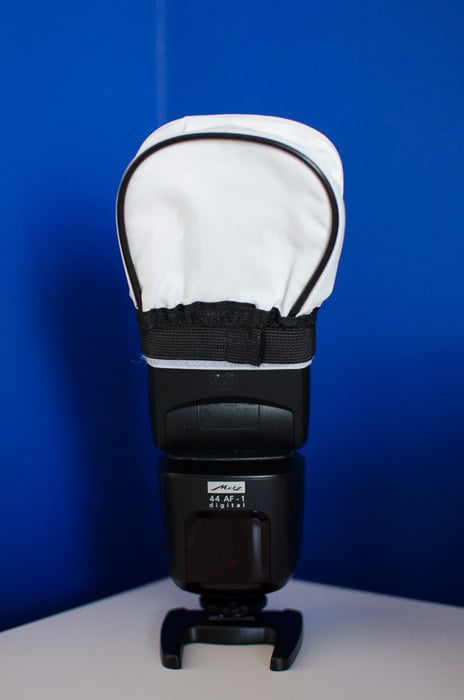
This flash diffuser is sturdy enough not to fly away with the beach wind.
10. Use a Polarizing Filter
Something that can help you improve your beach photography is to use a polarizing filter. This fits on your lens and reduces the reflected light that makes photos lose contrast and color intensity.
On the beach, there is a lot of this reflected light, especially from the sea. Once this filter is attached to your lens, you adjust its position by rotating the external ring until the reflected light disappears. You can recognize the moment this happens because the colors of the water will become much more intense.
But keep in mind that using a polarizing filter reduces the amount of light hitting the sensor. So it makes the scene look darker. You will need to use a longer shutter speed to compensate for this. Check your digital camera settings to make sure you take a well-exposed image.
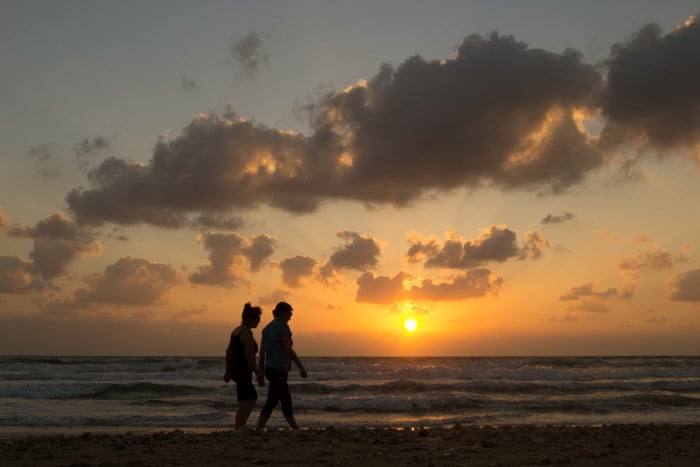
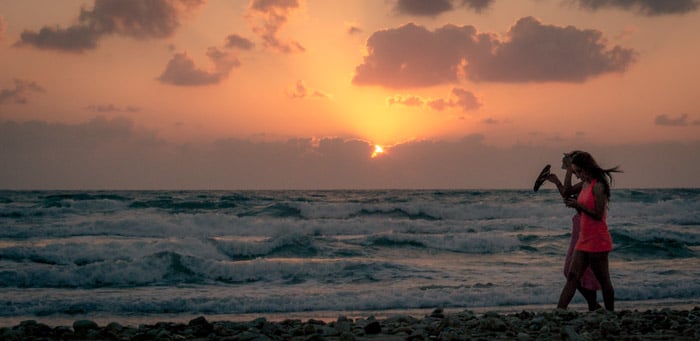
11. Create Silhouettes
Beaches have a lot of open spaces, which makes it a great place to take backlit photos. You can try backlight at any moment of the day, but it is easier to start when the sun is close to the horizon.
You can try different things to get different effects. The most dramatic one is creating silhouettes. You need to place your subject between your camera and the light source, in this case, the sun.
Then you set the exposure according to the lighter part of the scene (the background). The subject will be underexposed and remain dark, creating a silhouette effect.
 You can also adjust the exposure to lighten your subject a little and bring back some detail. Play around with exposure settings and get creative by trying different levels of darkness for your silhouetted subject.
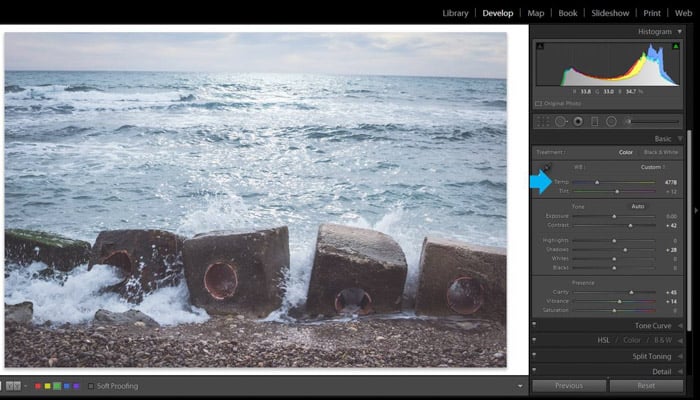
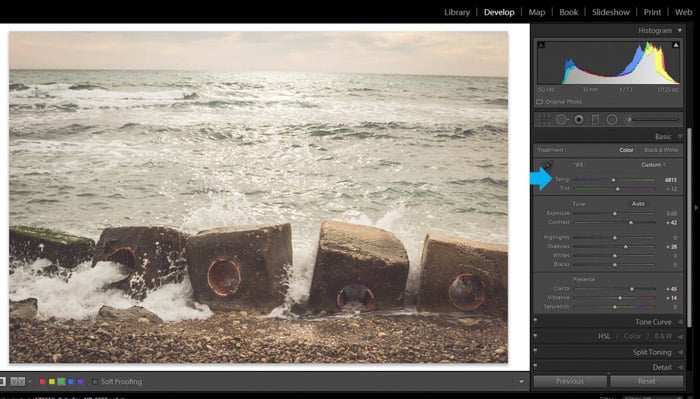
12. Play With Color Temperature
The colors of a scene have a significant role in its mood. We associate warm colors with happiness, joy, and optimism. Cold colors are related to calm and even sad feelings.
You can play with the colors of your image in order to get the mood you want. Most post-processing software has an option for doing so.
For example, Lightroom has a Temperature slider in its Develop module. You can make the colors of the whole photo warmer or cooler by moving the slider right or left.
Common Beach Photography Questions
What Settings Should I Use for Beach Photography?
Beaches are usually quite bright. So, keep the ISO low, around 100 or 200. Use a large f-stop number between f/8 and f/18 so the entire beach is in focus. This will also reduce the brightness. With these settings, you can play with the shutter speed. If you want to show smooth waves, then you can try a long shutter speed. Or you can freeze the motion of the waves with a fast shutter speed.
If you are taking a photo of a particular subject and want to focus on them, you should use a wider aperture (smaller f-number). This will focus on your subject and slightly blur the background. Using a wider aperture will let more light in, so compensate by using a faster shutter speed.
Which Lens Is Best for Beach Photography?
This depends on what your subject is. If you are shooting landscapes, a wide-angle lens is best. A wide-angle lens with a focal length between 17-40mm works great.
If you are taking portraits on the beach, then a 50mm or an 85mm with a wide max aperture is great for blurred backgrounds.
How Do You Take Beach Pictures at Sunset?
Because there is less light during sunset, you will need to compensate using one of the three exposure triangle settings. Shoot in RAW so that you can bring back some of the detail in the shadows during post-processing.
You can also take three pictures with different exposures and merge them to create an HDR image in post-processing. This way, your photo will have a gorgeous range of visible details.
Conclusion
The great thing about creative beach photography is that you can approach it in a lot of different ways. Depending on the time of the day or the season, the same beach will look totally different.
You can play with different shutter speeds to freeze the scene. Or you can take long exposures to make the water and clouds look silky. You can take great photos during the golden hour and take advantage of the backlight. And you can do landscape, portrait, and nature photography!
There is always something interesting to shoot at the beach!