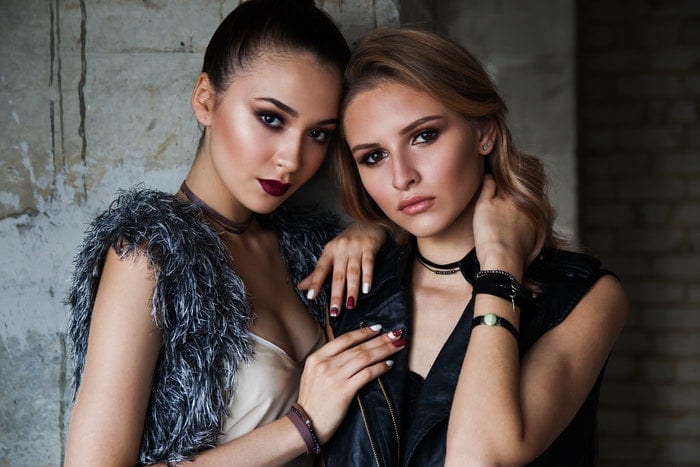
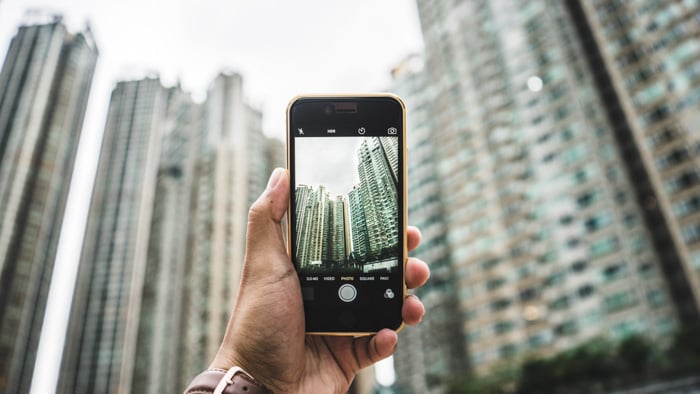
Smartphones have come a long way in the past few years, and today they are capable of taking some pretty amazing photos. So if you're looking to get into fashion photography, but don't want to invest in expensive camera gear, your smartphone is a great option. Here are 12 tips for creating fantastic fashion photography with a smartphone.
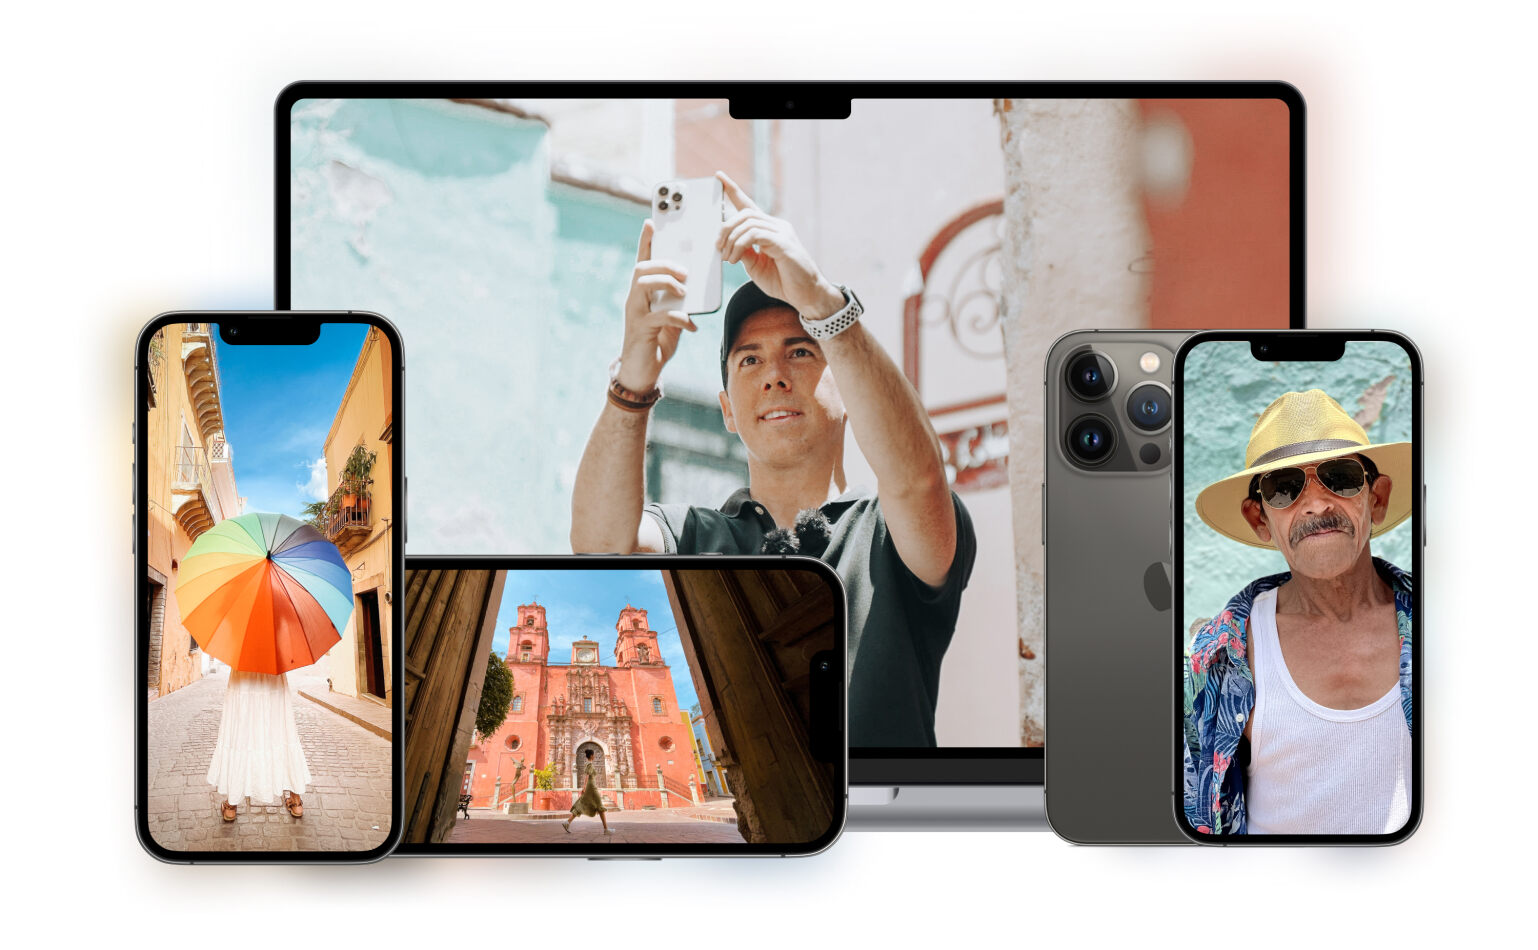
12. 12. Develop a Theme: Fashion Photography With A Smartphone
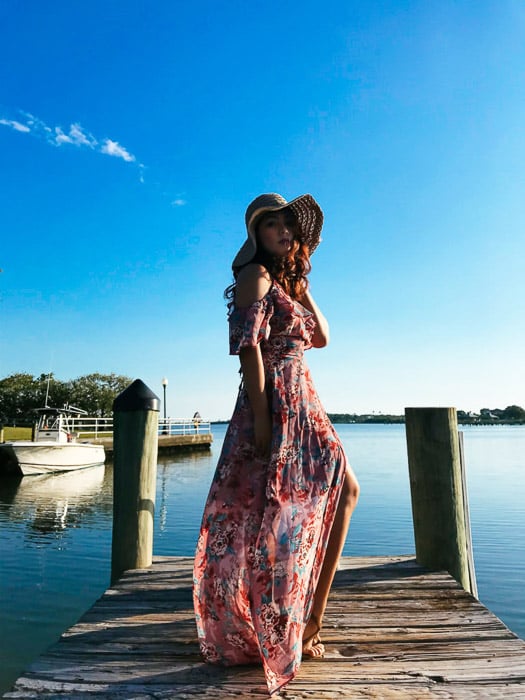
When planning for your smartphone fashion photography shoot, feel free to collect pictures online and use them to create a mood board. Just think of it as a scrapbook where you keep everything that inspires you.
The most popular online tools for creating a mood board include Pinterest and Mat Board. These apps allow you to post pictures and share them with other people.
This process not only helps you better visualize your smartphone fashion photography concept, but it also helps convey your idea to other collaborators. For instance, if your model wants to know what you're going for, all you have to do is send them your mood board.
Showing people pictures is always more convenient than just telling them about it.
11. Look for an Excellent Location
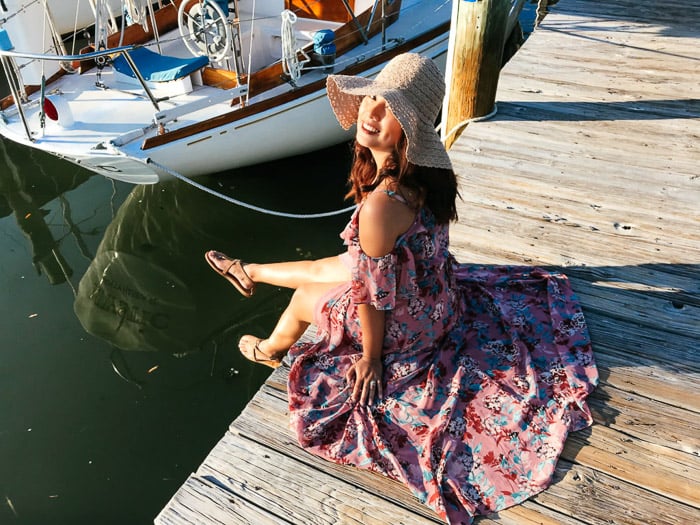
Now that you have a concept, the next step is to look for a smartphone fashion photography location to turn your ideas into reality. Of course, the most obvious approach is to find accessible public spaces such as squares, parks, and beaches.
You can also drive around and look for lesser known areas. You'll be surprised to find plenty of smartphone fashion photography shoot-worthy areas if you keep your eyes peeled.
By exploring your neighbourhood, you can find beautiful murals or interesting structures that you’ll want to include in your photos.
However, you also have to keep in mind that some of these places could be private property. If they are, you have to ask for permission because you can't shoot there otherwise.
In most instances, an area is still technically public space if you take pictures on the sidewalk and as long as the property is not readily recognisable. If in doubt, it never hurts to ask for the owner’s permission directly.
If you're doing the photo shoot with a real client, it's always a good idea to furnish them a property release to avoid any legal liabilities. The document provides proof that you have permission to shoot on the property.
Of course, this document wouldn't be necessary if you're in a public space (not unless it specifically states it’s required).
10. Make Your Phone More Ergonomic
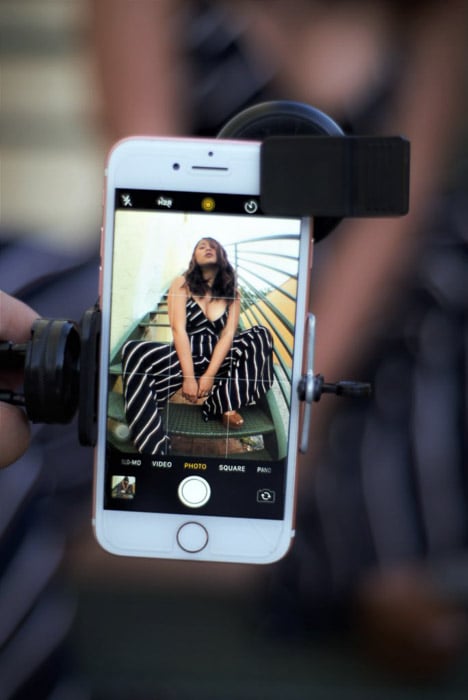
Smartphones may have highly capable cameras these days, but they're still not quite ergonomic. To keep your phone stable while taking fashion photos, then you need to make it easier to hold.
The most convenient solution is to install a pop-up phone holder behind your phone. That way, you don't have to hold it awkwardly while taking smartphone fashion photography.
You can also buy a smartphone tripod holder and attach a (or even a selfie stick) to it. The tripod serves as a handle which you can securely hold. For certain shots, you can also set it up and place your phone on a flat surface for added stability.
Having a more ergonomic phone set-up will help when you have to take a bunch of smartphone fashion photography. Apart from keeping your phone stable, your wrists and fingers won’t get as tired.
9. Prioritize the Light
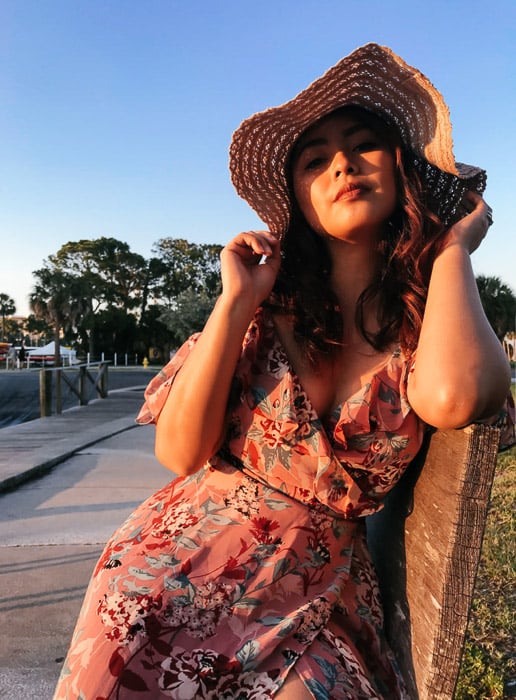
Even if you think your phone is good at taking pictures in low-light conditions, it would still be best to take smartphone fashion photography where there's good lighting. Remember that your phone's sensor is smaller than any regular camera out there. That means it needs a lot of light to capture images.
Otherwise, there’s a good chance you’ll end up with grainy pictures. They may not be that visible at first glance, but once you enlarge them, you'll likely see some noise due to inadequate lighting.
The best times for smartphone fashion photography are often early in the morning or late in the afternoon. During these times, the sun is still bright enough to produce crisp smartphone photography pictures.
Apart from that, it also doesn't create harsh shadows that make people look unappealing. Furthermore, the golden light does an excellent job of making people's skin glow and smartphone photography scenes more vivid.
If you're shooting indoors, avoid artificial lights if you can. They often cast unnatural colors that may make your model look less attractive. Instead, try to pose your subject near windows or doors where you can use the ambient light coming from outside.
If you have to use indoor lighting, make sure it’s bright enough to produce clean, crisp photos even when you zoom in.
8. Mind Your Composition
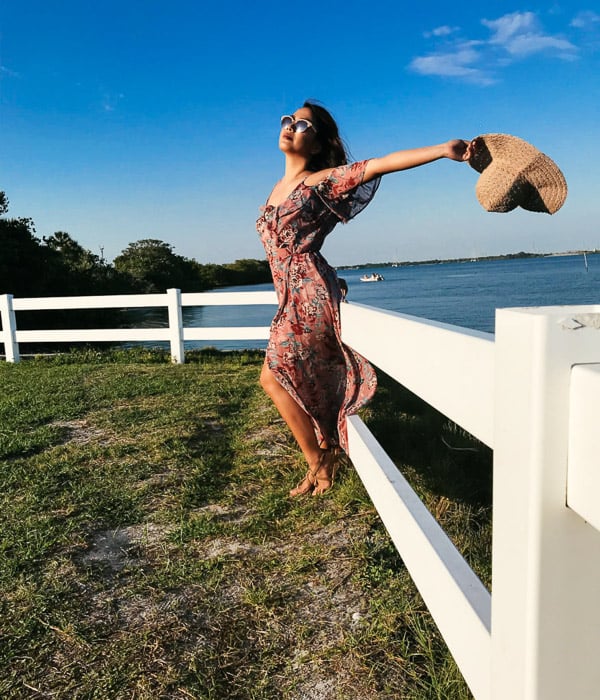
Always be aware of your composition whether you're using a regular camera or your phone for fashion photography. There are many different rules when it comes to framing your fashion portraits.
However, the easiest one to follow is arguably the Rule of Thirds especially since your phone has that feature.
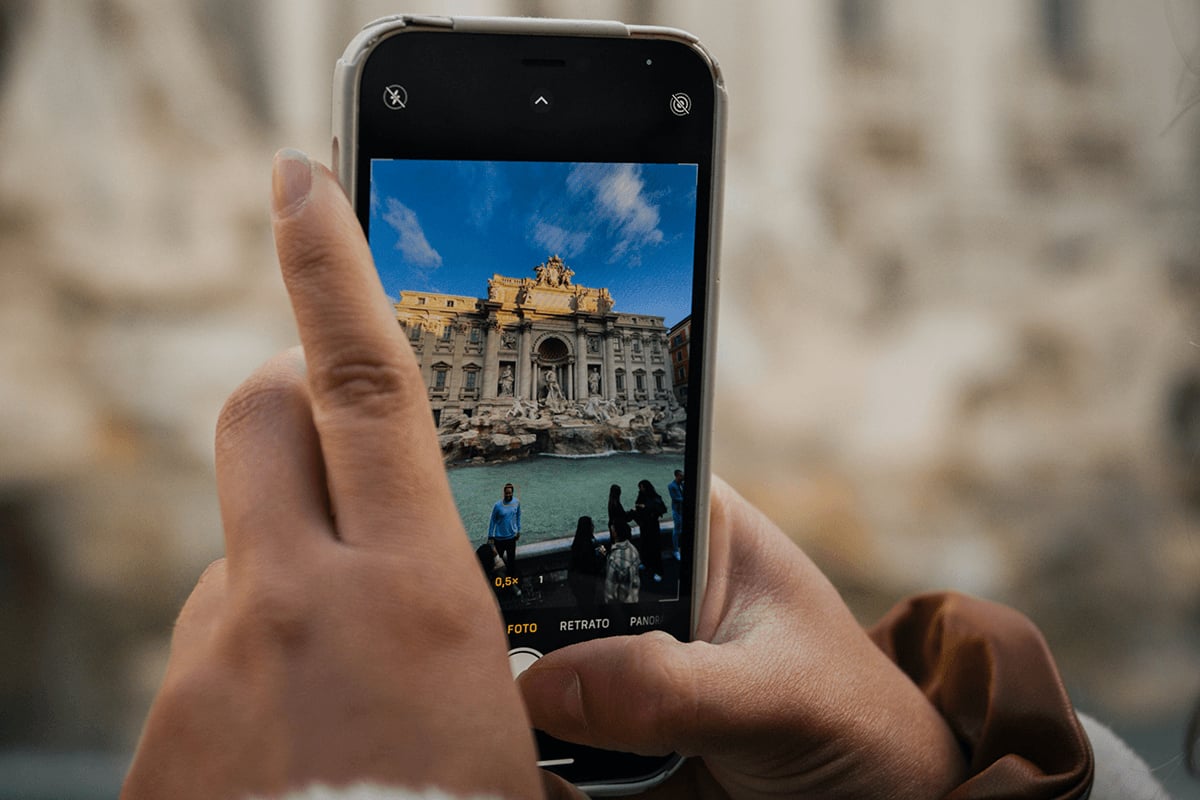
To apply the Rule of Thirds in your composition, you first need to turn on the gridlines of your phone. Once you activate it, you'll see nine boxes that divide the scene. To compose your shot, place your main subject in the areas where the lines intersect.
In most situations, it could be your model's head, eyes, or the entire length of their body.
Always include any part of the body that can bend, especially the wrists and the ankles. Otherwise, your subjects end up looking like they're missing limbs. For medium close-ups, you can get away with cutting the frame from the chest or the waist down.
7. Use AE/AF Lock
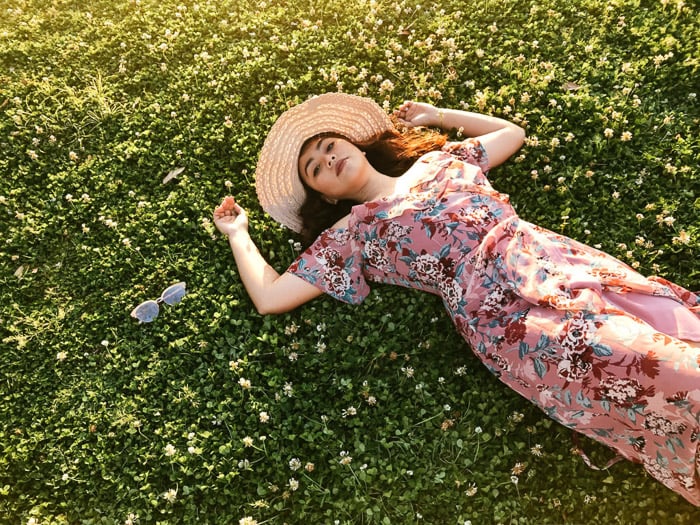
Since you can't physically adjust the focus of your phone's , you have to rely on its autofocus function. In many ways, what makes iPhone photography quick and easy is its ability to change the focus and the exposure by itself, so you don't have to.
However, autofocus doesn't always get everything right. Sometimes, it focuses on the wrong parts of the frame, and you end up with a blurry image. To prevent this from happening, tap on the face of your subject (or another point of interest) to make sure they're sharp.
Hold it for about two seconds until you enable the AE/AF lock (for auto exposure and focus).
Whenever you're doing a fashion photo shoot with your phone, picking your focus area should be the standard procedure. If you fail to do so, your images may or may not be in focus.
6. Communicate With Your Model
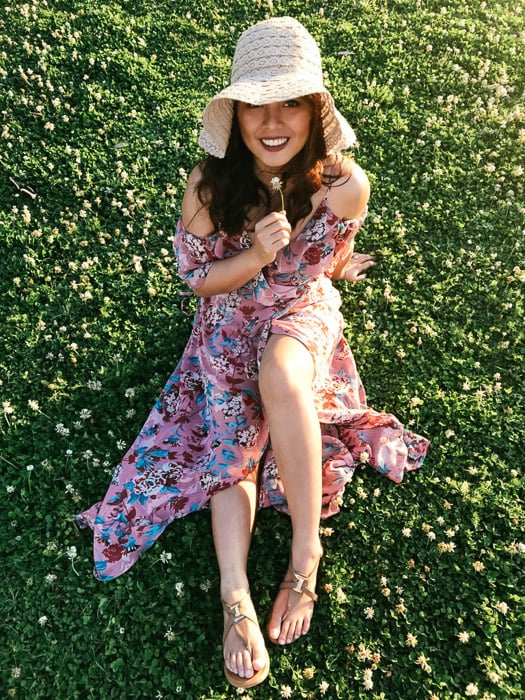
Fashion photography is more than just learning how to compose your shots. You also have to know how to communicate with your model to get the image you want. Even if you're a good photographer, you'll most likely end up with mediocre photos if you don't know how to direct your subject.
Before you begin the photo shoot, tell your subject about the mood you’re after and what type of emotions you'd like to see from them. This will help them internalise your concept so they can execute it better.
In a way, models are just like actors. They need to have the right expression while posing.
When shooting, always give out simple verbal orders with clear directions. Would you like them to look left, right, up, or down? If they're not quite getting the pose you want, ask their permission if you could touch them to adjust their position.
For instance, if you want them to tilt their head at a particular angle, you can’t just tell them to look left or right. Sometimes, it’s better to direct them gently with your hands.
Alternatively, you can mimic the pose yourself so they’ll have some idea what you’re going after.
Another tip to help you direct your model better is by saving the mood board you created on your device. If you're having trouble explaining a pose to them, you can always show them the reference photos on your phone.
5. Experiment With Different Angles
Make your photos look more engaging by trying different angles. Apart from typical eye-level images, you can also incorporate low angle and high angle shots. Depending on the look you want to achieve, you can experiment with unusual perspectives as well.
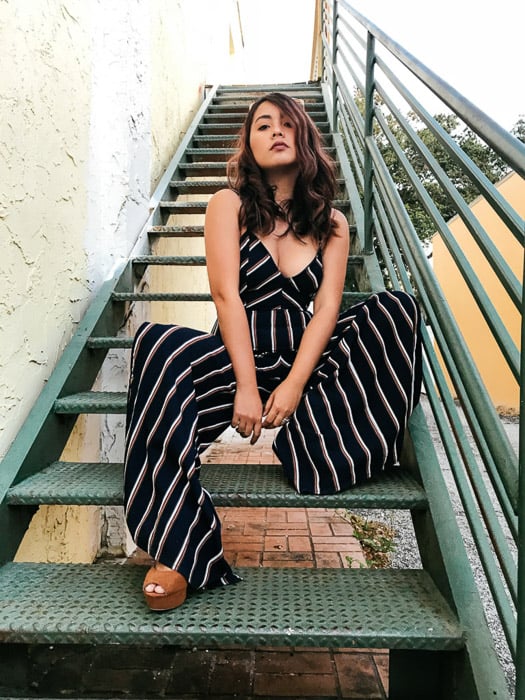
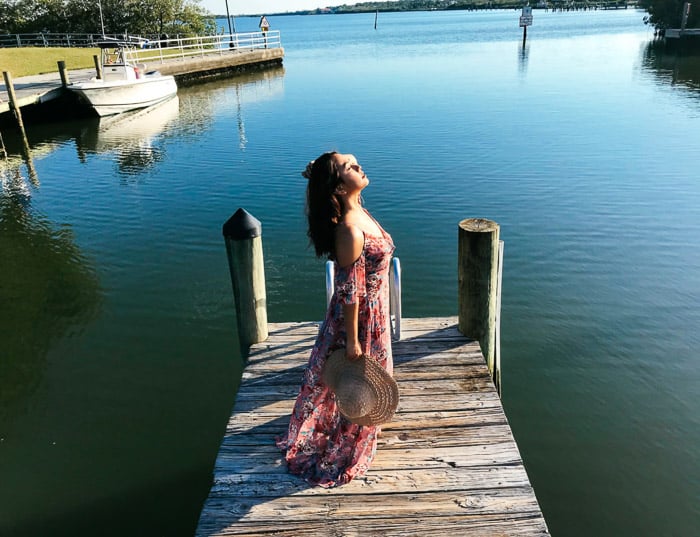
You can even create a drone-like angle shot photo like the one shown below with a selfie stick. For a higher reach, hold your arm up and take a picture using the selfie stick's remote or by activating your phone's self-timer.
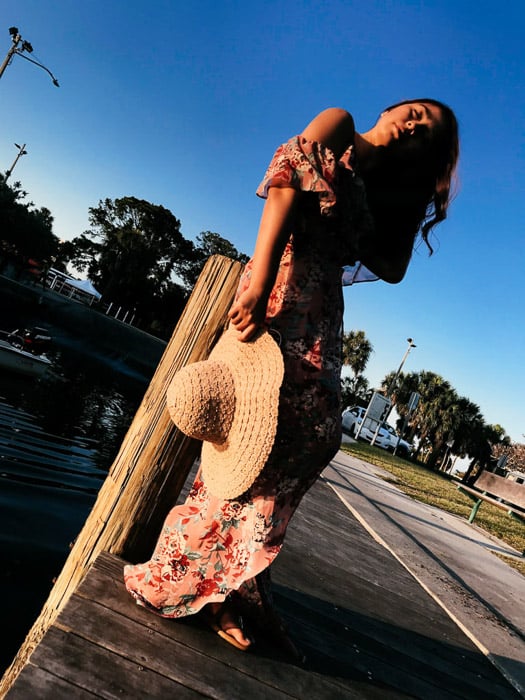
Furthermore, You can also try creative angles such as the Dutch tilt. All you have to do is to tip your phone slightly to the left or right and start taking photos. Because it's an uncommon way of framing your subject, it looks more artistic, and people tend to pay more attention to it.
4. Try Portrait Mode
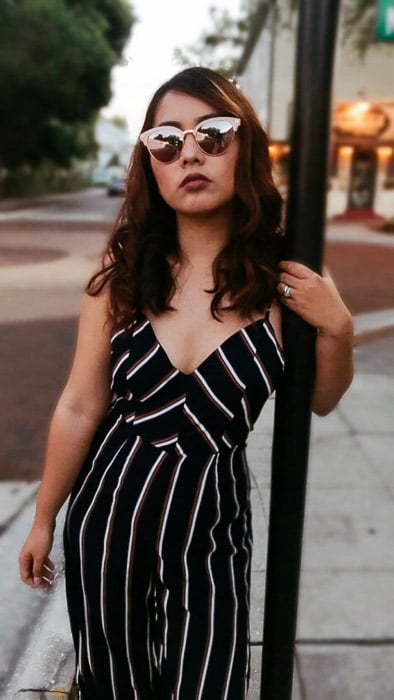
One of the greatest developments in smartphone photography is that you can now blur the background just like a . Although it's not perfect, it's still useful especially if you have plenty of distracting elements behind your model.
Unfortunately, not all phones are capable of creating "bokeh" (fancy word for background blur). Currently, only smartphones with dual cameras can achieve this effect.
So how does it work? In simplest terms, the two cameras take photos simultaneously and combine them into one image. Your device then develops a "depth map" separating the foreground from the background and subsequently applies the blur.
To apply bokeh for your iPhone photos (7 Plus or newer), all you need to do is switch to Portrait Mode. Tap to focus on your subject, and once the depth effect marks turn yellow, you can start shooting.
You can see the blur in real time as well, so you don't need to guess how the images would appear.
If your phone only has one camera, there's no need to frown because you can achieve a similar effect using Instagram. You heard that right. Your favourite photo sharing platform recently launched a new mode on Instagram Stories that allows you to blur the background.
Just tap on the Stories camera, and switch to Focus Mode.
Once it detects a face, it will automatically blur the background for you. When you're done taking the photo, you have the option to save it as a regular image and not as a story.
3. Have Fun With Detachable Lenses
The problem with using your phone as a camera is that you can only use one lens for everything. Even though some high-end smartphones with dual cameras now offer optical zoom and wide angle options, their capabilities are still quite limited.
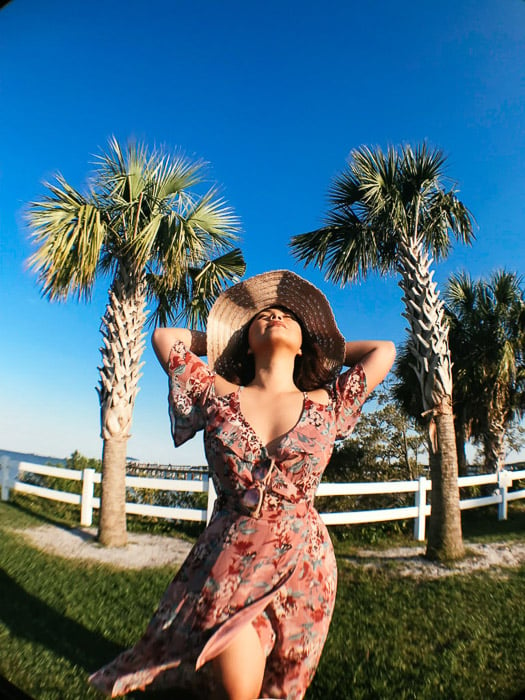
If you want more flexibility when it comes to smartphone fashion photography, you can try using clip-on lenses on your device. Most kits come with three lenses: fisheye, wide-angle, and macro.
While you most likely won't need the macro attachment for your shoot, you might find the wide-angle and fisheye useful for specific situations. To help you use them effectively, we first need to differentiate one from the other.
As the name suggests, wide-angle makes the scene look broader than usual. It's often used for photographing in tight spaces where regular lenses can't be used. It's perfect for shooting inside small rooms or including buildings in the background.
Meanwhile, the fisheye is the supersized brother of the wide-angle; it includes even more area in your frame and the edges often look warped (like looking through a fish's eyes).
Due to the distortion, this type of lens is commonly used for creative purposes more than practical applications.
It often exaggerates specific elements in the frame that wouldn't otherwise be difficult to see. It's perfect for photographing small items such as jewellery, or emphasising the length of a dress among many other uses.
2. Use Different Props

Using props doesn’t just emphasize the clothes, but it also makes your smartphone fashion photography look engaging. Furthermore, they also help you create different looks from a single outfit.
However, you can’t just apply props in any manner you please. You have to know how and when to put them on your model. The secret is to use them sparingly.
If your subject is over-decorated with accessories, the outfit you're supposed to highlight could end up getting overpowered. So keep it simple and make sure they work well with the ensemble.
If you're unsure about how your props would look in your photos, feel free to swap them out and shoot each style you come up with. For instance, you can take a picture of your model with sunglasses, and another one without.
That way, you'll have a variety of smartphone fashion photography images to choose from. If they don't contribute to the quality of your image, you're better off not using them at all.
1. Edit Your Fashion Photography
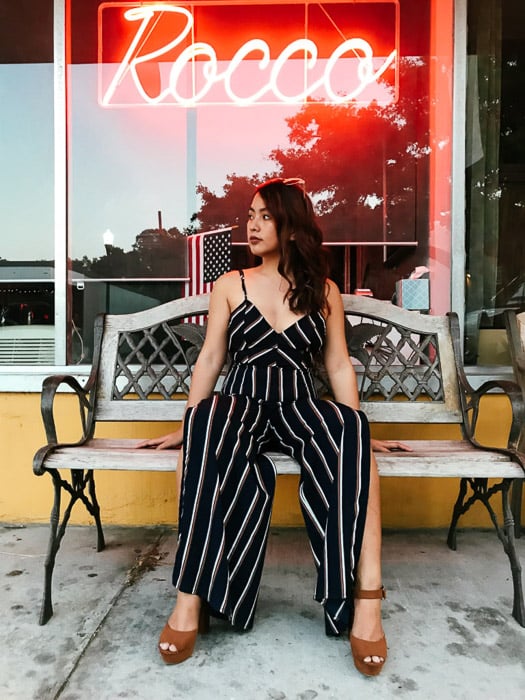
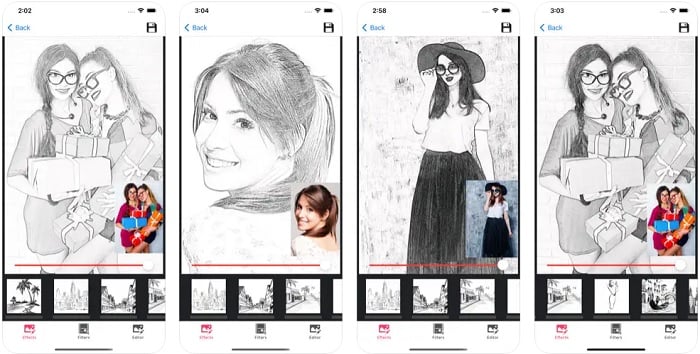
In many ways, editing your iPhone photos is more convenient than doing it on your computer. There's no need to transfer your files anymore since they're already on your device. Additionally, you can also edit, save, and share your images directly from your phone.
There are plenty of editing apps you can use for smartphone fashion photography. The most popular ones are VSCO and Adobe Photoshop Express.
If you want to apply a preset (a.k.a. filter) on your images and change elements such as contrast and exposure, then VSCO is the best app to use. However, if you want extensive retouching (such as removing blemishes in your image), then Adobe Photoshop Express has all the right tools you'll need.
These apps are both easy to use and intuitive. However, since they're mobile programs, they're also not as robust as full editing suites. If you're having trouble retouching your photos on your screen, you can always transfer them to your regular computer and edit them there.
Editing smartphone fashion photography is ultimately a matter of personal taste, and it's up to you to create the look you want. But no matter what you do, always make sure that the exposure and contrast of your image is just right.
Once you start losing detail, that only means you're going too far and should scale back a bit.
Conclusion
Even with all the impressive features of your mobile device, it's still not going be as good for fashion photography as a dedicated camera. Nevertheless, if you take advantage of its capabilities, you can create impressive work with it.
Although equipment matters, it's ultimately your skills that will allow you to produce great art. And the same photography rules apply whether you're using a DSLR or a smartphone.

