Concert photography is arguably one of the most adrenaline-filled niches you can engage in as a photographer. Your role is to tell the story of the musician’s performance. Usually in ten minutes or less!
Partner this with sporadic lighting and an excitable audience, and concerts can become a difficult environment in which to capture enough great photos to populate a full gallery.
Some find all this to be a hindrance, but others crave the rush! If you're brave enough to explore this exciting creative adventure, this article gives you some tips to take with you to your next show.
Concert Photography Equipment and Settings
In order to talk about cameras, lenses, and filters, we must first consider the shooting situation. You will be very limited on your lighting and working with colored bulbs that paint the subject with a very saturated color.
Live concerts are also high-energy and filled with action. Guitarists are swinging and percussionists are pounding. It makes it akin to action shooting, and this affects equipment choice.
Camera
You want to pack your best low light camera. There are other factors that matter but low light capability is the most important for concert photography. Look for models that have less noise at higher ISO levels and sensitive sensors that do well in difficult lighting situations.
In general, higher megapixel counts pick up much more detail than lower megapixel ones. However, the higher the megapixel count, the larger the file size. Make sure you stock up on a large SD or compact flash cards.
Commonly used Canon camera bodies for concerts include the 5D line and 1Dx line. Look for fast cameras to ensure that you capture all of the moments you desire, like the 7D line.
Lenses
The quality and final image look is based on the type of lens used. Since you are shooting in low light situations, I highly suggest only looking at lenses with a maximum width f/stop of 2.8. Lower is even better.
Using a lens that goes down to f/1.8, for example, is a great way to let enough light in and make the frame bright. The wider the aperture, the more light enters the camera and the shallower the depth of field.
Shallow depth of field is great for live concerts because the stage can be cluttered. Only having one subject in focus with the rest blending into a bokeh makes for a visually pleasing and simplified image.
Luxury glass, prime lenses, ART, and such higher end lenses are sharper and clearer than other lenses. They are also faster and more reliable.
As a general rule, fixed millimetre lenses tend to be sharper than lenses with a range. The downside to fixed is you have to physically move yourself in order to adjust the composition.
When looking at lenses, or a selection of lenses, consider your shooting distance as well. I always suggest taking a wide lens to the pit and a telephoto or zoom lens as a secondary.
The wide millimetre allows for photographing the musicians up close in the photo pit. The zoom range lets you capture the drummer or be ready for unexpected moments happening far away from you.
The most common lenses used for concert photography include 24-70mm, 50mm, and 70-200mm lenses.
Camera Settings
I've found that switching the camera to burst mode and continuous focus works best for concert photography. The burst setting is a must-have when strobes start going off on stage, or the musicians are hopping around.
Continuous focus has different names depending on the camera brand (AI Servo for Canon users or AF-C for Nikon users). It allows your camera to lock onto your subject and follow it around as it moves.
On the Canon 5D Mark IV, you can tell the camera how your subject moves and what obstacles may be present. You can adjust the various levels of sporadic movement, obstacle interference, and more.
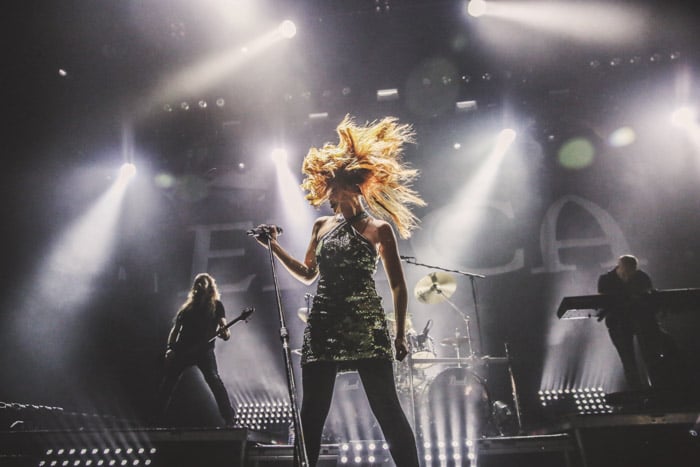
Epica
Take Advantage of Post Processing
Editing and post-processing should never be used as a crutch or an excuse for bad photography, but it is important to know what your skill set here is. If you know what you can fix in postprocessing, you can set up certain types of shots that can be considerably difficult to capture without some editing help.
For example, if you can fix red light, you can take photographs under those lighting conditions without worry.
Remember that shooting in RAW mode gives you much more editing capability later on in Lightroom or other photo editing software..
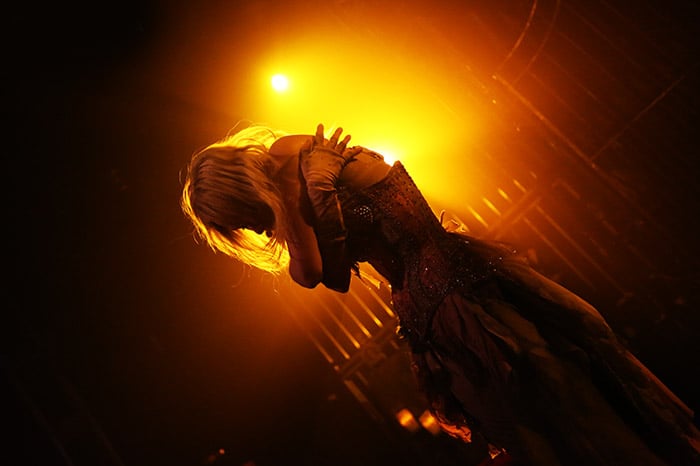
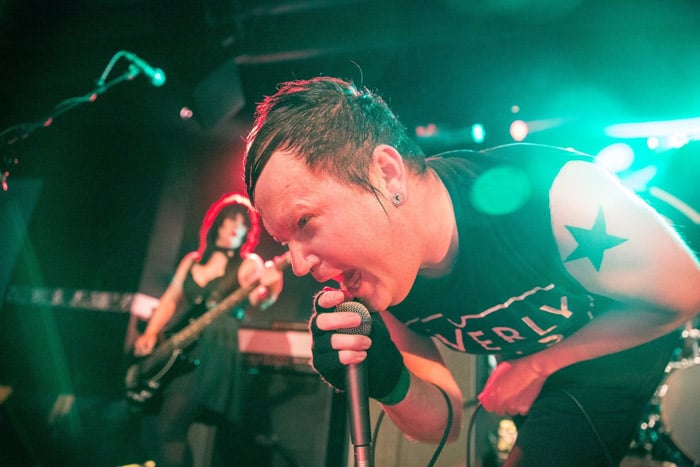
Emilie Autumn
Don’t Forget the Rules
Concert photography is very community-oriented. Being granted access to photograph inside a venue comes with rules. If you do not follow them, you may end up blacklisted and ruin any future chance of receiving photo passes.
For example, a photo pass given to a publication often restricts access or constrains your shooting time. But a photography pass from the artist gives you more free reign.
And the rules are:
- First three songs only. Most times, unless you have an All Access Pass, you will be restricted to photographing the first three songs only
- Photograph from the photo pit only. This is a barricaded section at the very front of the stage, intended for security and photographers only. More often than not, you are not allowed to shoot outside of this pit.
- No flash. The stage performers will not appreciate a flashing light in their eyes when they're trying to play music, and neither will the fans.
- Don't elbow, push, or otherwise physically harm other photographers
- Do not tap, grab, push, or physically touch the performers.
- Do not carry bulky camera bags and cases. The photo pit is a very limited space. If you have a large backpack over your shoulders or a suitcase at your side, you are preventing everyone from moving around. Most photo pit barricades have a space underneath them where you can store your belongings – use it!
- Do not shoot over your head and obstruct the view.
- Be considerate to fans. The fans are the ones who paid to be there, be kind to them. They want to have a good time too!
- Security guards have final say. Their job is to keep you safe, the performers protected, and the crowd unharmed.
- Don't sneak around. That negative reputation will impact your career tremendously, as well as whoever you are photographing for.
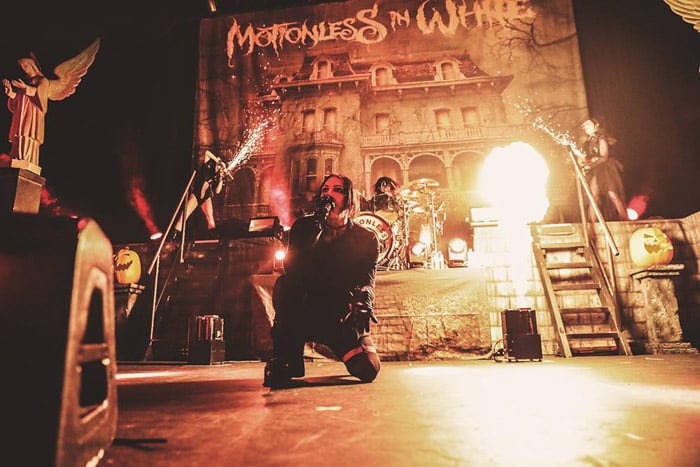
Motionless in White
The Outer Edge is Your Friend
My suggestion is to start on the outer edges of the pit or venue and work your way to the middle. Many concert photographers all flock to the center of the shooting zone, and begin shoving to claim their dead center spot.
The center is actually one of the worst places to begin photographing in my opinion. It is not very flattering if the front man or woman is positioned to sing there. No one wants to look up a musician's nose, and finding another position is difficult from that vantage point.
When you start from the edge, you'll find significantly more flattering compositions and angles.
The second downside to starting in the middle is having the flexibility to access the other musicians on the stage for pictures.
The third reason to start from either the left or right side is quite simple. While the other photographers are all fighting for the center, you have much more room to move around and get the perfect composition.
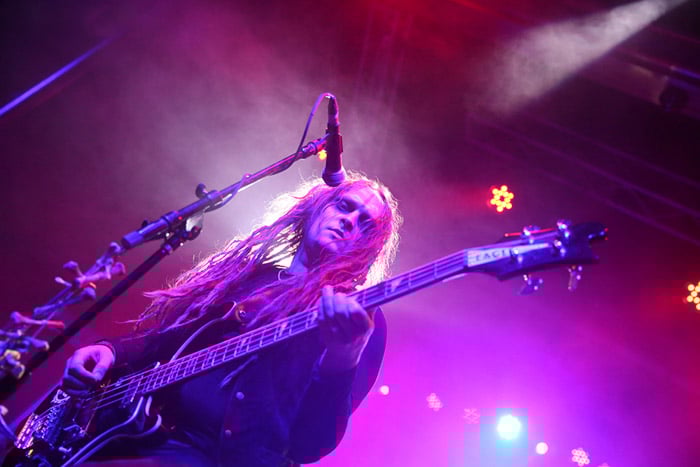
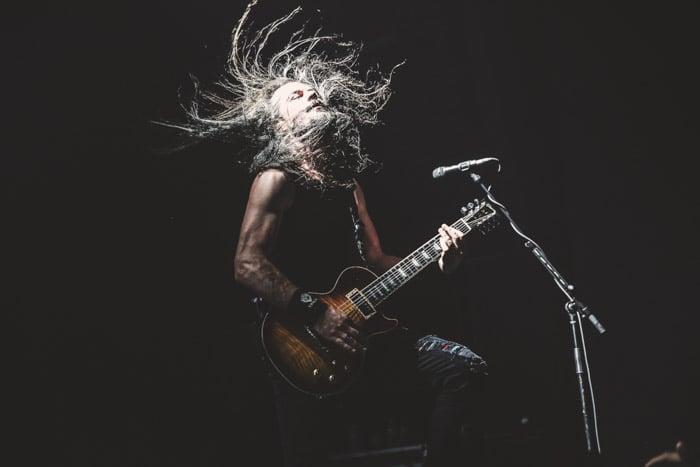
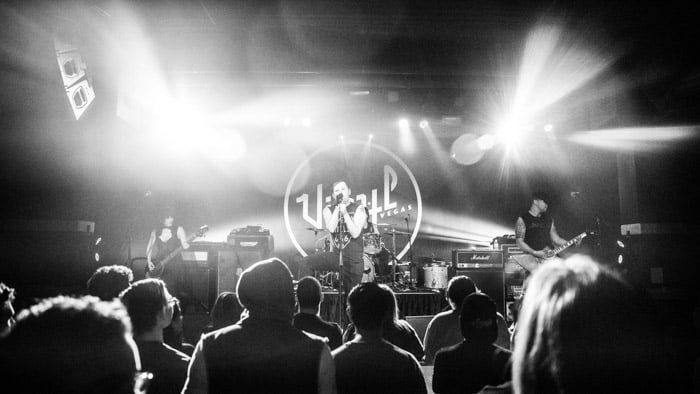
Anathema
Do Your Research Before the Concert
It is always an excellent idea to look up live concert videos, music videos, and the performer's songs before photographing a show.
It helps to know how long the songs are, and the performers’ style. You can better prepare your shots and estimate how long that three-song pass is likely to last.
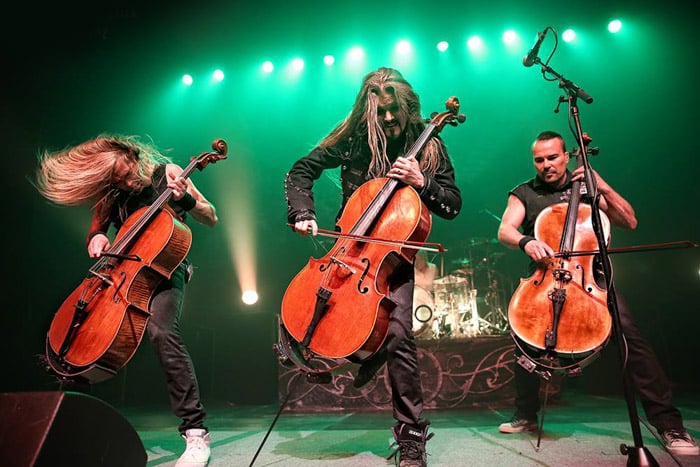
Apocalyptica
Be Prepared for the Unexpected
You never know what might really happen. Be ready for the unexpected, because that might just be your money shot.
Several years ago I was photographing metal act, Behemoth, in Southern California. I had photographed this artist four times prior but the fifth time, something new happened.
The front man appeared on stage carrying small torches, a lighting situation that I had not prepared for. I improvised and adapted. The resulting photographs went on to be featured in various outlets. And the band members themselves reached out to me to ask for the photos!
Experience helps you learn to adapt, but keep in mind that something unexpected might happen and do what you can for yourself to prepare for it. Practice being quick with your settings and have enough room to be flexible with whatever the show throws at you. You'll thank yourself!
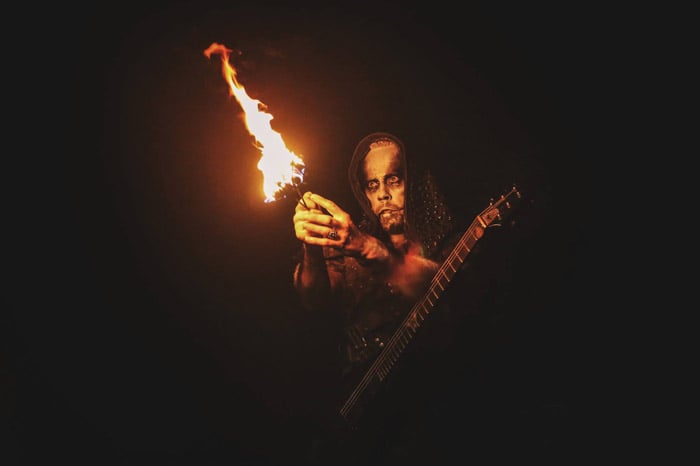
Behemoth
Understand Lighting (And Don't be Afraid of Red Light)
Stage lighting can differ tremendously between venues, and even show to show. The lighting can range from bright white strobes to deep red lights.
Here are some common setups that you will probably encounter:
- Many rock and metal acts use strobes, which are flashing white lights. This condition is notable for being one of the hardest to shoot through. The best way to shoot through this is to try and synchronize your shutter (set to burst mode) with the flashing light.
- Blue, Purple, or Green Light. These colors tend to come out rather dark on camera, so be sure to raise your ISO or lower your shutter a bit for these.
- Orange and Yellow Light. This light mimics sunny or golden hour lighting when shooting outdoors, and I find it to be the easiest to photograph.
- Red Light. Every photographer's headache is the dreaded red light. The crux of red light is that it is dark to shoot and tends to destroy details. However, red light can also make a very dramatic and moody image.
- Back Light. This light tends to blow out the background and darken the front. Decide which is more important to light for you, and stick to that!
- Front Light. This is the easiest to shoot in terms of exposure, but be aware of your shooting vantage point. Front lighting can create unflattering shadows on the performers.
- Spot Light. The best and most ideal lighting situation, photograph this like you would portraits outdoors as the lighting will be very even.
Epica
Odd Settings
Be prepared to shoot with settings that may be logically counter-intuitive. Often times, your ISO settings will have large numbers like ISO 3200 and your shutter speeds will be low to accommodate the low light conditions. Or, sometimes, your ISO will be very low and the shutter high to handle super bright white lights.
Motionless in White
Constant Vigilance
I cannot reiterate this point enough: be absolutely aware of your surroundings. It is easy to get lost in the zone when you shoot concerts, but a live music event is not the place to lose yourself.
If you don’t grow eyes in the back of your head, you'll most likely get clonked right in the temple by a crowd surfer, or smacked by a flying guitar. Make sure you know where everything is at all times – both your equipment, and all of the environmental elements around you.
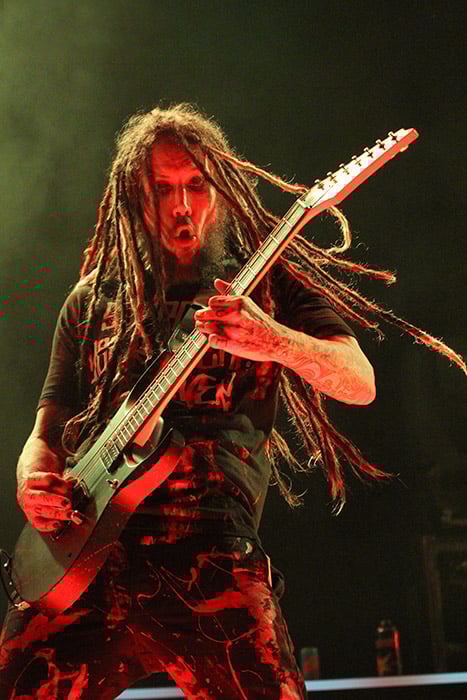
KoRn
The Moment Versus Technical Accuracy
Let's face the facts: we all pixel peep. I believe that over time, passionate photographers get a bit anxious over technical perfection in images (I know I sure do sometimes!).
However, if you have to choose between capturing a fantastic story and ensuring equipment perfection, pick the story. This doesn’t mean that you should disregard technical proficiency.
One of the best phtoography tips I can give is, don't get lost in your pursuit of it and forget your purpose for photographing the event.
There is No Us
Don't Forget the Crowd
Although concert photographers focus on the band on the stage, the audience is just as important. Don't forget to turn your camera to the crowd and photograph their reaction to the performers on stage. Crowd shots are used just as frequently as rock star imagery!
There is No Us
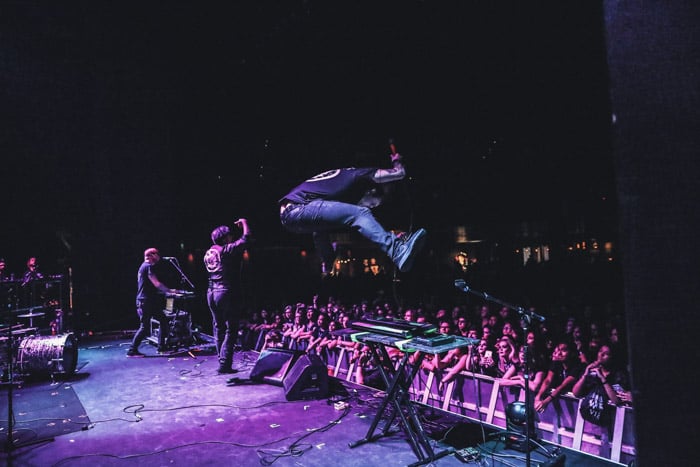
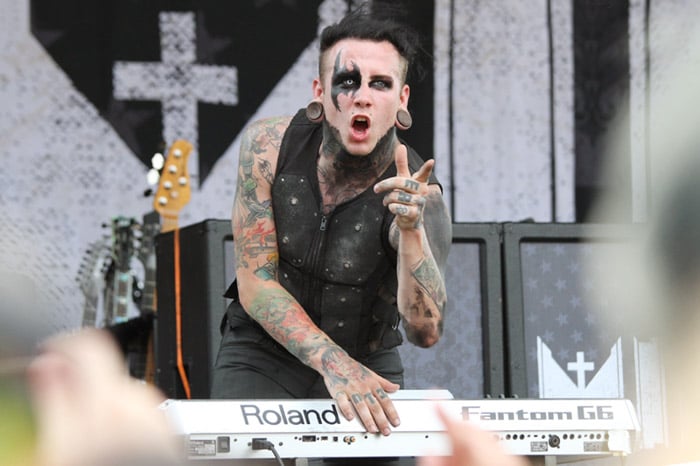
William Control
Bonus Tip: Backstage Concert Photography
Being backstage is a luxury, not a right. All of the key players running around the back are there to do a very important job: Making sure the show goes on. Try your best not to interfere with what is happening behind the curtain, the last thing you need is to be responsible for problems with the show.
The musicians themselves are also often in their own headspace, preparing for the performance. Take the photographs you're there to take as quickly and unobtrusively as possible.
And be sure to follow all instruction and protocol given to you for the backstage area by security or anyone else in charge.
Portability is Key
Often times, the backstage is quite cramped. Music equipment requires a lot of room, the number of personnel running around, and the space needed by each musical artist. .
Opting for lightweight and portable equipment will allow you to move around quickly and easily. Just take the one or two lenses you absolutely need and a lighting unit that folds down as small as possible.
Be Creative
There often isn't much option backstage in regard to backdrops and compositions, so this is your moment to be creative. Make a dull space cool by posing your musician subjects in fun and unique ways.
This is even an opportunity to use a lens with a bit of distortion in the glass, such as a fish-eye or a wide angle. If you can find a hallway, use a lens with a wide aperture to take advantage of the depth of field.
If those in the back do not mind, backstage photography is also a great opportunity to take incredibly story-telling candid pictures.
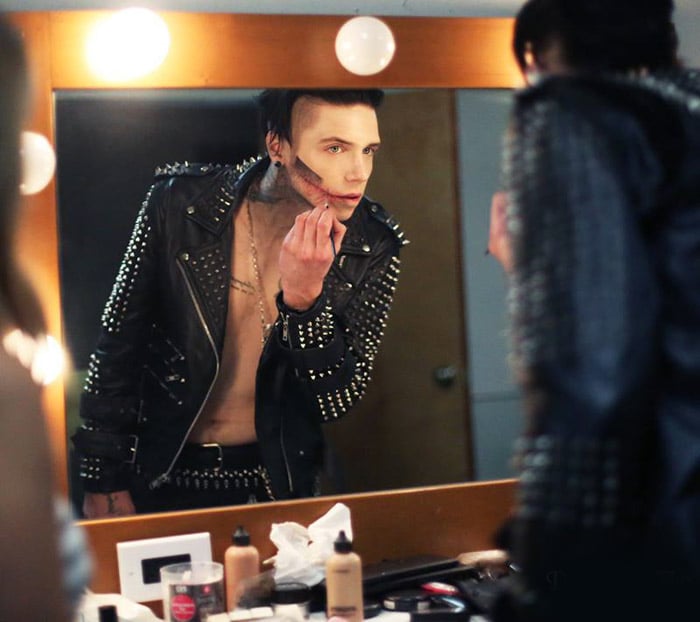
Photographing a performer's emotion before they step onto the stage or the intensity with which they apply makeup has made some images absolutely iconic.
Don't Forget to Say Thank You
This is a tip that should be common sense but far too often goes ignored. Don't forget to thank everyone from the person who granted you the pass ( be it big venues or smaller clubs), to the musicians, and even the workers that made room for you to take photographs. This is one of the keys to building long-lasting business relationships and getting invited to more concerts!
Conclusion
Live event photography can be difficult, but incredibly rewarding. The right gear and some know-how will have you tackling concert photography with confidence in no time.
So add the above tips to your photography tool belt and go capture some electrifying live concert photographs!
Looking for more event photography tips? Check out our new post about nightclub photography next!


