Time-lapses are made of hundreds (if not thousands) of pictures. You can use any camera to create stunning stop-motion videos of cities, parks, and other busy locations.
With the help of a few drone time-lapse techniques, you can take your time-lapses to the next level.

Tips for Drone Time-Lapse Photography
How Shooting (Instead of Filming) Drone Time-Lapses Can Improve Your Photography
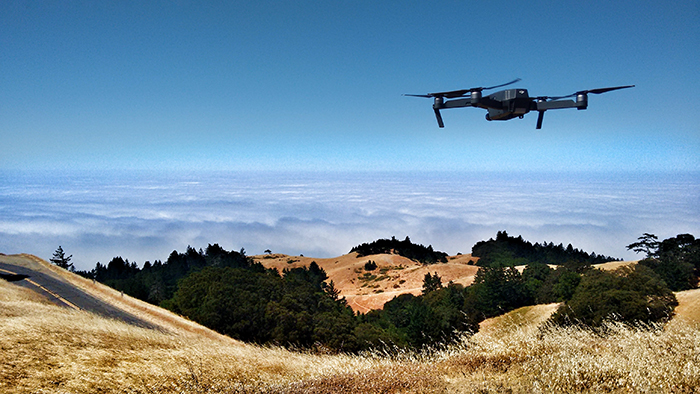
Most drones come with great recording features. Technically speaking, you don’t need to take pictures to make a great video. Many photographers prefer filming over taking hundreds of photos because:
- the editing process is easy;
- you don’t need to spend a lot of time outside to get the right footage; and
- you’re completely safe from the glitches that come with time-lapse photography.
However, time-lapse photography has many benefits of its own:
- you can edit the time-lapse the same way you’d edit a normal photo;
- photos are smaller than videos, so the editing process is likely to be quick;
- taking photos won’t drain your battery as quickly as filming something; and
- you’ll have individual frames that you can use as separate photos in your portfolio.
What Drone Should You Use for Time-Lapse Photography?
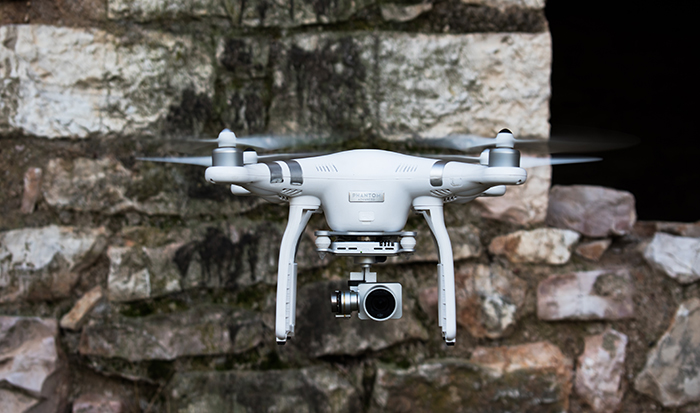
Most drones come with special hovering features, so you can use anything you like. According to many popular drone photographers, some of the best drones in the business are:
- DJI Mavic Pro (or any drone in the Mavic series)
- DJI Phantom 4 Pro
- Parrot ANAFI.
Find a Safe and Picturesque Location to Have a Smooth Photoshoot
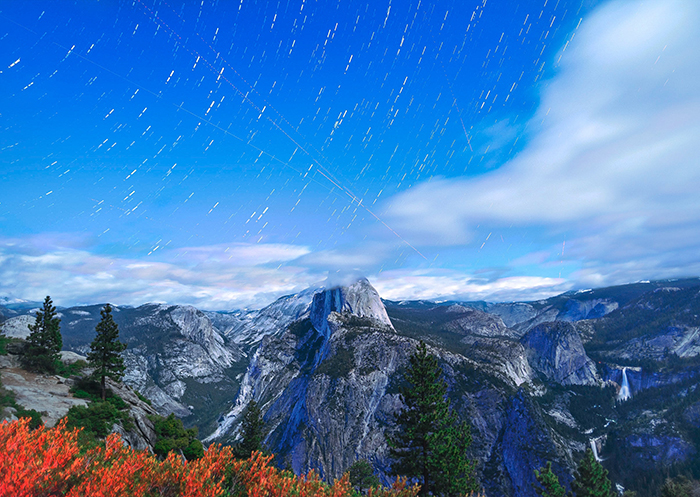
Two of the most important parts of a time-lapse are the smoothness of the movements and the location.
Your job is to find a stunning location that won’t look boring in a time-lapse video. The more diverse the movements, the better.
Think of waterfalls, bright cityscapes, and cars. If you want, try to tell a story through your time-lapse. Choose a subject that means something to you. This will make the shooting process more fun and add depth to your final results.
Make sure the location you choose is safe. You’ll have to shoot for at least half an hour to get great results. If there are too many tourists or obstacles, you might find it difficult to have a smooth photo shoot.
Visit the Location at Different Times of Day to Discover Your Favourite Lighting
Once you pick a location, you need to photograph it at the perfect time of day.
Clouds look brilliant in time-lapses. Sudden transitions from day to night can also create an interesting effect. You might want to shoot right before these transitions begin. This will keep your time-lapse diverse and interesting.
The blue hour and the golden hour are both great times of day for moody time-lapses. The light during these times is even. This can help you capture lots of details. No need to worry about underexposure or overexposure!
Take a few pictures of your location at different times of day. Then, compare the images and find your favourite lighting. This is one of the most efficient ways to make the most of a location and its lighting.
Shoot During the Right Weather Conditions to Avoid Glitchy Time-Lapses
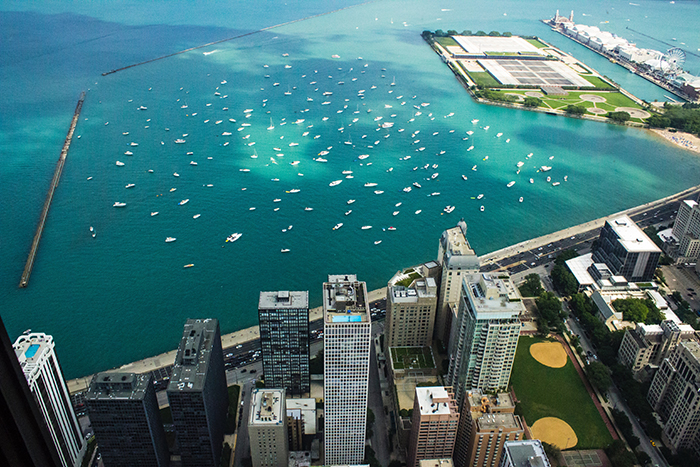
Your drone needs to be still for your time-lapses to work properly. If it keeps moving and shifting, your results will end up looking glitchy.
You can avoid this by taking photos when it’s not windy. The more neutral the weather, the better. Plan your photoshoot a few days before you go out so that everything goes smoothly.
Also, make sure there aren’t any obstacles around that could accidentally hit your drone. Watch out for branches, kites, and other people’s drones.
Create Harmony in Your Time-Lapse by Using an ND Filter
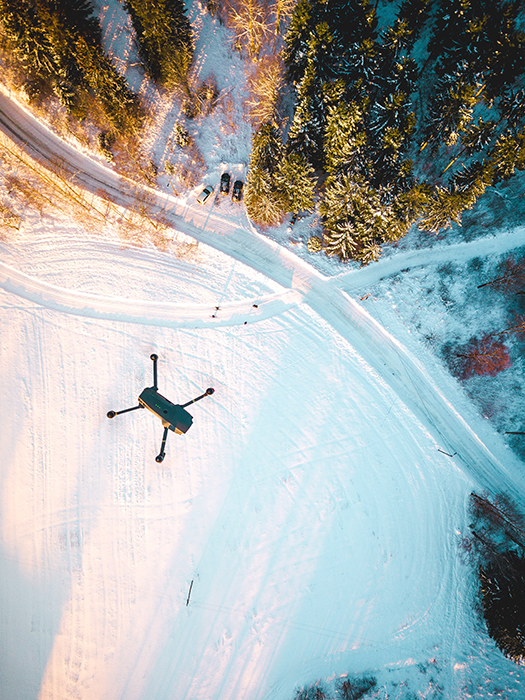
Imagine you’re taking photos on a sunny day. Your landscape is visible, but the sky is completely overexposed. You can fix this in post, but it might take a lot of time. You can also lower your exposure, but that might make your landscape look too dark.
The easiest way to fix this is to use an ND filter for your drone. This is a popular filter in digital photography because it instantly enhances any landscape. The filter will neutralise every part of your image. It will darken the sky and any other blown highlights.
This will result in an image with details that work in harmony together.
Time-lapses made with an ND filter are more appealing to the eye. They’re also easy to edit because of their high dynamic range.
Drone ND filters are within the same price range as normal ND filters for digital cameras. They can be a great investment if you want to take drone photos (or create drone time-lapses) regularly.
Shoot in Manual Mode to Have Full Control over Your Time-Lapse
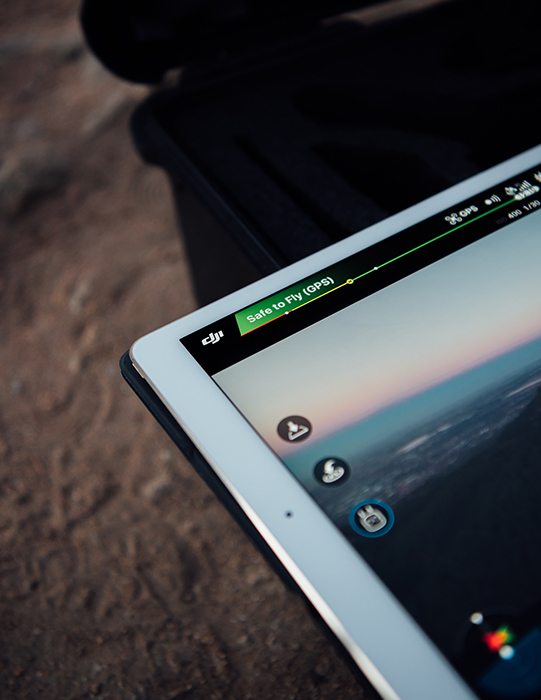
Most drones come with advanced features. You can choose to shoot automatically or manually.
In general, manual mode is much better than automatic mode because it gives you more control. Automatic mode is the easier option, but it might not give you the effect you need.
In manual mode, you can control tones, shutter speed, aperture, and much more. This is very important when you create your time-lapse. The less you need to edit later on, the easier it will be to create a smooth time-lapse.
Use a Slow Shutter Speed to Create a Dreamy Motion Effect
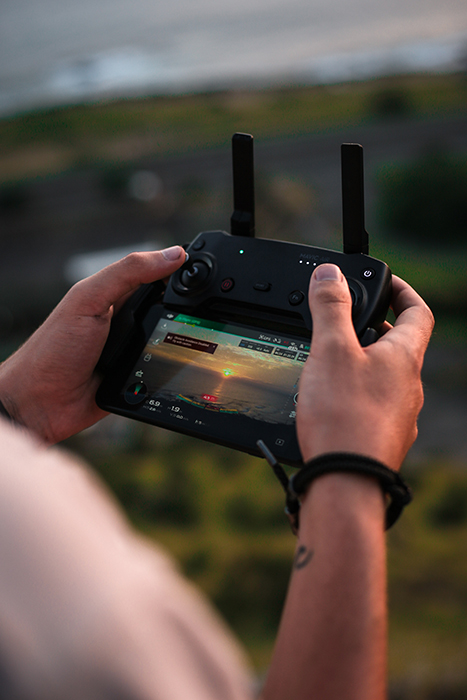
A fast shutter speed means that your camera will quickly take photos. The slower it is, the slower the camera will capture everything.
In general, slow shutter speeds are used to create abstract photos. They also come in handy in long exposure photography, where smooth movements are a priority. In other genres, like portrait photography, sharpness tends to be more important.
In time-lapse photography, a slow shutter speed should be your priority. The reason is that the movements you capture need to look smooth. This way, your final photos will be able to blend into one another seamlessly.
If you use a fast shutter speed, your final time-lapse might look like a quick slideshow.
Make Your Time Interval 2 Seconds or Less to Create Smooth Transitions
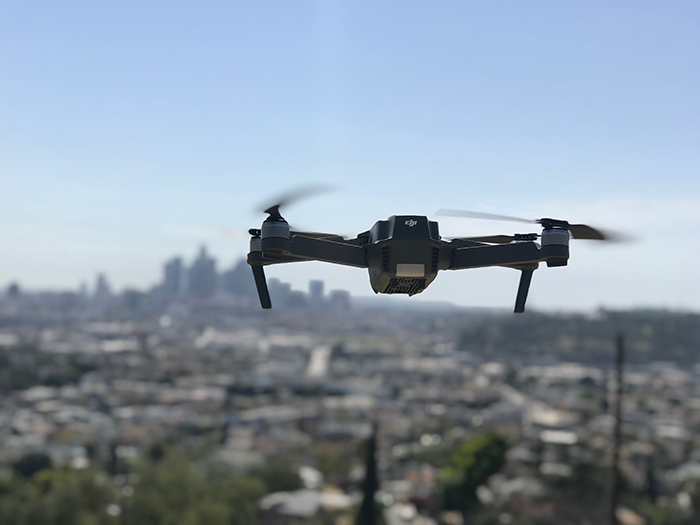
Another important factor to consider is time intervals. These determine how often your drone takes pictures while it’s hovering in the air.
Many drone photographers recommends selecting 2 seconds or less. This means that your drone will take a photo every two seconds. If you choose anything longer than that, the movements in your time-lapse might look unnatural.
Combined with a slow shutter speed, a 2-second interval will help you drone capture movements effortlessly.
(Extra tip: If you shoot in RAW mode, your drone might not let you choose 2-second intervals. Some drones allow 5-second (or longer) intervals in RAW mode.)
Shoot in JPEG to Speed up Your Editing Process Later On
One of the most popular pieces of advice given to photographers is to shoot in RAW mode. RAW photos contain more image data. This means they are larger and easier to edit, which is exactly what most photographers need.
However, this isn’t the case in drone time-lapse photography. RAW photos take longer to import. Unless you plan to use some time-lapse photos individually, you should shoot in JPEG mode.
JPEG compresses image data, but it can still preserve a lot of details in your photos. It’s also smaller in size and easier to edit in bulk. This means it’s perfect for time-lapses, which often consist of hundreds to thousands of photographs.
Get Extra Creative with Hyperlapses
You can think of hyperlapses as cooler versions of time-lapses. The process is almost the same, with one important difference. While you take photos every 2-5 seconds, your drone will be moving in a specific direction.
Hyperlapses have a cinematic feeling to them. They create a 3D illusion that’s perfect for immersive time-lapses.
To create one, you need to choose a time interval (again, this can be 2 seconds) and give your drone directions. There are many ways you can do this. Some photographers choose a straight line to create an even hyperlapse. Others create their own custom patterns for more creative time-lapses.
If you’re an absolute beginner, you can start with a straight line and then move on to more complicated flying patterns.
Choose a relatively slow flying speed for your drone. This will ensure that your final results don’t end up looking out of place. Once your drone starts flying, it will take photos every 2-5 seconds. You can edit your final photos exactly the same way you’d edit a normal drone time-lapse.
Here’s a great example of a hyper lapse.
Common Drone Time-Lapse Questions
How to Make a Time-Lapse Video
All you need is a camera and a tripod. Set up your camera and select how often you’d like to take pictures. Shoot for as long as you can. Import your photos into a video editing program and merge the pictures. And you’re done!
How to Make a Time-Lapse in Lightroom
You can create a time-lapse manually or automatically in Lightroom. The manual process takes a lot of time. A great alternative is downloading a professional Lightroom time-lapse plugin like LRTimelapse. The plugin will do all of the work for you, so you won’t even have to exit Lightroom!
Conclusion
Drones are great for filming stunning locations and taking unique pictures. They’re also perfect for time-lapse photography.
With the help of drone time-lapse photography, you can improve your filmmaking and photography skills at the same time.
Check out or tips on running a drone photography business, or shooting drone wedding or real estate photos next!

