Ever had an image that didn’t look tack sharp at 100%? Don’t worry. It happens, and it’s normal. Luckily, you can learn how to enhance the sharpness of an image in post-processing.
Sharpening an image is one of the basic things to learn when you want to start editing photos.
Let’s look at how to sharpen an image in Photoshop.
How to Sharpen An Image in Photoshop: Things to Know Before You Start
There are a few things you must know about sharpening an image in Photoshop.
Get Familiar with the Limits of Sharpening
There are limits to the amount of sharpening you can apply. Every digital image needs some amount of sharpening, but too much sharpening will make your images look unnatural. It’s also important to remember that you can’t edit a blurry photo to seem in focus.
Be Aware of Halos and Noise
When you apply too much sharpening effect, halos will appear around edges. At some point, it’s noticeable that you oversharpened an image and it looks ugly.
Sharpening will make noise more visible like on the image above. For this reason, you should apply a filter like noise-reduction before you sharpen the image.
Use Separate Layers for Different Mediums
The best way for sharpening images in Photoshop is by using separate layers.
Depending on the final medium, you’ll need different amounts of sharpening. Make separate layers for print, screen, and so on.
How to Sharpen an Image in Photoshop
I’ll show you how to sharpen images using Unsharp Mask and Smart Sharpen. These are the best sharpening filters in Photoshop. Both give you more control than the rest of the filters.
Unsharp Mask is the most commonly used because unlike the rest of the filters, it doesn’t increase noise.
You might think that Unsharp Mask is a weird name for a sharpening filter. The name comes from a darkroom technique. Due to its origins, Unsharp Mask is considered to be the most traditional method for sharpening.
The ‘Unsharp’ in the name derives from the fact that the technique uses a negative blurry image, which creates a mask for the original photo. This mask is subtracted from the original to detect the presence of edges. After all this, contrast is selectively increased along those edges using this mask. The final result is a sharper image.
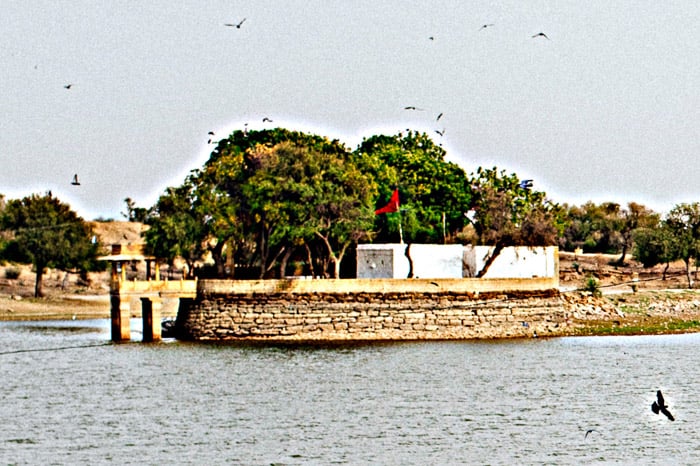
Let’s see how to sharpen an image in Photoshop. I’ll use this photo I took in India for the first example.
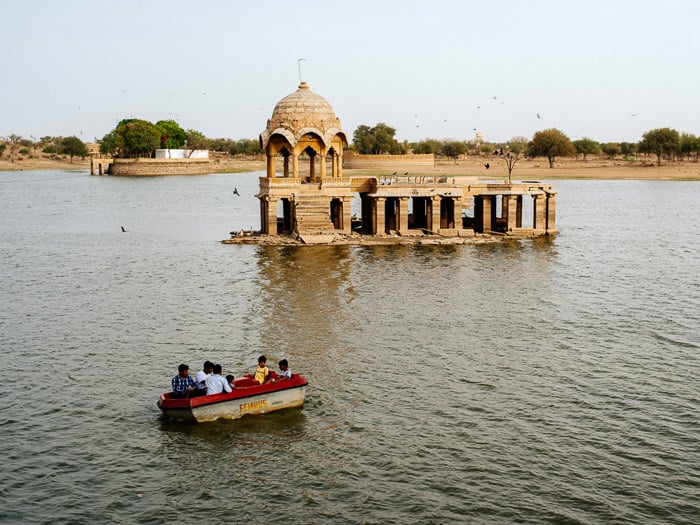
© Joris Hermans
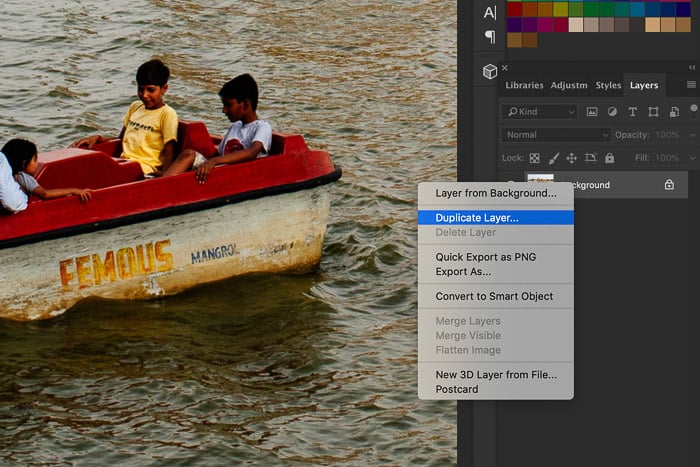
Step 1: Open the Photo and Duplicate the Background
Open the photo you want to make sharper. Right-click on the background layer and select ‘Duplicate Layer…’.
A new window will pop up. After you click OK, the new layer will appear on top of the Background layer.
Set the blend mode of the new layer to ‘Luminosity‘. This will prevent any color fringe around edges.
You need to apply the sharpening to this new layer.

Step 2: Apply Sharpening to the Image
Try Unsharp Mask filter first and use Smart Sharpen on a new layer or different image. Never apply both on the same layer.
1. Unsharp Mask
Zoom in to 100%. Go to Filter > Sharpen and select ‘Unsharp Mask…’ filter. The Unsharp Mask window will appear.
Make sure to select the Preview option and that you can see the different areas of the image that you want sharper.
You can see the effect of sharpening both in the little preview thumbnail and on the photo in your working area.

The Amount slider sets the amount of sharpening. Usually, any digital photo file needs around 60% of sharpening for screen viewing. If you want to make large prints, you can go anywhere from 100 to 200.
The Radius determines the number of pixels surrounding the edges that affect the sharpening. Choosing the right Radius level is critical when it comes to sharpening. The greater the radius value is, the more obvious the sharpening will be. I would recommend using around 1 or 2 for most images.
Use the Threshold slider to prevent effects like posterisation and color changes. Unless you’re using high amounts of sharpening, you can leave this slider at value 0.

When sharpening for print, it can take some trial and error before you know the right settings. It depends on a variety of factors such as your camera type, sensor size, or print size.
2. Smart Sharpen for an Even Better Outcome
Remember to use this filter on a new layer or try it on a different image. You don’t want to use two different sharpening filters on the same image.
Zoom in to 100%. Go to Filter > Sharpen and select ‘Smart Sharpen…’. filter. The Smart Sharpen window will pop up.
Make sure to select the Preview option and move the window out of the way.
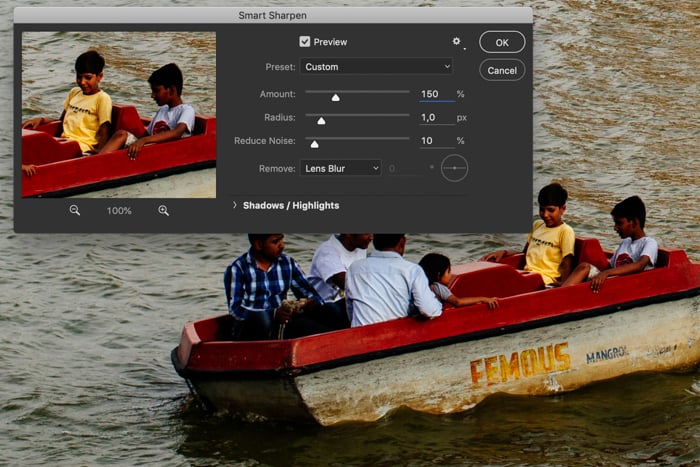
Set Amount to a value of around 150% to start with.
You can usually leave Radius usually at a value of 1 or 2. If you want to affect a wider area, you can increase the Radius amount.
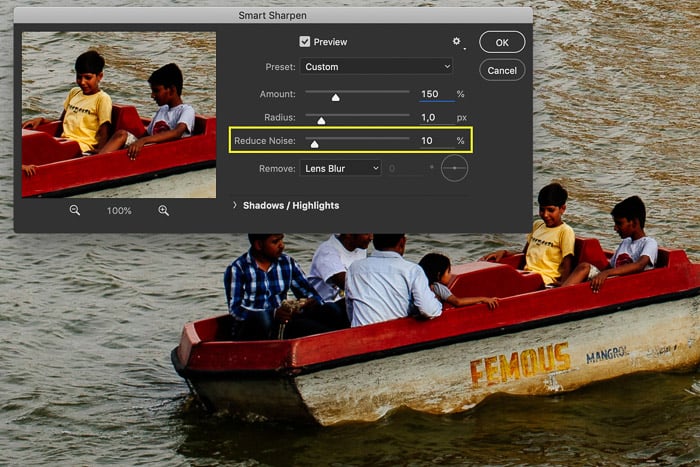
Unlike Unsharp Mask, the Smart Sharpen filter has a noise reduction slider. Use it when noise starts to become visible after sharpening.
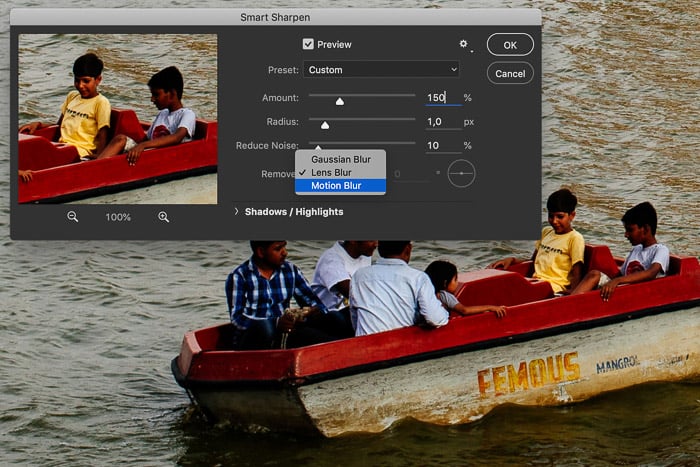
Use the dropbox Remove to set the algorithm which Photoshop will use for sharpening.
Gaussian Blur is what the Unsharp Mask filter uses. Lens Blur will apply a finer sharpening and reduces halos. Motion Blur will try to remove blur caused by camera or subject movement. Each tool is suitable for different types of pictures, so make sure you choose the one that fits your photo the best.
You can set the angle of the blur next to the drop-down menu.
Use the sliders under Shadows / Highlights to remove light or dark halos in case they appear too strong.
Play around with the settings at high values to see what they do and how they affect the look of your entire image.
Again, every camera file or final medium needs different amounts of sharpening. Remember to never rely on Photoshop to save a blurry image, since you can’t make an out of focus image sharp.
How to Sharpen Parts of the Image Selectively
If you don’t want to apply sharpening to the entire image, you can use selective sharpening. For example, you can decide to only sharpen the eyes of a person.
I will show you three ways for selective sharpening by using a portrait I shot in India.
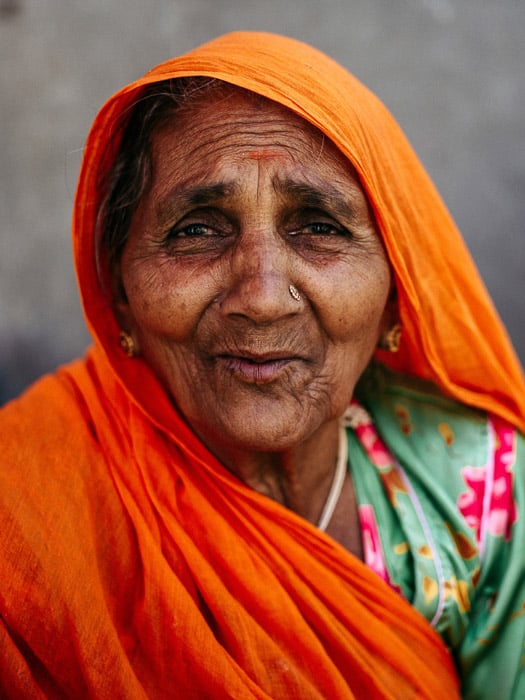
© Joris Hermans
Use Brush Tool for Selective Sharpening
Step 1: Duplicate the Background
Step 2: Apply Sharpening
Repeat the previous STEP 2 and apply sharpening to the new image layer.
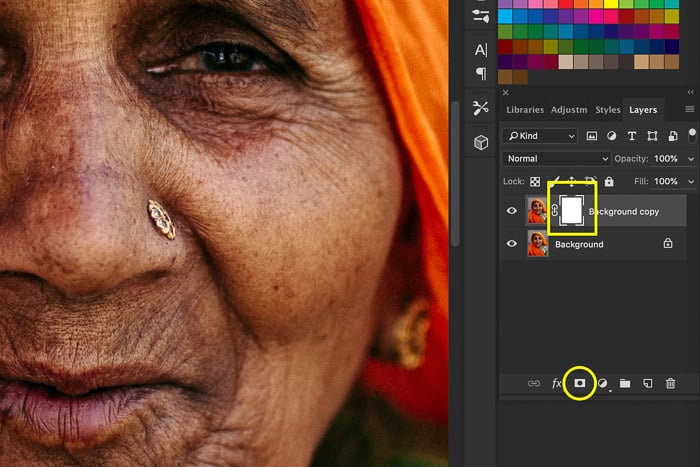
Step 3: Add a Layer Mask
Select the top image layer on the layers panel and click on ‘Add layer mask‘. A white mask thumbnail will appear next to the layer thumbnail.
The white represents the visible areas of the layer. At the moment, all areas of the sharpened layer are visible.
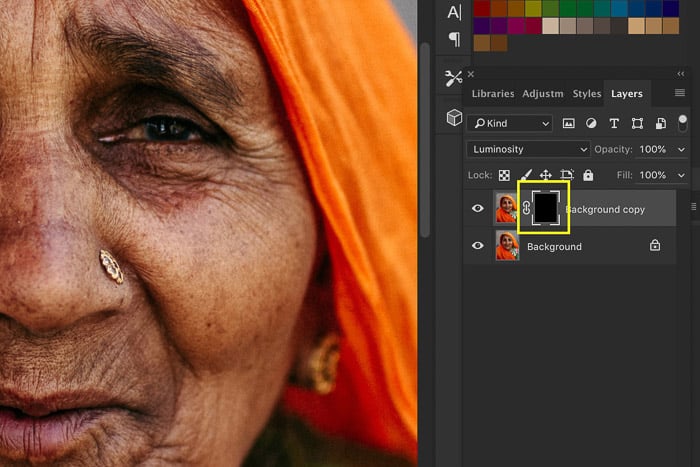
Step 4: Hide the Sharpened Layer
Press CTRL+ I on your keyboard to invert the layer. It seems like nothing changes but the mask thumbnail is now black. That means the sharpened layer is no longer visible.
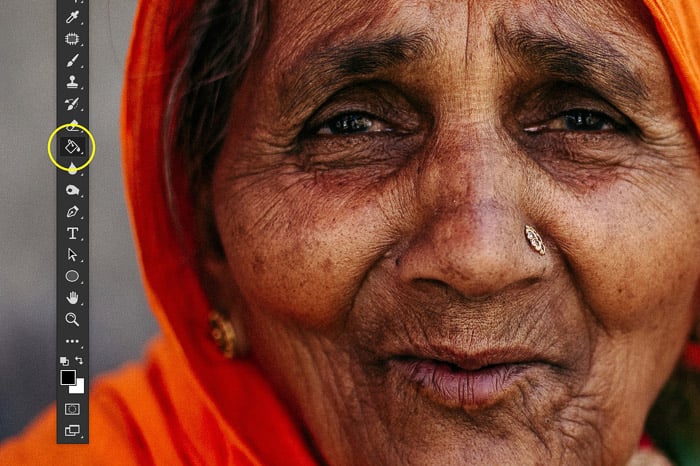
Step 5: Paint With White
Select the Paint Brush from the toolbar and pick a soft brush. Make sure the color is set to white and the mask thumbnail is selected.
Start painting over the eyes or any other areas you want to sharpen. Paint on the image, not the mask thumbnail.
Painting with white will reveal the hidden areas of the sharpened layer again.
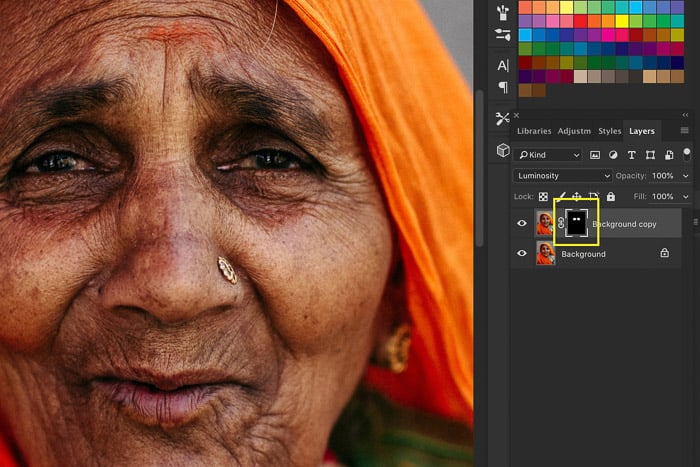
This allows you to sharpen only the part of the image that needs sharpening. For example, in portrait or fashion photography the skin should look as soft as possible and only the eyes need to be sharpened.
Later you can apply more sharpening to the masked layer if needed. The sharpening will only be visible in the areas you’ve painted white.
Sharpen a Selection of the Picture
Step 1: Draw a Selection
Select the image layer on the layers panel and draw a selection using any of the selection tools. The advantage of this method is the opportunity to Refine the Edges.
You might not want a distinct line between the sharp and unsharp parts of the photo. In this case, right-click on the selection and choose the Refine Edges option. You can learn more about the use of this tool here.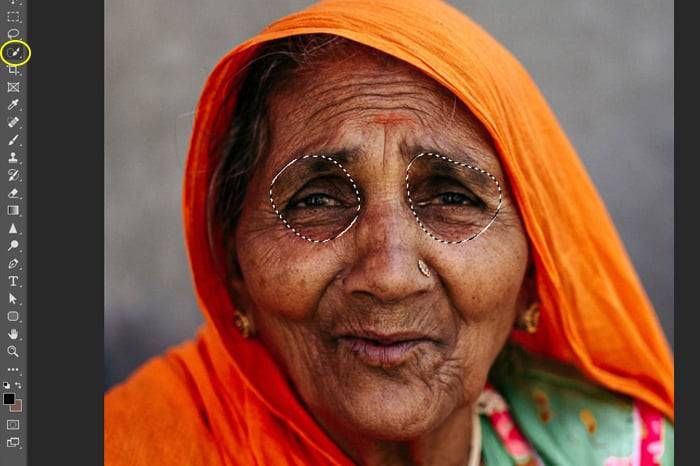
Step 2: Apply Unsharp Mask
Go to Filter > Sharpen and select ‘Unsharp Mask…’ filter. After adjusting the options, click OK. This way only the selected area will be sharpened.
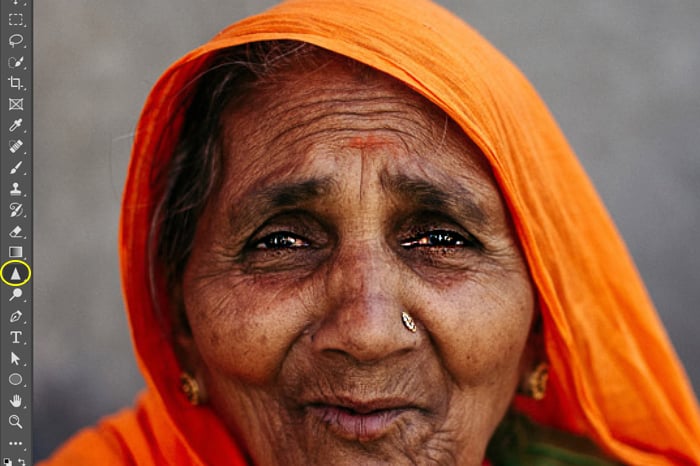
Use the Sharpen Tool for Quick Results
Step 1: Select the Sharpen Tool
Select the Sharpen Tool on the tools panel. In case you can’t find it, hold down the Blur Tool and it should appear right next to it.
Step 2: Adjust the Brush
You can change the type, size and strength of the brush in the options bar. I recommend you to keep the hardness low, as you probably don’t want a rough line around your sharpened area.
Step 3: Paint with the Brush
While selecting the top layer in the layers panel, drag the brush over the areas of the image you want to make sharper. In case the sharpening isn’t visible enough, you can try to adjust the strength of the brush and re-paint the desired area.
Conclusion
Every digital photo file needs some amount of sharpening. This is why sharpening tool in Photoshop is something that every photographer has to learn. However, the intensity always depends on the attributes of the file and the final medium.
Be careful with the amount of sharpening you apply. It is easy to overdo.
By following the steps above, you will see the difference that well-done sharpening can make!
Take your photography to the next level with Photography Unlocked!