What is Mood Board Photography? (& How to Create One)
Ever have the feeling that you and your client aren’t speaking the same language when talking about a shoot?
A mood board is a perfect tool for collaborating with a client or a team of creatives. Use it to ensure that you are on the same page about the desired end result.
Here’s how to create one, and how to make the most of it.
What Is a Mood Board?
Collaboration is crucial in photography. And often, you’ll find yourself working with other people to fulfil a project.
One way to help everyone understands your visual aesthetic is to create mood boards.
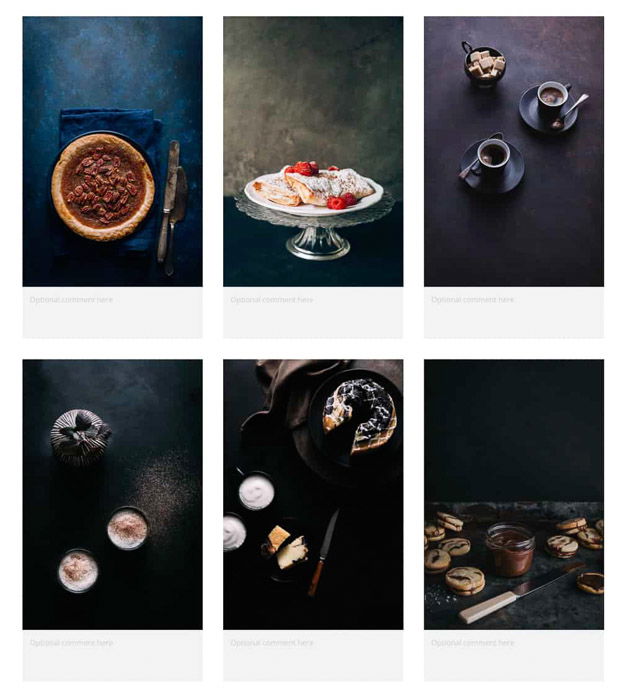
A mood board is a collection of images gathered together into collage form. People use it extensively in design and photography to help define the visual direction of a project.
Sometimes you may want to create a physical board from magazines and other print media. But these days mood boards are usually virtual. You may send them to people involved in a shoot or project for feedback or collaboration.
A mood board is necessary when working with clients. But you may also want to make mood boards for your personal projects or shoots.
It’s up to you to determine how a mood board can help you get your creative juices flowing.
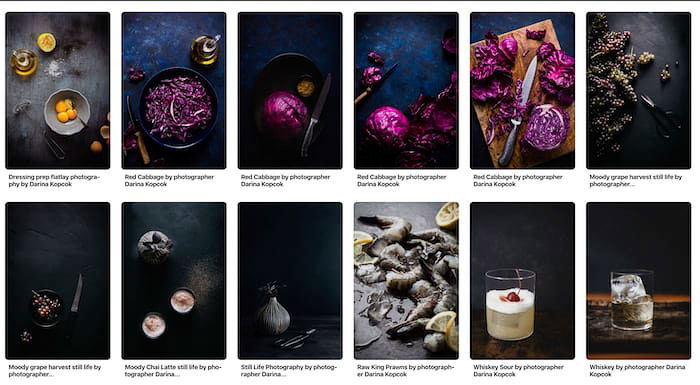
What Are the Benefits of Using a Mood Board?
There is an old saying: “a picture is worth a thousand words“. When it comes to working with clients, this is especially true.
Language is not the best way to express what the eyes should see. Words like “fun”, “bold”, “clean” are too abstract and can mean different things to you than they do to your client.
Another important point is that people see color differently. Your idea of “dark and moody” food photography might not be someone else’s idea of dark and moody.
Or they do not know the words to describe certain tones within a color range. Think mauve and lavender, or how they differ from purple. So creating a color mood board may be your best course of action.
But of course, color mood boards are just one option. You can do also do boards for anything from food to fashion photography.
What Should a Mood Board Look Like?
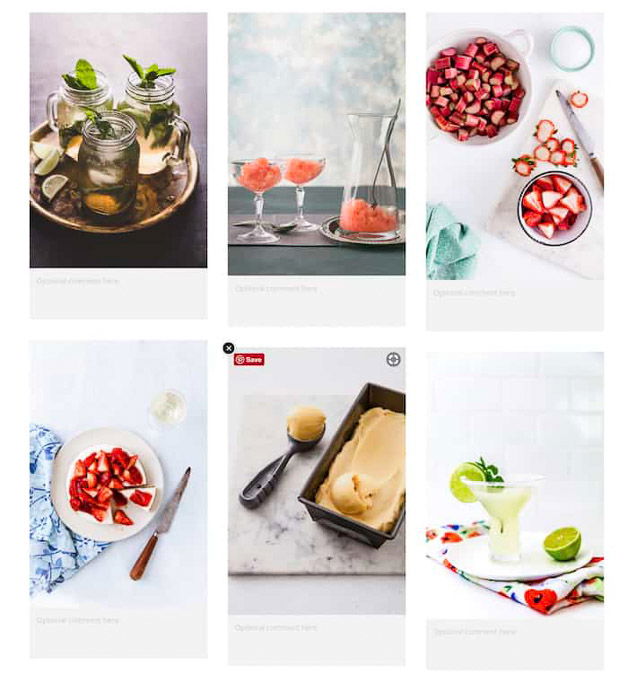
Mood boards are not about finding visuals to copy but to inspire. They will often contain elements that will not appear in the final images. These photos are supposed to represent the qualities of the brand or the desired aesthetic.
Start by collecting many pictures that have the elements you want. These include lighting style, color, atmosphere, or texture.
When agencies send photographers mood boards, they usually contain 5-15 images. Try to stick to this range for the number of photos in your mood board.
When it comes to mood boards, less tends to be more. Too many images can dilute the essence of the feeling and atmosphere you are trying to get across.
You also may want to make more than one mood board for the client to select.
Each board should reflect a different brand concept. But it should still align with your understanding of how the pictures should look in the end, based on the information provided.
There are plenty of apps that can help you create mood boards. But the most popular and familiar to most people is, of course, Pinterest!
How Do You Make a Mood Board for a Photoshoot?
If you’re making physical mood boards, all it takes is cutting out photos from books and magazines and pasting it onto the boards.
In many ways, a similar process happens when you create a mood board online.
Mood board apps have different ways of letting you save photos. But for the sake of simplicity, we will be using Pinterest as it’s the most common app people use.
The first step is to get the Google Chrome Plugin called Pinterest Save Button.
Once you download the plugin, a small button should show up on the upper left corner of all the images that appear on your browser. Now all you have to do is click that button to save those photos to your mood board.
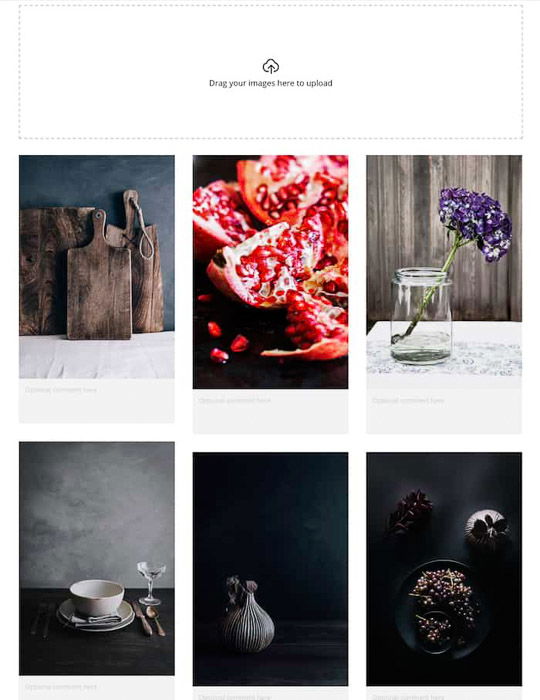
You can also download pictures directly from your computer to Pinterest. Go to your ‘Home Feed’ and click on the ‘Create Pin’ button. You can then either drag and drop or click on the box that appears to upload a file.
After you upload the file, you can add a title and create a caption. You also have the option to add a destination link. It could be anything from your personal website or the source of the image if you don’t own it.
Once you finish adding descriptions, hit ‘Save from site’, and that’s it!
How Should You Organize Your Mood Boards?
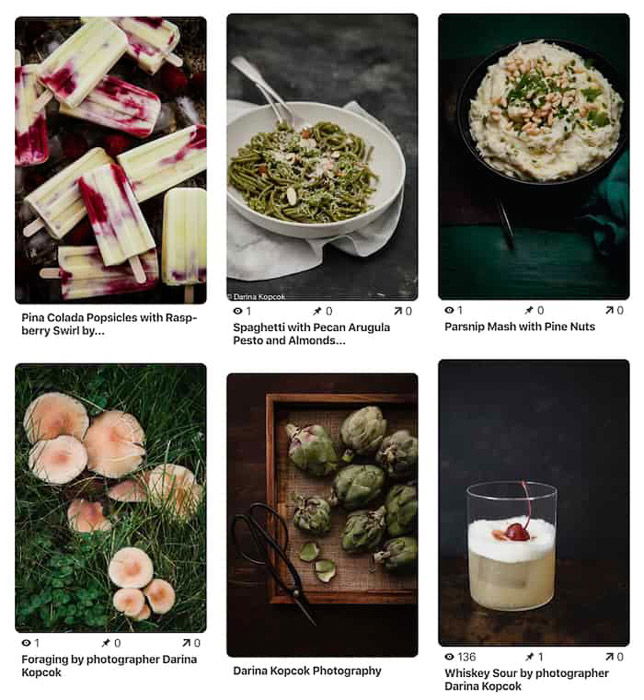
The primary purpose of creating mood boards is to help you curate all the images you collected. That’s why you must know how to move pictures around within Pinterest.
When you upload a pin, click the dropdown menu beside the ‘Publish’ button. Now click ‘Create Board’ and name it according to your project.
For instance, if you’re collecting food photography images, you can name the board “Food Inspo” or something similar. That way, you’ll make it easier for yourself to find.
Pinterest automatically publishes mood boards publicly. But if you want to hide it from strangers, you can turn on the ‘Keep this board secret’ toggle. You can still share it with collaborators if you give them the link but it won’t show up on other people’s feed.
Pinterest allows you to create dozens of mood boards, so it’s perfect if you’re doing several projects. You can easily create new boards or save new photos under different titles.
How Do You Share Your Mood Board?
It’s essential to show your mood boards to your clients when you’re preparing for a photoshoot.
So how do you do it remotely? First, go to your profile and click ‘Boards’.
Now click on the pencil icon at the bottom right corner of the mood board you want to share. Scroll down to ‘Collaborators’ and enter their email. You can also use their Pinterest user name if they have one.
After you enter the email, click ‘Done’, and Pinterest will send an email or notification to your collaborators. That’s it!
Conclusion
When working with a client, creating a mood board may be a process of back-and-forth before a clear direction is settled upon.
This is what you want though. This way, you can rest assured that you’ll be able to deliver exactly what the client is looking for before you pick up your camera.
Looking to dive even more into creative photography projects? Why not check out our course Wow Factor Photography next!
