Editing travel photos can be a fun and rewarding experience, but it’s important to know how to do it the right way. Here are 10 tips for editing your travel photos like a pro!
What Editing Software Should You Use for Editing Travel Photos?
There is a plethora of programs you can use to edit your photos, and to some extent what you use will depend on the platform you’re using. It’s best to do your post processing on a computer, of course, as it will offer greater processing power for those operations that require some heavy lifting.
That said, on the go editing on tablet devices is becoming increasingly popular, and catered for by companies like Adobe.
Those looking to get the best out of their post processing should also be photographing in RAW as opposed to JPEG. The RAW format is considered the digital negative, and is much better for working with in post production. There are many programs you can use to edit your photos, here is a selection of six which you could choose to use.
Lightroom
Lightroom has been on the market for many years now. Originally marketed as a more user friendly tool than Photoshop, this is still nonetheless a very powerful program. Almost every photographer out there uses this program for the majority of their editing.
Photoshop
This is the most powerful editing program out there. Those wishing to make some simple edits to their photographs might not need to use Photoshop. However, you can really take your photos to the next level by learning the potential of this program.
When photographing in RAW the pre-Photoshop program of Adobe Camera Raw will also improve your travel images.
iPhoto/Photos
This comes standard with all Apple computers. The older version is iPhoto, which has now been superseded by Photos. This will allow you to cover all the basics like blemish removal, contrast, saturation and horizon line correction.
It is limited in what it can do though, so for better results it’s advised you use Photoshop or Luminar.
Luminar
This was made in response, and as an alternative, to Photoshop. It’s an Apple based program, so those with a Mac who want something with a bit more punch can look to Luminar.
This is a solid program that allows you to improve your photos. Whether you choose this or Photoshop is a personal preference.
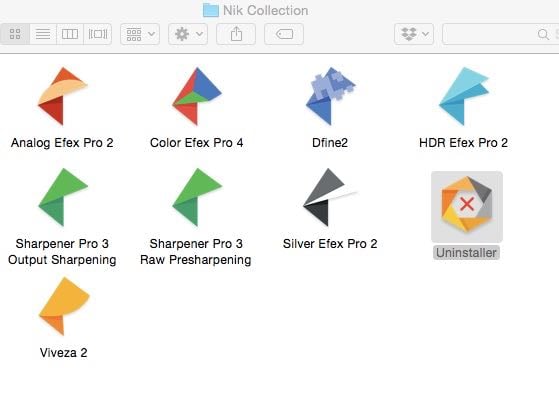
The Nik collection offers a wide selection of tools. These can either be stand alone applications, or plugins.
Nik Collection
This is a great program, that was available as a free download through Google. It’s now been bought by DXO, and is available for a modest price. The fact that this is no longer free is actually great news, because it will be developed and supported as opposed to being allowed to die.
You can use it as a standalone, or as a plugin for other processing platforms such as Photoshop. This became a go to program for many photographers over the years, and is highly recommended.
Snapseed
Everyone knows Snapseed, it’s a great program for on the go tablet or phone based editing. It’s owned by Google, who bought the aforementioned Nik Collection to get that program’s algorithms, so it could be applied to a mobile app-based platform.
Those smartphone photographers out there will know this is a great application for their post processing work, and it’s simple to use.
Post-Processing Techniques
Now that you have a grasp on which post processing program to use, it’s time to move on to techniques. These range from simple fixes, to more complicated procedures that require a lot more time to learn, and care when applying them.
1. Cropping
Using the crop tool to adjust your travel images is a great way of drawing attention to the important part of the photo. The majority of the programs mentioned above have a cropping facility, which you can use for this adjustment.
You’ll use this for a number of reasons, let’s look at those.
- Zooming in – This is the result of lack of reach with your longest focal length lens. The framing of the photo might require a longer focal length than you have, and while not ideal, cropping in post-processing is a solution here.
- Square or pano – The crop most cameras give you is more or less a standard 6″ by 4″ photo. There will be times you’ll want to have a different crop though, so once again this can be produced in post processing.
- Remove elements – Cropping is a great way to remove elements that you no longer want in the frame. Of course it’s better to frame your photo in camera without these elements, but post-processing gives you another chance to get this right. The process of correcting your photos in this way will also help train your eye, so that next time you get it right in camera.
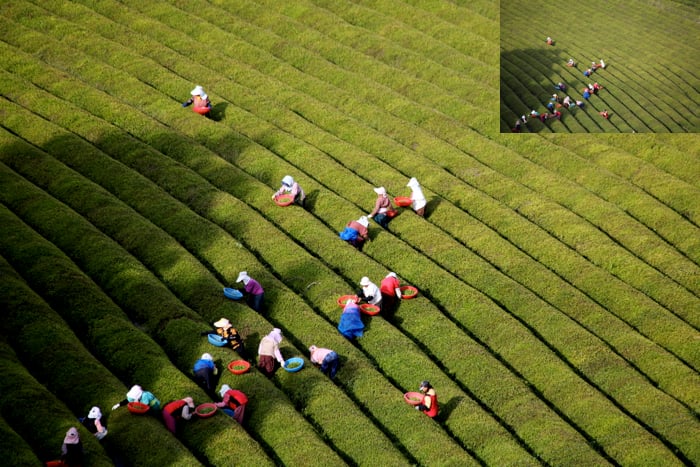
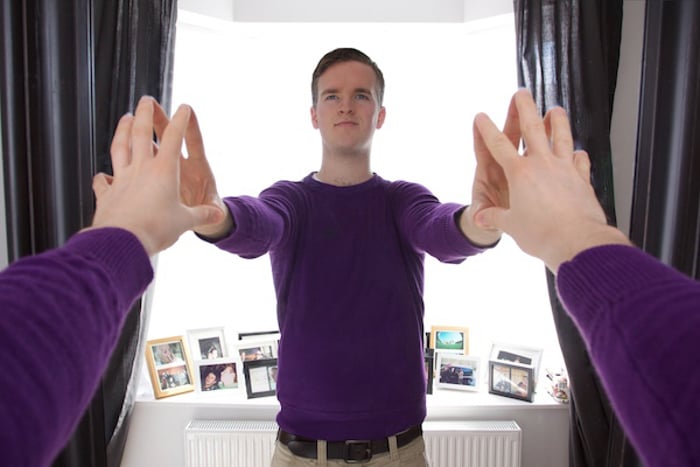
In this photo maximum focal length was used, but it wasn’t enough. A further crop produced a much better photo.
2. Sharpening
Sharpness in your photography is a desirable trait. Much time is used to discuss how sharp a lens is. Post production can also lead to even sharper images!
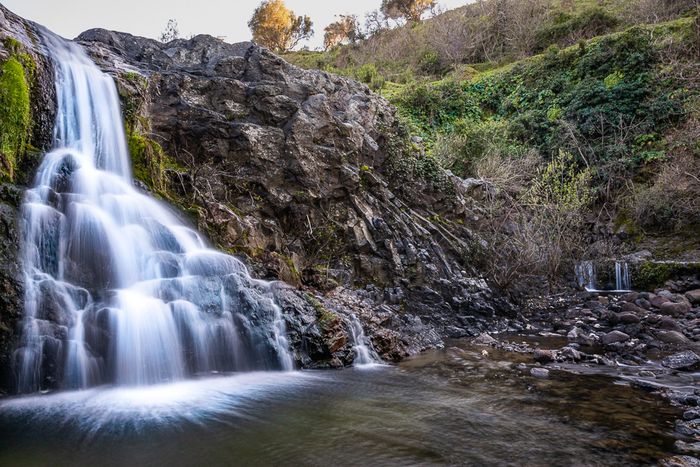
In general you’ll want to use this to sharpen up landscape and architectural photos, and local adjustments are also a good idea. Let’s look at three programs you can use to sharpen your photos. In all cases, sharpening your photos will add noise to the image, something you’ll want to remove later in processing.
- Nik Collection – This package has several options to sharpen your travel images. You can use the RAW pre-sharpener and then the output sharpener. These both allow for local adjustments through the control point options. Alternatively use Color Efex, and the detail extractor filter. The detail extractor is a strong filter, so moderate the level of adjustment you use with it.
- iPhoto – This program offers a simple slider to increase sharpness. It’s found under edit>adjust>sharpness.
- Photoshop – This program offers several filter options that you can use to increase sharpness. You can also use layer masking to add these effects only to the areas you wish to sharpen. An example of a filter you can use for sharpening is unsharp mask. To find this filter go to filter>sharpen>unsharp mask.
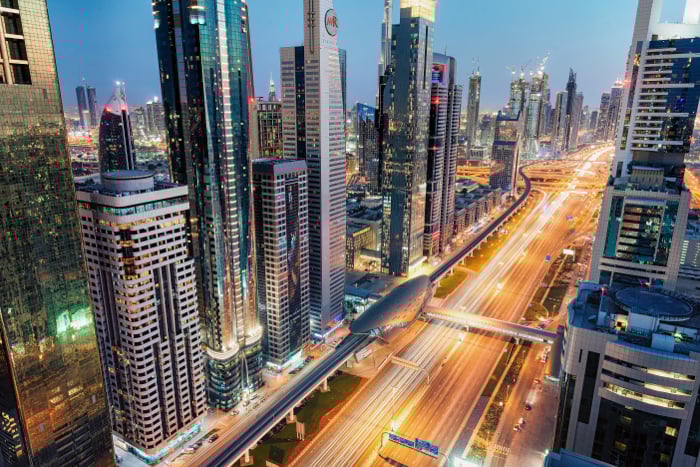
Cityscape buildings will look even more amazing when sharpened correctly in post processing.
3. Noise Reduction
Have you photographed late at night with a high ISO? Perhaps you were taking a long exposure photo? In each case the chances are your photo will contain noise. Now camera sensors are improving all the time, so the newer your camera is the less work you will need to do to remove noise. The aim with your photo is to create a sharp image, without a lot of noise in it. While iPhoto has a feature in it to remove noise, you’re going to see three better options.
- Nik efex – This contains a program called Dfine2, which is a powerful noise reduction program. It allows you to make local adjustments. This lets you retain the sharpness of things like buildings, while removing noise from the sky.
- Noise ninja – A popular program among many photographers for noise reduction is noise ninja. This works as a plugin for Photoshop.
- Adobe camera RAW – This pre-editing program for Photoshop allows you to prepare your photos, prior to editing them. One of the functions is noise reduction.
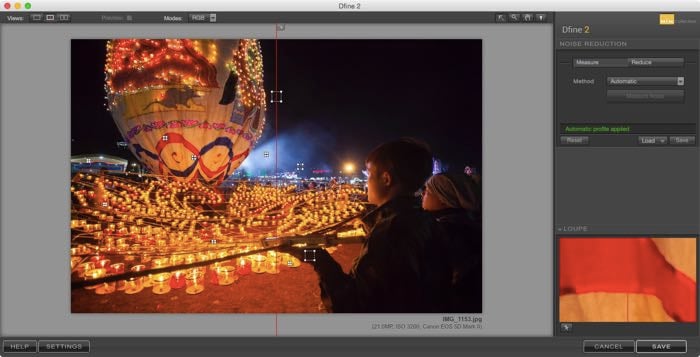
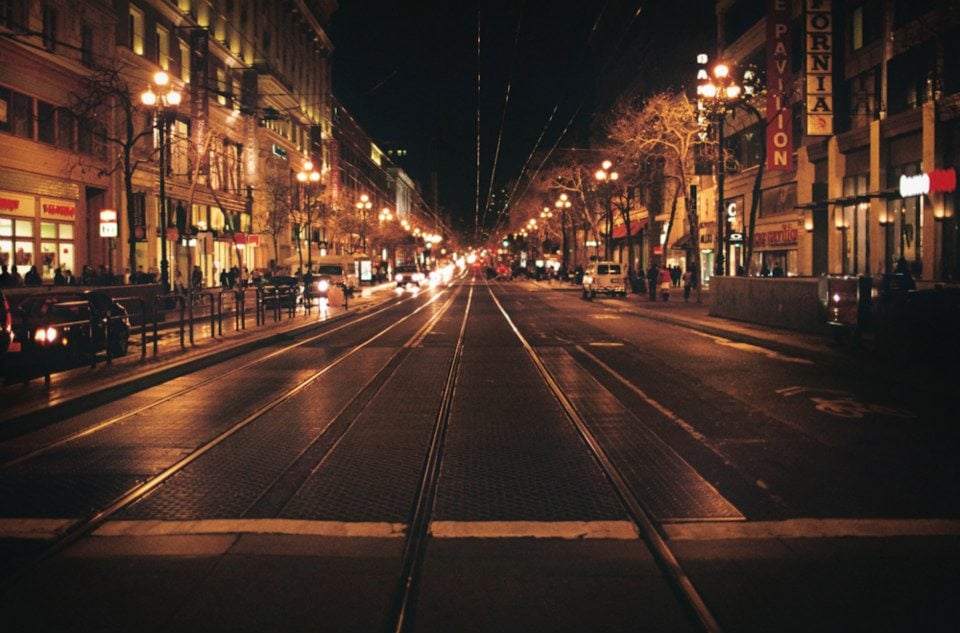
This photo was taken at night, and at ISO 3200. Noise reduction was then needed in post processing.
4. Horizon Line Correction
Getting the horizon line straight is a basic prerequisite of any good photo. Taking the time to make sure you do this in camera will save time in post processing, and prevent you from losing image size.
When you need to correct the horizon line by rotating the image in post processing the program will automatically crop in for you, so you’ll lose the edge of your travel images. There are two instances when you will need to correct the horizon line, and they are as follows.
- Correcting a mistake – While not ideal, sometimes we all lose the horizon line when taking a photo. Correction by image rotation is an easy fix offered by all basic software editing programs.
- Wide angle distortion – This is a slightly more complicated fix, and the recommended method of fixing this requires Photoshop. This is caused when you use a wide angle lens, and it makes building bow due to distortion. Those wishing to learn this process can view this excellent video.
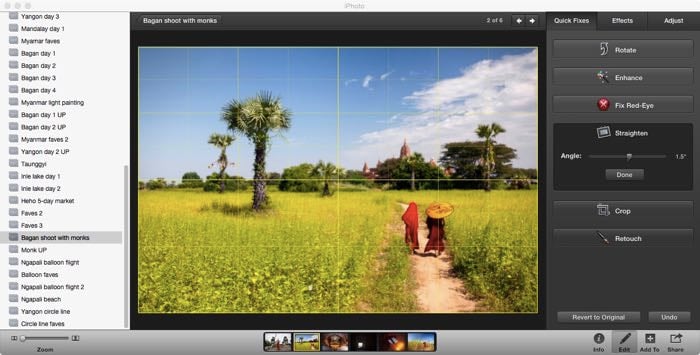
Simple horizon line correction is possible, with guide lines to help you.
5. Vignetting
Adding a vignette can be a really great way to focus the eye on the important area of the photo, which you wish the viewer to concentrate on. There are various ways this can be done, with the most basic simply lightening the center, and darkening the edges.
While there are many ways to achieve this effect, one of the best programs for doing this is Nik Color Efex. In this program you’ll need to select the filter “darken/lighten center.”
This filter allows you more control over how the vignette is applied. Perhaps you want the vignette to be off center? You can easily fix this by selecting the “place centre” option, and selecting the area you want the vignette to be centered on.
Are the edges too dark, or the center too bright? Easily fixed by adjusting the sliders that control how strong your vignette will be. Finally are there specific areas of the image that need further work? Use the control points to selectively remove the strength of the filter from that portion of the image.
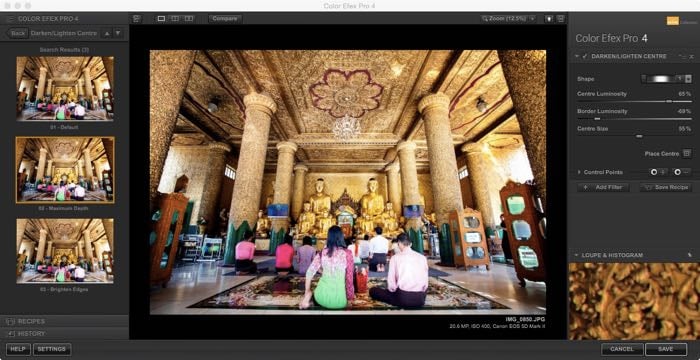
The Nik Color Efex program offers a nice filter, which you can use to add a vignette. It’s called darken/lighten center.
6. Saturation
This is the way you can add more punch to your photo, and make it more colorful. A word of caution though, adding too much saturation is a guaranteed way to ruin your photo. This all said, making your photo standout is the aim, so adding a little contrast is often a good idea.
Removing saturation is of course one way to convert your photograph to black and white, though this on its own won’t result in a strong black and white photo.
- Simple adjustment – Those wanting to make a simple adjustment can use their software’s saturation adjustment tool, often a sliding bar. It’s just a simple case of moving this back and forth as needed.
- More advanced – Nik color efex has some great filters that can be used in combination, and with local editing to produce great results. A combination of “pro-contrast” and “brilliance/warmth” will improve your photos a lot.
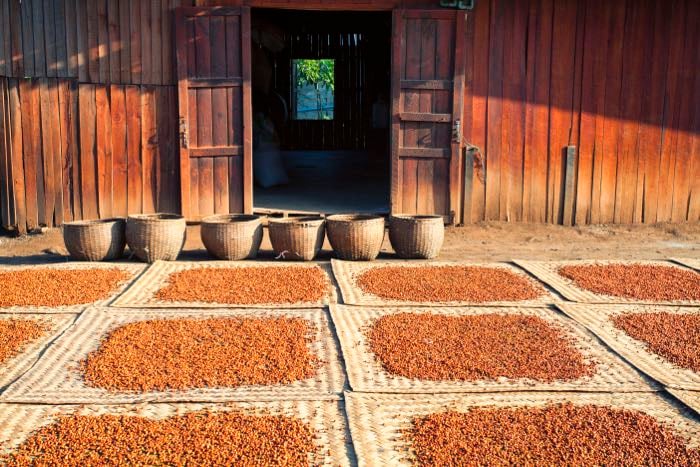
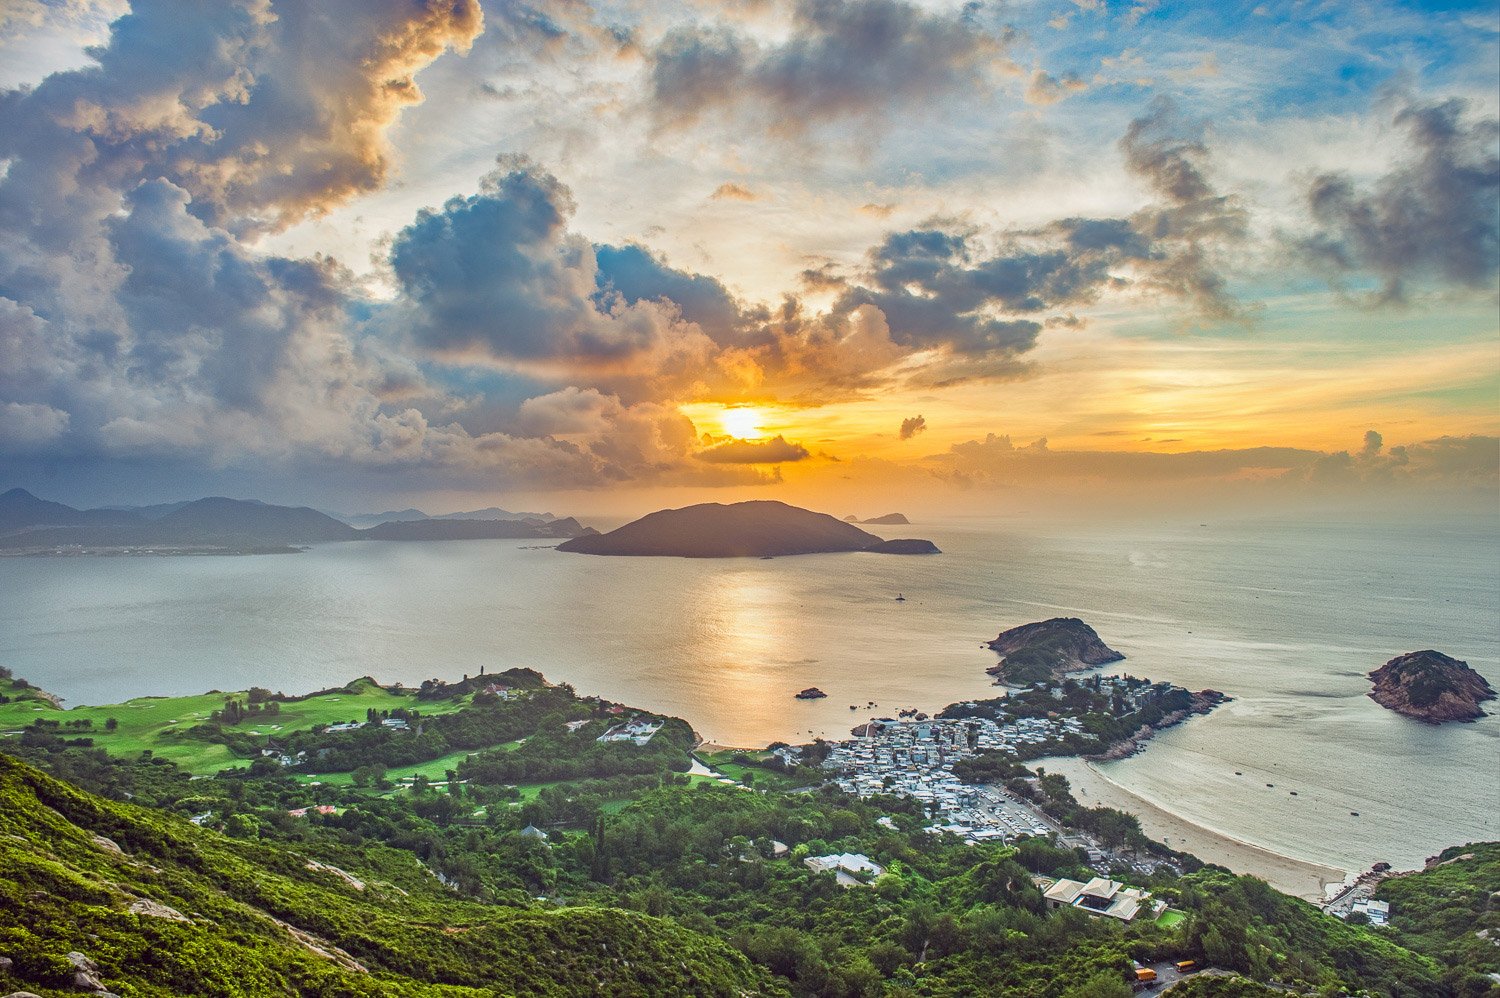
Extra saturation and warmth can make a photo stand out even more.
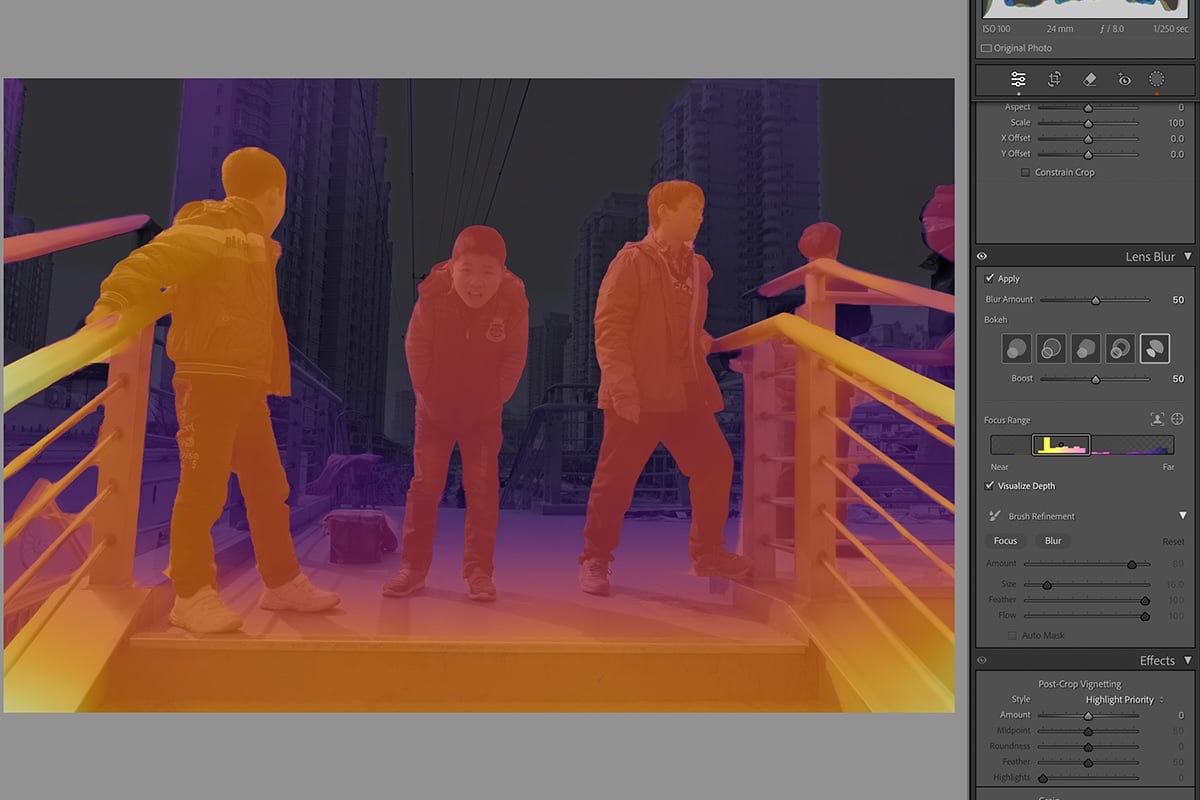
7. Highlights and Shadows
Light levels across a photo can vary, leading to areas of your image that are either too bright, or too dark. This can be fixed by using sliders that adjust highlights, or shadows.
Adjusting the highlights will make the bright areas of your photo less bright. Adjusting shadows will brighten up the darker parts of your photo.
All editing software will offer this as standard, but these are crude adjustments applied across the whole image.
A much better way to adjust highlights and shadows is through Photoshop, where you can apply layer masks. This method harks back to the old dark room technique of dodging and burning your photos. Dodging would reduce light from an area of the photo, while burning would ass more light.
Let’s look at how these can be applied to the digital age.
- Burning – In Photoshop select layer>new adjustment layer>curves. Now drag the curve upwards. This will brighten your image. Now you’ll need to hide this adjustment by going to image>adjustment>invert. Next your curve adjustment layer is black, and to bring back this adjustment you’ll need to use the paint tool. You’ll use the paint tool to paint the black layer mask white, and this will reveal the layer. You can adjust the strength of the brush, so you gradually brighten the area’s of the image that are too dark.
- Dodging – Once again select layer>adjustment layer>curves in Photoshop. To dodge you’re going to drag the curve downwards, and this will darken the image. After that repeat the above steps by inverting the layer, and using the paint brush to selectively darken area’s of your image as needed.

This is an example of a photo that needs processing for highlights and shadows. The lantern is blown out, and the surrounding scene is too dark.
8. Contrast
Like adding saturation to a scene, adding more contrast can really make your photo shine. Adding too much, however, can have a detrimental effect on the photo, and how others receive it.
There are those photos that really work well with extra contrast, like silhouettes, and there are those that don’t work as well. Like many areas of post processing there are simple and more advanced techniques when it comes to adding or removing contrast.
- The simple fix – All editing software will have a way of adjusting contrast. The simplest and most straightforward of these is once again the slide bar. From the easiest to use programs like iPhoto all the way to advanced programs like Photoshop, they will all have this.
- More advanced – Those wishing for a little more control over the way contrast is applied to a travel image should look to Photoshop. You’ll need to open a curve layer, and to add contrast you’ll make that curve into an S-curve. If you wish to make these adjustments more local then using the black or white brush to hide or reveal the curve layer allows you to do that.
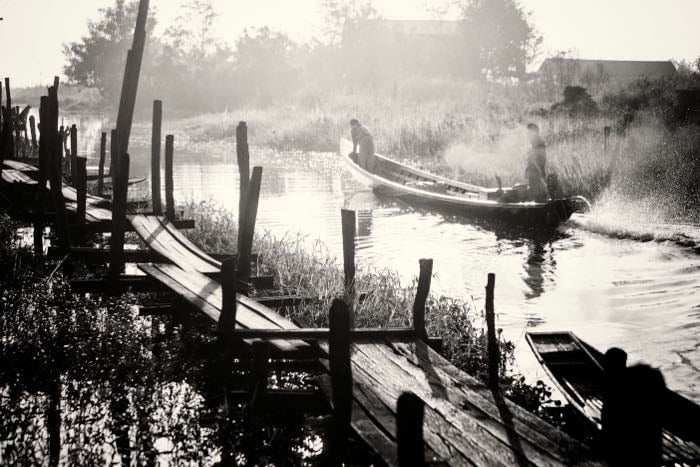
Images like this with silhouettes or shadows benefit from added contrast.
9. Digital Blending
Anyone who does landscape, architectural, or interior photography really needs to know how to do digital blending. You’ll notice that HDR is not listed in the ten techniques here.
That’s because digital blending is essentially manual HDR, and when done well is a massive improvement on HDR. Now HDR will have its fans, but there are quite often flaws in the end result.
Digital blending allows you to address these issues, and creates stunning travel images. The process is too complicated to break down in a single sub-heading, it needs its own article. Those wishing to learn about this techniques should visit this site.
This technique is somewhat similar to number seven on this list, only the results are better. The gist of the technique is as follows.
- Take 3 or more photos on a tripod. These should have differing exposure values. The typical range will be +1EV, 0EV and -1EV. Taking more photos allows you to extend the range of exposure values you have.
- Now upload these travel images to Photoshop. These images will then be stacked together, typically the background image with be 0EV, with the other photos on top of that.
- The images above the background will then be hidden using a black layer mask.
- The next step is to apply luminosity mask to the background photo, so you can select specific areas of the photo that are either too dark, or too bright.
- Now use the white paint brush to reveal specific area’s of the +1EV photo, so you can lighten the dark area’s of the photo. The process is repeated for the over exposed parts of the photo with the -1EV photo, typically the sky, so you can darken this area.
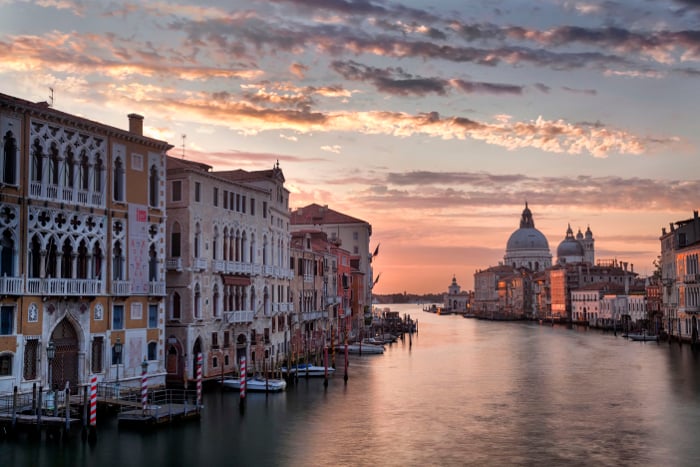
This photo of Venice used digital blending to balance the exposure across the frame.
10. Remove Unwanted Elements
Last and by no means least is the removal of unwanted elements from your frame. This could be a wire that cuts across the sky, or removing unwanted people from a photo as they make the frame too busy.
There are two approaches you can take. The first is to clone out the unwanted part of the photo. The second is to use the median tool in Photoshop.
- Cloning – This describes a process where you take a copy of one portion of you photo, and copy it onto an unwanted area of the photo. What you remove can vary, it could be sensor dust that shows up in your photo, or more complicated elements like people or wires. The trick is finding another area of the photo that directly matches the portion of the photo you want to edit.
- The median tool – To do this you’ll need a tripod, and you’ll need multiple photos of your scene. As people move around they’ll change position in your frame. This allows you to remove all people from your photo, giving you a much cleaner image. Once again this is a complicated process, and it’s best explained in this article.
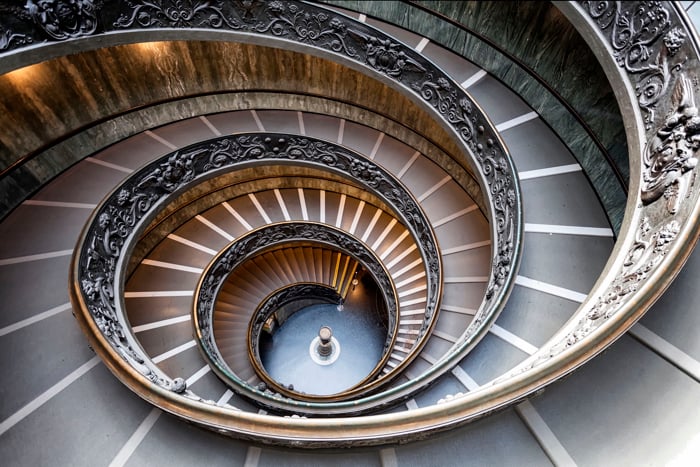
These stairs in Venice are always crowded with people. The median stacking tool in Photoshop was used to remove all the people from this frame.
Which Editing Process Do You Use for Your Travel Images?
Everyone has their own way of processing their travel images. The above are just a selection of some of the many techniques you could use.
Have you tried infra-red, or perhaps split toning? Which technique do you like to apply to your photos? Do you ever use any of the techniques in this article?
Once again we love to hear from you, so please comment and post your photos in the comments section.
Looking for a photo editing alternative? Check out our post on Capture One vs. Lightroom.