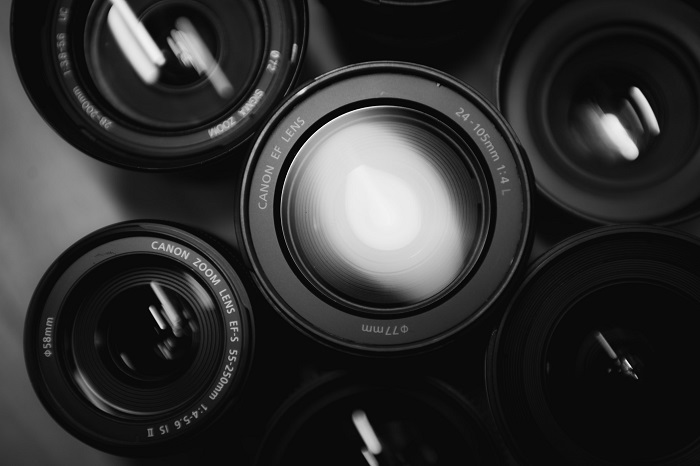
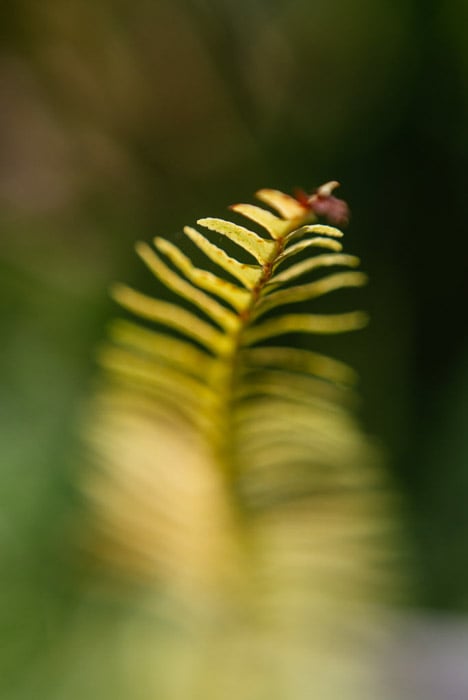
Do you want to shoot macro photography but don’t want to buy a designated macro lens just yet? A reversing ring is a cheap attachment that turns the lens you already own into a macro photography lens.
Continue reading to learn what a reversing ring is, as well as how to use it. This is a great way to start shooting macro photography without breaking the bank.

- Learn to take stunning photos without stepping outside.
- Discover affordable ways to convert any lens for macro shots.
- Explore unique techniques for lighting and composing your subjects.
Which Type of Reversing Ring Is Right for You?
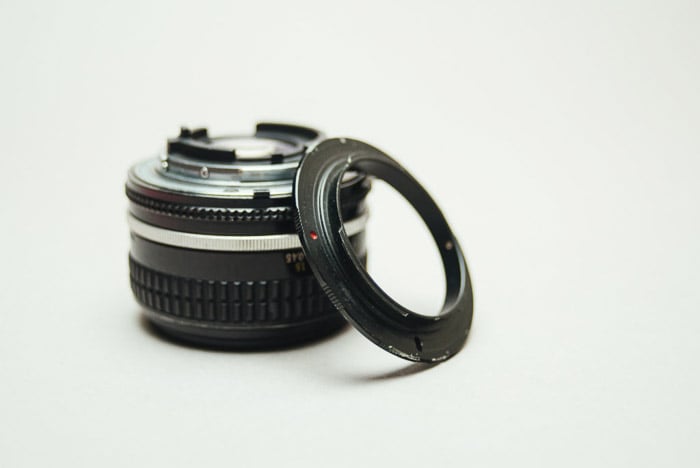
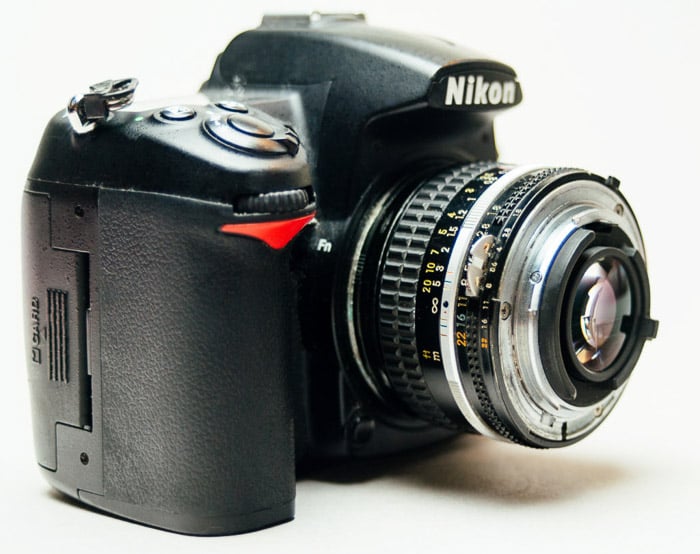
There are two main types of reversing rings for macro photography. The first one is the regular reversing ring that attaches to your camera’s lens mount. The second option is a coupler ring that connects to another lens instead of the camera itself.
If you want a simple setup, use a traditional reversing ring. All you have to do is screw it onto the lens mount and attach the lens backward. Since you reverse the glass, it ends up magnifying the image instead of making it smaller.
To increase your magnification, consider using a coupler ring. It lets you couple two lenses together to allow you to zoom in closer to your subject. You start by attaching a lens to the camera normally. Then you screw the ring onto the lens filter thread and attach another lens backward.
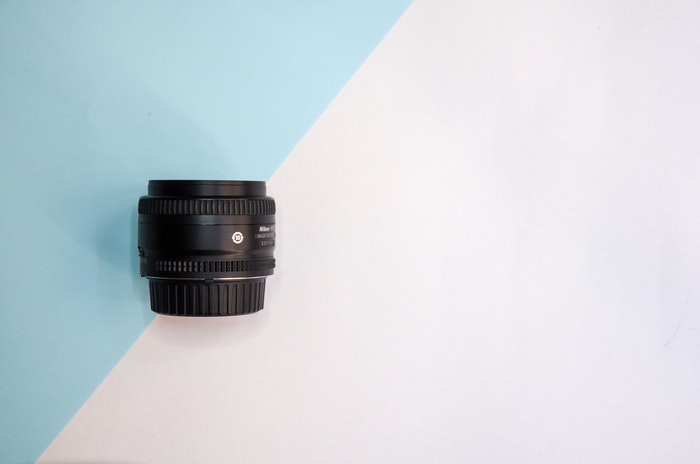
Before buying a reversing ring, look at the diameter of the lens you want to use for close-up photography. You can find it somewhere on the lens body next to the Ø symbol. You’ll need to match the diameter of your lens with the diameter of the coupler ring for this to work.
 How to Match a Reversing Ring to the Right Lens
A reversing ring doesn't dictate the amount of magnification you get for your pictures. Instead, it all depends on the focal length you use. For instance, an 85mm lens allows you to get closer to your subject than a 50mm option.
In most situations, a 35 or 50mm is enough for close-up photography. But if you need extra magnification, try an 85 or 100mm. Just keep in mind that a longer focal length will let less light in. If you decide to use a long lens, make sure you have plenty of available light.
Also remember that when you install your lens backward, you disable its autofocus functions. The only way to adjust the focus and the exposure is by manually focusing or changing the aperture yourself. So it’s best to use a lens with aperture and focus rings.
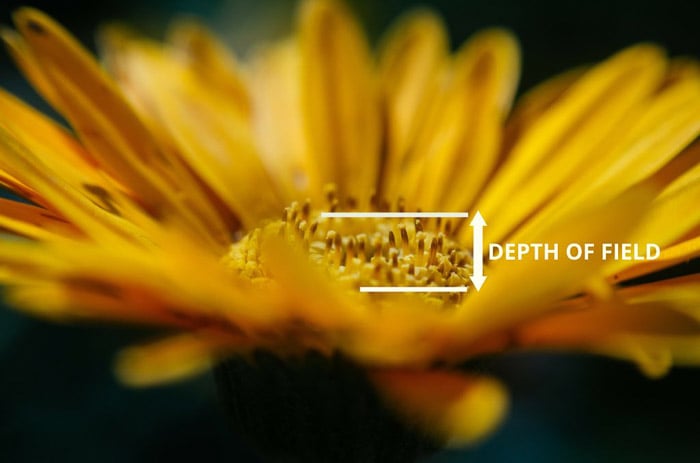
 Stick to Narrow Apertures for Sharp Focus
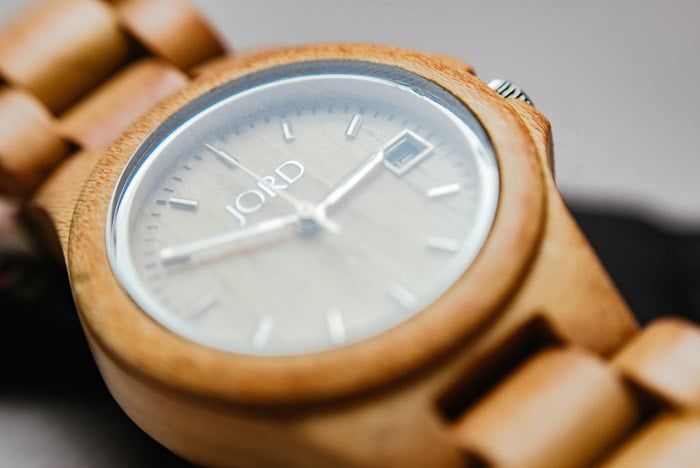
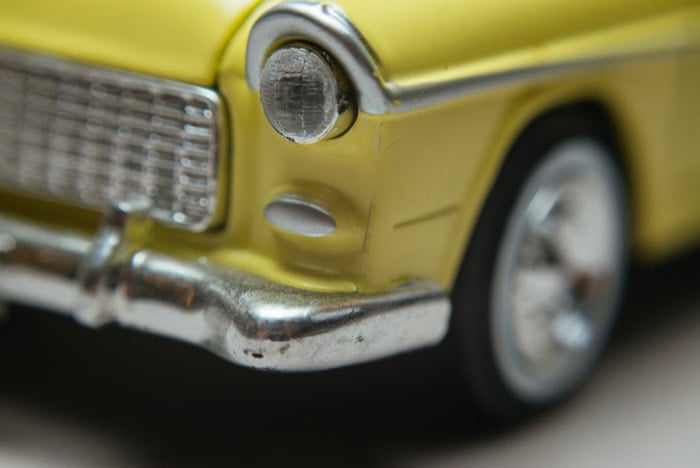
Focusing can be tricky in macro photography. To lessen your chances of getting blurry results, use a narrow aperture. You can start with f/5.6 and even go up to f/16 or more. Doing so will widen your depth of field and make it easy for you to keep everything sharp.
Another factor you need to consider is the amount of light that passes through your lens. A narrow aperture lets in less light than a wide aperture. You'll need to either use a slower shutter speed or a higher ISO to compensate for the exposure.
Make sure you don't go any slower than a 1/60 s shutter speed to avoid motion blur. Increase your ISO only as much as you need. Increasing your ISO too much will result in a grainy image.
Use Manual Focus to Keep Your Images Sharp
As we mentioned, you can't rely on your camera to automatically focus the lens when using a reversing ring. Since its electronic functions are disabled, you have to do it yourself.
Because your macro lens will likely have a narrow depth of field, you have to stay within the correct focusing distance. Even tiny movements could easily throw it off. And that can be challenging when you have to focus manually.
To minimize your chances of having blurry photos, figure out the focusing distance of your lens. Start by moving your body closer or farther from the subject until it’s sharp. Note that distance so you know how far away you need to be next time you take macro photos.
You also don't have to move the focus ring every time you take a photo. Twist it all the way to the infinity symbol and inch your way closer to the subject until it's sharp. Once you reach the correct distance, you don’t need to adjust your lens anymore.
 Use a Tripod or Monopod to Stabilize Your Images
Dedicated macro lenses often have image stabilization and autofocus built in. That means you can handhold your camera without worrying about throwing off the focus, even when you're moving.
Because you're using a reversing ring, you won’t have those features. But don't worry because we have a simple solution.
You can always keep your camera steady by using a tripod. This gives you all the stability you'll need to make sure your shots are crisp.
If you want stability but want to move freely, try using a monopod instead. Since it only has one leg instead of three, it’s much easier to set up and move around. But it still offers enough support and stability to prevent camera shake.
Use Burst Mode to Achieve Better Focus
Another downside of using a reversing ring is that it's hard to tell whether your subject is in focus. Unlike a specialist macro lens, it doesn't turn green or beep to signify that your main point of interest is sharp. You must rely on your eyesight alone to get the shot you want.
Burst mode is especially useful for photographing tiny insects or flowers blowing in the wind.
When shooting macro, even the tiniest movements can alter the distance between your lens and the subject. As a result, it can throw off your focus and produce blurry results. Shooting in Burst mode increases your chances of nailing the shot.
This feature allows you to keep taking photos as long as your finger is on the shutter button. Using Burst mode increases the likelihood of getting at least one in-focus image.
Of course, using Burst mode isn’t a foolproof solution for achieving sharp images. But since you're using a reversing ring that doesn't have autofocus, this is a good technique for moving objects.
Look for Well-Lit Areas to Get the Right Exposure
When you shoot at close distances, there’s a danger your lens could cast a shadow on your subject. This can be a problem, especially if you're taking photos with the light source in front or behind you.
So whenever possible, take macro photos with the light source at an angle. That way, you can get rid of unappealing shadows and achieve proper exposure. It helps to bring extra lighting equipment (like a flash or reflector) to fill in the dark areas in your photo.
Apart from the direction, you should also make sure that your light source is bright enough. The downside of reversing your lens is that the rear has a smaller glass element than the one in front. That means it doesn't let as much light pass through.
Always look for well-lit areas to ensure you get the proper exposure. And if it’s not as bright as you need, consider using lighting accessories.
Use It Indoors to Get Used to It
A reversing ring is easy to install, but you'll need some practice to feel comfortable using it. Try taking some test shots at home before you take it outside.
The most crucial thing is to learn how to focus the lens. At first, you might think it’s broken because everything is blurry, even when you think you’re close enough. But take your time and learn to see how the lens reacts and you can get everything sharp.
It’s also a good idea to practice using a tripod. Move around while it's attached to your camera so you know how it feels once you try the technique out in the field.
Apart from learning how to focus your lens, you shouldn’t have any issues using it. Once you know how it works, it almost feels like using any other lens.
Conclusion—How to Use a Reversing Ring
There are many options available to convert your regular lens for macro photography. You can even get extension tubes and a macro bellows if you want. But as far as usability, the reversing ring is a cheap and reliable way to get into macro photography.
- Learn to take stunning photos without stepping outside.
- Discover affordable ways to convert any lens for macro shots.
- Explore unique techniques for lighting and composing your subjects.