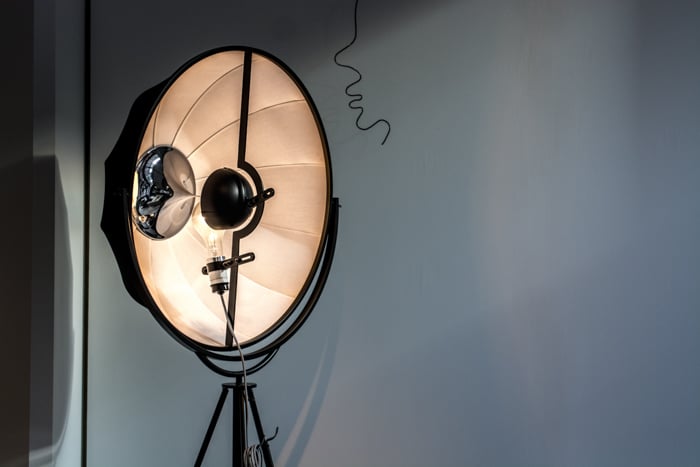
There are many different types of photography lighting equipment. The variety of lighting options can make it difficult to know which piece of lighting equipment you need for your style of photography.
Don’t worry if you feel a bit lost. We cover every type of photography lighting equipment in this article, with top recommendations and information on how to use each piece of equipment.
This is the perfect starting point if you want to learn more about photography lighting and photography lighting equipment. So without any further ado, let’s get started.
Best Photography Lighting Equipment
The best photography lighting equipment gives you complete control over you lighting. They allow to you capture perfect exposures in dark locations, they can fill large spaces with light, and they can create atmospheres and moods.
The article starts by looking at flashguns and speedlites. These are the most typical types of photography light, but they can be tricky to use. First, you need a flash that’s compatible with your camera. You need to learn about on-camera and off camera flash techniques. And you need to master the flash settings to get the appropriate effect.
We also look at lighting modifiers like reflectors, diffusers, and beauty dishes. These accessories give you even more control over light, so they’re important to know if you want to master photography lighting. Thankfully, we have information on how to use light modifiers.
Studio lighting and video lighting are also covered in this article. We have the best lighting kits, as well as tips for social media lighting.
When it comes to the types of photography lighting equipment, we’ve left no stone unturned.
Camera Flashguns
Camera flashes, also known as flashguns or Speedlites, are among the most common forms of photography lighting equipment. A flash is a simple device that emits a bright flash of light when you press the shutter button on your camera, thus illuminating your scene.
When buying a flash, you need to make sure it’s compatible with your camera. There are also different types of flashes you need to consider, like strobes and Speedlites.
This section looks at all the best camera flashes in detail. We have the best flashes for all the major camera brands, and we have all the essential info on getting started with flash photography.
Flashes and Speedlites
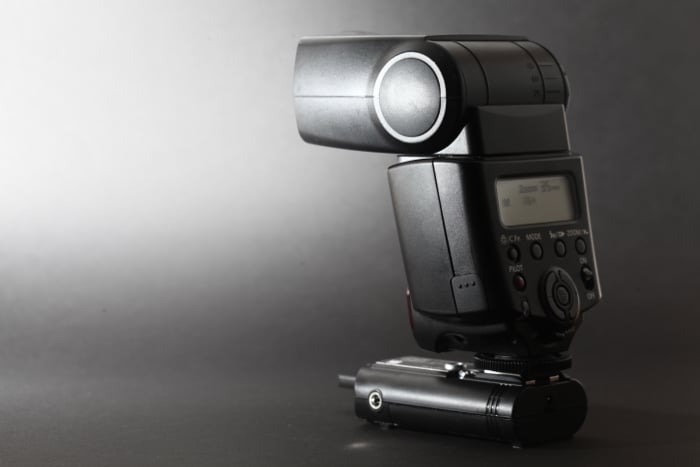
A camera flash is an important piece of equipment for photographers, especially those who shoot portraits, events, or products. Flash units attach to your camera’s hot shoe and provide more power and control than a built-in flash.
Flash guns allow you to use the flash off-camera for more creative lighting. They also let you direct the light by bouncing it off walls or ceilings. Many flashes support light modifiers like soft boxes or snoots.
Higher-end flash units offer more settings and features. Look for a flash with a rotating head, manual power control, and wireless triggering.
If you want to learn more about camera flash, check out our detailed guide.
Speedlite vs Strobe
Speedlights and strobes are two types of lighting equipment used in photography. Speedlights are small, portable flashes that attach to your camera’s hot shoe. They’re versatile and can be used on or off-camera.
Strobes are more powerful studio lights that require a power source. They have faster recycle times and built-in modeling lights. However, they’re less portable than speedlights.
Both can create similar lighting effects, but strobes have more power to overpower bright sunlight. Speedlights are a good choice for most photographers due to their portability and flexibility.
Click this link to learn more about the differences between speedlight vs strobe.
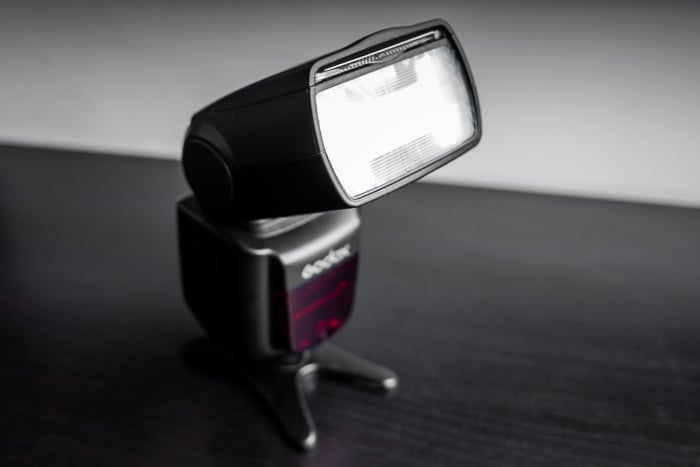
Flashguns
Choosing the right flashgun can be tricky. You might even wonder if you need one, especially if your camera has a built-in flash.
But flashguns have many advantages over built-in flashes. They are more powerful, so they can light up larger areas or reach farther. Flashguns also let you bounce light off ceilings or walls for a softer, more flattering look.
Our top pick is the Godox V860III-S. It’s a great all-around flashgun that works with Sony cameras. It has a powerful output, fast recycling time, and supports advanced features like TTL metering and high-speed sync.
Our full article on flashguns is a great resource if you need more info.
Canon Flashes
The Neewer Z1-C and the Canon Speedlite 600EX II-RT are the two best flashguns for Canon cameras. The Z1-C is a versatile flash with a wide range of features. The round head also accommodates diffusers heads for a less intense flash.
The Canon Speedlite 600EX II-RT is a powerful and reliable flash for Canon cameras. It offers wireless shooting through radio and optical transmitters, allowing you to control up to five groups of flashes. The 600EX II-RT also has solid weatherproofing to handle tough situations.
This flash works well as an on- or off-camera flash, giving you complete control. You can even shoot remotely up to 30 meters away! It has the broadest zoom range for a Canon camera flash.
The Canon Speedlite 600EX II-RT takes standard AA batteries, but also has a socket for an external power supply. Rechargeable AA batteries are recommended to save money in the long run.
See all the best flashes for Canon in our full article.
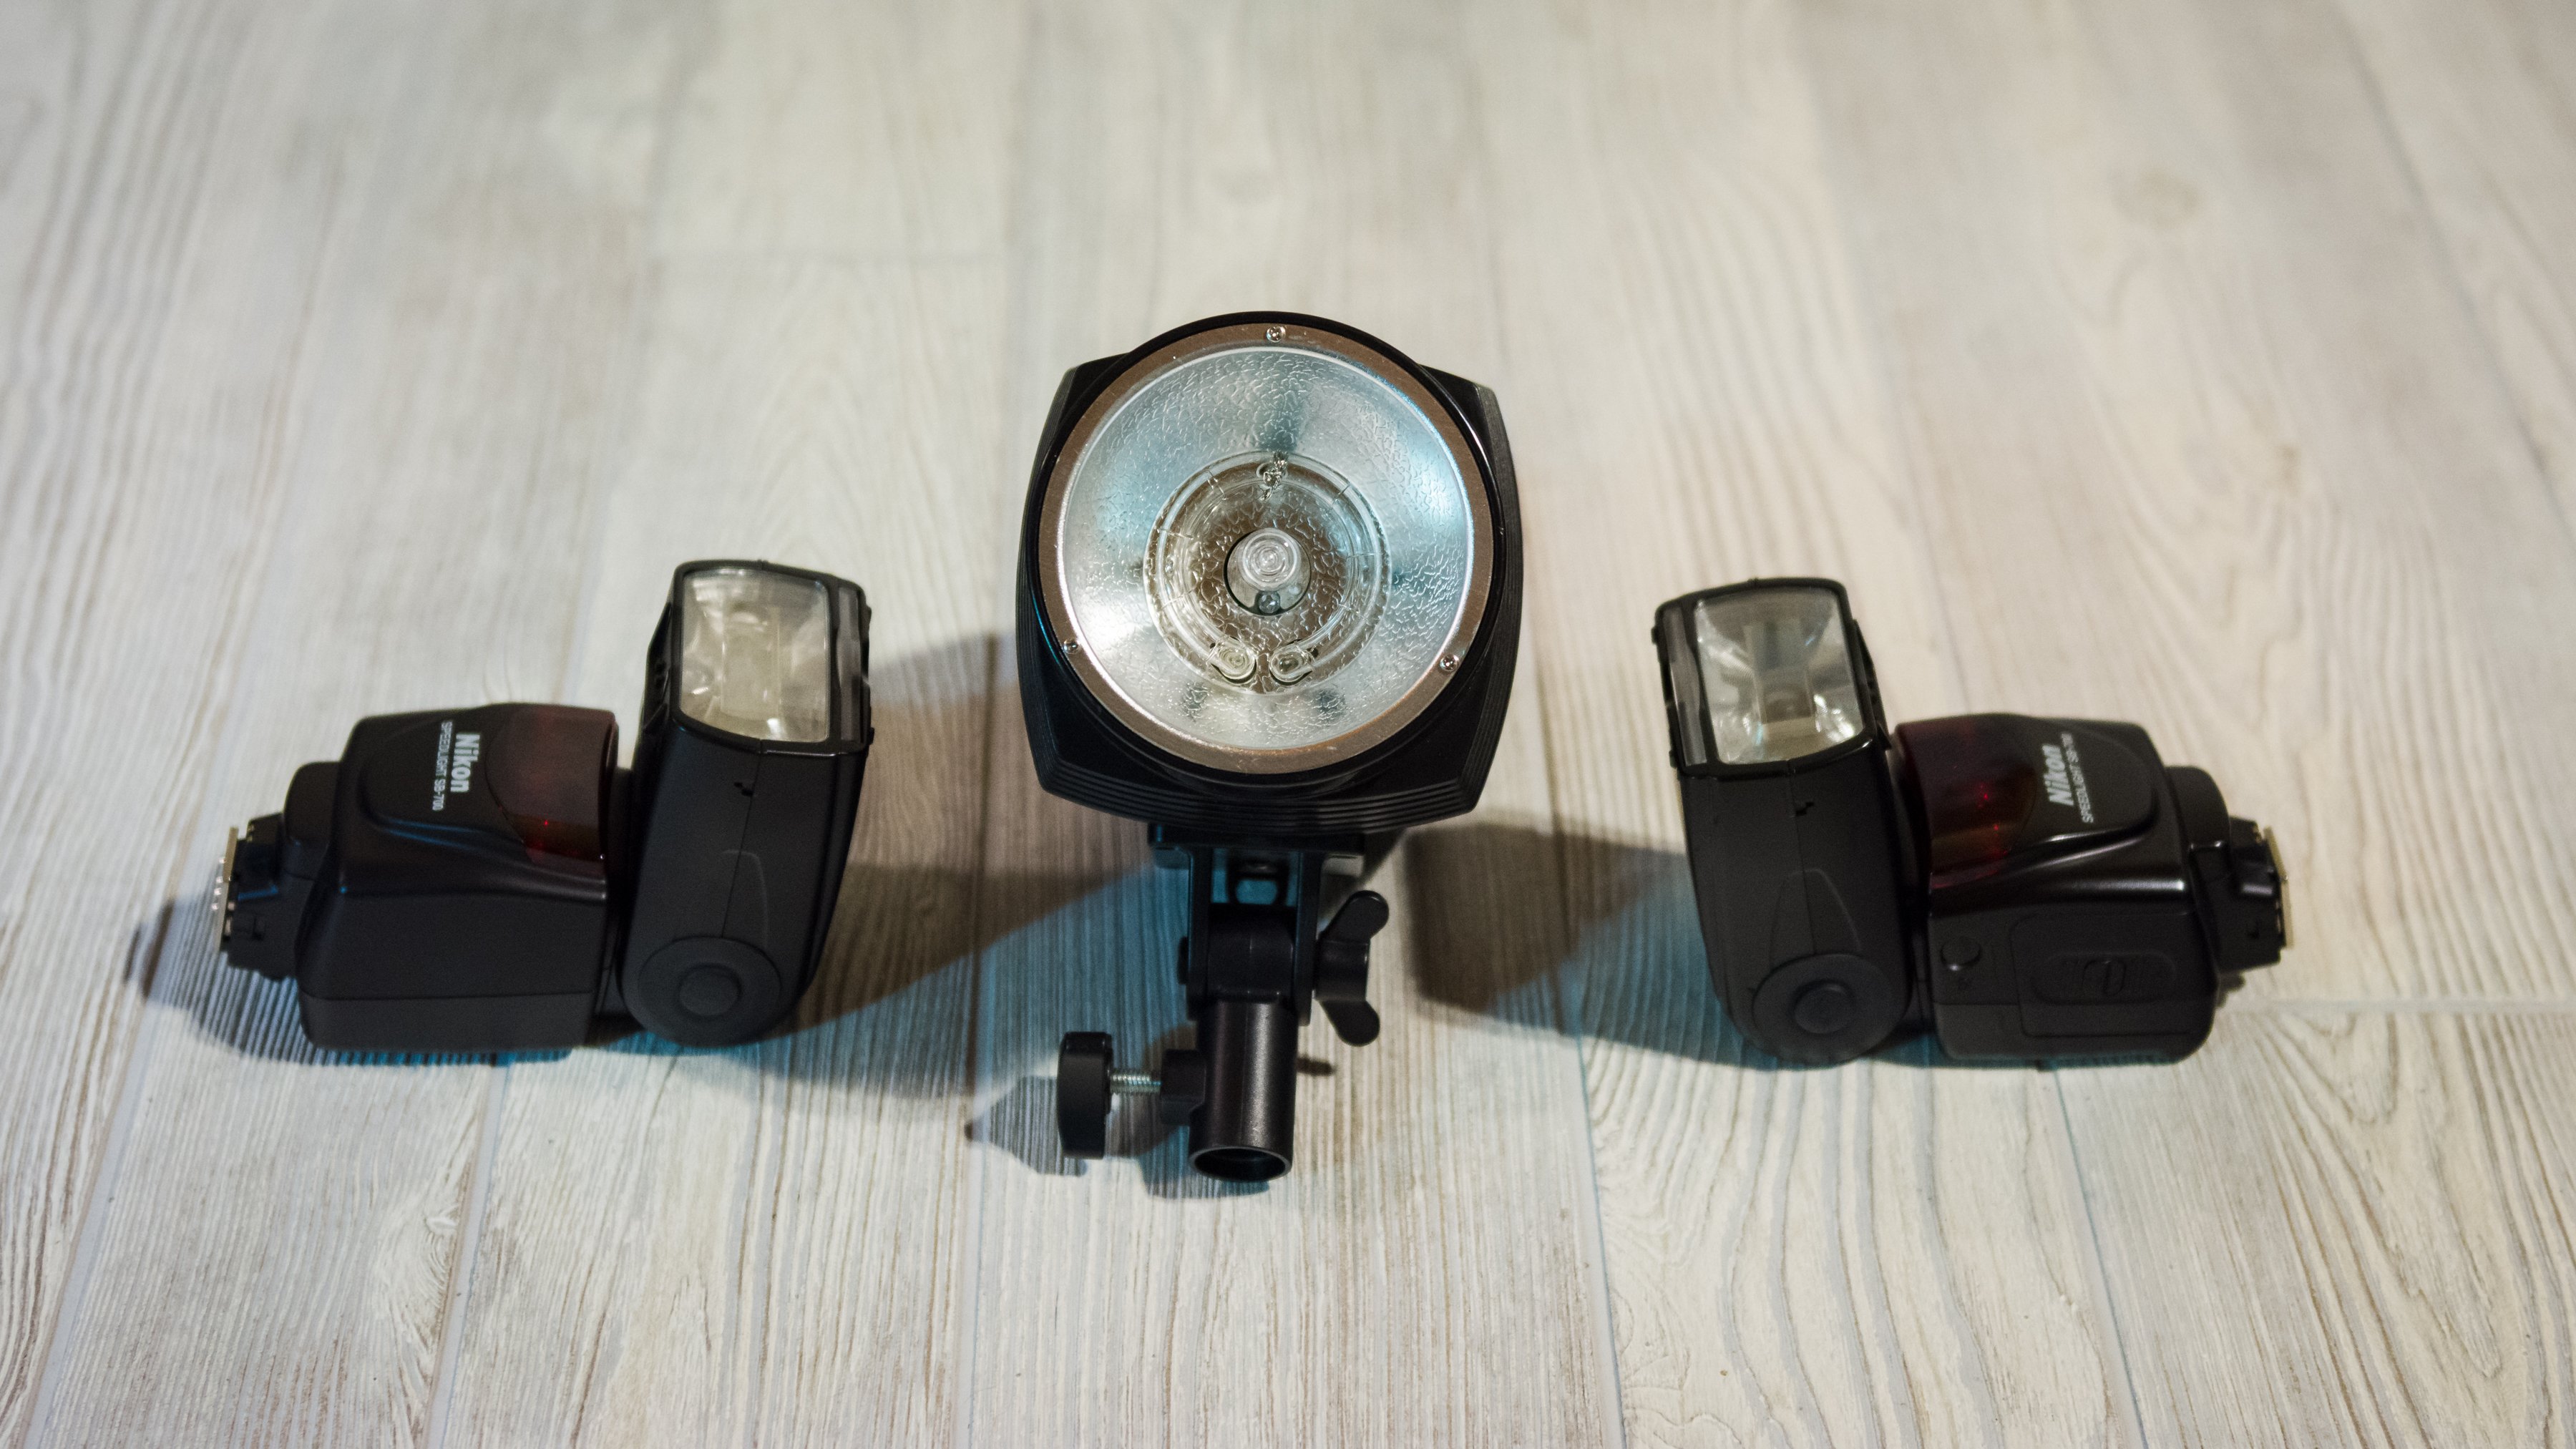
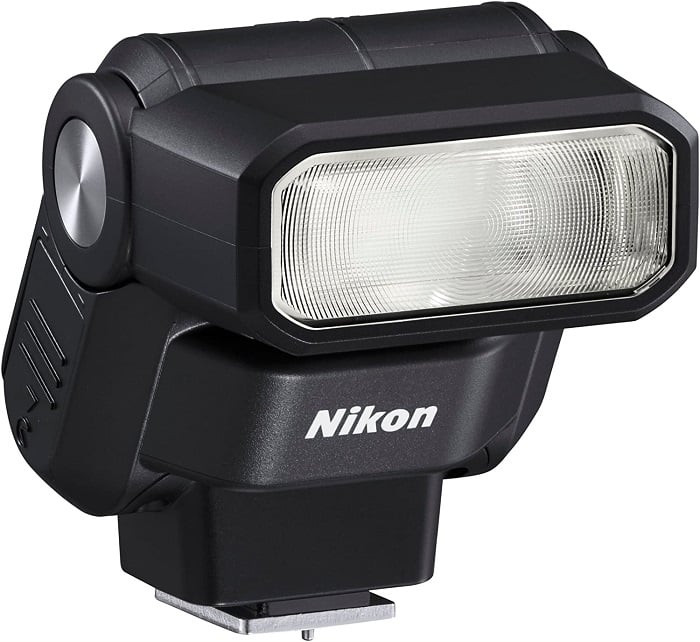
Nikon Flashes
The best flash for Nikon cameras depends on your needs and budget. The Nikon SB-5000 is a top choice for professionals, with a powerful guide number of 113 feet, fast recycle speed, and a built-in cooling system. It also offers wireless control for off-camera use.
For a more affordable option, the Nikon SB-700 delivers great performance at a lower price point. It has a guide number of 92 feet and includes high-speed sync and rear-curtain sync modes.
Beginners will appreciate the simplicity and affordability of the Nikon SB-500, which doubles as an LED video light.
Find the best flash for Nikon cameras by clicking this link.
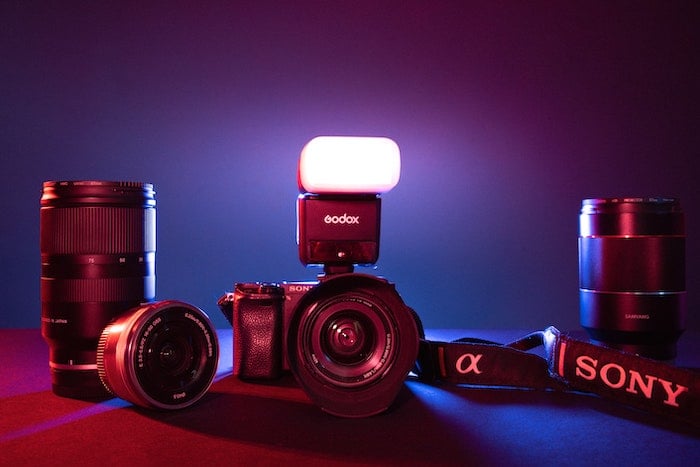
Sony Flashes
The best Sony flashgun is the Godox V860III-S. It has high power, a wide swivel and bounce range, and an amazing price.
The Godox V860III-S has professional settings like manual and auto modes, High Speed Sync (HSS), and other flash modes. It also has a modeling light with 10 brightness levels to pre-visualize your shot.
The quick-charge Li-ion battery allows 480 full-power flashes with a 1.5-second recycle time.
If you want to learn more about flashes for Sony, check out our in-depth guide.
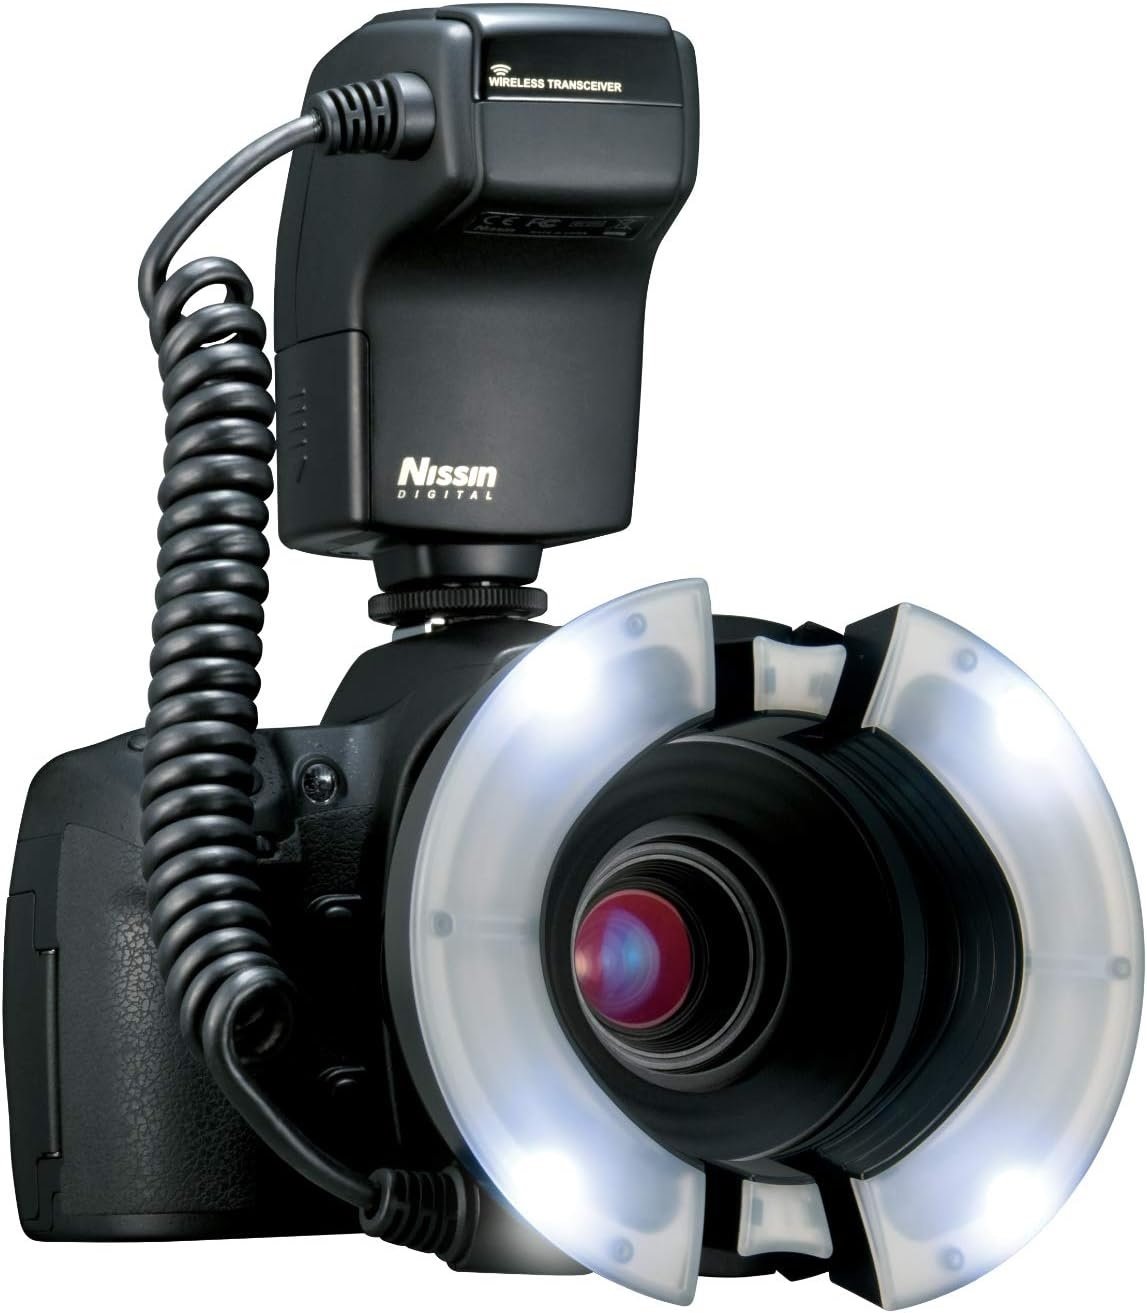
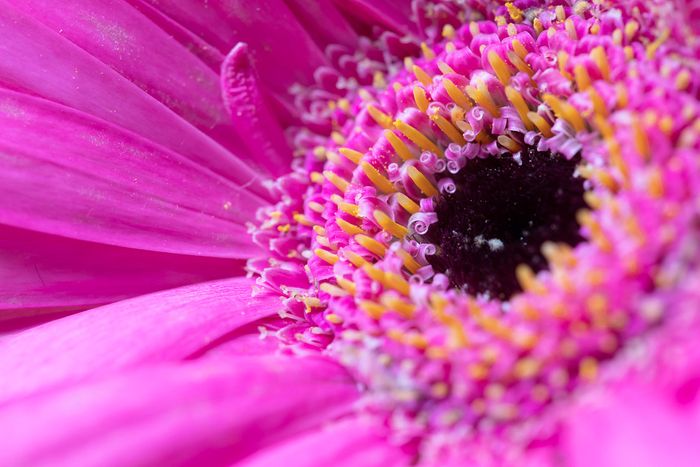
Ring Flashes
A ringflash is an essential tool for macro photography. It removes harsh shadows and gives you even lighting on your subject. The best ringflashes are compatible with a wide range of cameras and lenses.
The Godox MF-R76 Macro LED Ring Flash Speedlite is our top pick. It has a universal hot shoe connector and comes with eight adapter rings. This makes it compatible with nearly any camera and lens setup. It also has 10 brightness levels and a dual flash-tube design for creative lighting options.
If you want to learn more about ringflashes and how they can improve your macro photography, we have an in-depth guide that covers everything you need to know. A quality ringflash will take your close-up shots to the next level.
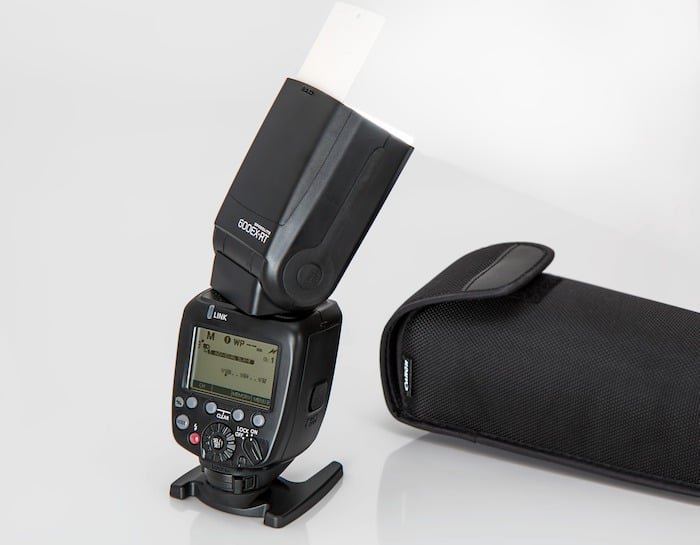
Godox V860 II
The Godox V860II flash and X1T transmitter offer powerful features at an affordable price. This flash has a guide number of 60, allowing it to focus light from 24mm to 200mm. It supports TTL solutions from major camera brands and high-speed sync.
The V860II is durable with a tight assembly, though not officially weather-sealed. Its lithium-ion battery lasts for 650 full-power shots and recharges quickly. The X1T transmitter uses AA batteries and can control flashes in three groups across 32 channels up to 100 meters away.
While not 100% reliable for critical moments, the Godox V860II and X1T make a great lighting setup for portraits, macro, and product photography.
To learn more about the Godox V860 II, read our in-depth review covering its key features, performance, and best uses.
Profoto A1
The Profoto A1 is a powerful hot shoe flash that offers the best features of a studio strobe in a compact, on-camera design. It has a round head that provides soft, natural-looking light with a wide spread. The A1 also boasts an impressive recycling time of just 1.2 seconds at full power, allowing for quick shooting.
With its built-in modeling light, the A1 makes it easy to preview your lighting setup before taking the shot. It also has a unique magnetic mount system for quickly changing modifiers like gels and diffusers.
The Profoto A1 is a top choice for photographers who want studio-quality lighting in a portable package. Its advanced features and intuitive controls make it a versatile tool for a wide range of shooting situations.
Read our full review of the Profoto A1.
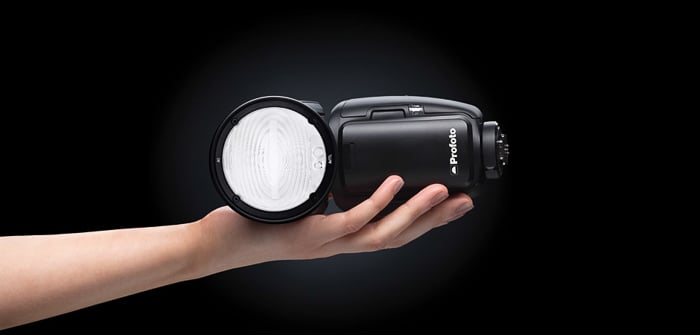
Profoto B10
The Profoto B10 is a powerful and versatile flash that’s perfect for photographers on the go. It packs the power of 10 speedlights into a small, portable package. The B10 can be controlled wirelessly via your iPhone using the Profoto app, making adjustments quick and easy.
This flash has a built-in LED modeling light to ensure accurate skin tones. It can also double as a video light, adding to its versatility. The B10 is compatible with over 120 light shaping tools from Profoto, allowing you to maximize its potential.
The Profoto B10 is available for Canon, Nikon, and Sony cameras. It’s a great option for photographers who need a portable, professional-grade flash.
To learn more about the Profoto B10, check out our in-depth review.
Lighting Modifiers
The best lighting modifiers give you more control over light in photography. Reflectors, diffusers, softboxes, and beauty dishes all affect lighting in different ways.
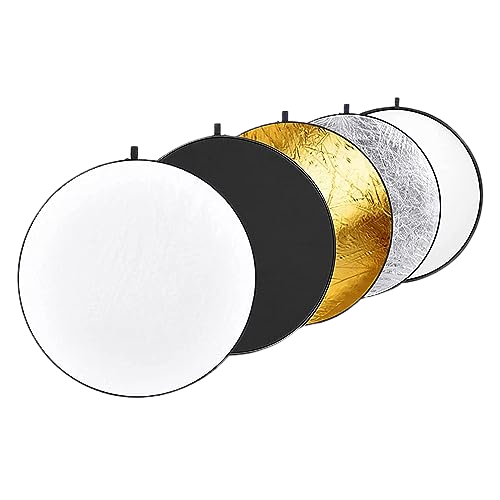
The NEEWER 5-in-1 Circular Light Reflector is a simple yet practical tool that makes a big difference. It’s affordable and gives you more control over light in any situation.
The Altura Photo Flash Diffuser Softbox ensures even lighting and softer shadows. It’s compact with a secure, easy-to-use strap.
The Triopo KS55 Portable Octagon Softbox Umbrella has a professional-grade foldable design. It’s adjustable for versatile flash light mounting.
Lighting modifiers like these help you achieve exactly what you want in your photography.
DIY Flash Modifiers
You can make your own DIY speedlight modifiers using common household items. Silicone kitchen accessories like collapsible cups and funnels work great as color filters and snoots. Baking paper wrapped around the flash softens the light.
A Pringles can is the perfect size and shape for a snoot or barn doors. Paint it black for a professional look. Cut off the bottom for a soft spotlight, or add straws inside for a concentrated light spot. You can also cut flaps in the sides for barn doors to control light spills.
Translucent poster storage tubes convert the small flash beam into a long light tube. Tape a convex mirror inside to spread soft, even light. Disposable plastic bowls make an easy beauty dish.
Cut a hole for the flash, paint the bowls, and secure them together. The light quality rivals expensive commercial dishes.
DIY Speedlight modifiers are a great way to get creative with your photography lighting on a budget.
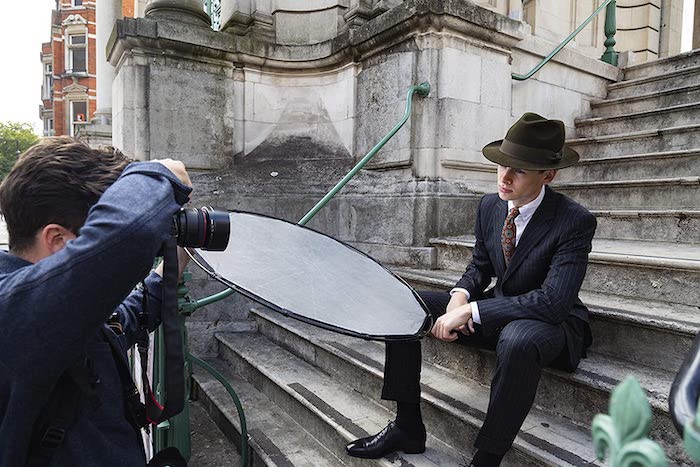
Reflectors
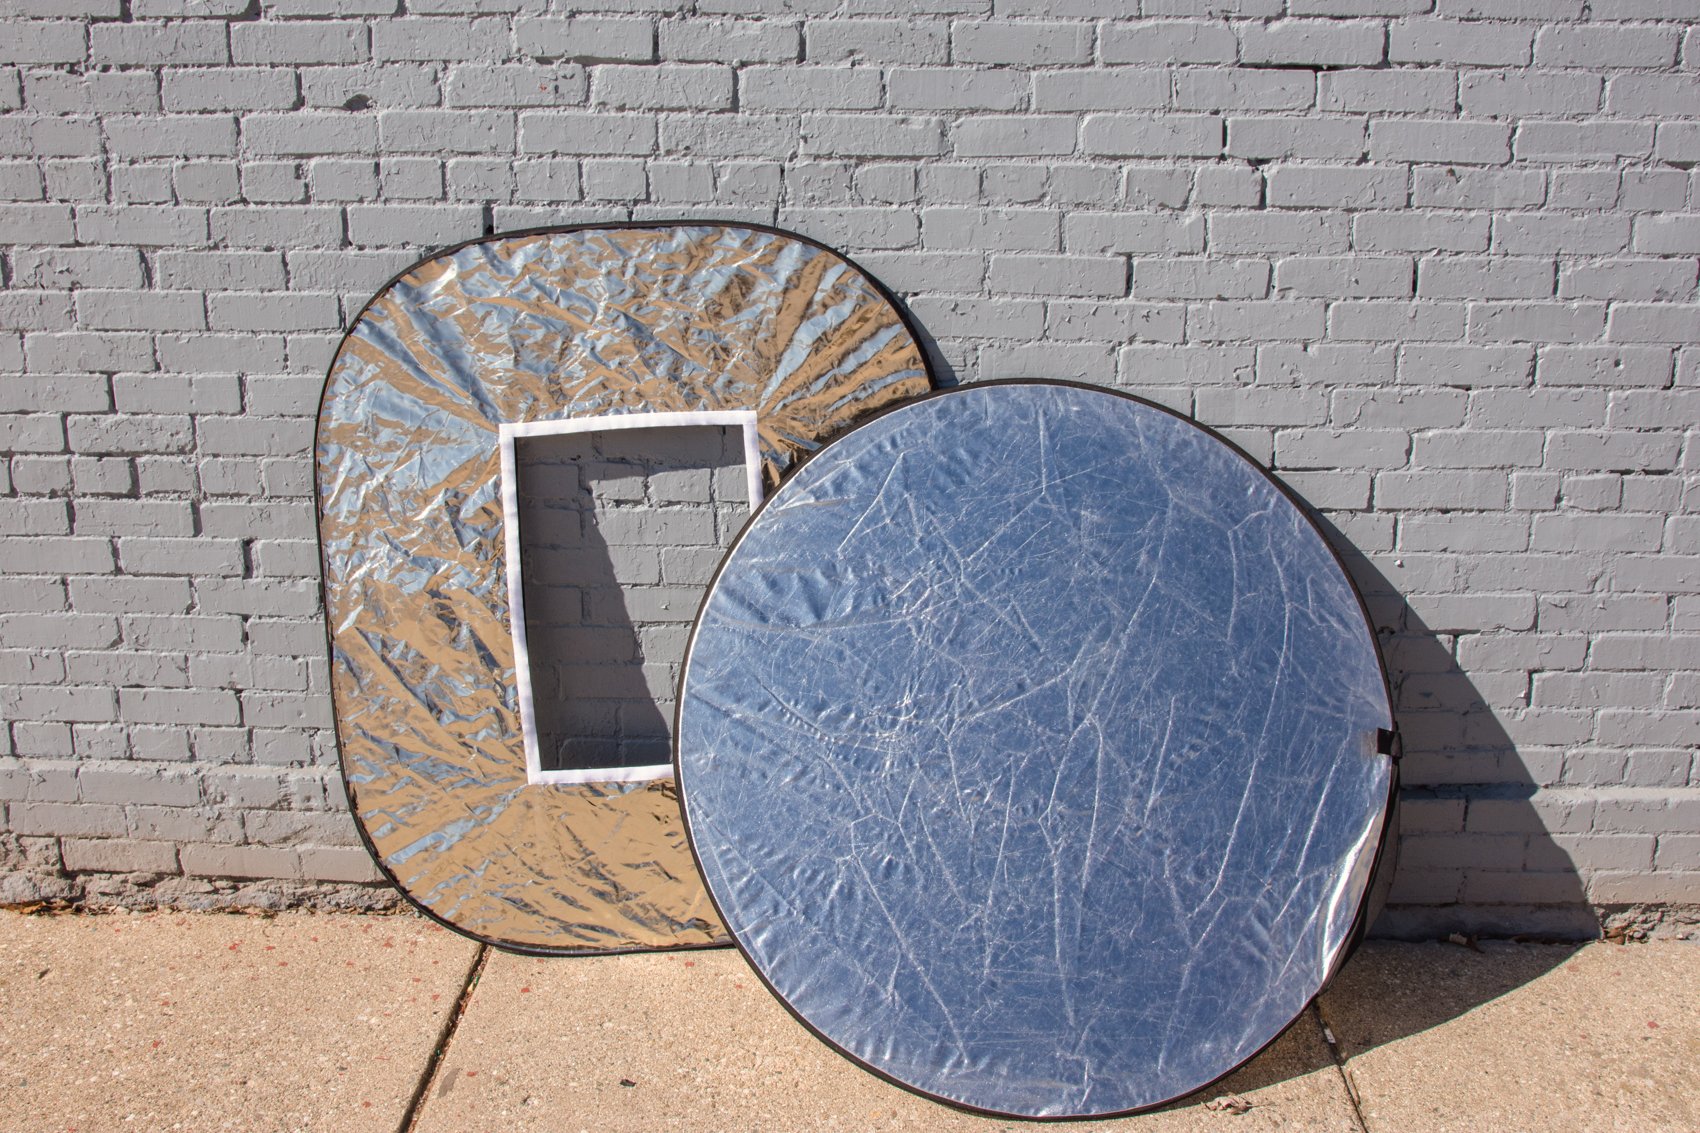
Light reflectors are essential tools for photographers. They allow you to manipulate light, the most important element in photography. Reflectors are popular with portrait, fashion, food, and product photographers.
The best reflectors give you creative control over your lighting. They come with different reflective surfaces like white, black, silver, gold, and translucent. Each surface produces a different quality of light.
Reflectors also come in various shapes and sizes. The size you need depends on what you’re shooting. Smaller reflectors are great for portraits and small products.
Larger reflectors are better for full-body shots and big products. Foldable reflectors are ideal for location shooting as they’re lightweight and portable.
Reflectors for photography are a game-changer for creative photographers.
Portable Softboxes
Softboxes are essential for creating soft, flattering light with speedlights. They diffuse the harsh flash, making it ideal for portraits and other photography where you want to avoid unflattering shadows.
The Triopo KS55 Portable Softbox is a great option thanks to its studio-quality results and strong design. This 22″ octagon softbox is adjustable to fit most flashes and includes a reflective silver interior to minimize light loss.
It also comes with a honeycomb grid to funnel light and an angle-adjustable handle for handheld use.
If you’re looking to learn more about softboxes for speedlights, there are many factors to consider such as size, shape, and mounting options. But with the right softbox, you can take your speedlight photography to the next level.
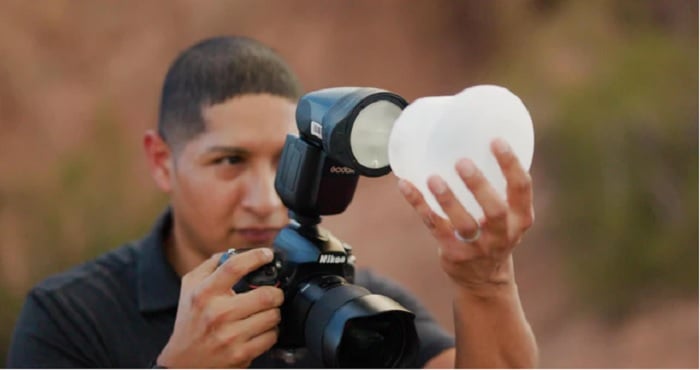
Diffusers
A flash diffuser is an essential piece of gear for portrait, product, and food photography. It softens the harsh light from your flash, giving you more even illumination. This removes unwanted shadows and glare, allowing you to show your subject in the best light.
The Altura Photo Flash Diffuser Softbox is our top pick. It’s a simple and affordable tool that makes a big difference to your photography lighting. The softbox interior has a silver lining to maximize light output. And the light is diffused by two translucent layers for soft, even lighting.
The Neewer Universal Mini Soft Diffuser is another great option. It’s a small softbox diffuser that’s compatible with any flash unit. It couldn’t be easier to use. Simply wrap the elastic opening around your flashgun and you’re ready to go.
Flash diffusers are important for creating professional-looking photos.
If you want to learn more about the best flash diffusers, we have a detailed guide that covers everything you need to know.
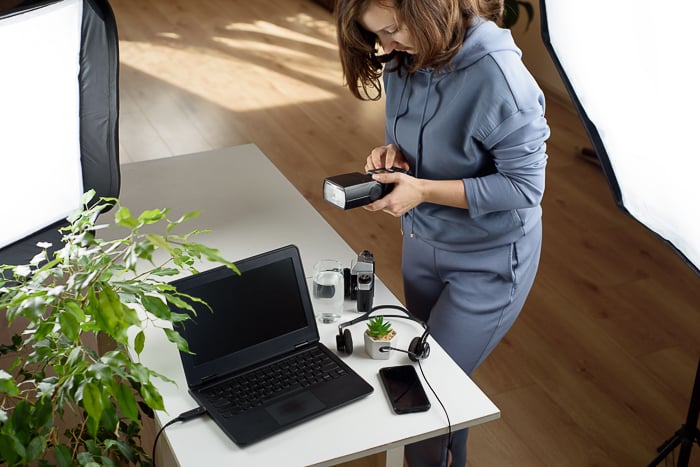
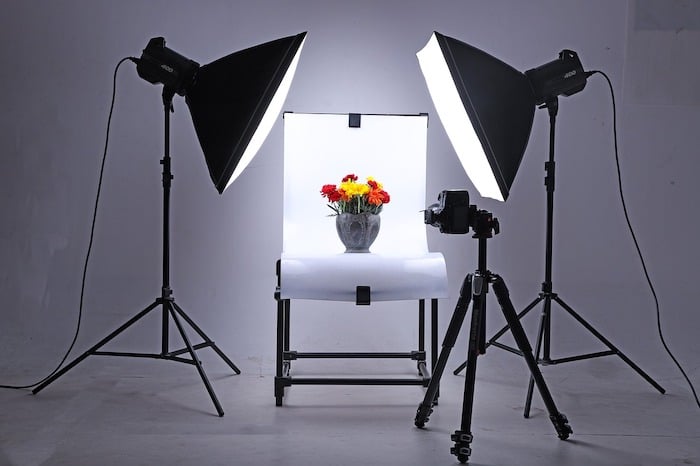
Light Boxes
A light box is an essential tool for product photography. It provides bright, even lighting and a clean background to showcase your products in the best possible way.
The DUCLUS 16 x 16 inch Portable Photo Studio Box is a great choice. It features adjustable LED lights that can be dimmed and repositioned to get the perfect lighting for your shot. The box also folds flat for easy storage and transport.
With multiple shooting angles and eight different background colors, this light box offers plenty of versatility for photographing a variety of products. The reflective silver sides help to keep the lighting consistent throughout the box.
Click here if you want to learn more about light boxes for photography.
How to Use Light Modifiers
Lighting modifiers help photographers control and shape light from flashes and strobes. Umbrellas, softboxes, and beauty dishes spread the light out to create softer, more flattering shadows. Grids, snoots, and barn doors narrow the beam for dramatic, directional light.
Gels change the color of the light for creative effects or to match ambient light. Gobos and cucoloris add unique patterns to the light.
Flash diffusers like domes and bounce cards provide a portable way to soften on-camera flash. Understanding how to use different lighting modifiers gives photographers more creative control over their images.
Reflectors
A photography reflector is an affordable tool that can help you manipulate light for professional-looking photos. It bounces existing light back onto the subject, adding fill light, creating catch lights in portraits, and preventing silhouettes.
Reflectors come in different sizes, colors, and shapes, each affecting the quality and intensity of the reflected light.
To use a reflector effectively, first assess the direction and intensity of the available light. Position the reflector directly across from the light source for the brightest reflection, or at an angle to soften the effect.
Experiment with the distance between the reflector and the subject to control the softness of the light.
Reflectors are versatile tools that can be used creatively beyond their traditional role as fill or key lights. Bend the sides to shape the light, use the black side to deepen shadows, or the diffuser to create your own shade.
With practice, you’ll learn to recognize natural reflectors in your environment and incorporate them into your shots.
Check out our full article on photography reflectors to learn more.
Beauty Dish
A beauty dish is a versatile lighting modifier that produces dramatic and contrasted lighting for portrait and fashion photography.
It creates a light that is harder than a softbox but softer than an umbrella, allowing you to sculpt facial features and create beautiful shadows and catch lights.
You can use a beauty dish with or without a grid, each producing different effects. Without a grid, the light spreads farther, making it suitable for larger subjects or as a fill light.
With a grid, the light is more focused and directional, creating a natural vignette effect.
To set up a beauty dish for excellent portraits, position it 45 degrees off the center of the face and just out of the frame. Raise the stand and point it down on the subject for more shadows on the hair, eyes, lips, and neck.
Turn the model’s face towards the dish to vary the amount of shadows on the face.
Follow the link if you’d like to learn more about beauty dish lighting techniques.
Softboxes
Learning to use a softbox can improve the lighting in your photos. Softboxes are useful when the available light is low and great for filling in shadows when the light is harsh.
They work best for subjects you have some control over, like portraits, still life, and product photography.
Softbox lighting is diffused and gentle, scattering the light to create softer shadows. The size of the softbox affects how soft the light will be – bigger means softer.
You can also adapt some softboxes with modifications to further soften or direct the light.
When using a softbox as your main light, consider its distance from the subject, placement angle, power output, and how it interacts with other lights and reflective surfaces.
Experiment with different setups to find the most flattering lighting for your subject.
If you want to use a softbox on location, smaller portable options are available that can balance well with natural light.
Umbrellas
A photography umbrella is a simple yet effective light modifier that softens and spreads light, reducing harsh shadows in your photos.
There are two main types of umbrellas: white umbrellas (also known as shoot-through umbrellas) that diffuse and spread light over a larger area, and black umbrellas that are reflective and provide more control over the light.
Umbrellas come in various sizes, with larger umbrellas creating softer light. To use a photography umbrella, mount it to your strobe or flash, ensuring that the umbrella covers the light source.
Experiment with different angles and positions to achieve your desired lighting effect.
Photography umbrellas are versatile, affordable, and easy to use, making them perfect for beginners and professionals alike.
To learn more about photography umbrellas and how to incorporate them into your lighting setup, check out our in-depth guide.
Softbox vs Umbrella
When choosing between a softbox and an umbrella for lighting, consider their unique characteristics. Softboxes offer more control over light direction and have double diffusion for softer lighting. They also allow the use of grids to further shape the light.
Umbrellas are more portable and quick to set up. They spread light in a wider area, making them ideal for event and interior photography where even illumination is needed.
Collapsible umbrella softboxes offer the best of both worlds – the portability of an umbrella with the light control of a softbox. They come in various sizes and are great for beginners.
To learn more about softbox vs umbrella, check out this in-depth article.
Ring Lights
Ring lights are a popular type of photography lighting that create beautiful, soft light. They are perfect for portraits, as they add a natural-looking glow to the subject’s skin.
The most appealing benefit of using a ring light is that it helps to eliminate harsh shadows. For portraits, being able to provide soft, even lighting on the face is important. The circle of light provided by a ring light does this by widening the source of light.
Another common use for a ring light is with macro photography. The main benefit of eliminating shadows is what makes a ring light the perfect fit for macro photos. Ring lights are also a great option for food photography due to their even and soft light.
To learn more about ring light for photography, check out this in-depth guide.
Gobos and Flags
Gobo stands for “go-between.” It is placed in front of a light source to change its shape. It can be used to narrow the light or otherwise create a pattern.
For example, you may need to cut down some of the light hitting a burger bun, creating a patch of glare. This is known as a “hotspot.”
You can buy a set of flags or a gobos kit. But they can be a bit on the pricey side. You can instead make your own by cutting out shapes from a piece of black cardboard or foam core.
You can attach a wooden skewer to create a handle. And then you can hold it where you need it to affect the light.
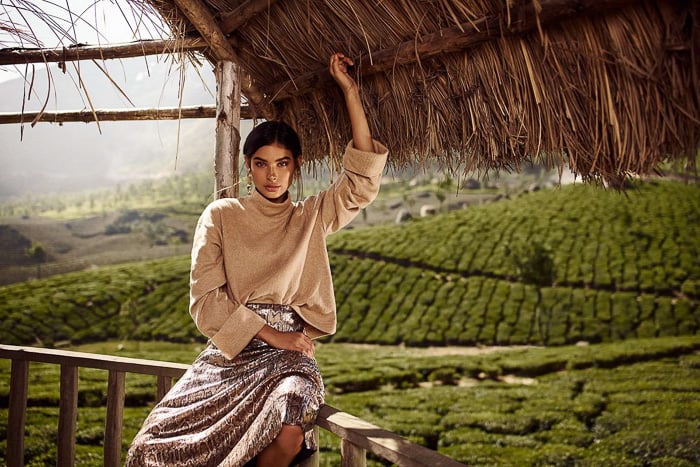
Gels
Gels are a very inexpensive and handy way to correct for color when shooting in a lighting situation that’s less than desirable.
For example, you may be using lights that vary in color temperature. You can match them by placing the appropriate gel color on your modifier.
You can also use gels creatively. They can put a bit of a given tint to your images without making them look like a filter has been added.
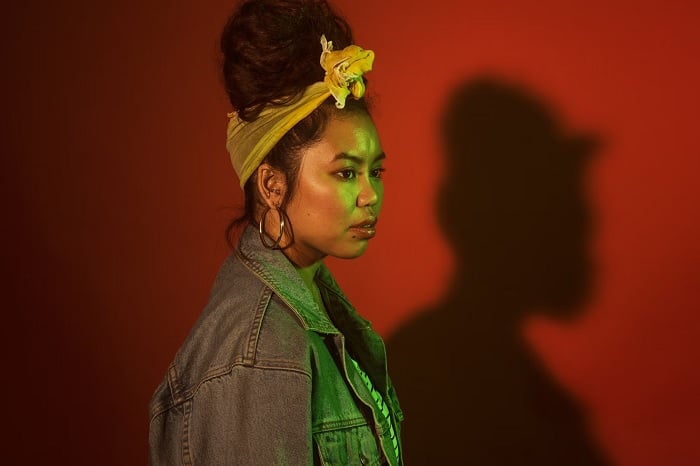
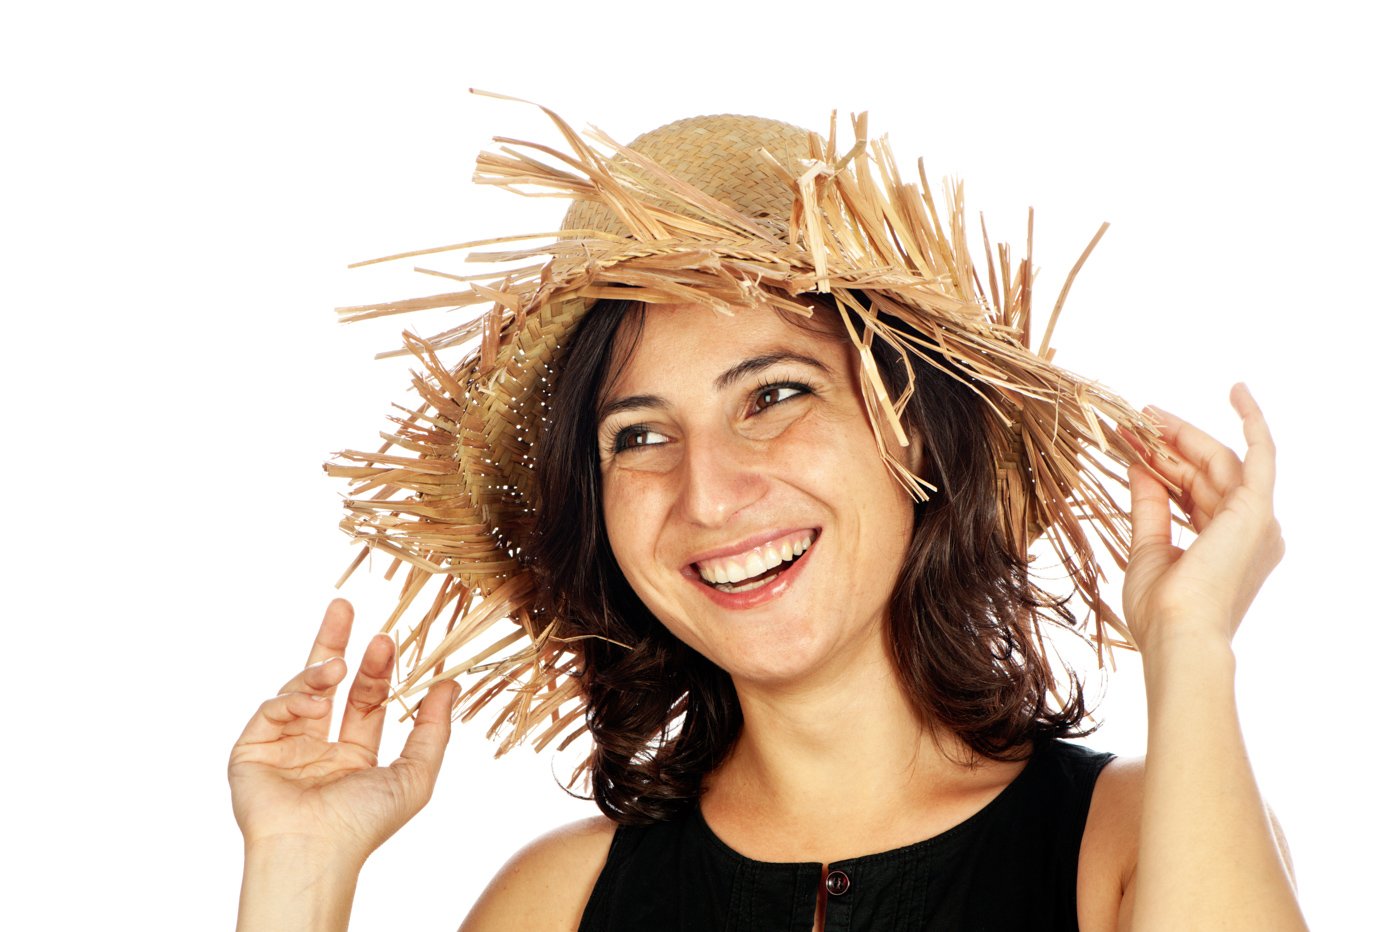
© Jessica Felicio
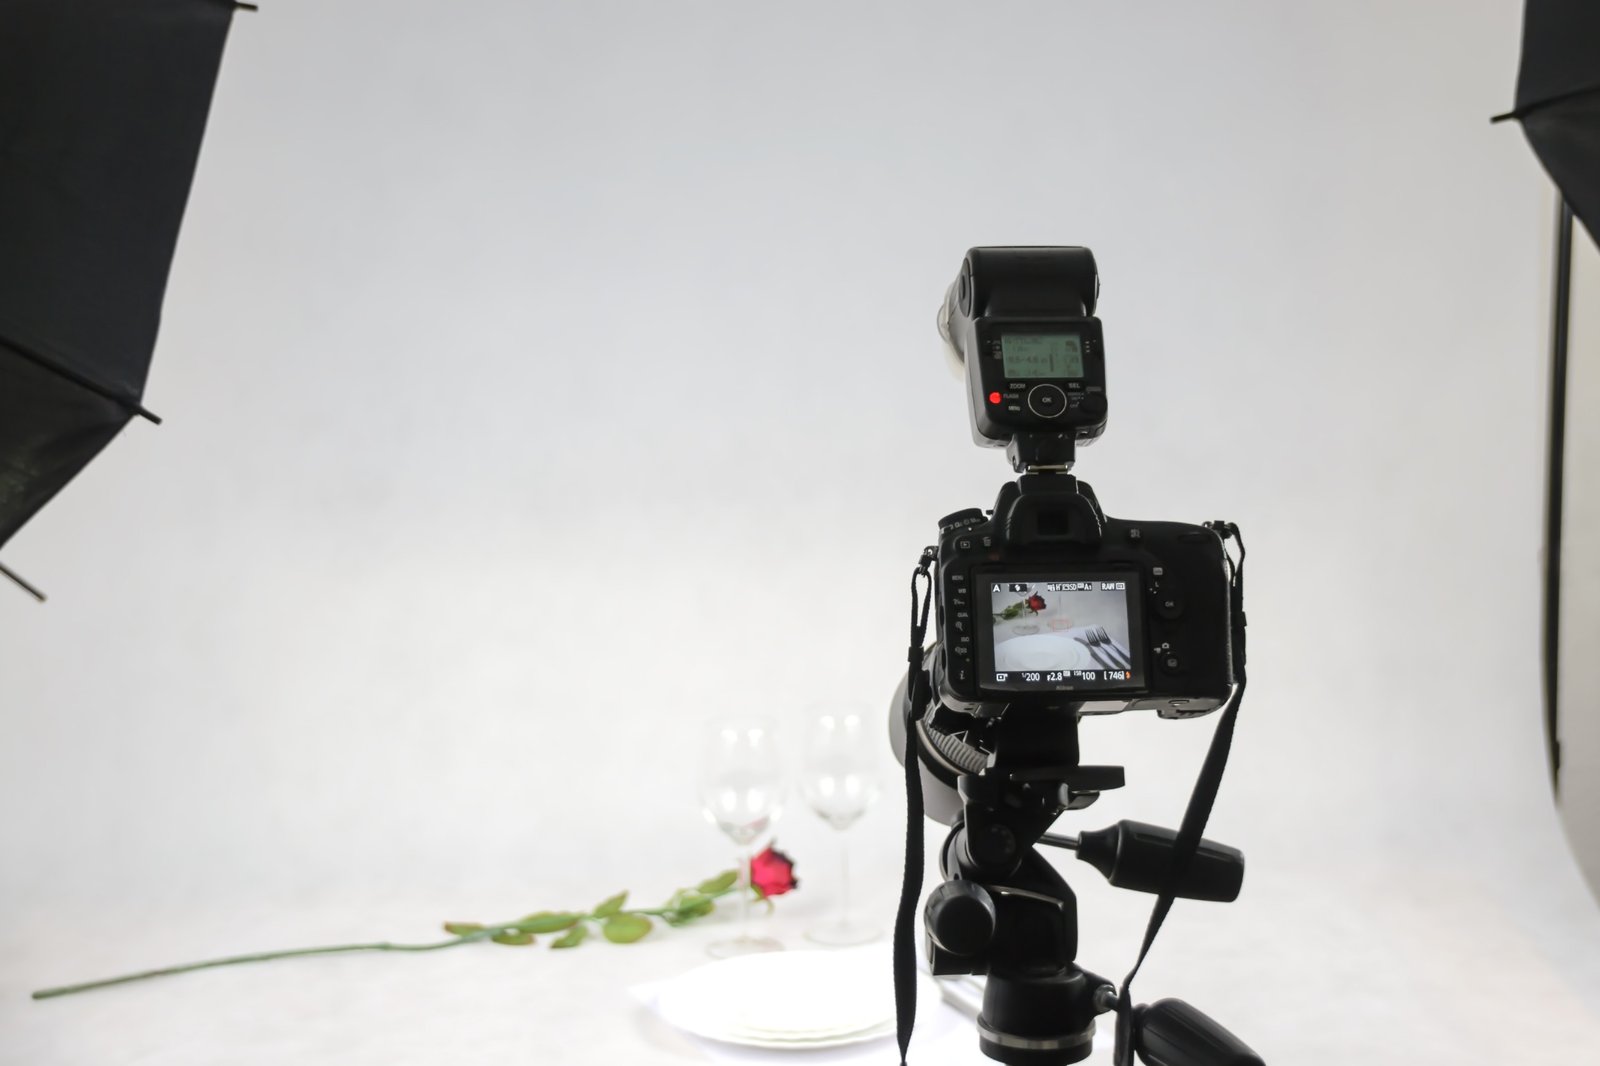
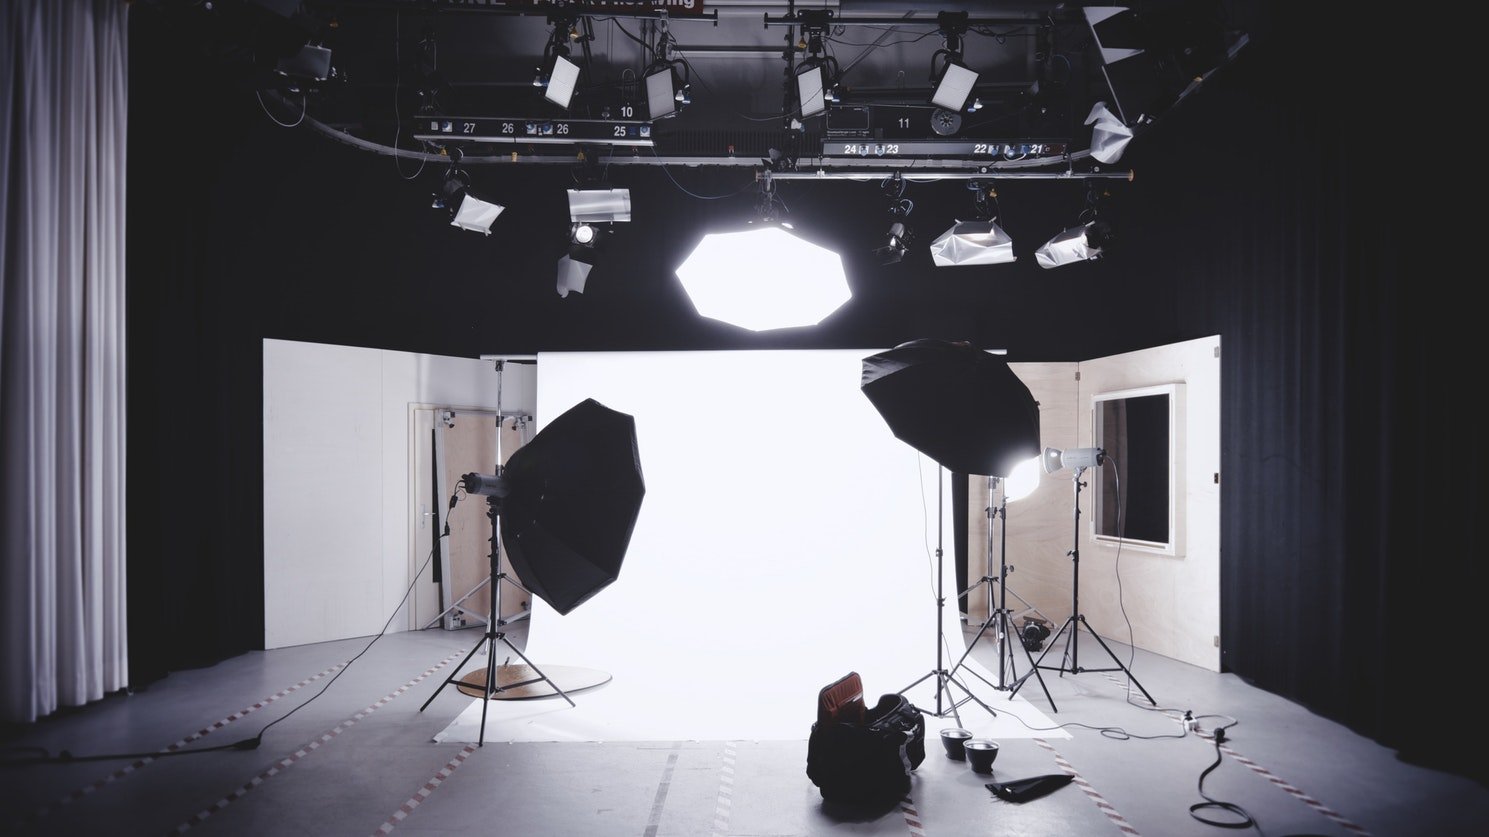
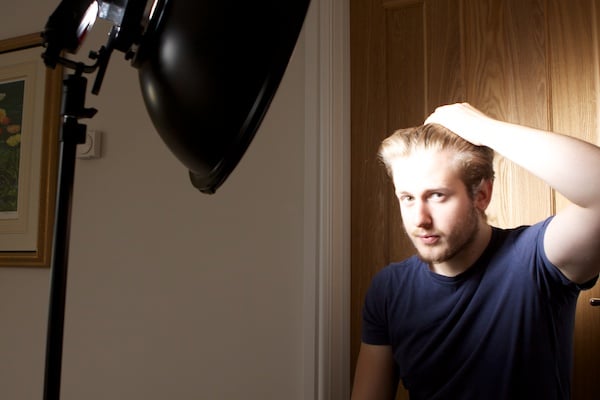
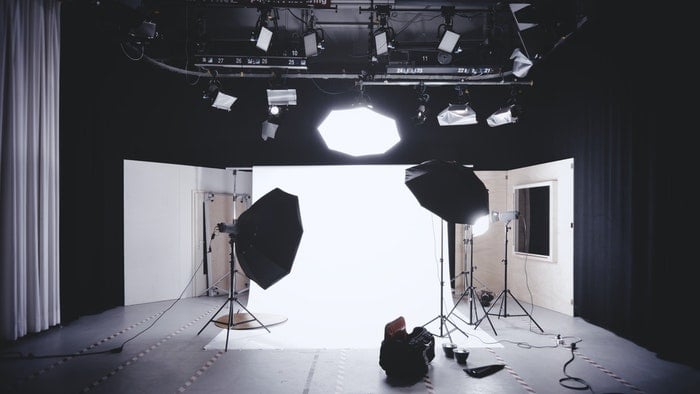
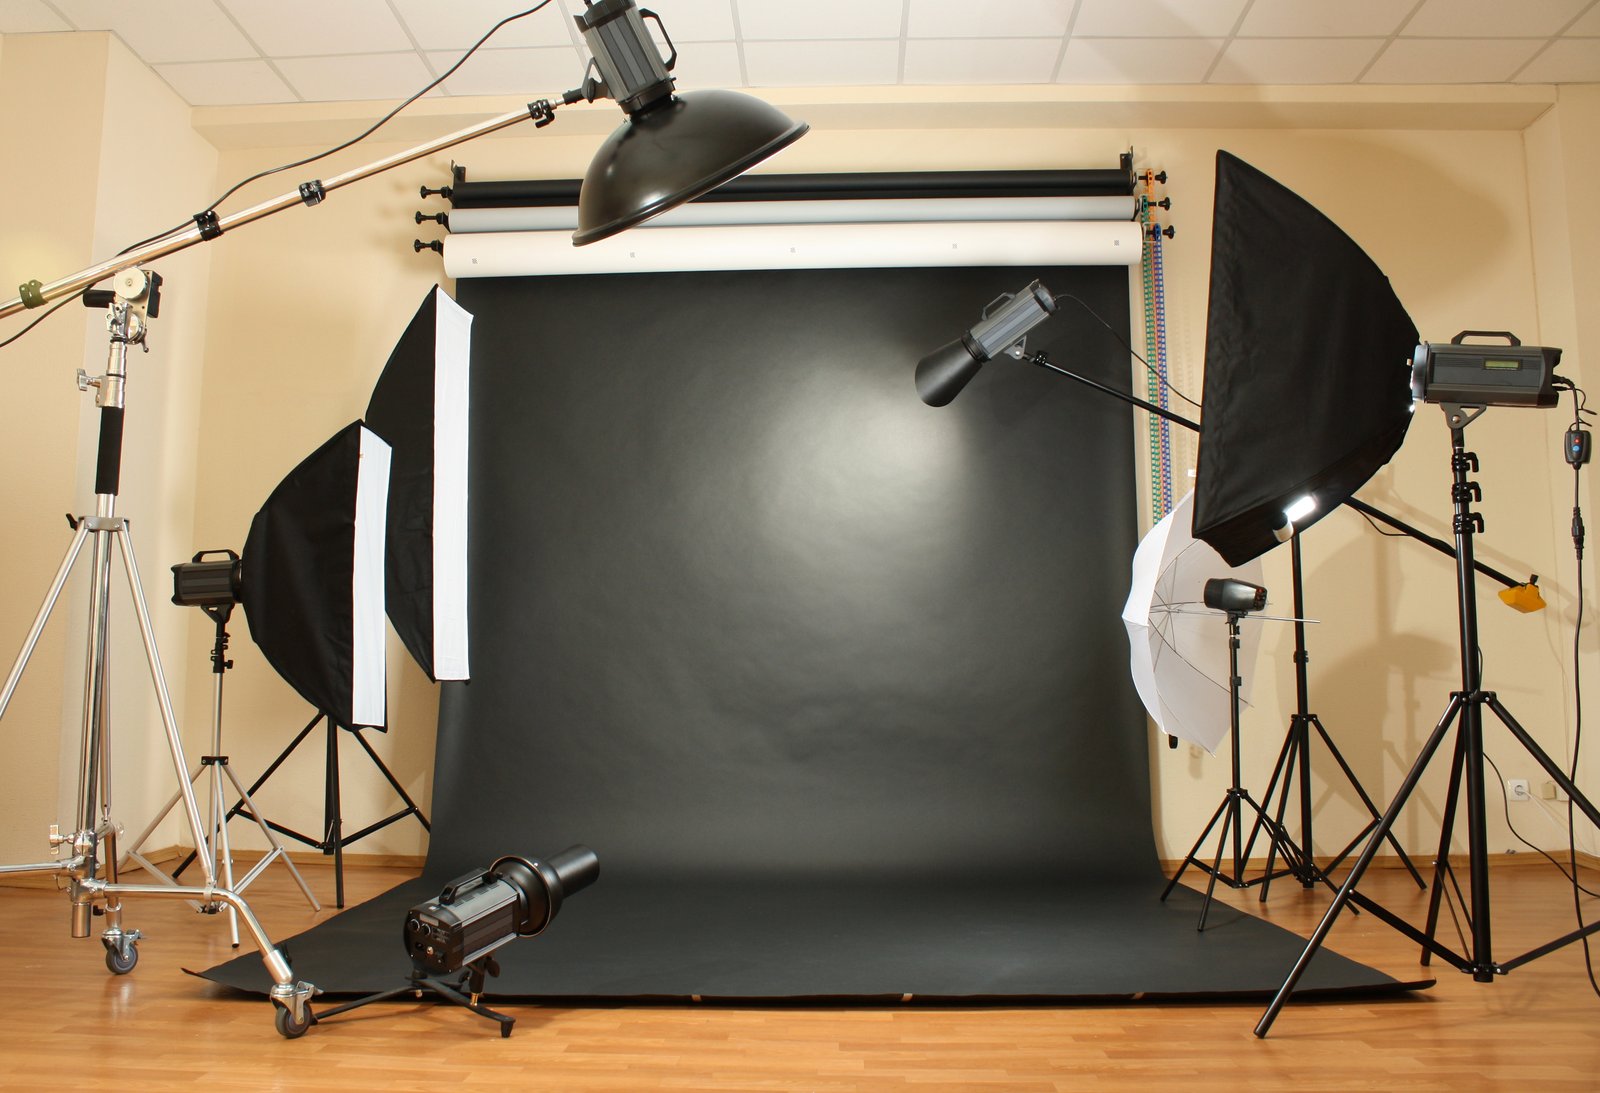
Studio Lighting
Studio lights are an essential tool for photographers looking to create high-quality images in a controlled environment. There are several types of studio lights, each with its own unique characteristics and benefits.
Fluorescent lights are energy-efficient and produce a soft, even light that’s great for portraits. LED lights are another popular option, offering adjustable color temperature and brightness. They’re also very portable and generate little heat.
For photographers who need a lot of power, tungsten lights are a good choice. They offer high output levels but can get quite hot. No matter which type of studio light you choose, it’s important to use diffusion to soften the light and avoid harsh shadows.
Studio lights are a valuable tool for any photographer looking to take their work to the next level.
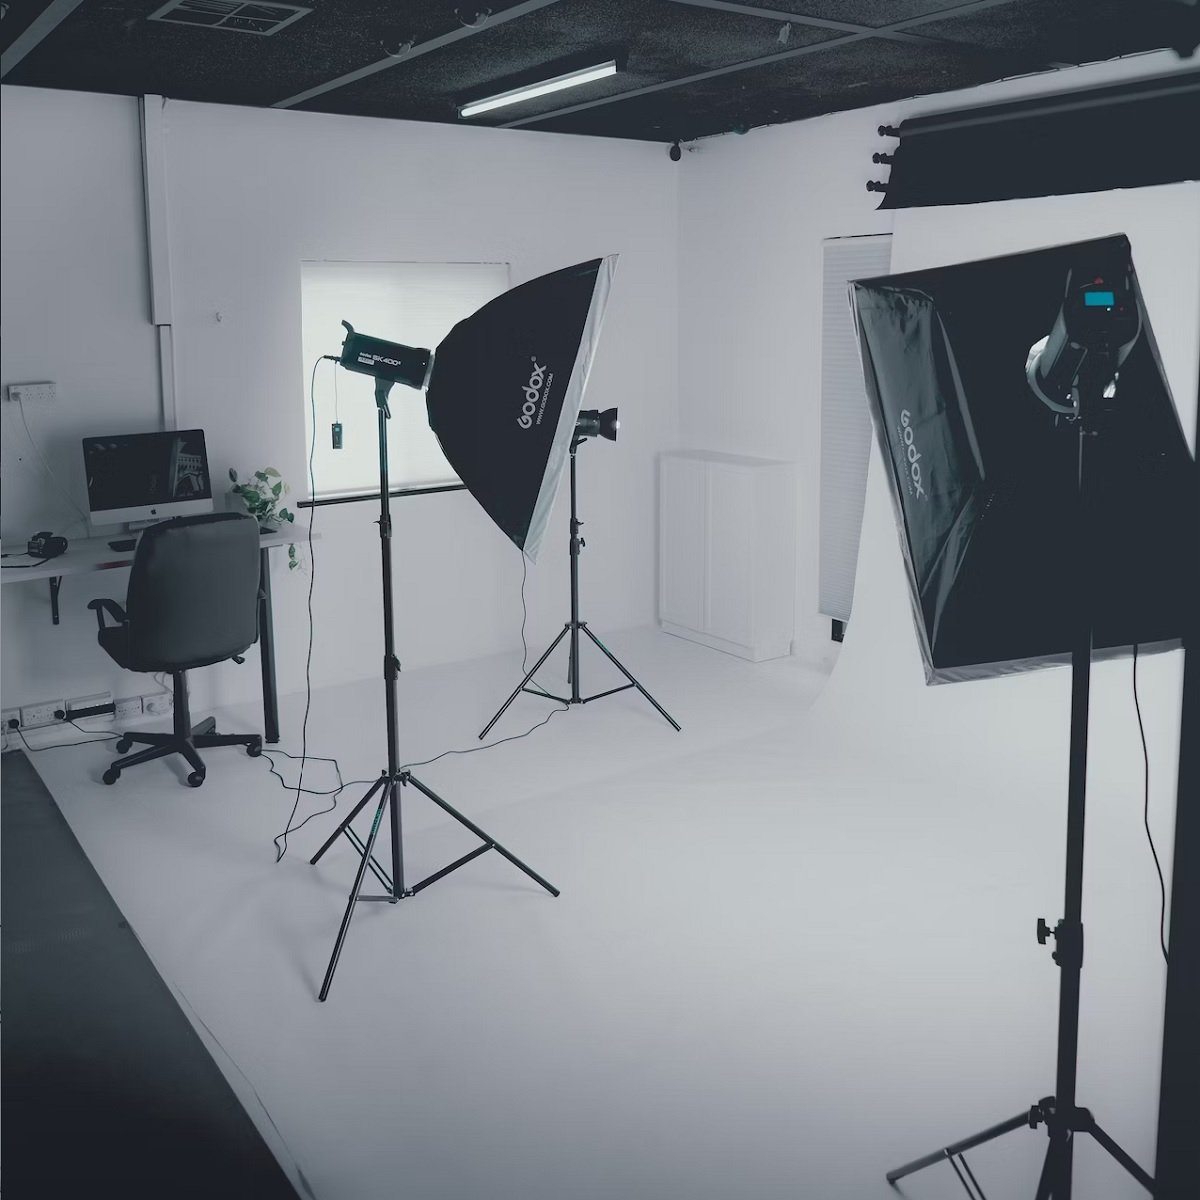
Lighting Kits
The best photography lighting kits can improve your photos. There are kits for every budget, from affordable options to expensive professional setups.
Our top pick is the Godox AD200 Pro. It’s a powerful and portable kit that works well in the studio or on location. The 200W output and interchangeable heads provide flexibility for different shooting situations.
If you’re looking for a high-end option, the Profoto D2 500Ws AirTTL Monolight is a great choice. It has a wide range of adjustments and includes various modifiers.
For a comprehensive battery-powered kit, the Elinchrom ELB 1200 Hi-Sync To Go Lighting Kit is hard to beat.
Photography lighting kits are an important tool for any photographer. With the right kit, you can take your photos to the next level.
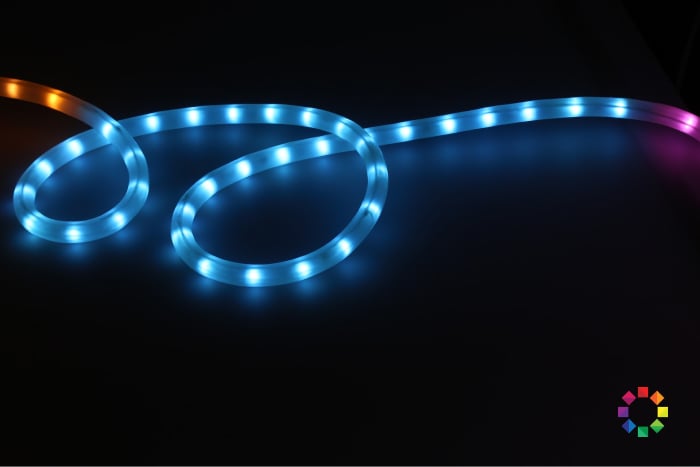
LED Lights
LED lights are a versatile and popular choice for photographers. They provide consistent, adjustable lighting without the harshness of traditional strobes and bulbs.
LED lights come in various forms, such as strip lights, panels, and ring lights, each offering unique benefits for different photography styles.
LED strip lights are great for creating atmosphere and adding color to your shots. LED panels provide even, continuous lighting that’s perfect for portraits and headshots.
Ring lights are a favorite among social media influencers and vloggers, as they give flattering, shadow-free illumination.
With options like adjustable color temperature, brightness control, and remote operation, LED lights offer photographers a wide range of creative possibilities.
Whether you’re shooting in the studio or on location, there’s an LED light solution to help you get the perfect shot.
Find out more about LED lights for photography right here.
LED Panels
LED light panels are a versatile lighting tool for photography and video. The best LED panels give you control over brightness and color temperature. This allows you to get the perfect lighting in any situation.
LED light panels come in different sizes. Large panels are great for studio photography. Smaller LED panels can attach directly to your camera for on-the-go lighting.
If you want to learn more about led light for photography, we have an in-depth guide on LED light Panels. It covers everything you need to know to find the best LED light panel for your needs.
Light Stands
A light stand is an essential piece of equipment for photographers who use off-camera lighting. It safely supports flashguns, strobes, and LED panels. The best light stands are strong yet lightweight and portable.
Look for stands made from aluminum, carbon fiber, or stainless steel. These materials are durable and can hold heavy lights without breaking. Avoid plastic stands as they are flimsy and unreliable.
The maximum load capacity and height are important specs to consider. Make sure the stand can support the weight of your lights and hold them at the height you need.
If you want to learn more about light stands, we have a detailed guide to help you find the best option for your photography.
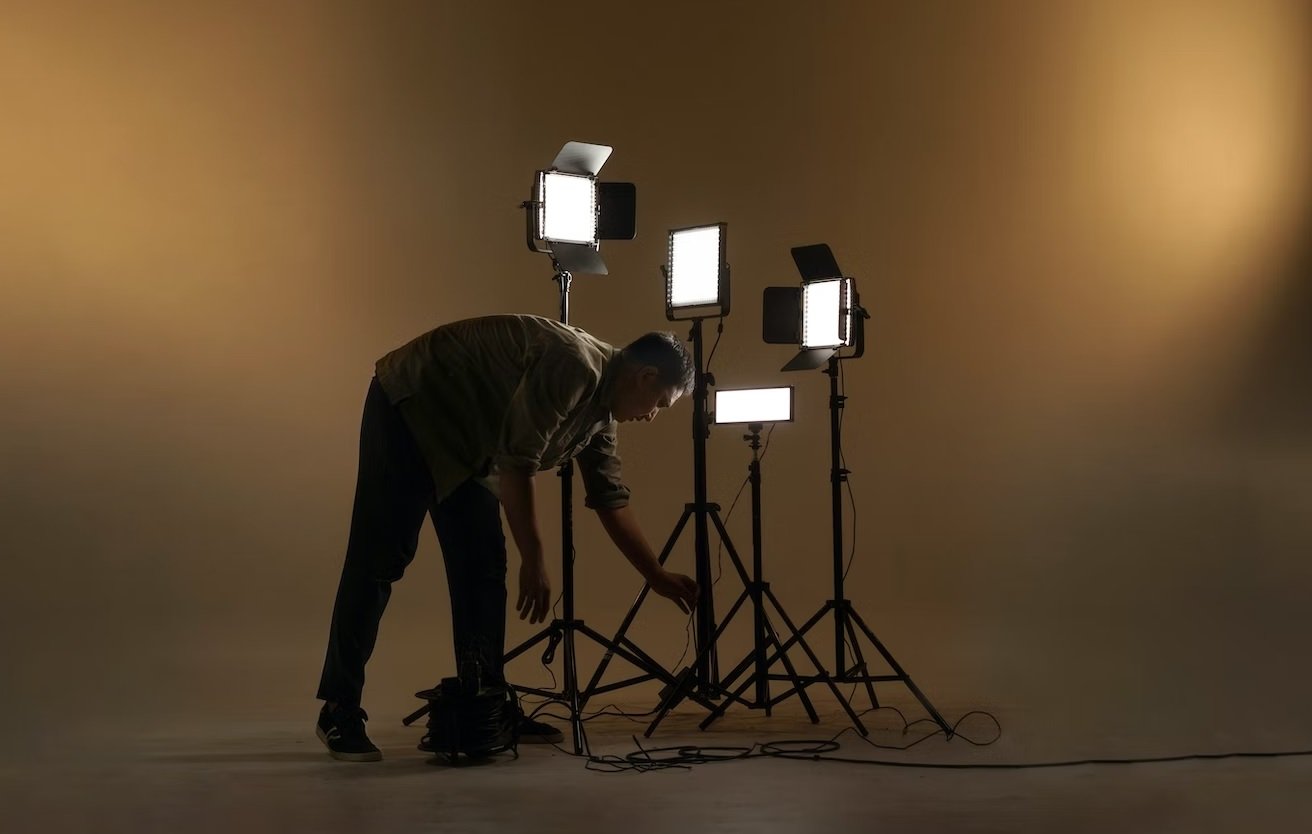
Video Lights
Video lights are an important tool for photographers and videographers. They provide continuous lighting, which is great for shooting video or photos in low light. LED lights are a popular choice because they don’t heat up as much as other types and are energy efficient.
When choosing a video light, consider the type of shoot you’ll be doing. Some lights offer plenty of control but may be harder to move around. Others are very portable but have less power or adjustability.
The Neewer CN-160 is a great option for many photographers. It has good features for a low price and is small and light enough to use on the go.
If you want to learn more about video lights, this article is a good place to start.
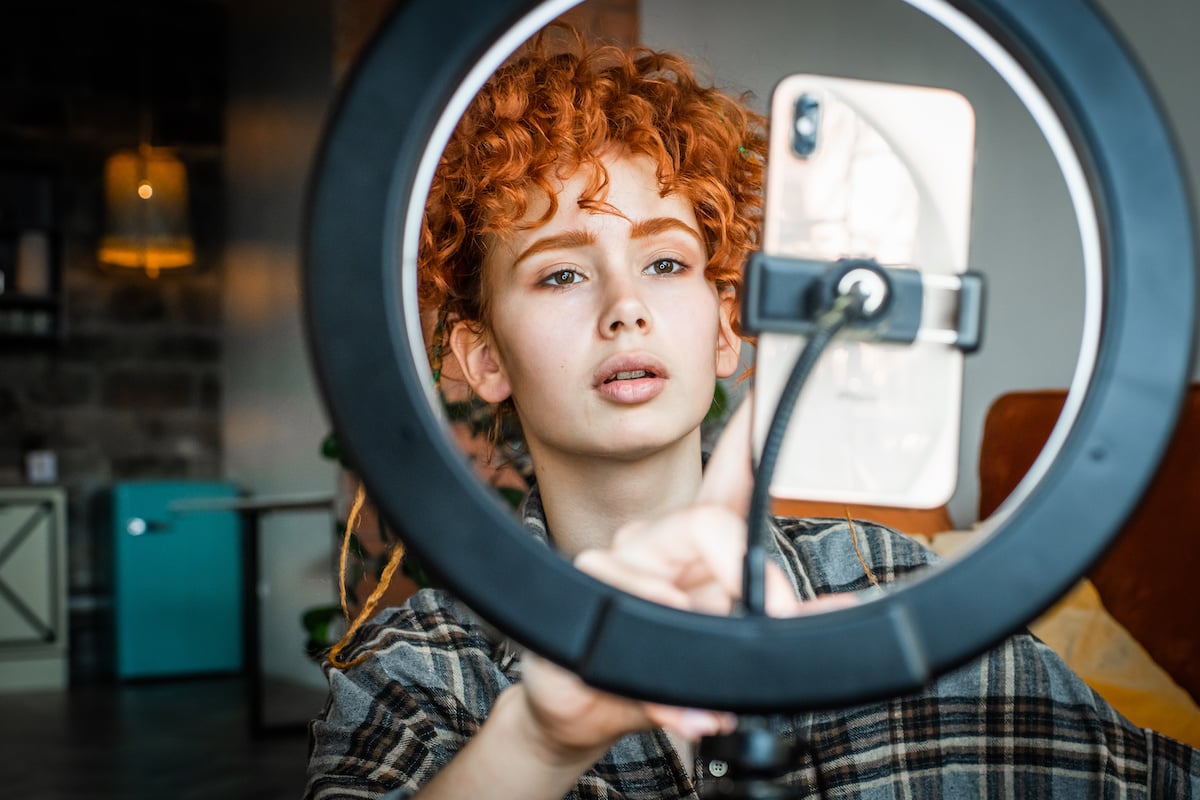
Ring Lights
Ring lights provide smooth, consistent lighting that’s hard to achieve with other lights. They eliminate unwanted shadows and make your subject stand out. The even illumination is perfect for selfies, portraits, makeup videos, and product photography.
The Sensyne Ring Light with Tripod is the best ring light available. It has three color temperatures and 10 brightness settings for excellent lighting control. The sturdy tripod keeps it stable, and the Bluetooth shutter remote makes shooting easy.
Whether you’re a photographer, vlogger, or influencer, a ring light will improve your content.
To learn more about ring lights, check out our detailed guide.
Tiktok Lighting
TikTok lights are essential for creating high-quality social media content. Ring lights provide even facial lighting, removing shadows and adding sparkle to your eyes. They’re perfect for makeup tutorials, vlogs, and live streams.
LED strip lights and light panels give you more creative options. You can transform your shooting environment with colorful lighting effects. Some strip lights even sync with music, pulsing and flashing to the beat.
The Inkeltech ring light is the best option for TikTok creators. It includes a sturdy tripod, remote control, and carry case. This professional lighting kit will take your TikTok videos to the next level.
TikTok lights are a smart investment for anyone serious about social media success.

Video Calling
Choosing the right lighting for Zoom calls can make a big difference in how you look on camera. Ring lights are a popular choice because they provide even, flattering light and reduce shadows on your face.
The Lume Cube 18-inch LED Ring Light Kit is a great option with adjustable color temperature and brightness, plus a sturdy tripod stand.
Panel lights are another good choice for Zoom calls. They’re often more compact and portable than ring lights, making them ideal for travel. Look for a panel light with adjustable brightness and color temperature, like the Neewer Bi-Color LED Kit.
No matter which type of light you choose, position it slightly above eye level and off to one side for the most flattering effect.
If you want to learn more about lighting for zoom calls, we have all the best option in this blog post.