Afterlight is one of the most popular photo editing apps for iPhone and Android users. Knowing how to use this app can help you elevate your smartphone photography.
All you need is a few photos to experiment with and the Afterlight app.
Comparing the Afterlight App on iOS and Android
The iOS and Android versions of Afterlight have a few significant differences.
iOS users can download Afterlight 2, which has more advanced features and tools. This isn’t available for Android users.
There hasn’t been an update to the Android version of Afterlight apps since 2014. Nonetheless, it’s still considered a powerful photo editing tool in the Android community.
For this tutorial, we’ll be using the Android app version, so the examples might look a little different. This shouldn’t affect your photo editing experience.
Tools That Are Only Available in the iOS Version of Afterlight
The iOS version of Afterlight comes with extra adjustment tools for iPhone photographers. These can further enhance your photos. A few of the most notable ones are:
- Double Exposure – Combine several photos to make one beautiful silhouette.
- Fusion Filters – These are custom filters that you can make in the app.
- Chroma – This creates a distorted and 3D-like effect that’s ideal for vintage photos.
- Glow – Creates a hazy and dreamy look.
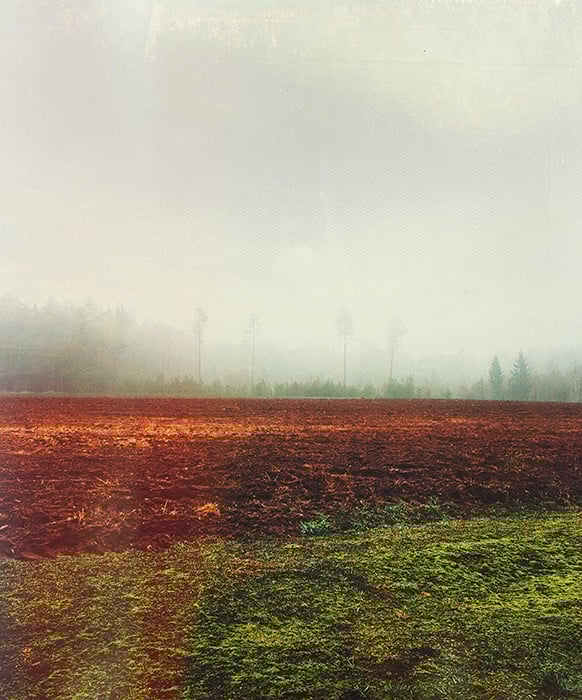
Take or Import a Photo to Start the Editing Process
You can use Afterlight’s camera tool to take a photo instantly. If you want to have more control over your image, you should use a manual camera app. This can help you preserve image data, have more control over your focus, and more. You can then import your image into Afterlight.
If you’re not too worried about technical settings, you’re likely to enjoy using the camera in Afterlight.
Use Adjustment Settings to Make Your Photo Stand Out
You can use Afterlight’s editing tools in any order you like. Many photographers prefer to start with adjustments. The reason is that adjustments can help you create an even foundation for your image. This will make it easier for you to experiment with presets and overlays later on.
Afterlight offers basic and advanced adjustment tools. The basic ones are exposure, contrast, saturation, etc.
The more advanced tools will give you control over the highlights, mid-tones, and shadows.
If a particular adjustment looks too harsh, you can lower its opacity. To do this, press the circle on the slider and drag it to the left.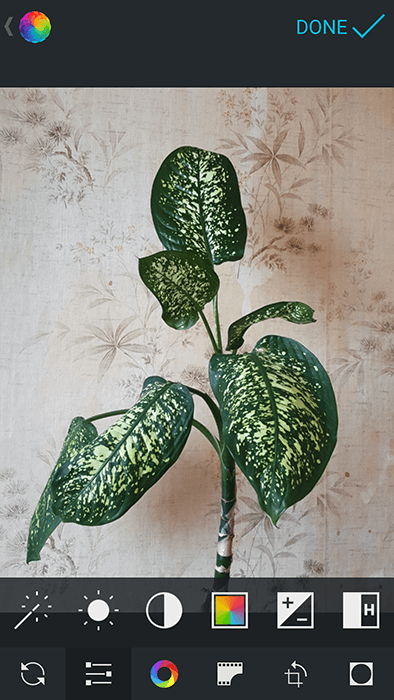
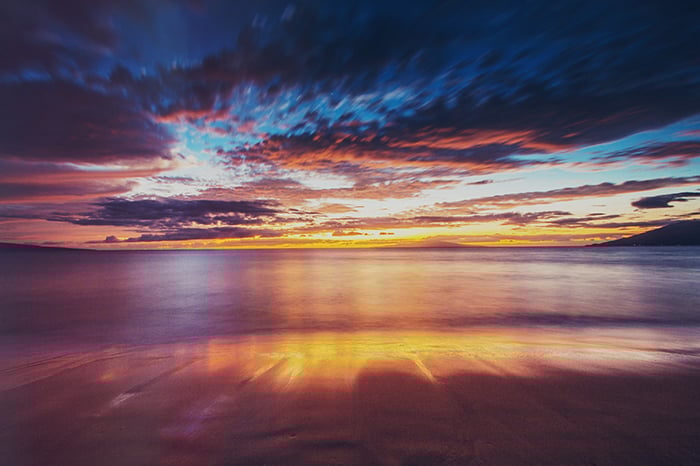
Use a Preset to Give Your Photos a Dreamy, Romantic, or Modern Feel
Afterlight is known for its unique presets, which are all free. They help you color correct and enhance any kinds of photo.
The presets come in three different categories: Original, Guest, and Seasons. In the Original section, you can unlock a few extra presets by liking Afterlight’s Facebook page.
The Original presets have a unique vintage style. The Guest presets were made by different photographers. One of the most popular Afterlight presets in this section is called Russ. It’s named after famous photographer Kevin Russ.
The Seasons presets have specific looks for different seasons.
If a preset is too strong, you can lower its opacity. You can also use multiple presets to enhance the colors in your photo. For a subtle and natural look, lower the opacity for each preset.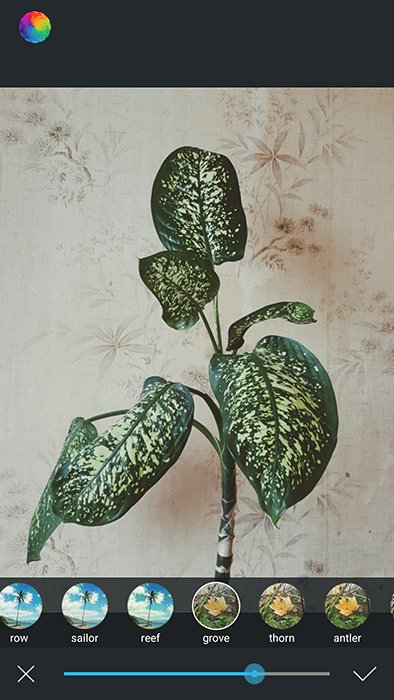
Give Your Images a Nostalgic Look With Dust Overlays and Light Leaks
Most photo editing programs offer adjustments and presets. The Afterlight app takes its editing to the next level with polaroid film, old film, light, and many more overlays.
Like the presets, Afterlight’s overlays come in three categories: Dusty, Light Leak, and Instant Film.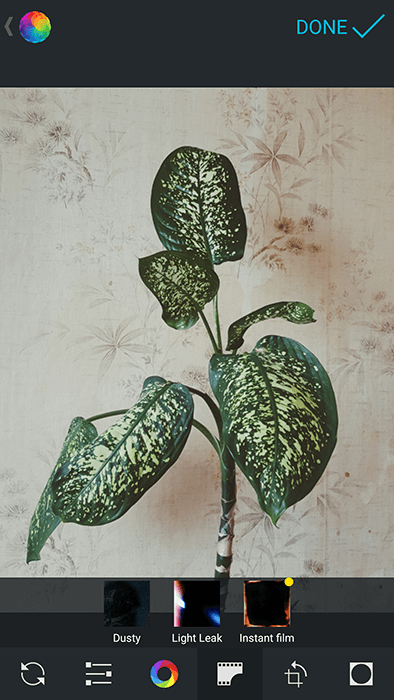
The Dusty section has textures that can make your photo look like it was taken with an analog camera. In Light Leak, you’ll find vibrant streaks of light that you can use to emulate the film photography look.
Instant Film offers 22 film textures and 7 frames that you need to pay for. These are more advanced versions of the previous two sections.
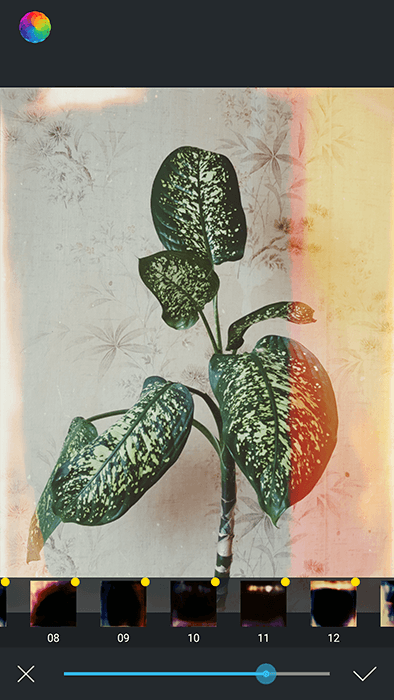
Be careful when you use any of these tools. Too many textures can make your photos look unnatural. In this case, less is more.
Use the Crop Tools to Get Rid of Distractions
The crop tool offers basic cropping and rotating tools. This is a great opportunity to crop out distractions and experiment with rotations.
Even if your photo looks good as it is, try flipping it. Play around with each tool to see if your image could look better. The results might surprise you!
However, don’t crop too much. Even though most smartphone photos have very high resolutions, they have a limit. If you crop too much, you might ruin the quality of your photo.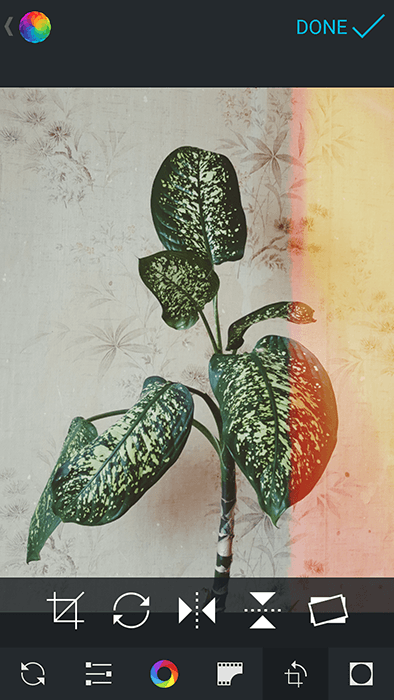
Enhance Your Design Using Afterlight’s Creative Framing Tools
Afterlight offers a large number of whimsical and simple frames. Again, these are found in three different sections: Original, Type, and Instant Film.
In Original, you can add a white border to your photo. If you’re feeling creative, you can experiment with unusual frames in the shape of triangles, ovals, and even anchors. This is an easy way to make your smartphone photography stand out on Instagram or any other social platform.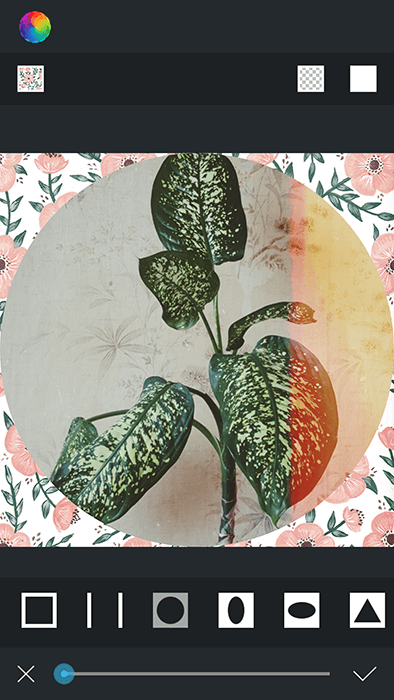
The Type section offers alphabet, number, and symbol frames. This is a handy design tool if you want to create logos or make your gallery look more aesthetically pleasing.
In Instant Film, you’ll find 22 textures and 7 frames. The frames are all inspired by Polaroids. You can use them to make your image look like it was taken with an Instax or Polaroid camera. Like the Instant Film overlays, these textures are premium.
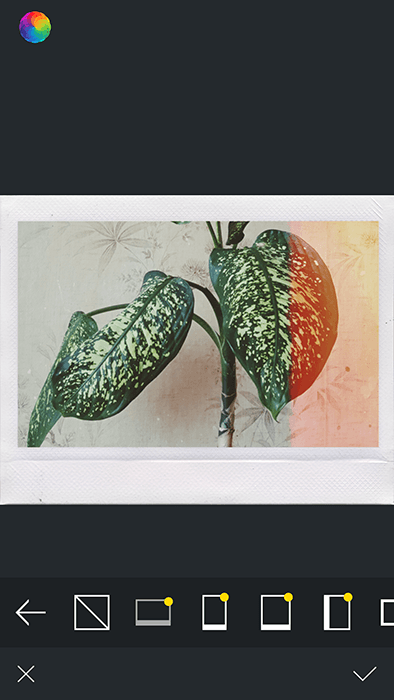
Save Your Final Results Using the App’s Quick Export Tools
When you’re happy with the results, press Done.
This will open an Export window where you can immediately export to Instagram, Facebook, Twitter, and more. Or you can save the image to your gallery.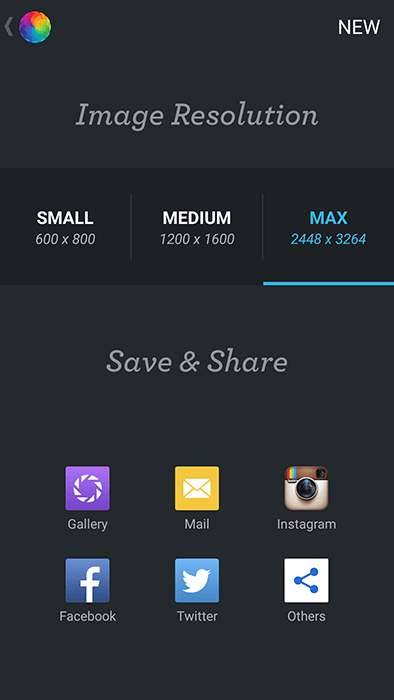
In the Android version of the app, the maximum export size is 3264 x 2174. In the iPhone version (Afterlight 2), the largest export size is 6144 x 6144.
Android users should keep this limit in mind if they’re planning to make large prints of their smartphone photos.
Common Afterlight Questions
How Much Is the Afterlight Editing App?
You can use Afterlight for free, but you have to pay if you want to take advantage of its premium features. The premium version of Afterlight costs $2.99 every month. In the Android version of the app, you can buy specific packs, like Instant Film, for less than $1.
How Can I Get Afterlight for Free?
Afterlight is free to download. The free version has many tools you can use to enhance your Android or iPhone photography. The only features you need to pay for are the extra overlay or texture packs. These have extra textures or frames that you can use to make your pictures look even better.
Does Afterlight 2 Edit RAW?
The iPhone version of Afterlight offers RAW image support. This means you can edit RAW photos from your professional or smartphone camera. The Android version can edit JPEG images only.
How Do You Make Filters on Afterlight?
You can make your own filters by pressing Fusion and the plus icon. Everything you do after this will be documented and turned into a custom filter. When you’re done, press Save and name your filter. You can access your filters by pressing Fusion and selecting your filter.
Conclusion
One of the top social media success tips is to use a reliable and creative editing app. Afterlight falls into this category thanks to its unique presets, filters, adjustment tools, and overlays. Try the free version first, and if you enjoy using it, you can always upgrade the app to premium!
Check out how to create light leaks in Photoshop or how to use, edit and share Live Photos on your iPhone next!