The blur effect in Photoshop is a quick way to make your photo more dramatic. Adding a blur is a great way to do it. Consider this a quick-and-easy beginner’s guide to using a blur filter and a blur effect in Adobe Photoshop.
Whether you want to achieve that shallow depth of field look or add a sense of speed, various blurs can produce different effects. Today, we will give you a quick introduction to the various blur features you will come across in Photoshop. By the end of this article, you will be able to tell the difference between a box blur and a shape blur.
What Is a Blur Effect In Photoshop?
Blur filters in Photoshop are simply algorithms that make a specific part of your images out of focus.
Blur is a natural part of photography. A good photographer knows how to control different aspects of blur to make a more impactful image. You can do this by setting a narrow aperture, so only the subject is in focus. Or you can reduce shutter speed and pan over something moving by you quickly, like a speeding car.
If you don't have control over your camera just yet, Photoshop is here to help. You can create effects after you have taken the photo. There are even options that give you results that not even a camera can produce.
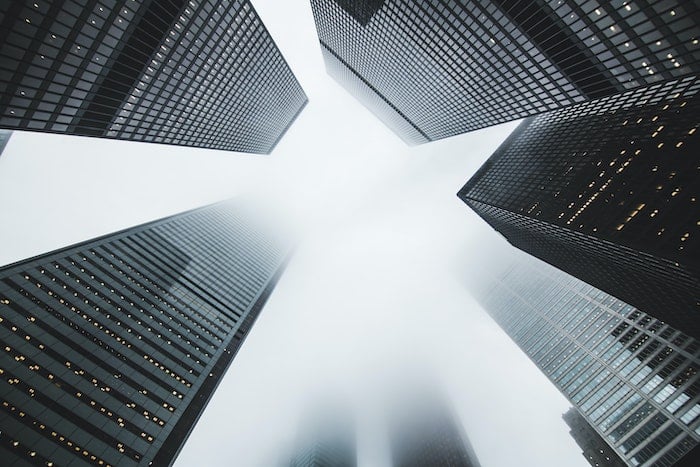
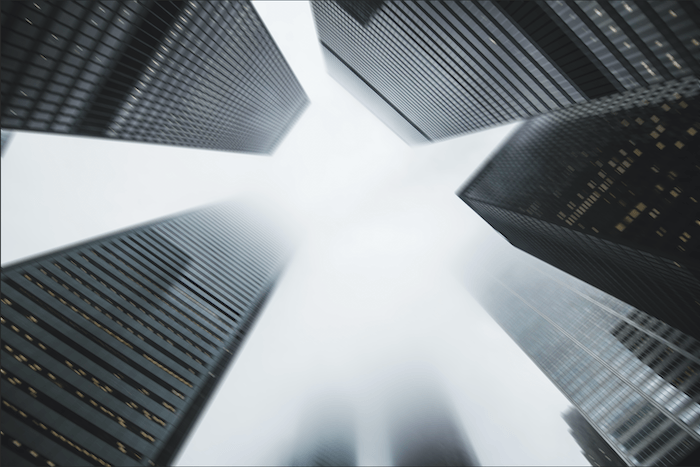
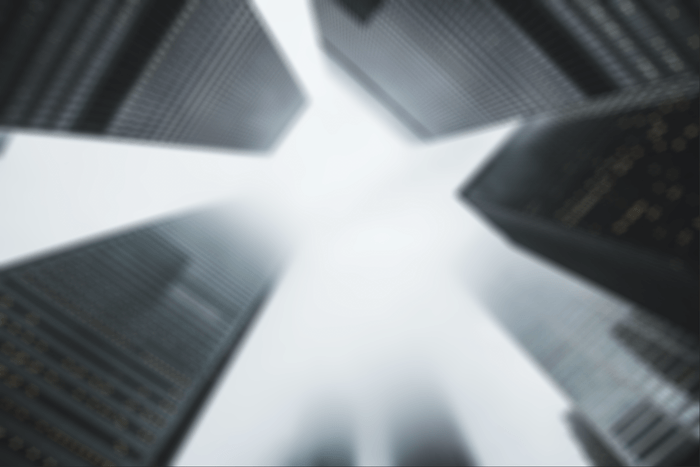
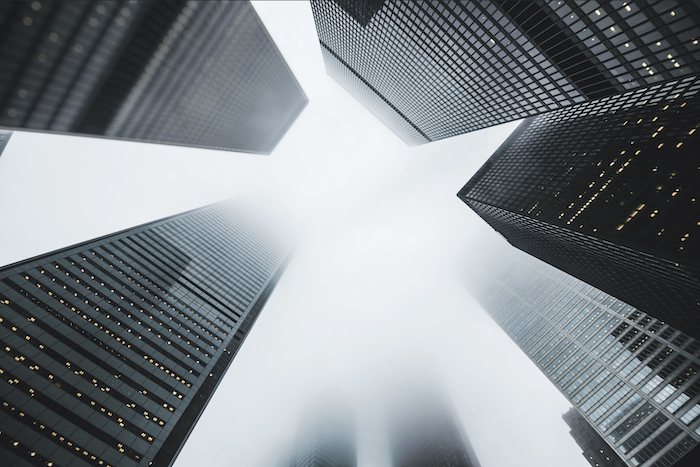
In this article, I'll go through 6 blur effects in Photoshop. I will use this image to produce over-the-top blurring to clearly show you how each filter works.
6 Types of Blur Effect in Photoshop
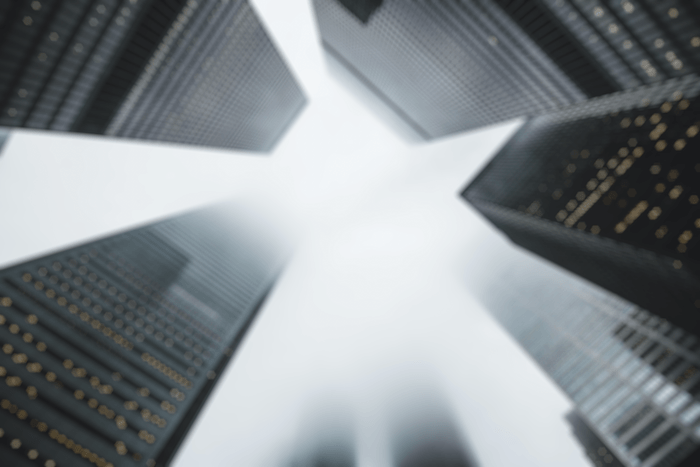
1. Gaussian Blur for a Natural Look
Gaussian blur is most likely the most popular blur filter that Photoshop has. It can be used in many ways but is most well known for smoothing out images and surfaces. You can also apply the blur in small doses to places that contain too much noise.
You can artistically use this blur. Or you can blur the background to create depth. People use this blur for almost anything. This could be due to the way it creates a natural blur in a bell-shaped curve. This curve will blur the aspects away from each point in a bell-shaped manner. It makes the blur effect more intense near the epicentre. Then the effect gently progresses outward in a bell shape.
2. Box Blur for Detailed Edges
The Box blur filter is quite similar to the Gaussian blur. The main difference between them is indicated in the title. Instead of creating the blur in a gradual curve, the Box blur creates a cubic shape.
The Box blur looks for edges in an image to keep more detail. Two contrasting colors create these edges. So this blur is helpful for situations where you want to soften a surface but enhance its edges.
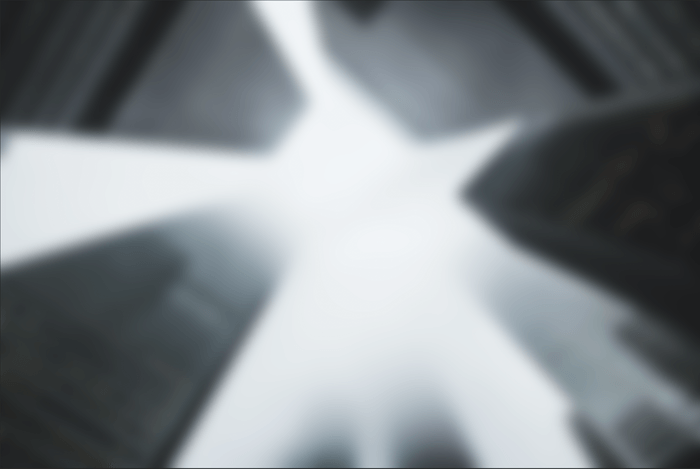
3. Lens Blur for Depth
The Lens Blur filter mimics a shallow depth of field. You can use this filter to add more depth to the image.
The filter uses a depth map to determine the position of pixels in your image. You can even set this to a depth map that you have created for your photo for more control.
You are also able to control how the blur detail will look. Different types of apertures have slightly different shapes. In Photoshop, you can pick an aperture with three sides, up to one with eight. In this image, you can see I chose a hexagon-shaped aperture. You can see the six sides of the aperture in the light reflections.
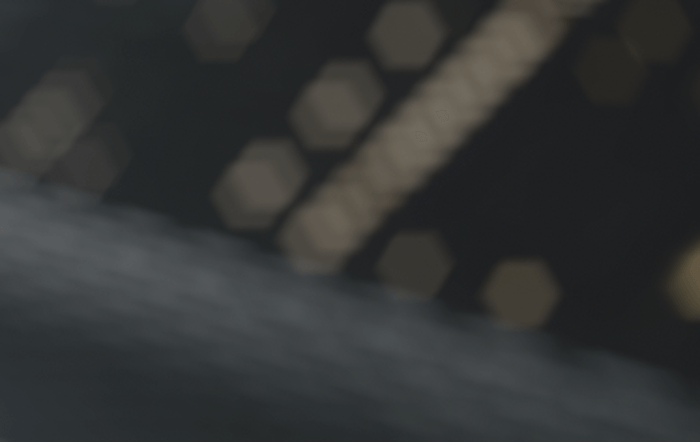
Close-up of light blurs showing the six-sided aperture option
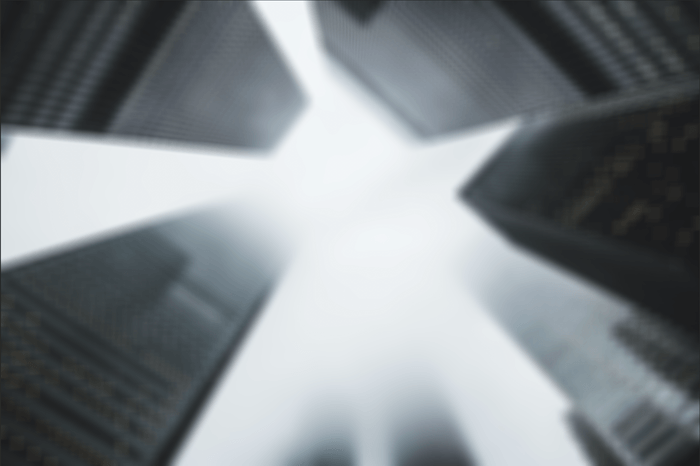
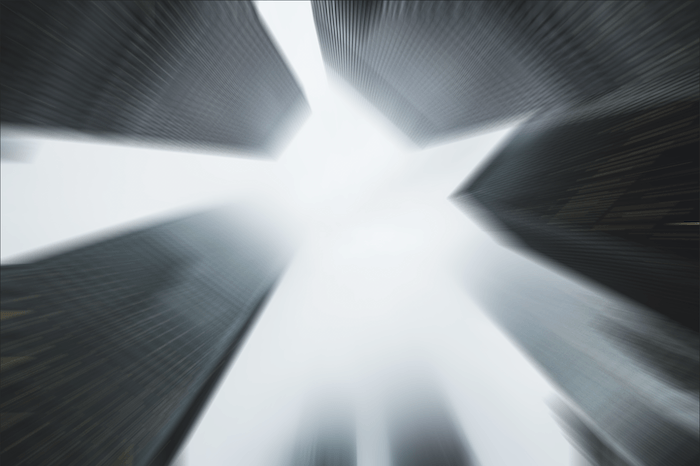
4. Motion Blur to Show Movement
Motion blur occurs when you use a slow shutter speed or if it is a fast-moving object. An object blurs itself because its light passes the sensor quicker than the shutter speed can freeze it. This filter can be helpful if images with fast motion look too static.
With this filter, you can select the angle at which the filter runs. You are presented this in an easy way where you can indicate the direction of the object in your photograph.
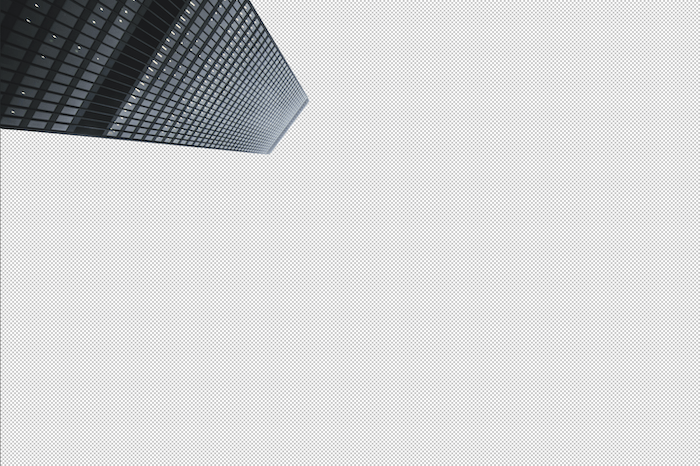
Motion blur filter adding a slight shake to the buildings
5. Radial Blur for Spinning or Tunnel Effects
Imagine a dot of paint on a canvas. If the canvas were to start spinning, the motion would throw out the paint directly from the center of the image. This is exactly what the Radial blur filter does. Luckily, you have more control than just a random spinning canvas. In Photoshop, you can set the single point that the blur will revolve around. You can also choose if the image blurs inward or outward.
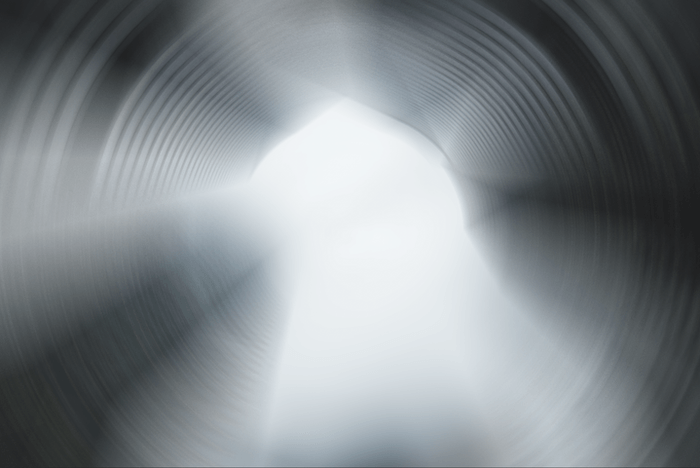
The Radial blur also has a zoom option. The zoom mimics the effect you get when zooming in on something while having a slow shutter speed. This can be useful to produce a tunnel-vision or vertigo effect.
6. Shape Blur for Individualized Patterns
The Shape blur filter allows you to form your own shapes for the blur. Photoshop provide a few forms as samples, such as various trees or simple zig-zag patterns.
Because Photoshop gives you this option to create your own blur shapes, you have more control. If you have a very particular effect you want to achieve, creating a pattern to blur in could save you a lot of time.
Flower-shaped blur
How to Blur Sections of a Photo
Of course, if you blur the entire image, it will look like you haven't spent enough time focusing. So you want to isolate parts of your photo to blur.
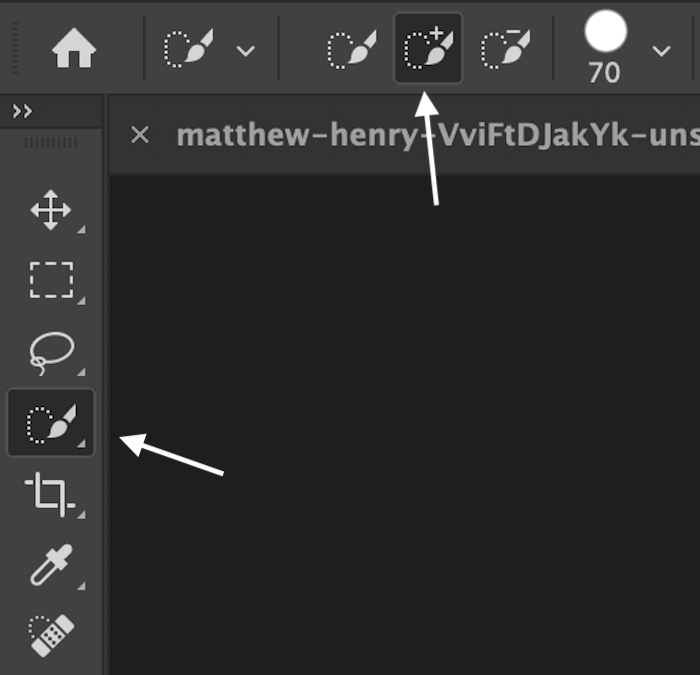
When working in Adobe Photoshop, you first need to split up your image. You can do this in various ways, but it is easiest with the Quick Selection tool. Select the Quick Selection tool from the left toolbar. Then make sure “Add to a Selection” is pressed in the top toolbar (brush with a + sign).
First, make sure you are working on a duplicate of the image. Then slowly start to paint your subject from the inside.
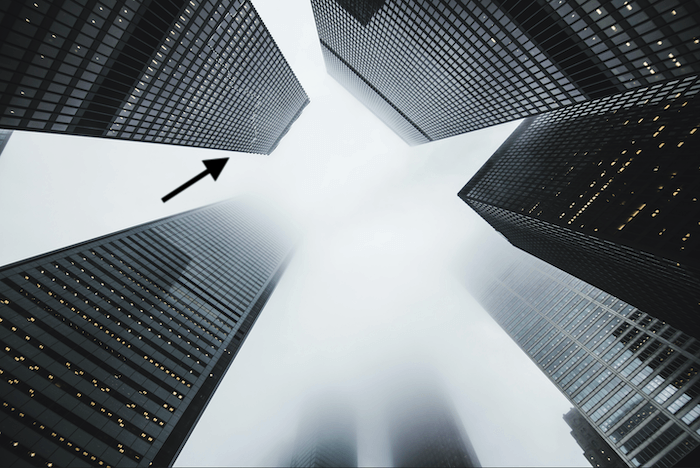
Selecting the top left building.
Next, select your subject and inverse the selection using Command (Ctrl) + Shift + I. Then, use the Erase tool to remove the background. This should leave you with a single element.
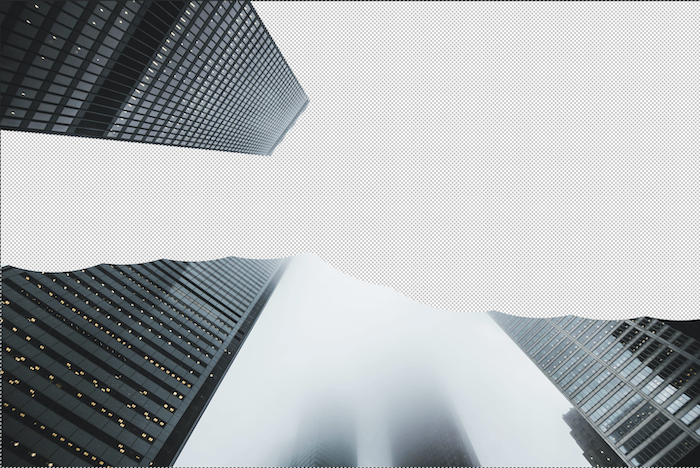
Using the Erase tool.
After using the Erase tool.
Deselect the selection by clicking on the image. You know it is deselected when the “marching ants” around the selection disappear.
Now, with your new layer selected, go to Filter > Blur to pull up the filter blur gallery. Then, choose your desired blur effect. Here I have put on a slight Lens blur.
How to Add a Layer Mask to Isolate the Blur
If you want to keep the blur strictly to the confinement of your selection, you may want to add a layer mask. You can do this by dragging your new layer to the bottom of the Layers panel and over the “Add layer mask” icon. A layer mask will appear beside your new layer. Make sure you have the picture selected when applying the mask. This method will ensure the effect doesn't stretch across the entire image.
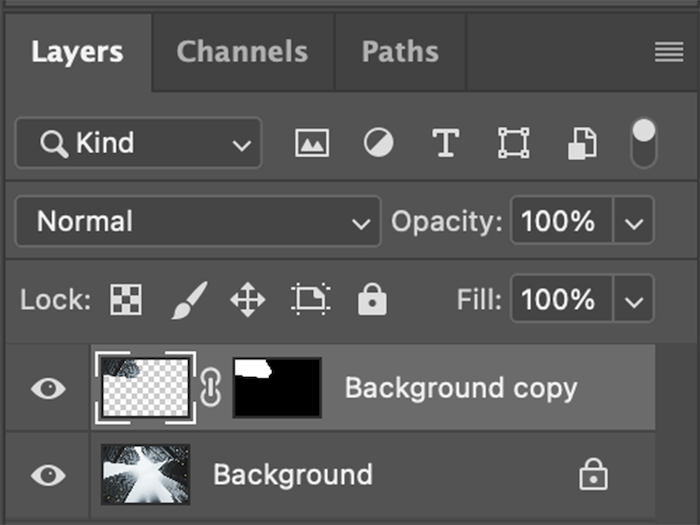
Photoshop Layers panel.
Conclusion
As industry photographers use Photoshop, Adobe has to create tools that professionals can use. So even though it may seem that all images blur in the same way, it is the particulars of how it blurs that sets the filters apart. It may take some time working with various blur filters to notice a difference.
A blur effect in Photoshop is indistinguishable from the real thing. If you have access to these tools, take advantage of them! The best way to do this is to test what each filter does to the same image. So get experimenting, and soon you'll be able to blur all photos the way you want.
Do you want to learn how to take enchanting photos in any season or weather? Check out The Magical Photography Spellbook for detailed instructions on how to take and edit vibrant and vivid images.


