8 Great Tips for Shooting Candlelight Photography
Candlelight photography allows you to work with some of the softest light. Taking advantage of this light can create some beautiful pictures. Whether it be for creative purposes or out of necessity, here are 8 tips for shooting candlelight photos.
What is Candlelight Photography?
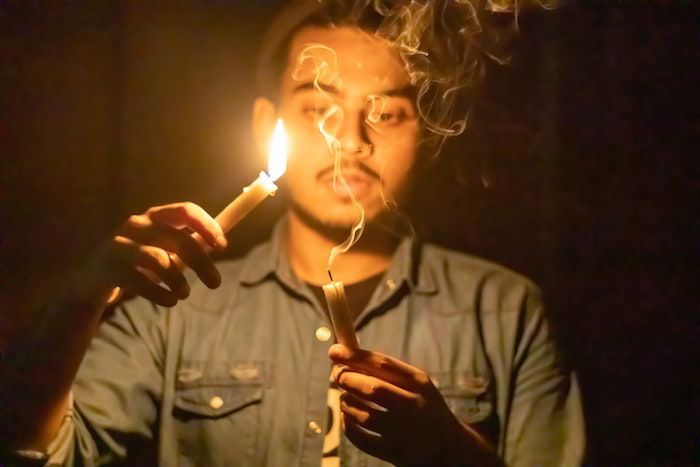
Candlelight photography is what you would think—photos taken with candlelight. These images are familiar as they convey emotion well. You can produce a romantic or dream-like setting as easily as a scary or serious one. It all depends on the photo you are trying to take.
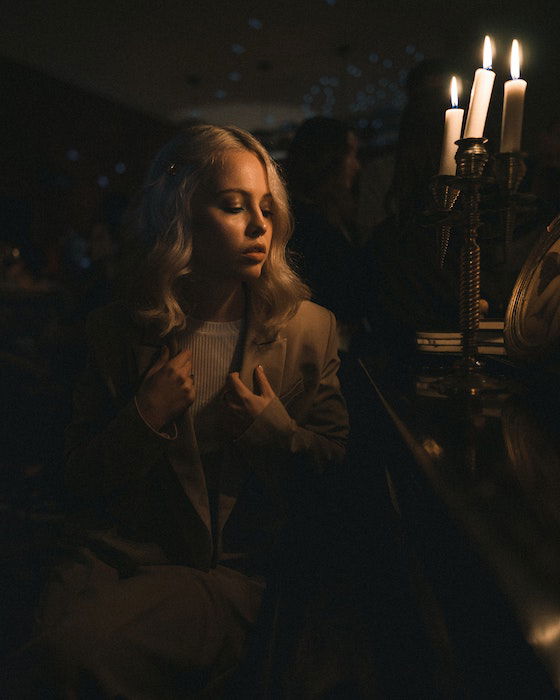
Candlelight photography is usually synonymous with portrait photography. Portraits work well in this environment, as the warm light falls softly on the person’s face. We are also used to seeing beautiful classical paintings constructed in this type of light. Using the same ambient light is a great way to replicate the feel of those pictures.
1. Technical Considerations
Let’s get the technical stuff out the way first. First, you will want your camera on a tripod to have the least possible amount of camera shake. Of course, photographing in candlelight is a battle against photographing in dim light. It means you will be making negotiations between 3 camera settings:
As the photograph will be in very low light, you will want to push your ISO up reasonably high if you’re going to take sharp portraits. This change will allow for a faster shutter speed. And your aperture will fall under a stylistic preference.
Adjust White Balance for Warm, Low Light
A crucial point to note is what your camera does with its white balance. This setting will most likely be on Auto, meaning the camera assesses the light temperature. This assessment can hinder as much as it can help. In candlelight photography, you want to keep the warm, orangish glow produced by the flames. So set your camera to a low-light mode in the white balance settings. If your camera offers a custom entry, put in around 2000-3000K (Kelvin, the scale of color temperature).
2. Use a Wide Aperture and a Long Lens
To provide enough light for your image, choose a lens that can aid you. A lens that will shoot at a wider aperture (smaller number aperture) will give you more light. More light allows a slower shutter speed. This simple solution can make a world of difference.
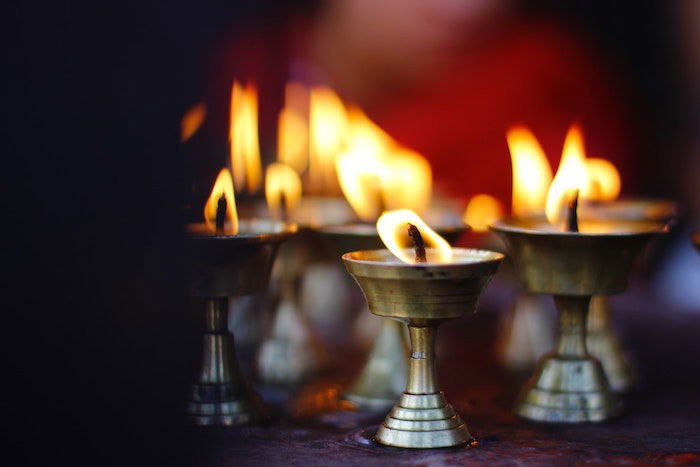
When shooting candlelight photography, you photograph a subject falling in a patch of light around the darkness. This setting caters to long lenses much more than wide lenses. I would suggest shooting with a lens upward of 50mm. I would use my 50mm prime lens that can photograph at f/1.2. This aperture would allow me to use an excellent depth of field that would complement the soft light.
3. Check Framing and Background Before Shooting
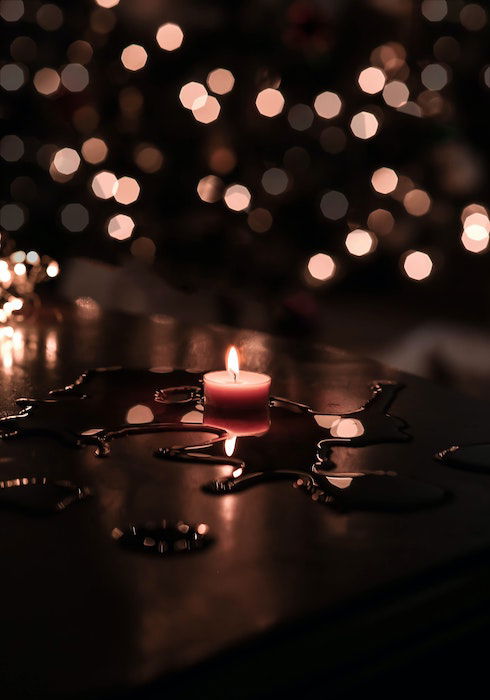
When shooting in dimmed light, it can be easy to forget about the parts of the frame not highlighted by the candlelight. There can be times where you finish a shoot, upload the pictures, and only then find a problem. This problem can be an unflattering angle or an out-of-place object that subtly catches the light enough to ruin the image. To avoid this, I suggest you make sure to check the frame well before starting to photograph. This extra step can save a whole lot of disappointment in the future.
4. Use More Candles to Add Background Light
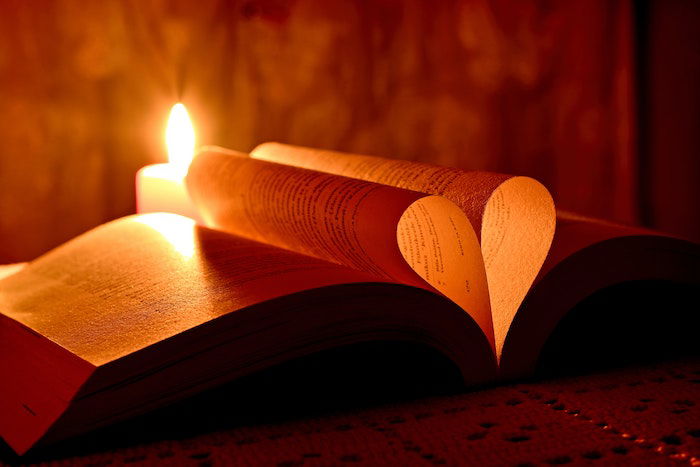
Hopefully, you will have spares candles around in case one doesn’t work. It is not the main reason for more candles, though. If you want a background scene in the picture, you must consider how you will light it. If you’re going to use any external light, be cautious of the type of light coming into the picture. This light could be a different color and ruin the warm glow of candlelight you have created. A good use for extra candles is to light the background environment. If the flames provide unwanted highlights, think of ways to hide the candles. Put candle light out of frame to slightly lighten the room.
5. Use Reflectors to Add Light to the Scene
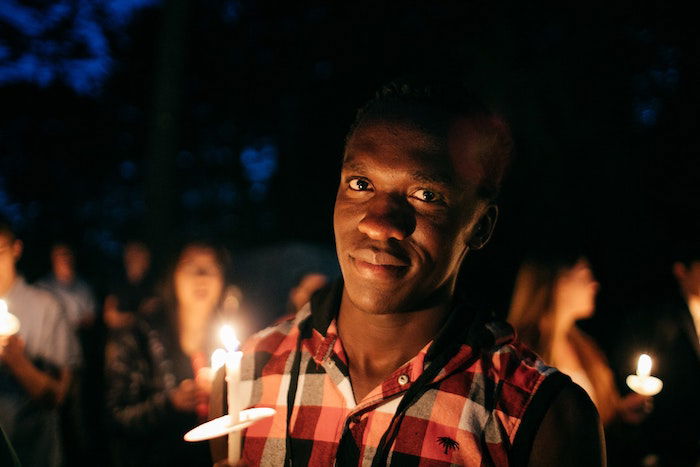
As I mentioned before, photographing in candlelight is a negotiation with light. The more light you can put into your scene with some control, the better. Reflectors are a great way of getting this light in. In low-light photography, the subject can slip into the shadows. You can see this clearly when the source of light comes from a single point. Reflectors can bounce the passing light back onto the subject. This extra light can define their outline in dim light. If you don’t have a reflector, find any white surface you can. Rooms with white walls will bounce the light naturally. If you’re on a budget, you can even use a bedsheet.
6. Meter Light Based on the Subject
When measuring the light, make sure you calculate it based on the subject itself. It can be easy for light meters or built-in light meters to read the light in many different ways. The meter reading can be too dark due to the light meter latching onto the highlight created by the flame. The opposite can also happen. The meter reading can be too bright be due to the light meter calculating for the dark background.
Best Way to Meter Light
The best way to meter in this situation is to get the subject into place first. If you are shooting on a DSLR, you can use trial and error. It can be done with the shutter speed and also white balance. If shooting on film, be sure to check the different settings needed for the main elements in the photograph. For instance, if it’s a portrait, take separate readings for light on the face and the details in the shadows.
7. Move Your Subject Around for Best Conditions
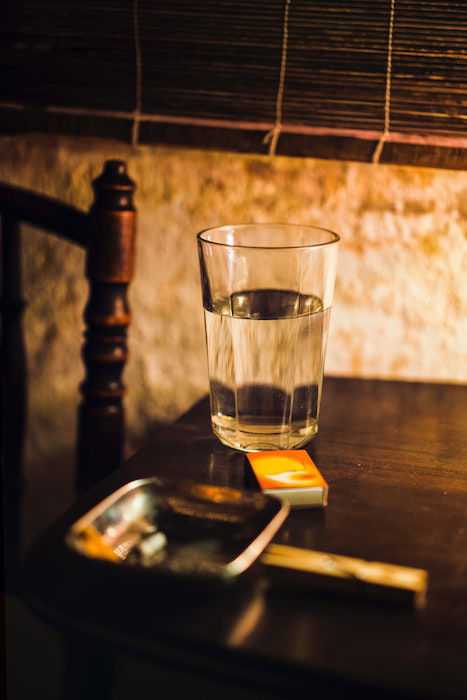
How you place the subject will change how you photograph in candlelight. Of course, there is an obvious example of how close your matter is to the light source. But you should also be aware of the angle of your subject to the light source. Candlelight flickers. These flickers add to candlelight’s unique qualities in photographs. The flicker will register as light with soft edges. This sporadic nature of the light means that it can’t capture all the shadows in the subject. So make sure that you move your model or object around to study the shadows. There could be a position that they benefit from or emphasises the soft light.
8. Watch Out for Fire Hazards
I would hope this doesn’t have to be said but, keep an eye on your set for any fire hazards. I want to mention this as sometimes obvious aspects can slip away when directing your shoot. You will have so many things to think about that the candles can be your last concern.
Safety Precautions to Take
Make sure you don’t light the candles till you’re ready to start meter reading. It will also be a good idea to put the candles out between different shoots if there’s a model or outfit change. Most importantly, make sure there’s no equipment near the flame that could catch fire. That includes reflectors or sheets, or anything else for that matter. All it takes is one slight knock for things to turn for the worse, so be careful!
Conclusion
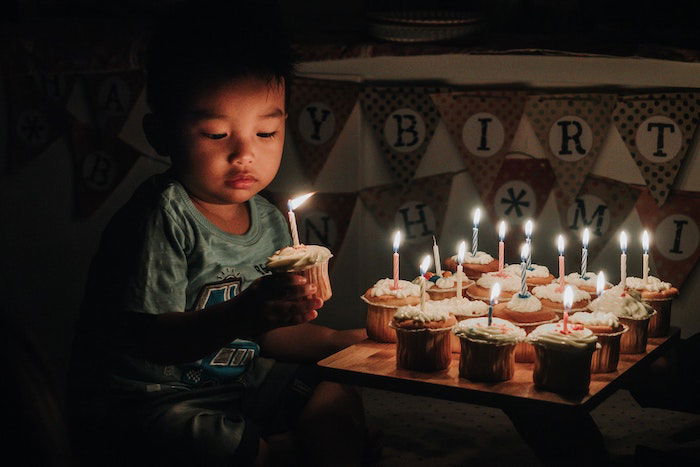
Now, you should have a pretty good idea of what to look out for when photographing in candlelight. The most enjoyable aspect of photographing in candlelight is experimentation—with things like subject placement and shutter speed. You can have your subject barely visible, slithering out of the darkness. Or you can have the shadows just about exposed, giving the viewer a look inside the darkness. So get your tripod, keep a bucket of water nearby, and get shooting!
